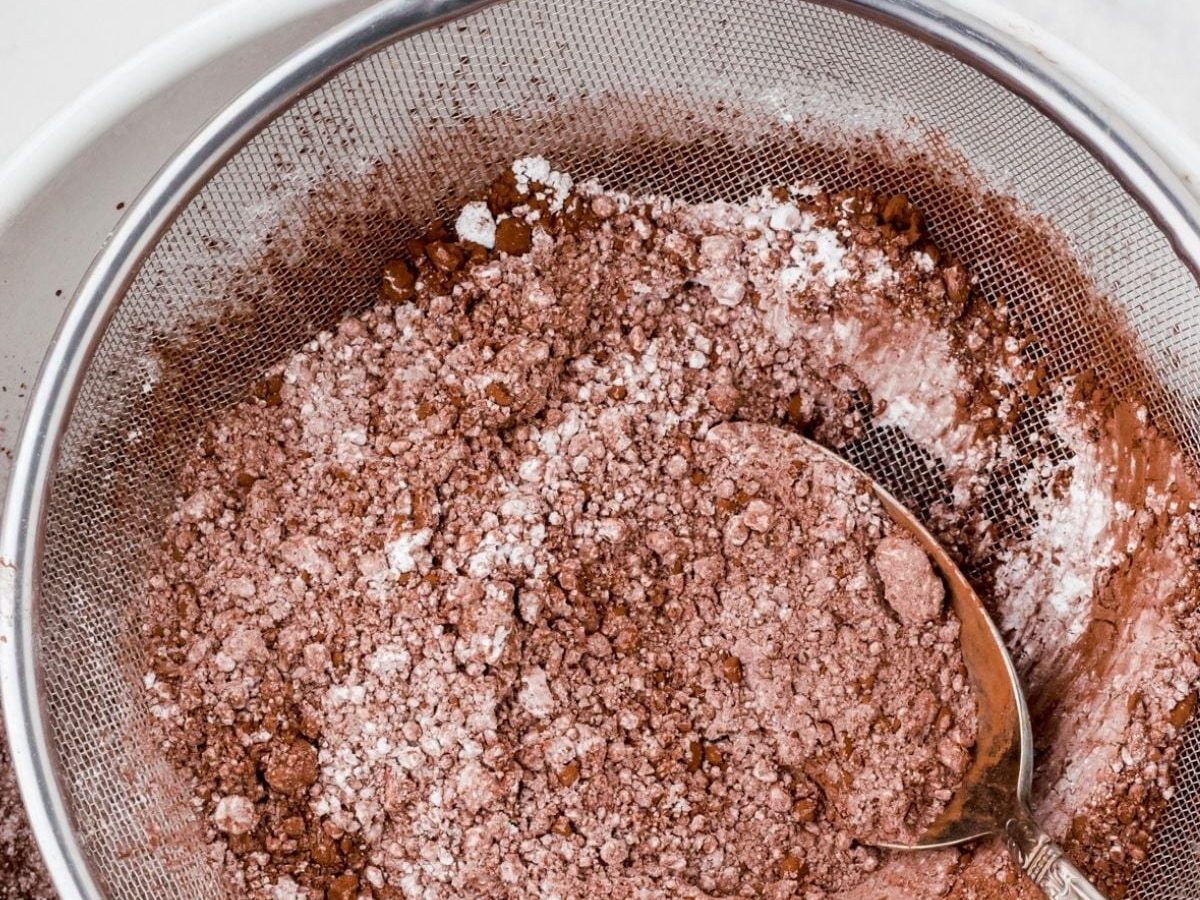
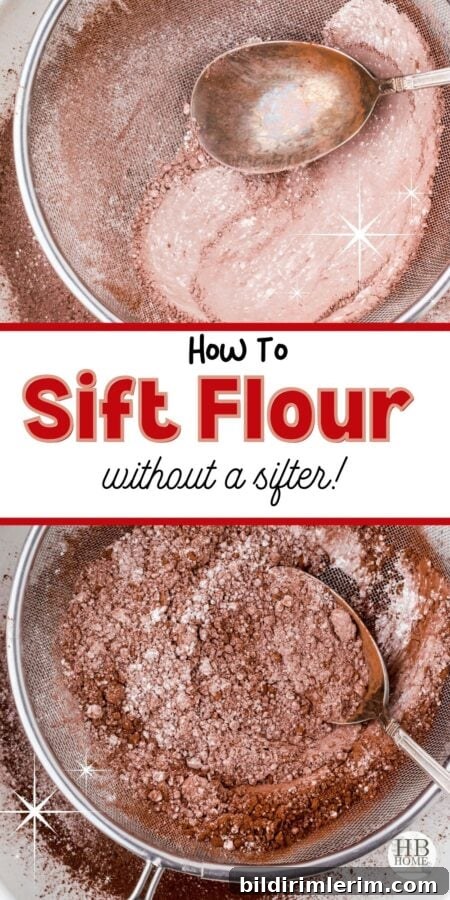
“What do I do if a recipe calls to sift flour and I don’t have a sifter?”
Don’t worry — you don’t need to buy a special gadget to get the same results. There are simple, reliable ways to sift and aerate flour and other dry ingredients using tools you probably already have in the kitchen. Below I explain why sifting matters, what traditional sifters look like, and several easy alternatives that deliver smooth, lump-free dry ingredients for baking.
Why do I need to sift flour?
Recipes call for sifting for two main reasons: to remove lumps and to aerate the dry ingredients. Flour and other pantry items can settle and form clumps during storage, even in sealed containers. Those lumps can cause uneven mixing and pockets of dry ingredient in a batter or dough. Sifting breaks up those clumps and produces a finer, more consistent texture.
Beyond removing lumps, sifting adds air to the flour. Lightly aerated flour mixes more easily into batters like cake or pancake batter, helping produce a lighter final texture. For delicate baked goods, that extra bit of lift can make a noticeable difference.
What are the types of traditional sifters?
Traditional flour sifters come in a few common manual styles: the rotary hand-crank type (with an internal agitator) and the squeeze or trigger-style sifter. Both are designed to push flour through a fine mesh screen. They were household staples for many home bakers and are still useful, but they’re not necessary if you don’t own one.
Ways to sift without a sifter
Several kitchen tools can mimic the results of a sifter. These alternatives work well for flour, powdered sugar, cocoa powder, and other dry baking ingredients. Pick the method that suits the tools you already own and the amount you need to process.
1. Use a fine-mesh strainer
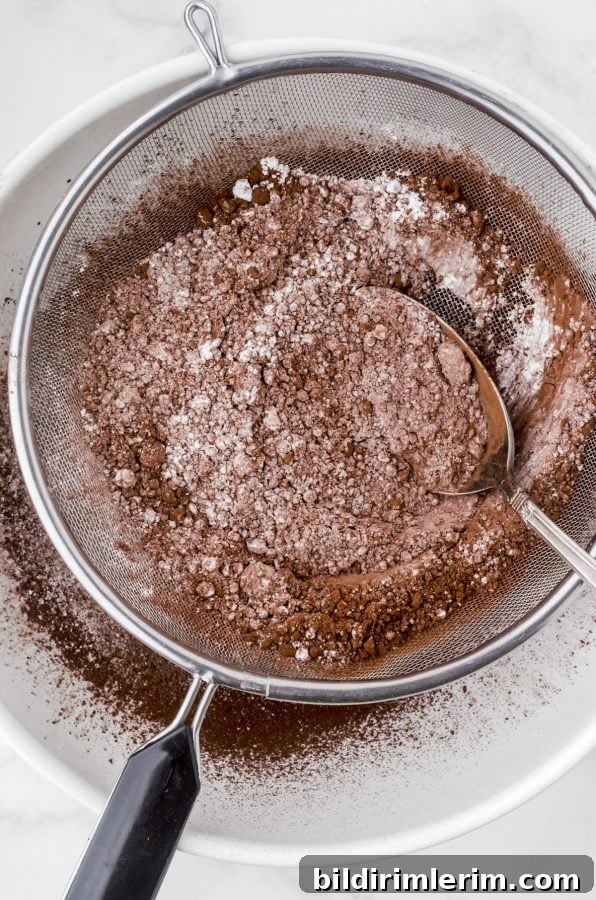
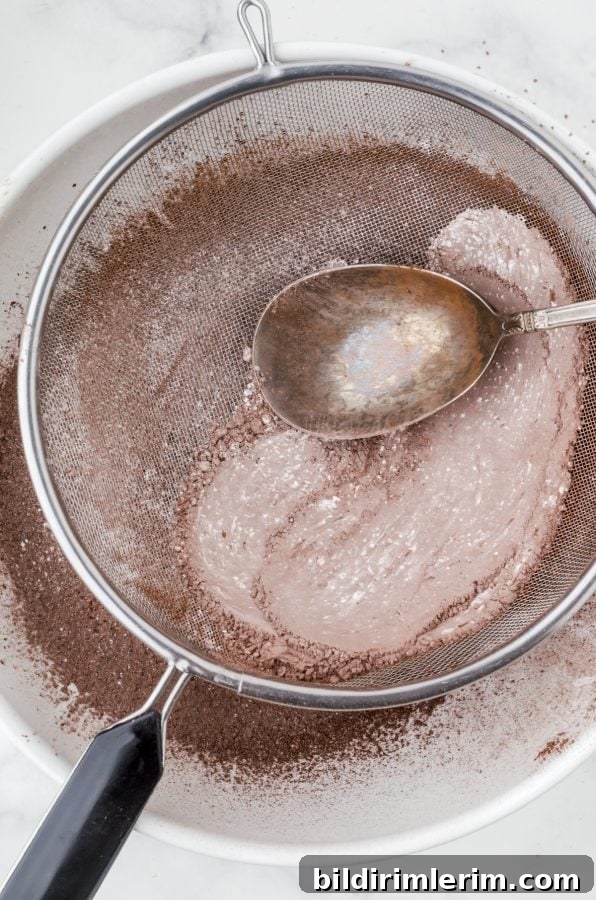
A large fine-mesh strainer is the easiest and most reliable substitute for a sifter. Hold the strainer over a bowl and pour the measured dry ingredients into it. Gently shake the strainer back and forth and tap the side as the flour falls through. The mesh breaks up lumps and creates a fine, airy texture.
If small clumps remain in the mesh, press them through gently with the back of a wooden spoon or a rubber spatula. A wide strainer processes larger volumes faster than a small one and is also handy for rinsing fruits, draining pasta, or dusting powdered sugar.
2. Use a balloon whisk
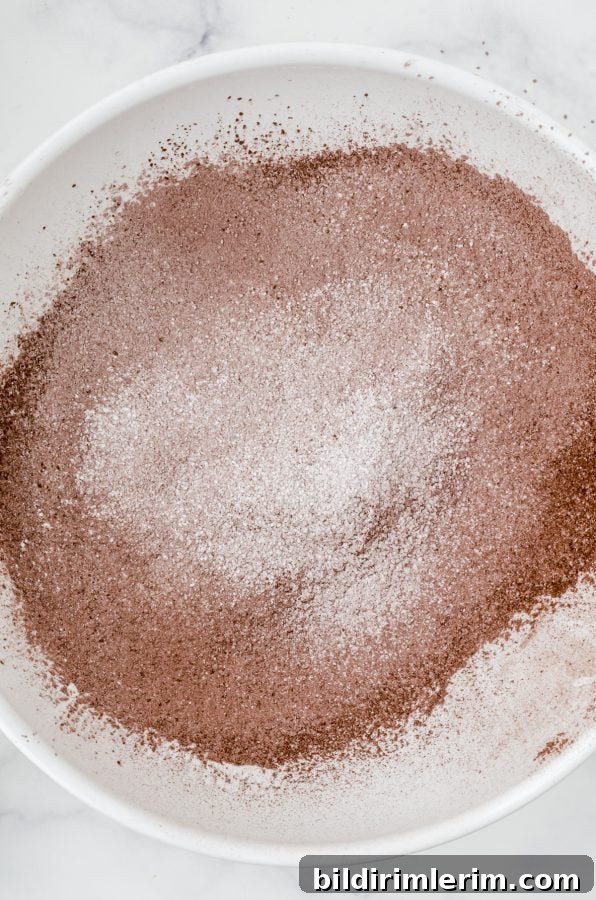
If you don’t have a strainer, a balloon whisk can also do the job. Put the dry ingredients into a large mixing bowl and whisk vigorously in a circular motion. The whisk’s tines will break apart small clumps while incorporating air into the mixture, producing a lighter texture. For best results, whisk for at least 15–30 seconds or until the flour looks evenly aerated.
Practical tips for sifting without a sifter
- Work over a bowl large enough to catch everything and to allow easy shaking or whisking.
- If combining multiple dry ingredients (flour, cocoa powder, baking powder, salt), add them all to the strainer and shake or whisk together for an even blend.
- For powdered sugar, use a very fine mesh to avoid clogs; shake gently to prevent dust clouds.
- Clean strainers promptly: dried batter or sticky ingredients are harder to remove once set.
- I personally keep a set of three fine mesh strainers in different sizes — the large one is ideal for sifting flour or draining pasta, and the small one is perfect for dusting powdered sugar over baked goods.
When to measure sifted flour
Whether you measure before or after sifting depends on the recipe language. If a recipe states “2 cups flour” it usually refers to unsifted flour as packed into the cup. If the recipe specifically says “2 cups sifted flour,” then you should sift first and then measure the sifted flour in the cup. Because sifting adds air, the same weight of flour will occupy more volume after sifting, so follow the recipe’s wording for accurate results.
Other kitchen tips and ideas
- How to freeze cake for easy icing
- Choosing wax paper versus parchment paper
- How to use parchment paper safely in the oven
- How to freeze avocados to prevent waste
- A simple trick for cleaning electric cooktops
- How to freeze mushrooms to save time and reduce food waste
- The easy method for boiling water in the microwave
Using a fine-mesh strainer or a balloon whisk gives you the same benefits as a traditional sifter without extra expense or clutter. Both methods yield smoother, more consistent dry ingredients that mix easily into batters and doughs. Choose the method that fits your tools and the quantity you need to process, and you’ll get excellent baking results every time.