Bookcase Makeover: Fresh Seasonal Decorating Ideas on a Budget
I’m not a holiday decorator in the traditional sense. Aside from a Christmas display, my home doesn’t usually follow the calendar with Valentine’s or St. Patrick’s Day decorations. Instead, my “seasons” are moments when I walk into a room and think, “I’m ready for a change.” Those moments often coincide with bright sunlight streaming through the windows—sunbeams that highlight corners of the room and, inconveniently, the dust bunnies I missed during my usual cleaning routine.
When I discover dust under furniture, I figure I might as well move things around and give the space a whole new look. Refreshing a built-in bookcase is one of my favorite, low-cost ways to transform a room. You can achieve a striking new appearance without spending a dime—just by rearranging and repurposing what you already own.
Before: The Inspiration and Simple Tricks
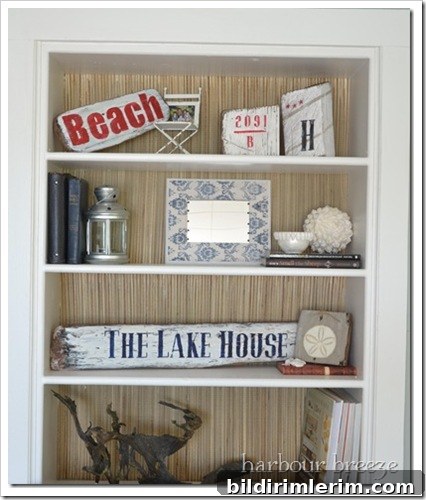
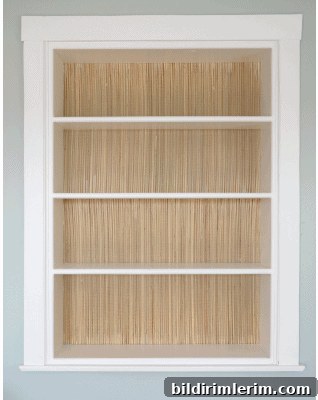
Some people enjoy changing their fireplace mantel with the seasons. In my house, the built-in living room bookcase fills that role. It has been a playful canvas over time: one summer I lined the back shelf with a Dollar Store beach mat to create a coastal backdrop, then filled the shelves with driftwood accents and beach-inspired finds. The contrast of a textured mat and natural pieces can make a bookcase feel like a curated vignette straight out of a seaside cottage.
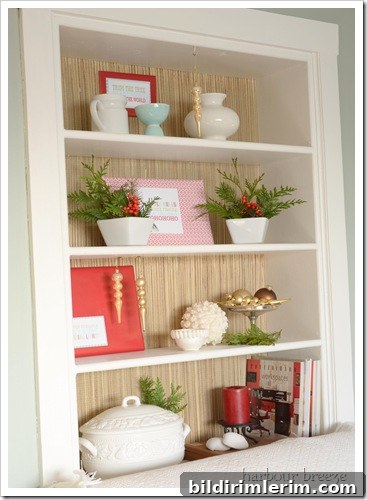
At Christmastime the same shelves took on hints of red and shimmering gold for a festive, warm look. Small seasonal touches—color accents, a different centerpiece, or a textured backing—can completely alter the mood of a shelving display.
My Step-by-Step Bookcase Refresh
When it was time for another refresh, a power outage left me with time and a bit of boredom, so I decided to restyle the bookcase. Here’s how I approached it:
- Start by emptying the shelves completely. Removing everything makes it easier to see the space clearly and provides an opportunity to dust thoroughly.
- Work from the top down. I like to place a few anchor pieces on the top shelf first, then build layers and balance as I move down. This helps maintain visual flow and prevents the bottom from feeling cluttered.
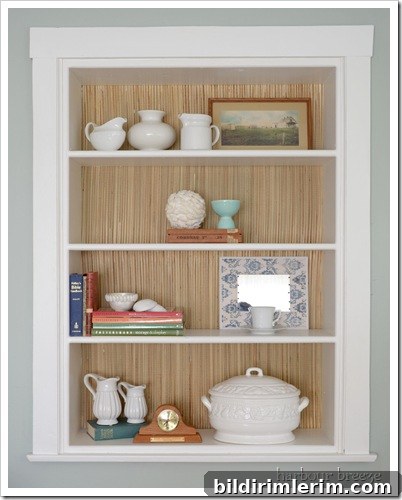
- Gather items from around the house. I pull books, artwork, ceramics, framed photos, and small decorative objects and try different combinations until the arrangement feels balanced. Repeating materials, colors, or shapes across shelves creates cohesion.
- Mix heights and textures. Combine tall objects with low groupings, and add a textured element like a woven mat, a tray, or a small plant to break up flat surfaces.
- Leave some negative space. Shelves that are too full can feel chaotic. Letting a few areas breathe makes each piece stand out more.
This process is part organization and part play. I tend to have favorite items that reappear in every iteration, but relocating them gives them a fresh context. Moving objects around is inexpensive, immediate, and surprisingly satisfying.
Fun Extras and a Little Experimentation
While restyling the bookcase, I also experimented with animated images to show the transformation in motion. Creating a simple GIF or a short slideshow is a fun way to document before-and-after changes. The real bonus, however, was that I ended up dusting the shelves thoroughly—an added practical benefit to a creative day.
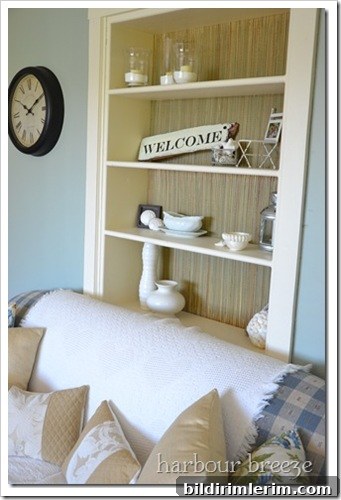
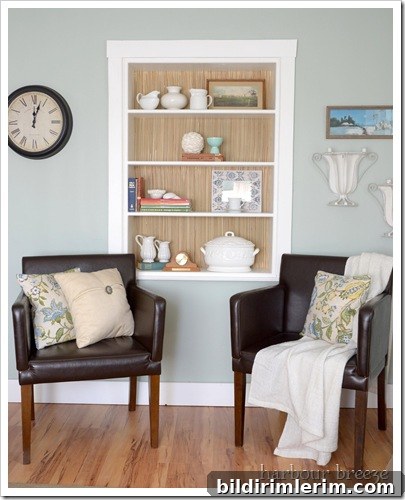
Below are images of the bookcase through several looks. The photos illustrate how subtle changes—lining the back with a textured mat, adding seasonal accents, and rearranging objects—can produce markedly different effects.
Final Thoughts: Refresh Often, Spend Little
Refreshing a bookcase is an accessible DIY project that breathes new life into a room with almost no cost. It’s an enjoyable mix of creativity and practicality: you end up with a tidy, attractive display and the satisfaction of transforming a space with items you already own. Whether you’re inspired by coastal textures, holiday accents, or a neutral, layered aesthetic, these simple styling steps can help you achieve a polished, seasonal look anytime.
P.S. Trying new techniques—like creating a moving image to show the restyle—made the project more fun and pushed me to restyle for the camera. The shelves look clean and new again, and that’s reward enough.