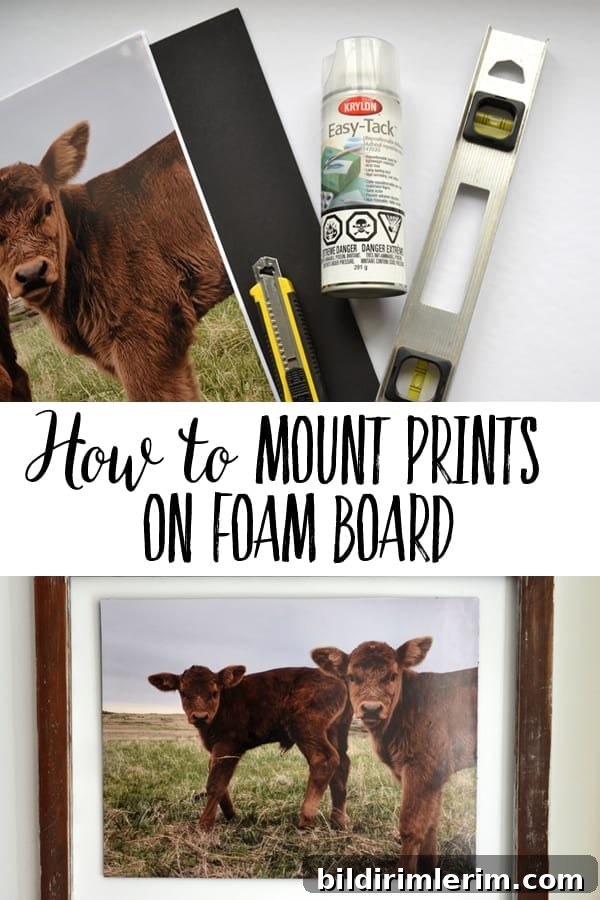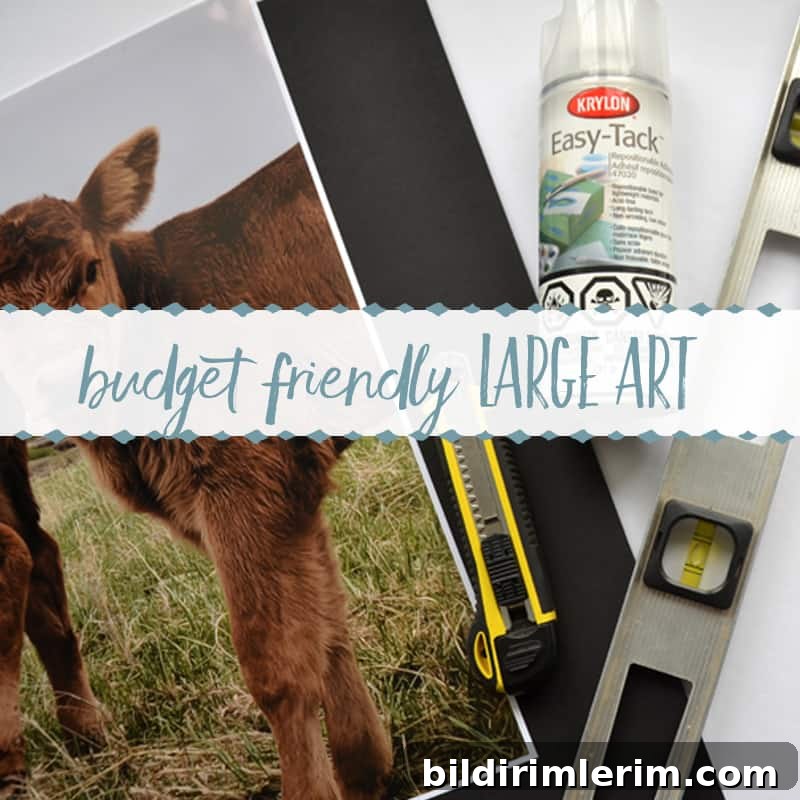
Learn how to mount photos and posters onto foam board using spray adhesive, plus practical tips for clean, straight cuts and an easy way to hang your finished art.
Mounting a photo or poster on foam board is a simple, budget-friendly way to fill a large wall with a polished look. Mounted prints are lightweight, easy to hang on a single nail or adhesive strip, and cost far less than custom framing while still looking clean and modern.
After mounting many prints, I’ve refined a straightforward method that minimizes mistakes—especially when it comes to cutting the foam board. Below you’ll find step-by-step instructions, materials, and practical tips that will help you achieve crisp, professional-looking edges and a smooth, bubble-free finish.
Disclosure: This post contains affiliate links to products similar to (or the same as) those I used. If you click a link and make a purchase, I may receive a small commission at no extra cost to you.
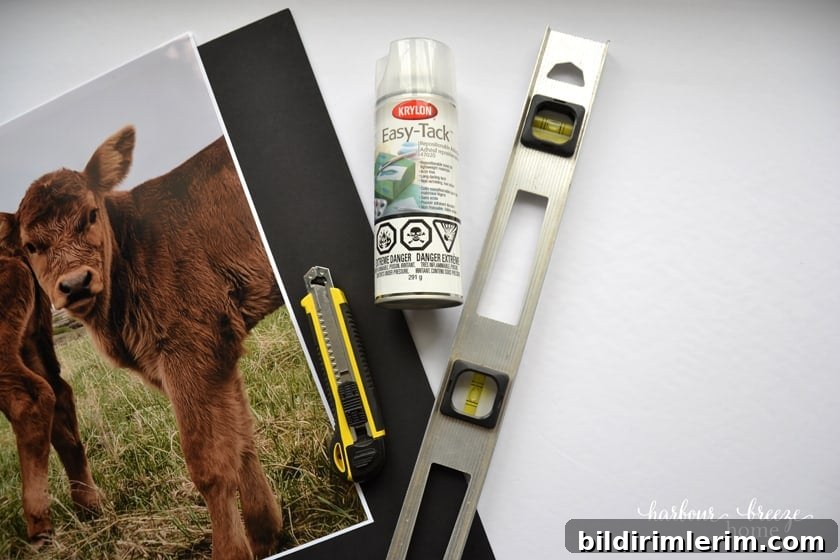
What You’ll Need
- Printed photo or poster (example: an 18 x 24 digital print with glossy finish)
- Black or white foam core board
- Drop cloths or towels to protect your work surface
- Heavy-duty art knife or utility knife with snap-off blades
- Long, flat metal ruler
- Paper brayer or a clean, dry cloth (optional but helpful for smoothing)
- Spray adhesive formulated for paper and foam board (follow label instructions)
- Large cutting board or cutting mat
- Sawtooth foam hanger or other lightweight hanging hardware
Black or white foam board? Both are fine. Black gives the mounted edge a sharp, finished appearance, while white can hide small cutting imperfections more readily.
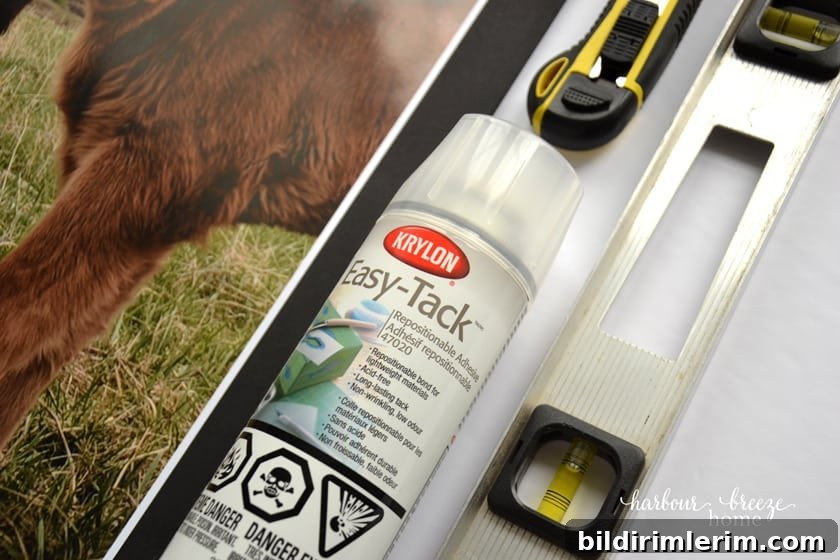
How to Mount a Photo on Foam Board
Step 1: Trim the print
If your print has a white margin, trim it away first with a metal ruler and sharp knife. I like to trim two adjacent sides (for example, the bottom and left) and then align those trimmed edges with the corner of the foam board before finishing the remaining cuts. This helps with precise placement and even borders.
Step 2: Spray the foam board
Work in a well-ventilated area and protect your surface with towels or a drop cloth. Apply an even coat of spray adhesive to the foam board according to the manufacturer’s directions. Keep the can moving to avoid over-saturating any one spot.
Step 3: Place the print and smooth it
Align the trimmed edges to the foam board corner, then gently lower the print onto the adhesive surface, smoothing it out from one side toward the other. Use a brayer or a clean, dry cloth to press the print down and push out any air bubbles immediately.
Step 4: Trim the excess foam board
Position a flat metal ruler along the print’s edge, hold it firmly, and make multiple light passes with your knife rather than trying to cut through in one stroke. Several controlled cuts will produce a much cleaner, straighter edge.
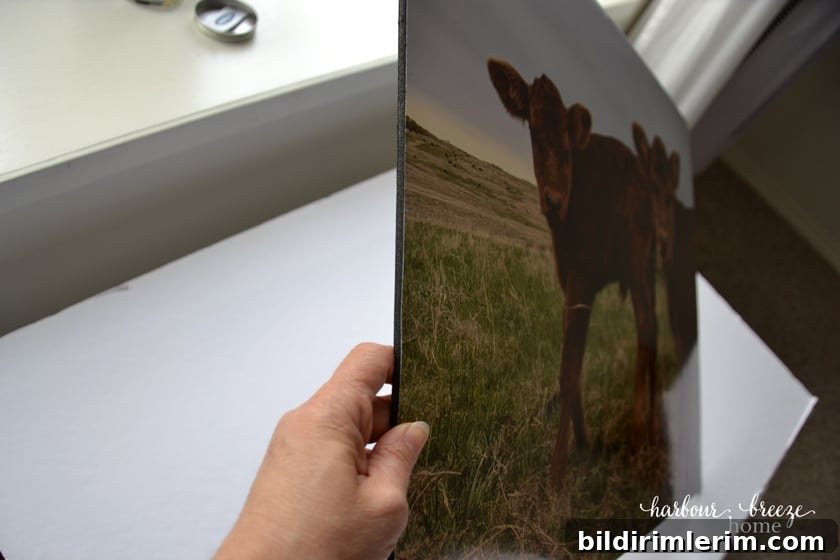
Tips for Clean, Straight Cuts
Good cutting technique is key to a professional result. Here are the practices I rely on:
- Use a sharp blade. A fresh blade slices cleanly through the foam core; a dull one tears and leaves crumbly edges. Replace or snap off the blade before you begin.
- Use a flat ruler. A ruler that lies completely flat against the board lets you guide the knife steadily and keeps the cut straight.
- Make several passes. Apply steady pressure and repeat the cut a few times until you reach the core. This produces a smooth edge and reduces tearing.
- Cut on a protective mat. A cutting mat or sacrificial board protects your table and lets the blade glide more predictably.
Which Adhesive Should I Use?
The best adhesive depends on your goals:
- Spray adhesive is ideal for large photos and posters since it provides even coverage and helps prevent bubbles and ripples.
- Double-sided tape or mounting squares are fine for small photos, but can allow large prints to develop ripples between adhesive points.
- Temporary displays (party decor, school projects, trade shows) benefit from removable mounting putty or repositionable adhesives so you can remove or reposition the print later.
How to Hang a Foam Board Mounted Print
Attach a sawtooth foam hanger near the top center on the back of the board and hang it on a nail or hook. Because foam board is very light, you don’t need heavy-duty hardware—adhesive picture strips that match the board’s weight limit also work well for damage-free hanging.
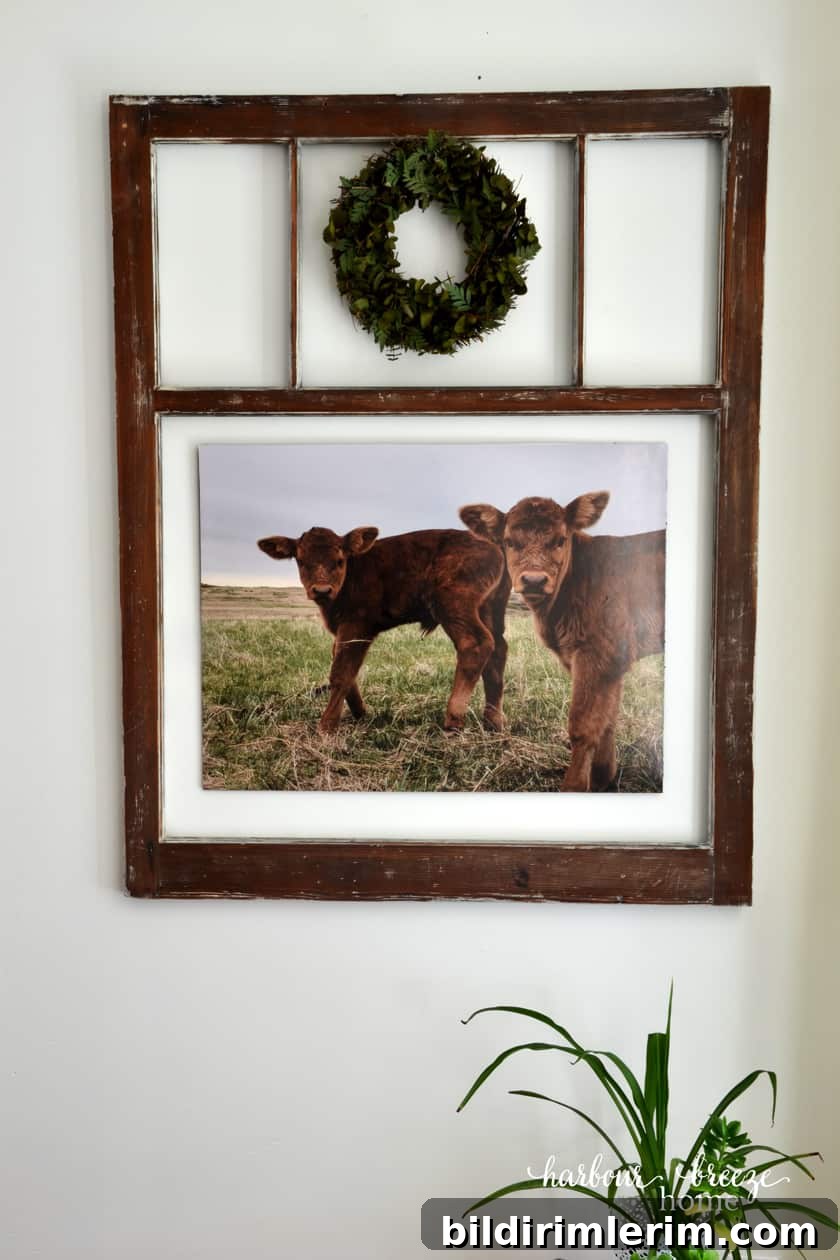
Creative Uses for Foam Board Mounted Prints
- Create a gallery wall of printable artwork—mounted foam board makes arranging and swapping prints easy.
- Use an old window frame or a shallow frame as a decorative bezel for mounted prints.
- Mount trade show graphics or presentation images and attach adhesive Velcro to the back for quick display on fabric panels.
- Make budget-friendly wall art for dorm rooms, rentals, or temporary living spaces.
Foam Board Mounting FAQ
Can I use poster board instead of foam board?
Poster board can work for small, lightweight items, but it’s thin and prone to bending or warping. Foam board remains rigid and flat, making it the preferred choice for hanging prints and posters.
How do I cut foam board without tearing it?
Always use a sharp blade, a flat metal ruler, and make several light passes rather than one heavy cut. That combination prevents tearing and produces a cleaner edge.
Will spray adhesive wrinkle my photo?
If you spray evenly and place the print carefully—smoothing from one side to the other—spray adhesive should not wrinkle the print. Use a brayer or cloth to remove any trapped air immediately after laying the print down.
How can I hang foam board without nails?
Use removable adhesive picture strips rated for the weight of your mounted print. They’re a good option for renters or temporary displays—just follow the product instructions for proper adhesion.
You Might Also Like
- Easy DIY picture frame solutions for large art or posters
- How to frame an engineer print – a budget-friendly large art project
- Vintage botanical print ideas for seasonal wall art
- Quick wall art projects using book pages and simple supplies
For more projects, crafts & ideas for your home year-round, become a VIP!
Join the VIP newsletter for instant access to a library of free printables, wall art, gift tags and more—perfect for DIY decor and gift projects.