
My first real camera came when I graduated from high school: a Canon T50 that used film. It recorded the small, everyday moments of college and the adorable antics of my babies and toddlers. I loved that camera—until it finally stopped working. It opened the door to photography for me, even if I kept it firmly on the “Automatic” setting for years.
A few years back my husband surprised me with a Nikon D3100. One of my goals was simple: learn to use the camera beyond “Automatic.” I tried reading articles about aperture, shutter speed, ISO, and histograms, but the technical explanations left me overwhelmed and confused. Practical application felt like a mystery I couldn’t solve by reading alone.
So I signed up for an in-person class with a local photographer. That hands-on instruction gave me the foundation and the confidence to flip the dial off Auto and start shooting in manual mode. Since then I’ve been practicing as often as I can; blogging helps a lot because it gives me reasons to pick up the camera almost every week, sometimes every day.
Most of my practice, however, comes from shooting still objects or interior rooms. When I’m asked to photograph people, a wave of nerves often hits—what I call photography paralysis. I worry about keeping people waiting while I fumble with aperture, shutter speed, or ISO. Those situations make me want to retreat to Auto, even though I know manual control will give better results.
To overcome that fear I decided to go back to school—this time online. Video-based lessons appealed to me because I learn best by watching someone demonstrate a technique rather than only reading about it. I found an online program that offers two courses delivered through short, focused videos. The visual demonstrations made concepts like aperture, shutter speed, and exposure click in a way that articles never had; and I could always rewind a segment if I needed to review it.

The first course covers the fundamentals of shooting in manual mode: what aperture does to depth of field, how shutter speed freezes or blurs motion, how ISO affects noise, and how exposure ties it all together. Each short video focuses on a single topic so you can absorb one concept at a time. One segment I appreciated showed the process of scouting a location for an outdoor shoot—walking through choices of position, angle, and, most importantly, finding the best light.
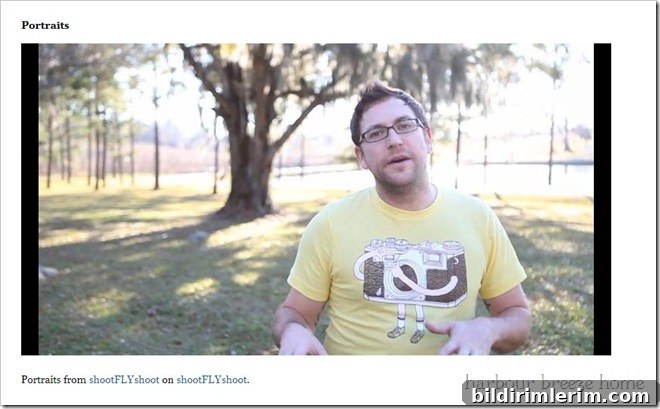
The second course builds on those basics and dives into portrait techniques, indoor lighting, landscape considerations, histograms, white balance, and shooting RAW. Those were precisely the topics I had been struggling with—how to control color and exposure indoors, how to interpret the histogram, and when to use RAW for maximum editing flexibility.
They occasionally offer the two-course bundle at a discount, which can be a good value if you want a complete, video-led introduction to using a DSLR. If you have a DSLR and feel stuck on Auto, or if you want structured, practical lessons you can watch and rewatch, a video course can accelerate your learning a lot faster than reading alone.
One morning not long after starting the course, I tried out a few of the tips I had learned. The sun peeked through a blanket of gray winter sky and hit the mountains with beautiful light. I grabbed my tripod, stepped out onto the deck in a checkered bathrobe and bare feet, and took several shots.
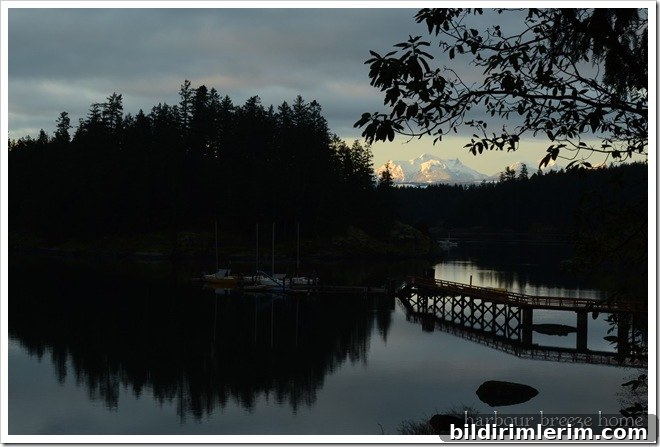
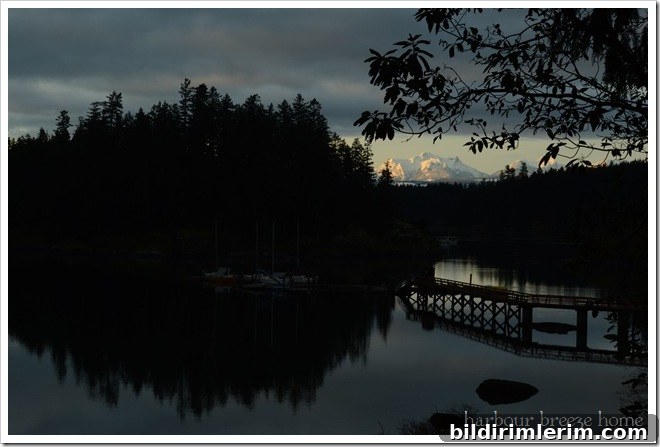
Both images were SOOC—straight out of camera—untouched. Those little wins are what build confidence. Now I just need to find some willing models so I can practice portraits and put the lessons into real-life situations without panicking.

I’m enrolled in the affiliate program for the course mentioned. If you choose to enroll through a link on this page, I may receive a small portion of the fee.