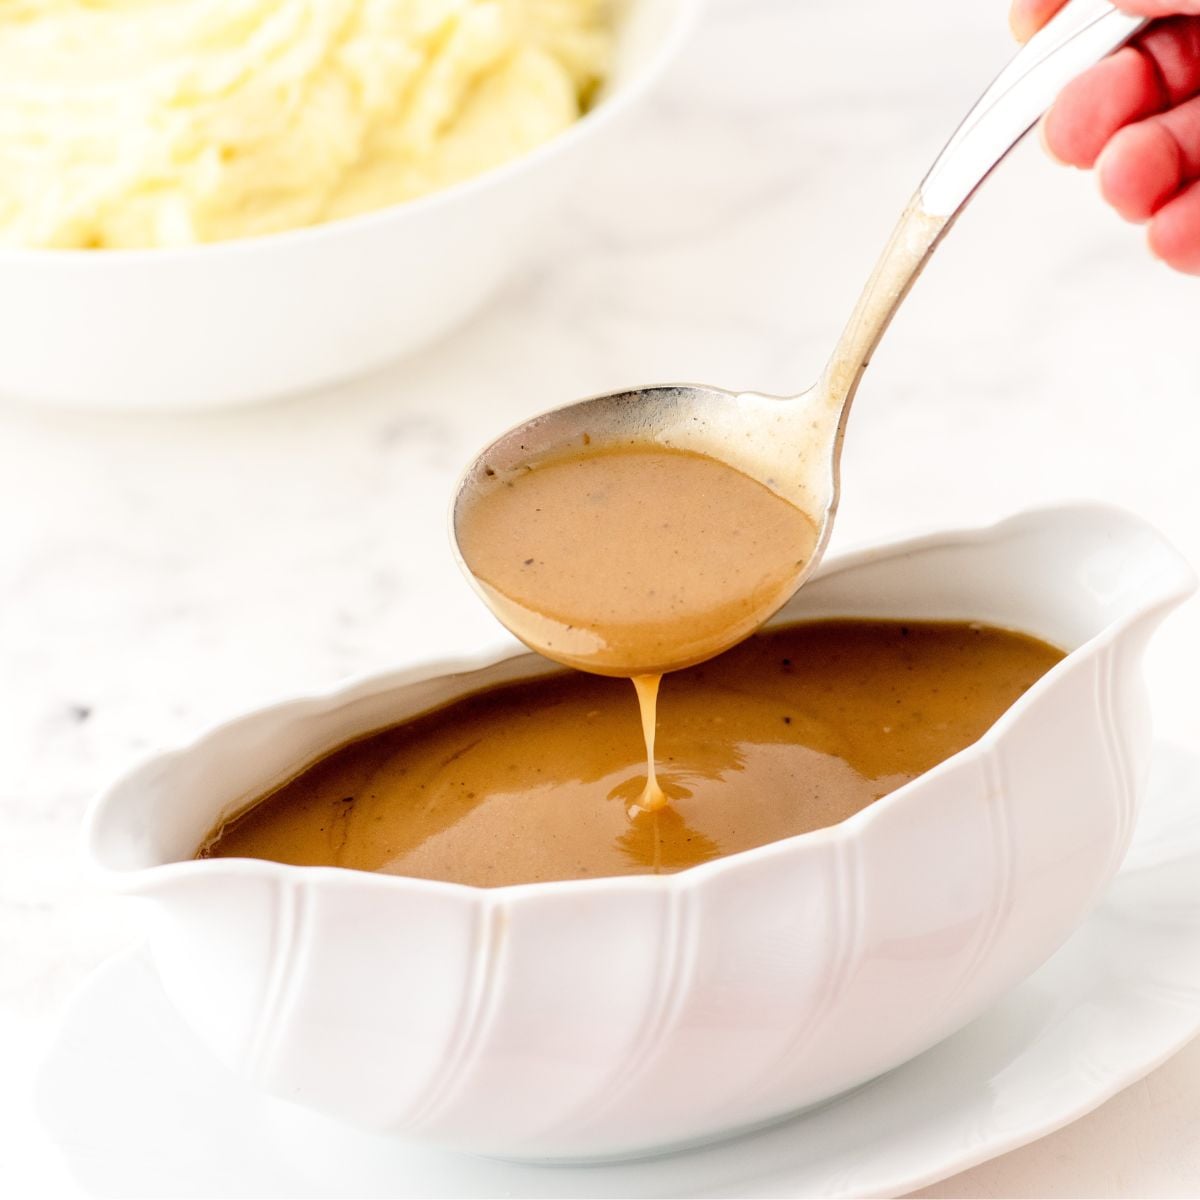
Here’s how to make gravy from turkey drippings that’s smooth, rich and completely lump-free, with real measurements so it turns out perfectly every time.
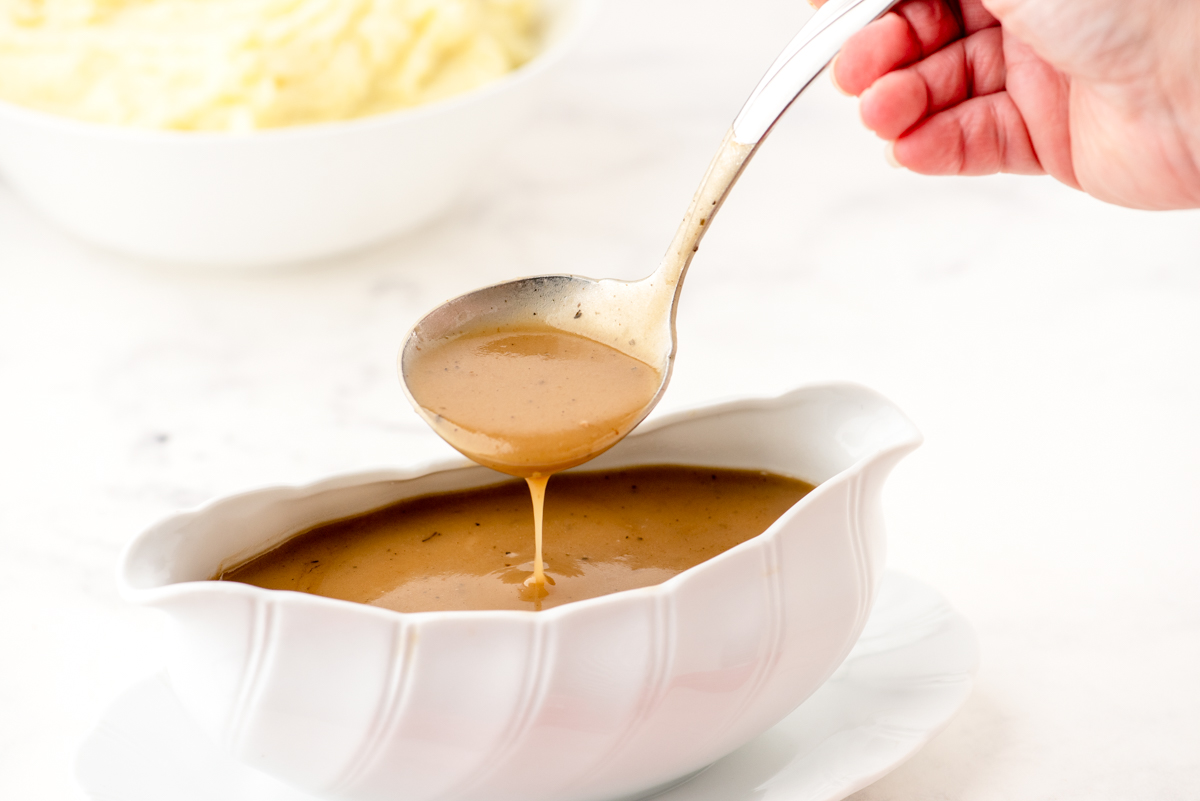
In the 35 years that I’ve been cooking, I’ve taken every chance I could to watch women make gravy, and you know what? I’ve yet to see two of them make it the same way!
Each one seems to have her own secrets, and not one ever used a written recipe. I’ve found that both fascinating and, at times, frustrating. Some years my turkey gravy turned out rich and flavourful. Other years it was bland and disappointing, and I’d end up doctoring it with a packet of instant turkey gravy mix. (Ironically, that “secret” came from one of those same ladies!)
But this year I decided to research and test my way to a reliable, repeatable method. And friends, it turned out to be the best turkey gravy I’ve ever made. It’s smooth, flavourful and completely lump-free. And best of all? There are actual measurements! You’re welcome.
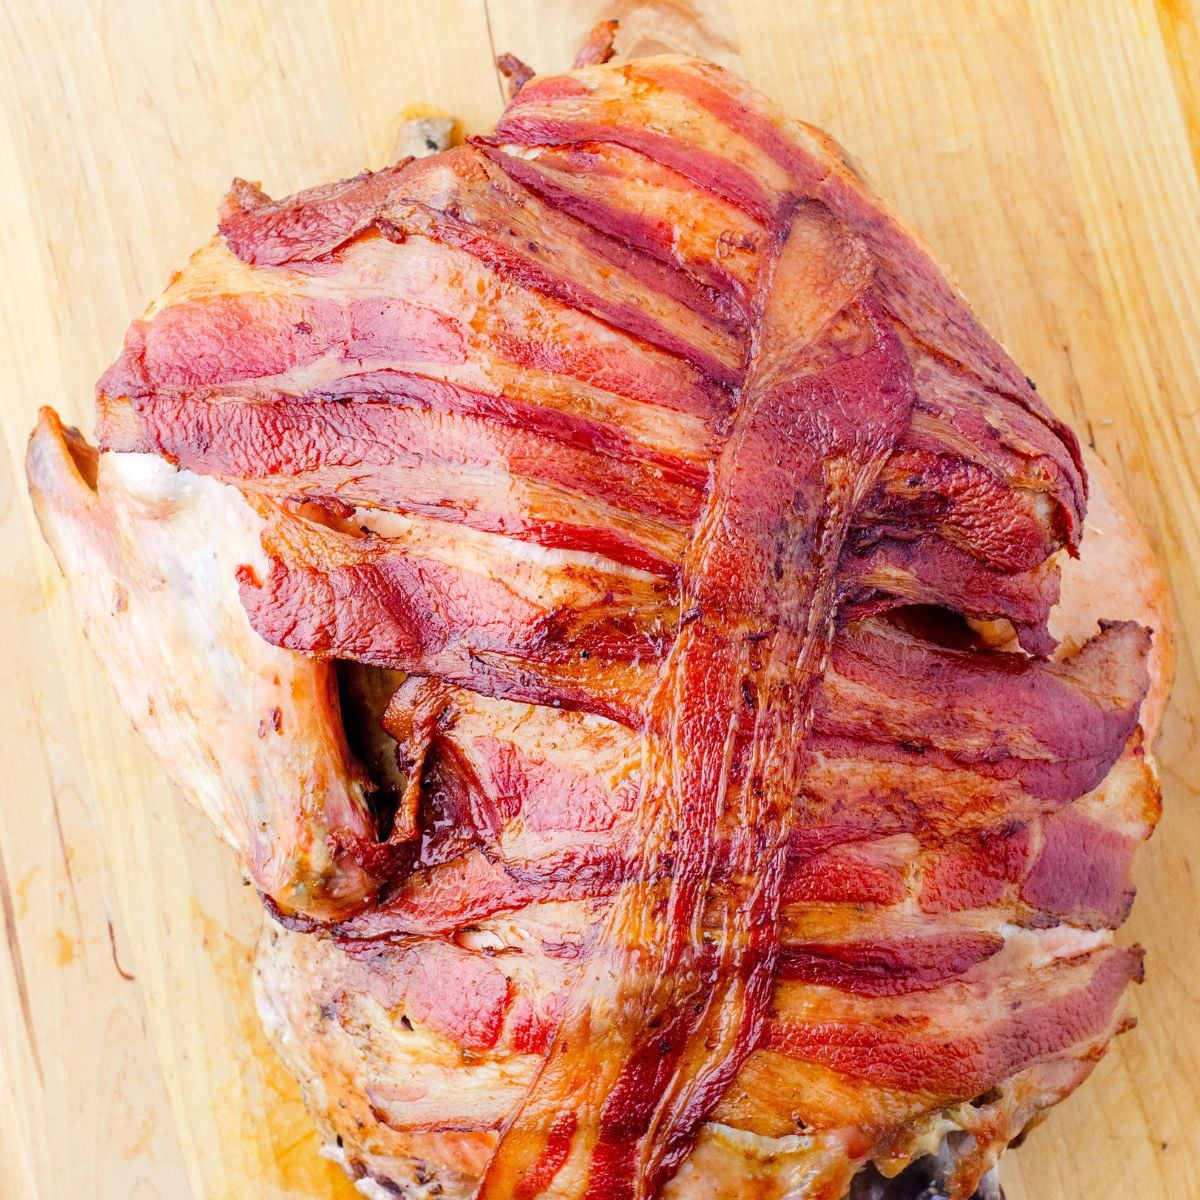
If you’re making my slow roasted turkey with bacon, you’re in for a treat! All that bacon on top makes the richest, most flavourful drippings, which turn into the best gravy you’ve ever tasted.
Why You’ll Love This Recipe
- No lumps, just smooth, velvety gravy every time.
- Made from real turkey drippings for the best flavour.
- Uses simple pantry ingredients you already have.
- Ready in about 10 minutes from start to finish.
- Perfect for turkey, mashed potatoes, stuffing or roast chicken. Not too thick. Not too thin. Juuuuust right!
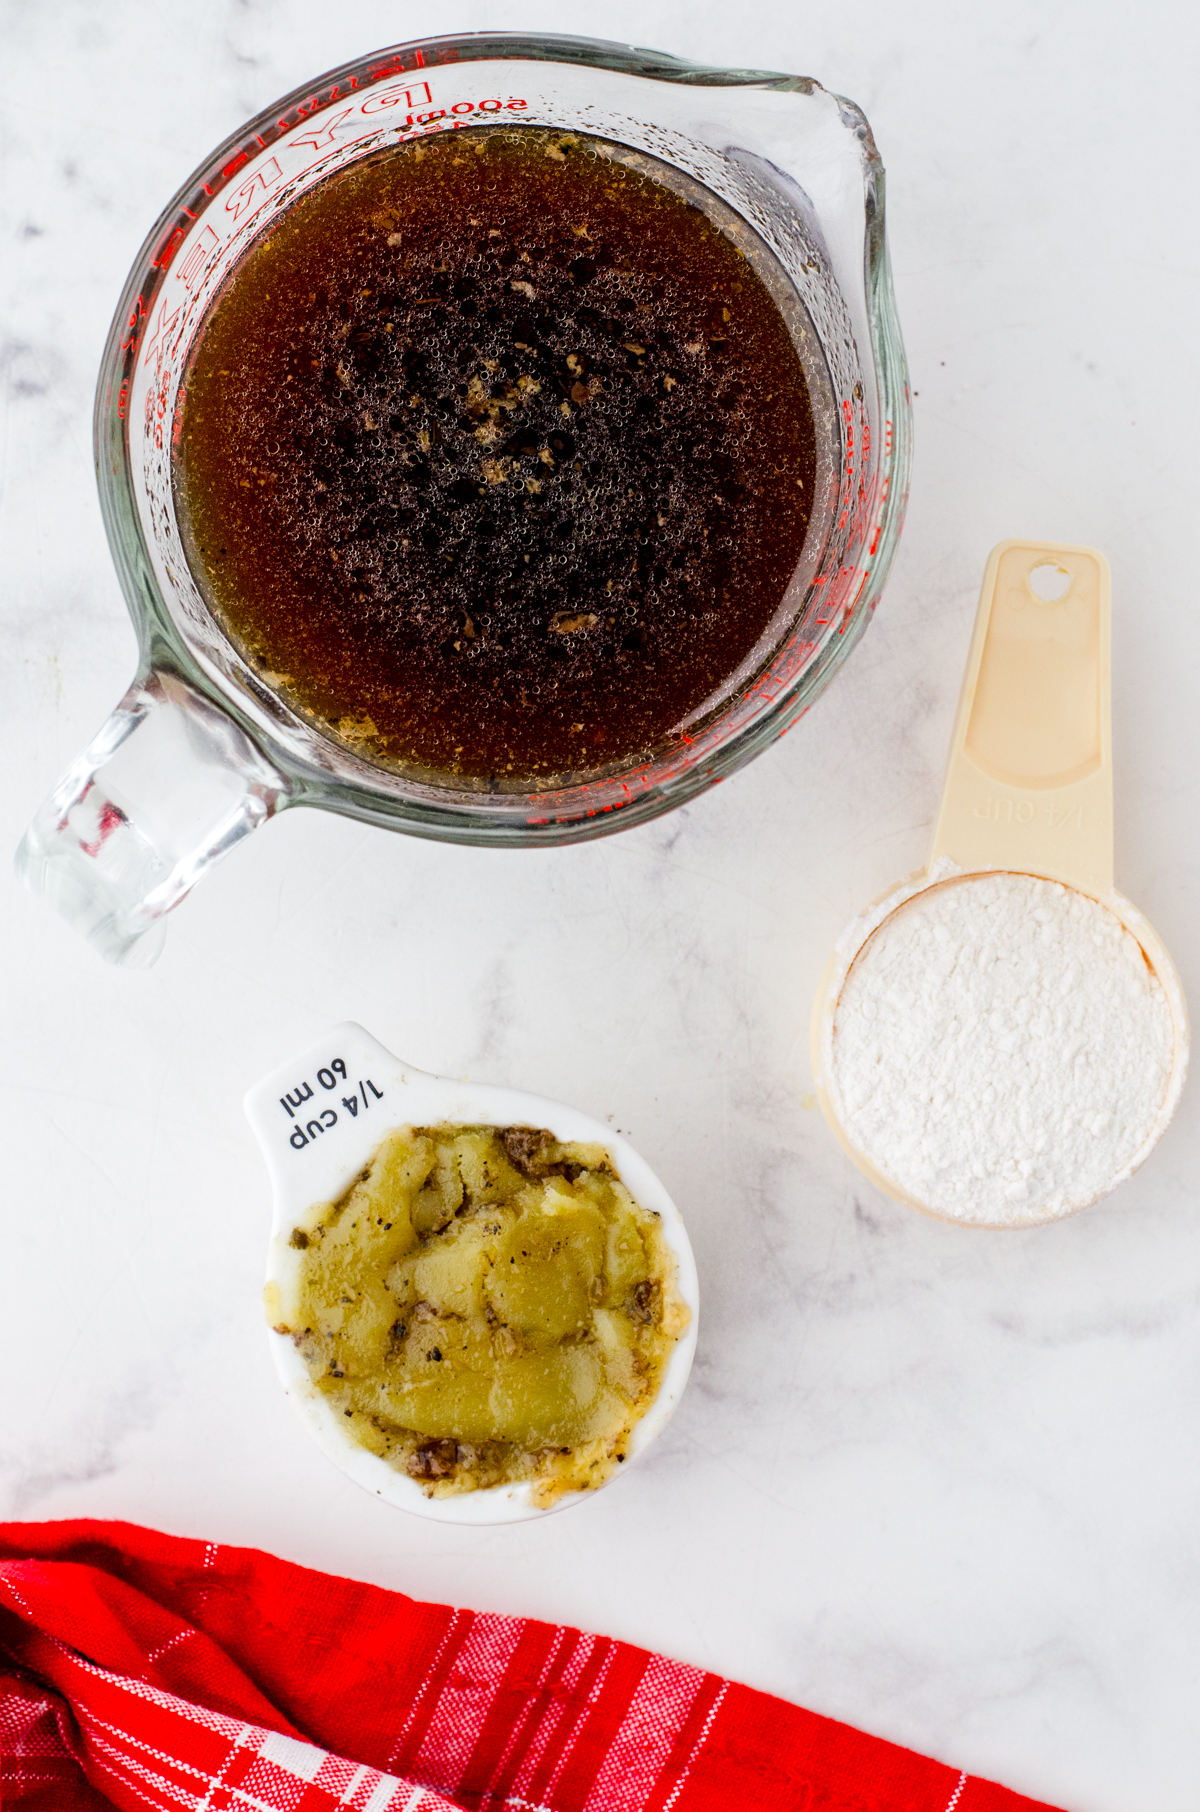
Ingredients
(See printable recipe card below for exact measurements and detailed instructions.)
You’ll need three key components for good gravy:
- Fat: Butter, turkey fat or a mix (bacon fat adds amazing flavour!)
- Thickener: All-purpose flour
- Liquid: Hot drippings from your roast turkey (or chicken or vegetable stock if you need extra)
How to Separate the Fat from Turkey Drippings
Before you make your gravy, separate the fat from the drippings. Don’t throw that fat away, it’s liquid gold! You’ll use some of it to make your gravy. Here’s how I do it:
- With a fat separator (the easiest way): Pour the hot drippings from your roasting pan into a fat separator and let them sit for a few minutes. The fat floats to the top, and the spout pours the flavourful drippings out from the bottom. It’s one of those kitchen tools you’ll only use a few times a year, but oh my stars and garters, you’ll be glad you have it! Here is one from an online store (affiliate link).
- With a glass measuring cup: No fat separator? No problem! Pour the drippings into a large glass measuring cup and let them sit for 5 to 10 minutes. The fat rises to the top in a golden layer, and you can gently spoon it off into a small bowl.
- If you’re making it ahead: Pour the drippings into a container and chill them in the fridge. The fat hardens on top, and you can lift it right off. This is so handy if you’re roasting your turkey the day before!
A tip for bacon turkey drippings: If you made my slow roasted turkey with bacon, your drippings will have a wonderful smoky flavour and be saltier than usual. Be sure to taste your gravy before you add any salt!
How to Make Gravy from Turkey Drippings
(For all the detailed instructions, refer to the printable recipe card above. You can also find a “cook with me” video showing the whole process there.)
1. Warm up your drippings.
Before you start, warm your drippings in the microwave until they’re nice and hot. This is my number one secret for lump-free gravy! Cold liquid hitting a hot roux is what makes lumps, so don’t skip this step.
2. Melt the fat.
Spoon some of that turkey fat into a saucepan over medium heat. Use butter or a mix of both if you don’t have quite enough. Let it melt until it’s bubbling gently.
3. Make the roux.
Whisk in the flour until you have a smooth paste. Now be patient and keep stirring for about 5 minutes, until it turns a light golden colour. Cooking the flour takes away that raw “floury” taste, and it’s one of the steps so many of us rush (I know I used to!).
4. Slowly whisk in the hot drippings.
Here’s where the magic happens! Pour the hot drippings into the roux a little at a time, whisking the whole time. At first it will look thick and pasty, but keep going. As you add more, it turns into smooth, silky gravy.
5. Let it bubble and thicken.
Keep stirring as the gravy comes to a gentle bubble. It will thicken as it cooks. If it gets too thick, whisk in a splash of stock. If it’s too thin, let it bubble a little longer.
6. Taste and season.
Now give it a taste! Add salt and pepper a little at a time until it’s just right. Remember, you can always add more, but you can’t take it out. If it needs a little extra flavour, add a packet of turkey gravy mix. It’s an old secret I learned from the ladies I watched make gravy!
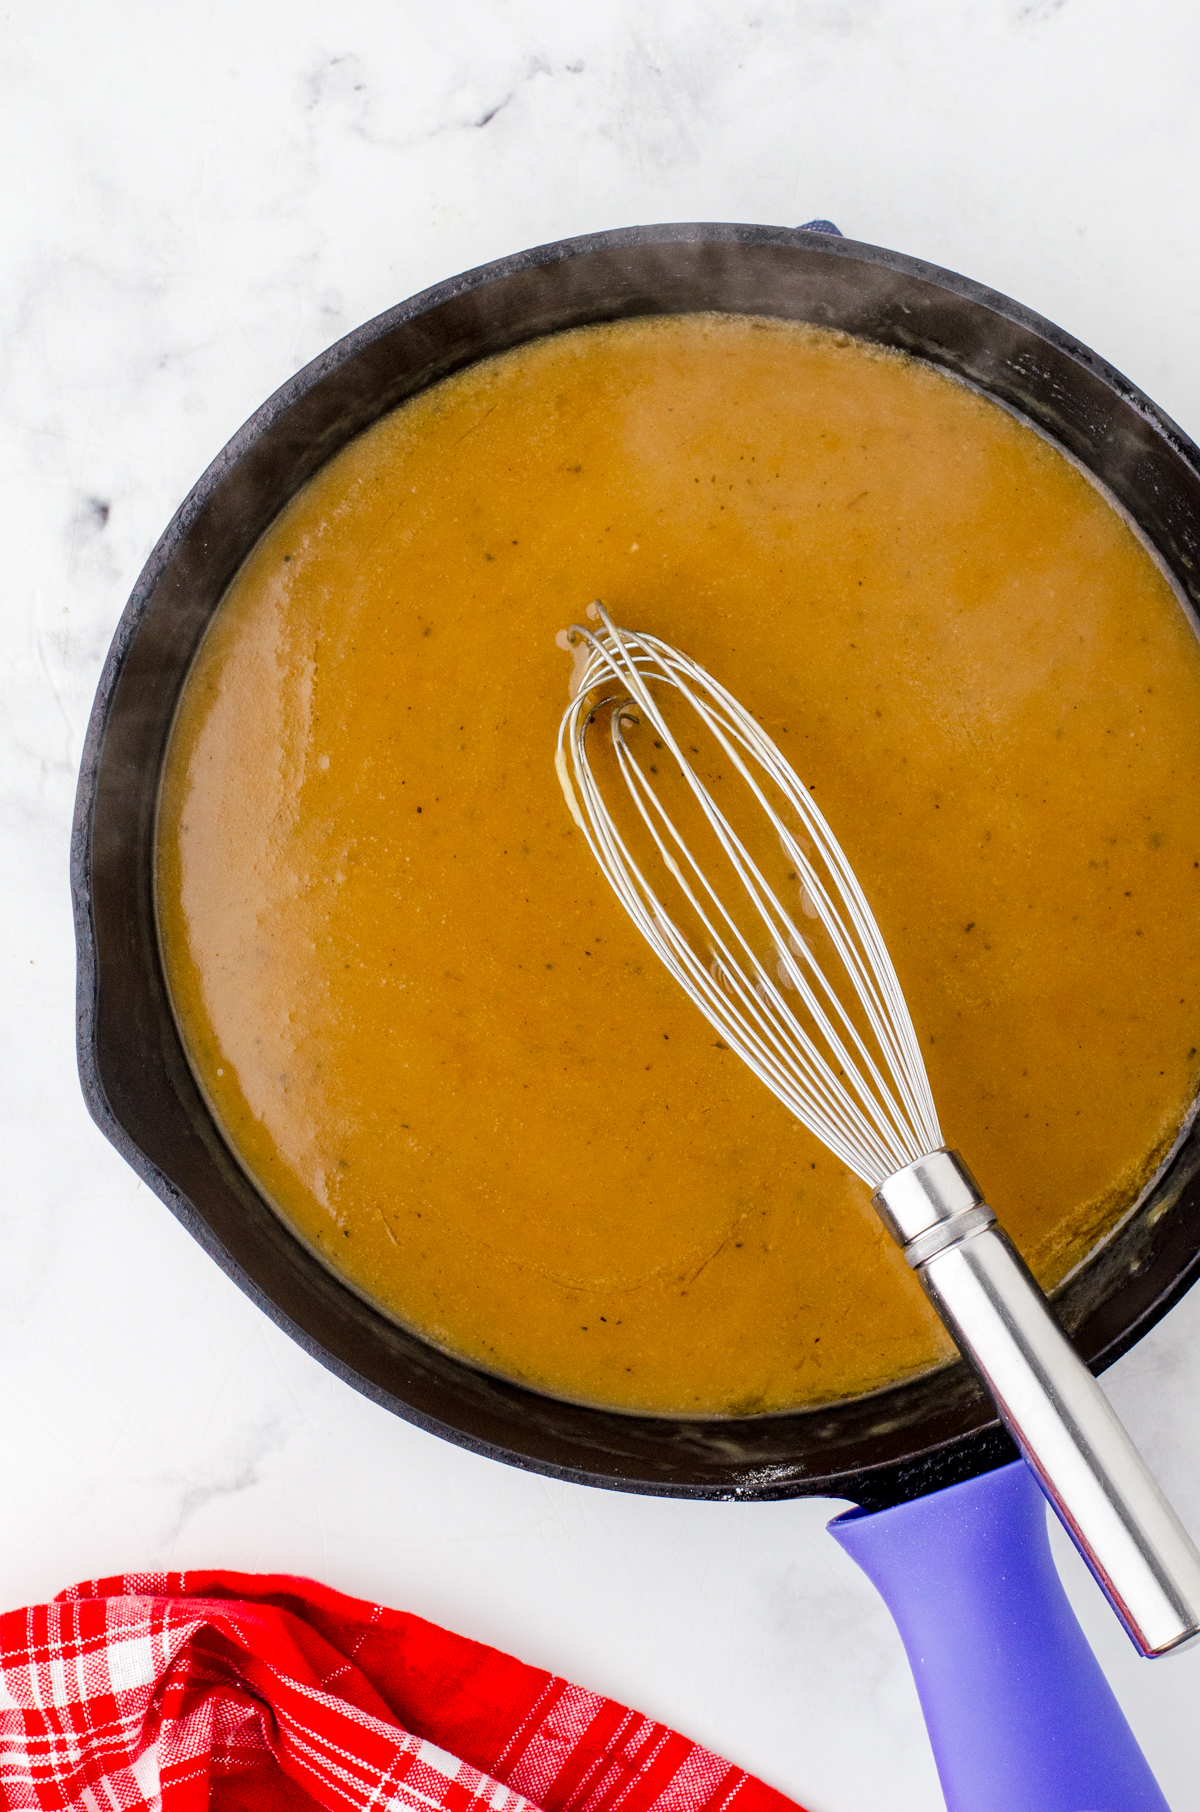
Helpful Tips When Making This Recipe
- Cook the flour long enough to remove its raw taste (about 5 minutes).
- Warm your drippings before whisking them in. Cold liquid causes lumps.
- Don’t season until after it is thickened. You can always add more seasoning, but you can’t take it out!
- If it gets too thick, add in a splash more stock.
- If your gravy needs more flavour, add in a package of turkey gravy mix.
- No turkey drippings? Use chicken stock or vegetable stock.
Grandma Rita’s Gravy Ratio Tip
Once you know this simple ratio, you can make any amount of gravy without a recipe:
For every 1 cup of drippings, use 2 tablespoons of fat and 2 tablespoons of flour.
Cooking for two? Use 1 cup of drippings. Feeding a crowd? Double or triple it! It works every time, whether you’re making a little gravy for a roast chicken or a big pot for the whole family.

Want this recipe in an ad free form?
I put this recipe in my new Holiday Dinner Guide, so you can feel like I’m helping you with your holiday dinner prep! With 29 holiday dinner recipes and tons of tips and tricks, you can be all set. Check it out here.
Frequently Asked Questions
How do I fix lumpy gravy?
Don’t panic, it happens to all of us! First, try whisking it hard for a minute. If the lumps won’t budge, pour the gravy through a fine mesh strainer or blend it smooth with an immersion blender. Nobody will ever know!
How do I fix gravy that’s too thin?
Let it simmer a little longer, stirring often, and it will thicken as it cooks down. If it’s still too thin, stir 1 tablespoon of flour into 2 tablespoons of cold water until smooth. Whisk it into the bubbling gravy and let it cook for a few minutes.
What if I don’t have enough turkey drippings?
Just top up your drippings with chicken or turkey stock until you have the amount you need. You’ll still get lots of that turkey flavour. You can also simmer the turkey neck and giblets in water while the turkey roasts to make a quick homemade stock. (I’ve never done that personally, but I hear it works!)
Can I make gravy from chicken or beef drippings?
Yes! This method works with any drippings. Use roast chicken drippings with chicken stock, or roast beef drippings with beef stock. The gravy ratio is exactly the same.
Can I make turkey gravy ahead of time?
Yes! Make your gravy up to 3 days ahead and keep it covered in the fridge. It will thicken as it cools, so when you reheat it, whisk in a splash of stock and bring it to a boil, stirring until smooth and hot. It’s one less thing to do while the turkey rests!
Can you freeze turkey gravy?
Absolutely! Freeze leftover gravy in an airtight container for up to 3 months. Thaw it in the fridge overnight, then reheat it on the stove, whisking well and adding a little stock if needed. I love having some on hand for hot turkey sandwiches!
Can I use cornstarch instead of flour?
Yes, and it’s a great option if you need gluten-free gravy! Skip the roux. Bring your drippings to a simmer, then mix cornstarch with an equal amount of cold water until smooth. Whisk it into the simmering drippings and cook for a minute or two until thickened. You’ll need about half as much cornstarch as you would flour.
Other Holiday Dinner Recipes You Might Enjoy:
- Make it a complete holiday dinner with my old fashioned stuffing and slow roasted turkey with bacon.
- Find all my favourite side dishes for Thanksgiving dinner here. (They also work for Christmas dinner!)
- Easy mustard sauce is a great topping for baked ham.
- This Turkey Pan Gravy is the perfect partner for Mashed Potatoes with Cottage Cheese and all your favourite holiday sides.
Don’t lose track of this recipe! Save it to your favourite pinboard so it’s ready when you need it. Follow me there for even more meal ideas and inspiration for your home.
Turkey Pan Gravy
Rich, flavourful and perfectly smooth, this easy pan gravy made from turkey drippings will be your go-to for every holiday meal.
Ingredients
Method
- Melt fat in a large saucepan over medium heat.
- Heat the drippings in a microwave-safe bowl so they’re hot and ready to add to the flour when it’s time.
- Whisk in flour to create a smooth paste. Cook for 5 minutes, stirring constantly, until lightly golden.
- Slowly pour the hot drippings into the flour mixture while whisking continuously to prevent lumps.
- Keep stirring until the gravy bubbles and thickens.
- Taste and season with salt and pepper as needed.
- Serve warm with turkey, mashed potatoes or stuffing.
Notes
I heated the stock in the microwave before I started making the gravy. Have everything handy so you can stir constantly!
Separating the fat from the drippings was SO much easier after I refrigerated them overnight. The fat simply peeled off the top. If you have time for that trick, it works really well!
Since I roasted the turkey with bacon on top, the fat had extra flavour from the bacon!
If you’re feeding a big crowd, serve the gravy in two gravy boats, one for each end of the table! When it’s time to pass around seconds, quickly reheat the gravy in the microwave. Hot gravy makes everything taste better!