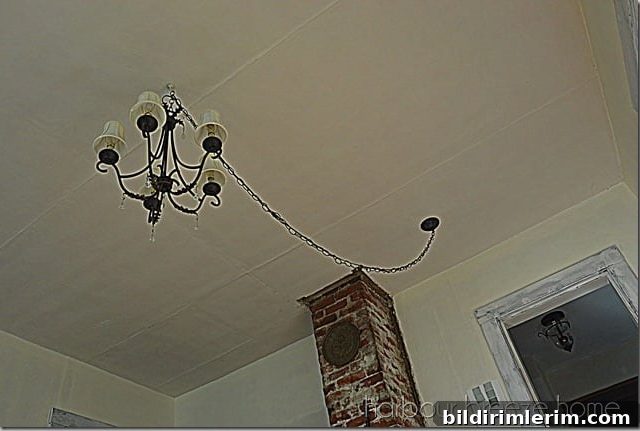
For fellow bloggers, this will sound familiar: the other day I announced that I was starting an attic room redo project, and I shared the best “before” photos I could capture of that tiny, awkward space. Since then I have been working like a madwoman to get it done.
I’m exhausted — muscles I didn’t know I had have been complaining ever since — but it is finished. I can’t wait to show you the final result, and I also want to be transparent about the process. While most of the actual work in this room happened over the course of three intense days, I prefer to tell the story in stages so you can follow each step clearly and learn from it. That’s part of why blogging feels so satisfying: sharing the process as well as the outcome.
Today I’ll give you a peek at some of my favorite painting supplies I relied on during the attic room makeover — practical tools and small tricks that make a big difference on any DIY painting or home renovation project.
Here are the essential supplies I keep close whenever I paint — whether I’m tackling trim, walls, or small touch-ups during a home makeover:
- Painter’s drop cloth: Don’t substitute an old sheet for a drop cloth. Sheets can shift and allow paint to soak through; a quality canvas or heavy-duty plastic drop cloth protects floors and furnishings much better. I have a horror story about using a sheet once and never repeating that mistake.
- Foam rollers: These work really well for small surfaces and for pressing paint into grooves on older wood boards. Foam rollers give a smooth finish on many surfaces and are easy to clean between colors.
- Roller handle: A comfortable handle makes rolling less tiring and helps keep coverage even across walls and ceilings.
- Plastic wrap: If you need to pause mid-project to grab a coffee or run an errand, tightly wrapping your brush and roller in plastic wrap will keep the paint from drying out for a short time (up to a day). For slightly longer breaks I’ve even slipped a wrapped brush into the freezer and thawed it for reuse, but this isn’t a long-term storage solution.
- A good paintbrush: Invest in a quality brush and clean it thoroughly after each use. Properly maintained brushes last for years and produce a much neater cut-in and trim finish than a cheap brush.
- Exfoliant hand scrub: I use Mary Kay’s Satin Hands exfoliant to remove paint splatters and grime from my hands. It works well and leaves hands feeling clean without harsh scrubbing.
- Cottage cheese containers: Small disposable containers are perfect for pouring small amounts of paint when you’re doing detailed brush work. They’re lightweight and easy to carry around, and they’re useful for storing leftover paint — just label the lid with the color and where it was used.
- Paint tray and liners: I like using tray liners so I can switch between colors quickly without rinsing out the tray every time. (Full disclosure: my husband hates using liners, but I find them very convenient.)
- Step ladder: I’m short, so a stable step ladder is essential. Most of the time I work from the third step so I’m close to eye level when cutting in around windows and trim.
- Extension handle for the roller: Again, being short means I often need extra reach. A long handle or extension pole lets me roll walls and ceilings more comfortably and speeds the job up.
After taking the photo I realized I’d left out a few practical items I always end up using: a couple of cloths—one damp and one dry—for immediately wiping up spills, a small container for mixing touch-up paint, and good-quality painter’s tape for sharp edges. I typically have several cloths and a couple of labeled paint sample containers scattered nearby while I work.
Painting during a DIY attic room makeover is inevitably messy, but having the right tools keeps things under control and makes cleanup much easier. If you’re planning a similar project, assemble these essentials ahead of time: protective drop cloths, reliable brushes and rollers, containers for small paint amounts, and practical little hacks like plastic wrap for short breaks. They’ll save you time, reduce frustration, and improve your final result.
DIY projects are hands-on and imperfect by nature, but they’re also immensely rewarding. I’ll be sharing photos and more details about the attic transformation soon — from prep and priming to trim work and the final reveal. Stay tuned for the full before-and-after walkthrough, and in the meantime, gather these painting essentials so your next painting project goes smoothly.
I don’t know about you, but DIYing around here is always a bit chaotic — and that’s part of the fun.