Attic Bedroom Renovation — Before Photos and First Steps
Yesterday I mentioned we’d just begun our first project of the year. Today I want to share exactly what that project is. Consider this the official reveal of the attic bedroom makeover we’ve started.
The room we’re transforming used to be our oldest son’s bedroom. He moved to another province last July, and today happens to be his 20th birthday — happy birthday, Brad! When he was home for Christmas he gave us his blessing to do whatever we wanted with the space. That kind of permission is all the motivation I need to get started.
The room has an irresistible feature: a window that looks out over the ocean. He claimed the room the minute we moved in because of that view, and he spent many afternoons watching the jumping fish and the raccoons playing outside.
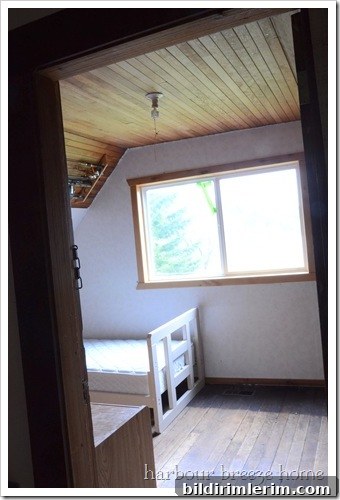
When it was “his” room, the walls were a mix of sponge-painted drywall and dark-stained fir boards. He loved the wood the way it was and was emphatic about not changing a thing. The built-ins and lower wall panels were all stained a deep shade that gave the room a cozy, cabin-like feel.
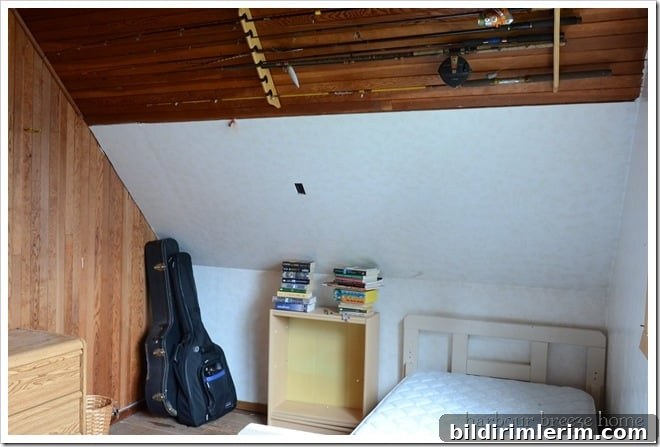
He was especially fond of those dark boards and often wondered why anyone would ever want to paint them. The built-in shelving and the door wall were all stained to match, and the result felt intentionally rustic and personal.
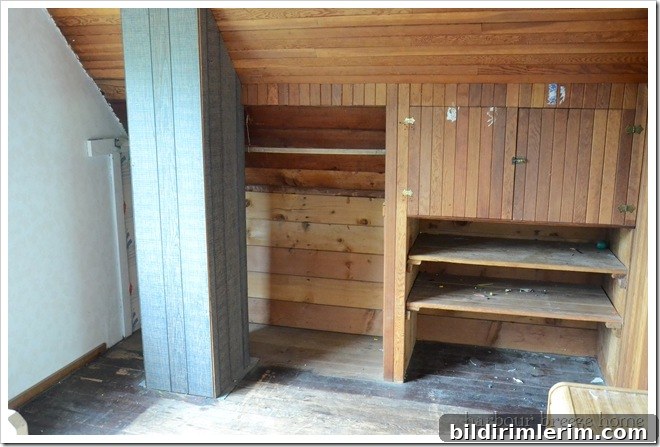
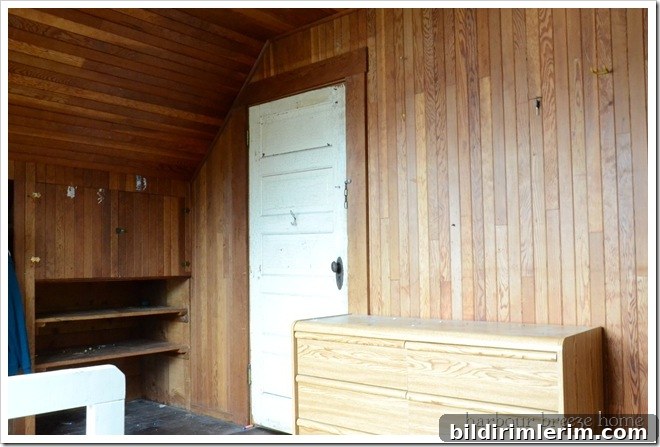
Still, once the room became available for a makeover, we decided to move forward with a fresh plan. We knew painting the wood would change the whole feel of the room, but we also knew it was the right step to update the space and brighten it up for its next life. Deep down, even he expected we might paint it — and now that we’ve started, there’s no turning back.
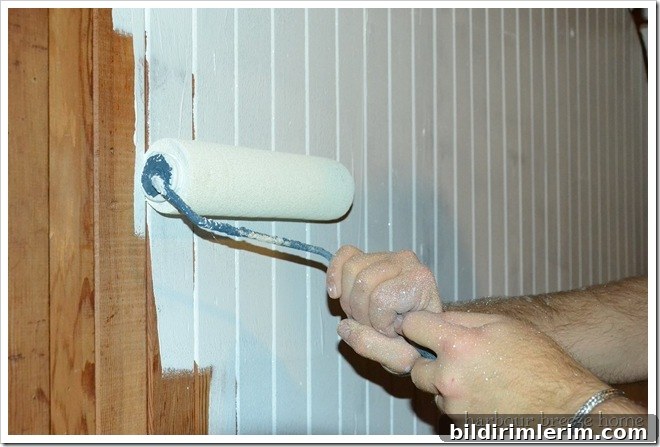
We began by applying primer to the wood and drywall. Priming is a crucial step whenever you plan to paint over dark stain or heavy textures. It seals the surface, promotes adhesion, and reduces the number of topcoats required. After priming, the space already feels lighter and more approachable.
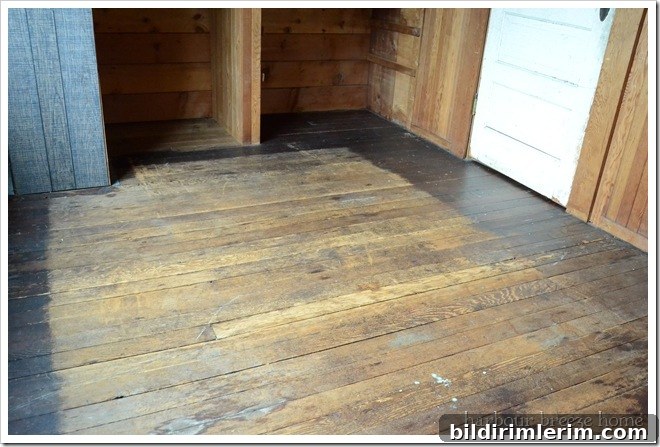
Before painting could continue, I spent a couple of hours cleaning the floor — vacuuming, scrubbing, and removing years of little surprises. Our son left behind an assortment of small toys and project remnants; I even found a number of darts and a few airsoft pellets nestled between the floorboards. It was a tedious but oddly satisfying task, and I kept thinking of Brad the whole time.
Finding those darts turned out to be helpful — sometimes you need whatever tools or materials are at hand when you’re digging things out from tight gaps. The cleanup made the room feel ready for paint and new furnishings, and it confirmed that the makeover was the right move.

Over the next weeks we’ll continue with sanding, priming where necessary, and painting the walls and woodwork. The goal is to preserve the room’s character while updating its palette to a brighter, more modern look that still honors the coastal view. I’ll share progress photos and tips for handling stained wood, choosing primers, and preparing floors as the project moves forward.
If you’re planning a similar attic bedroom renovation, remember these early steps: clear the room completely, inspect and clean floorboards, prime dark wood before painting, and plan for natural light to guide your color choices. A thoughtful approach ensures a fresh result that respects the home’s existing charm.