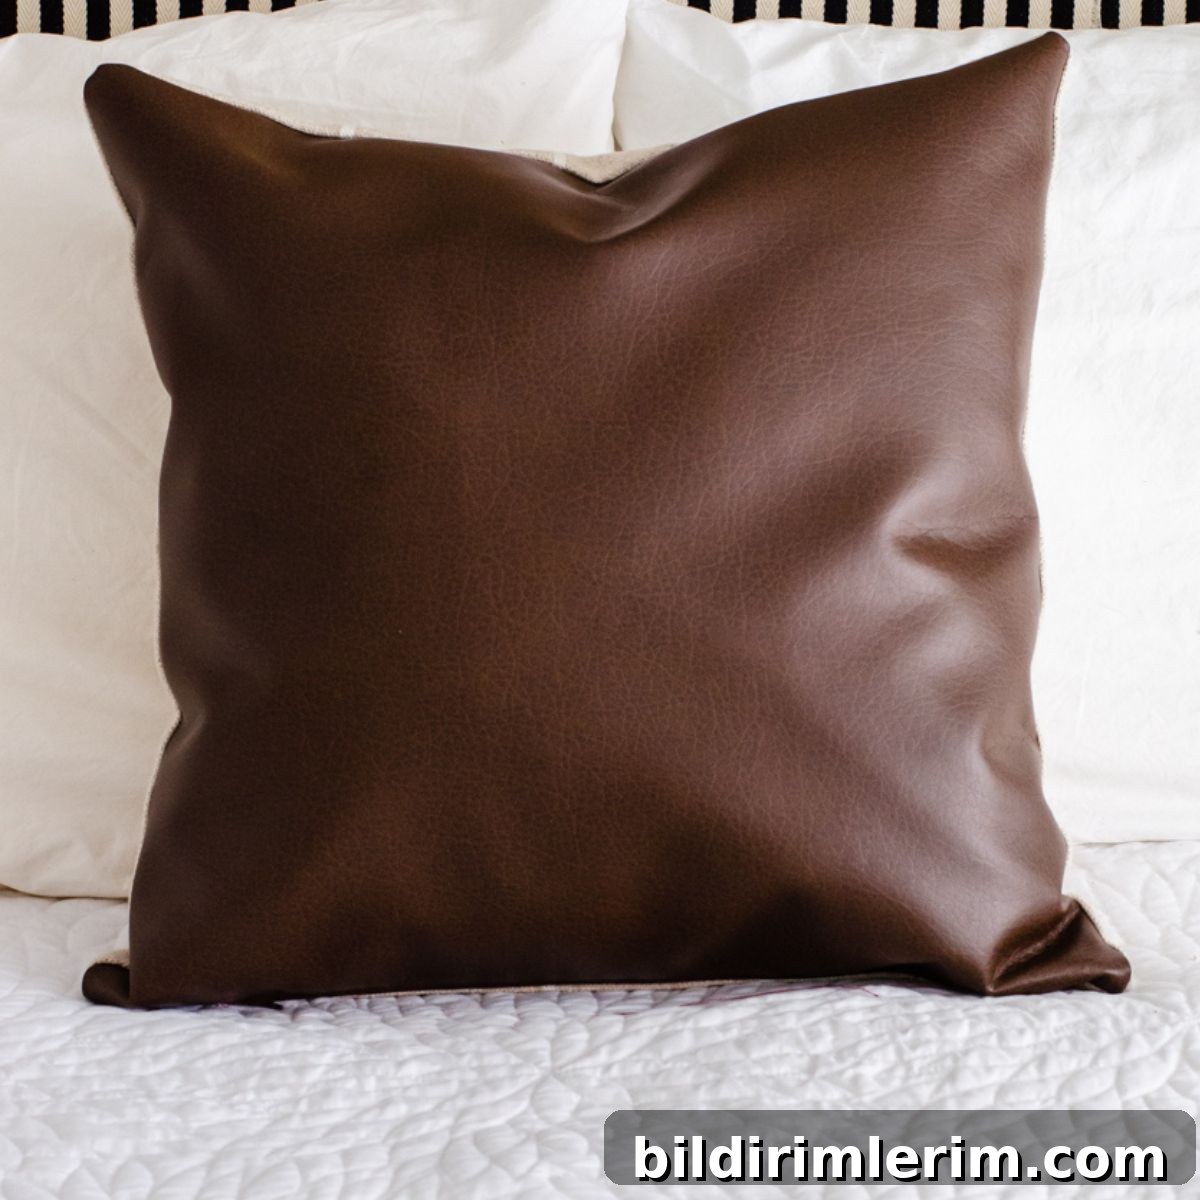
Follow this clear, step-by-step guide to learn how to sew faux leather pillow covers with zipper closures.
Making faux leather pillow covers with zipper closures is easier than it looks. These covers add a polished, modern touch to any room and are a smart solution when storage space is limited—swap out inserts and store flat pillow covers to save room.
I made these during a Modern Farmhouse Boho bedroom refresh and found the process quick and satisfying. If you’re comfortable with basic sewing, you can do this—even if it’s your first time inserting a zipper. Below I walk through the supplies, measurements, and each step so you can make two 18-inch pillow covers in about 30 minutes.
How to Make Faux Leather Pillow Covers with Zipper Closures
Disclosure: Some products shown may be affiliate items.
Supplies and tools
- 18-inch pillow insert (one insert per finished pillow)
- 1/2 meter of faux leather (enough for two pillow fronts)
- 1/2 meter of contrasting fabric for backs (linen, canvas, or any upholstery-weight fabric)
- Two 14-inch zippers
- Leather sewing machine needle
- Sewing machine with zipper foot
- Seam ripper
- Sewing pins (use clips for faux leather if preferred)
- Fabric scissors or rotary cutter and cutting mat (optional but helpful)
Step 1 — Cut the pillow pieces
Cut each front and back piece slightly larger than the finished insert to allow for a relaxed, slightly slouchy look. For an 18-inch insert, cut each piece 19 1/2 inches square. Measure carefully and cut straight edges for clean seams—using a rotary cutter and a cutting mat speeds this up and improves accuracy.
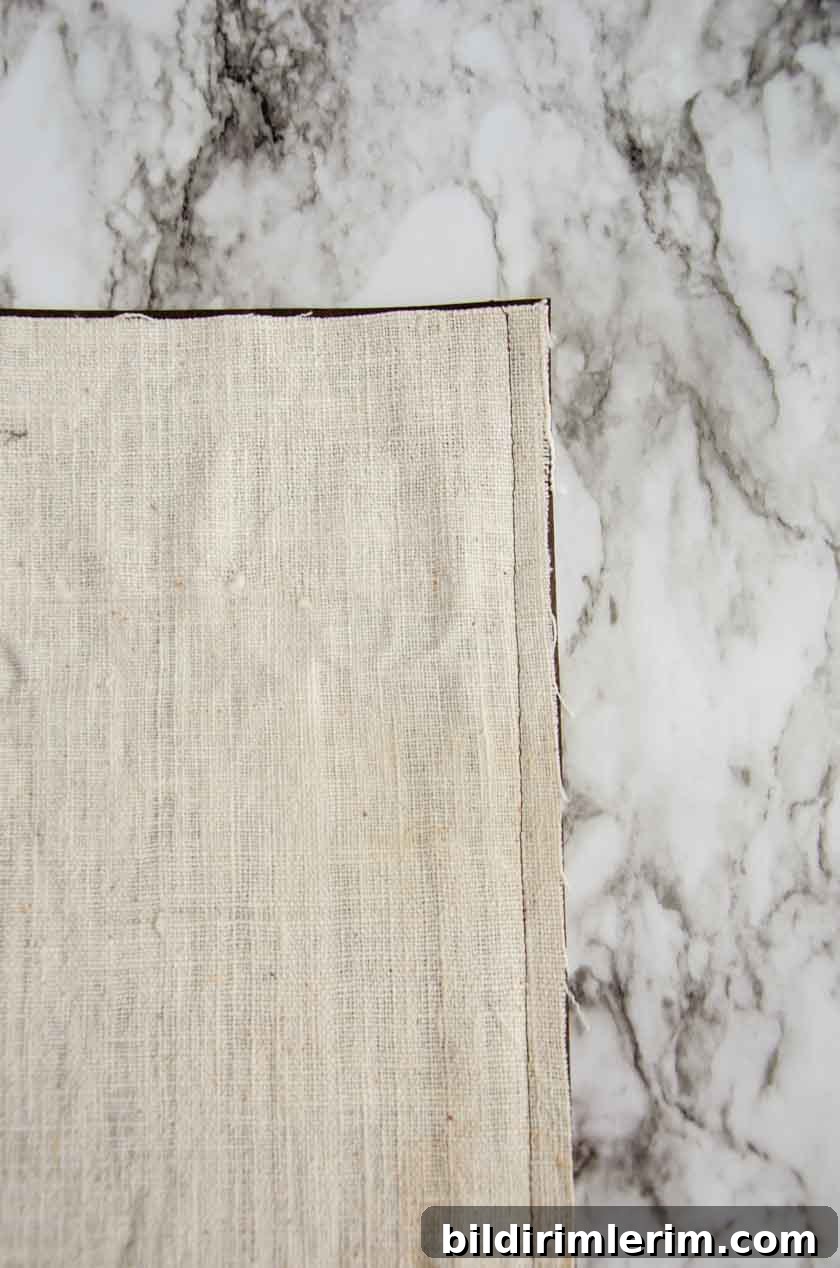
Step 2 — Sew the bottom seam
With right sides together, sew the bottom edge of the front and back pieces using a 1/2-inch seam allowance. Press the seam open as much as the fabric allows—note that faux leather doesn’t respond well to heat, so press only the backing fabric and avoid ironing the leather side directly.
Step 3 — Install the zipper
Zippers can feel intimidating, but this method is simple and reliable. The trick is to baste the zipper in place, stitch it on with a zipper foot, then open the original seam to reveal the zipper opening.
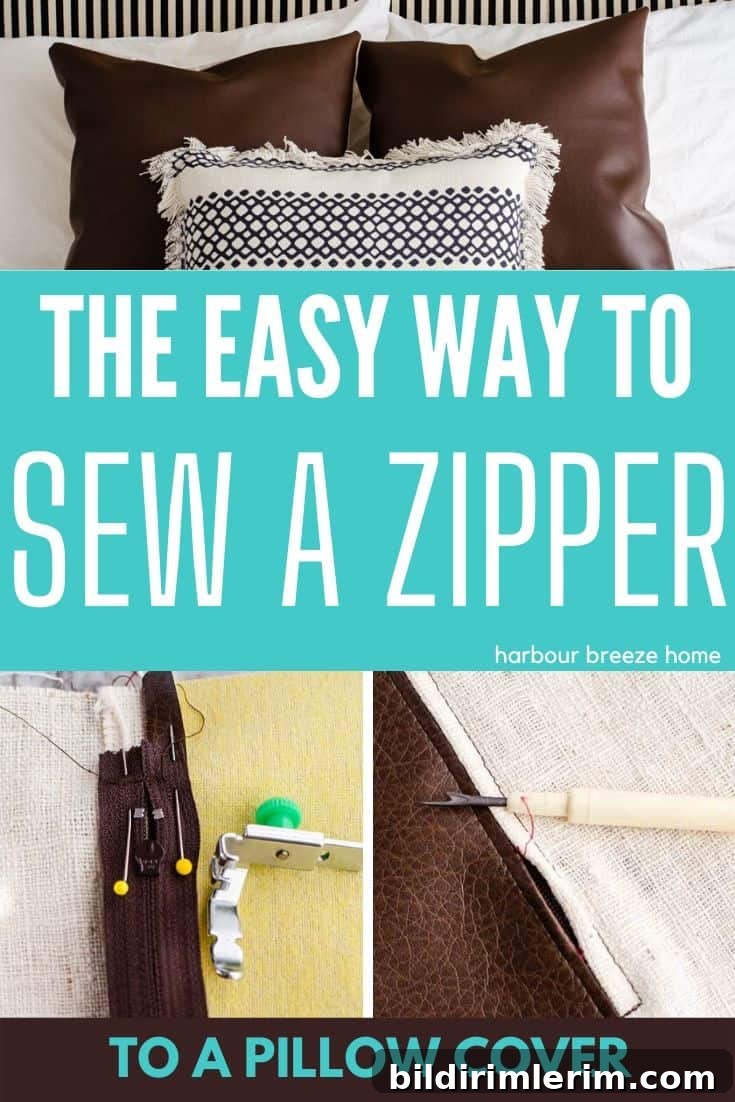
How to add the zipper
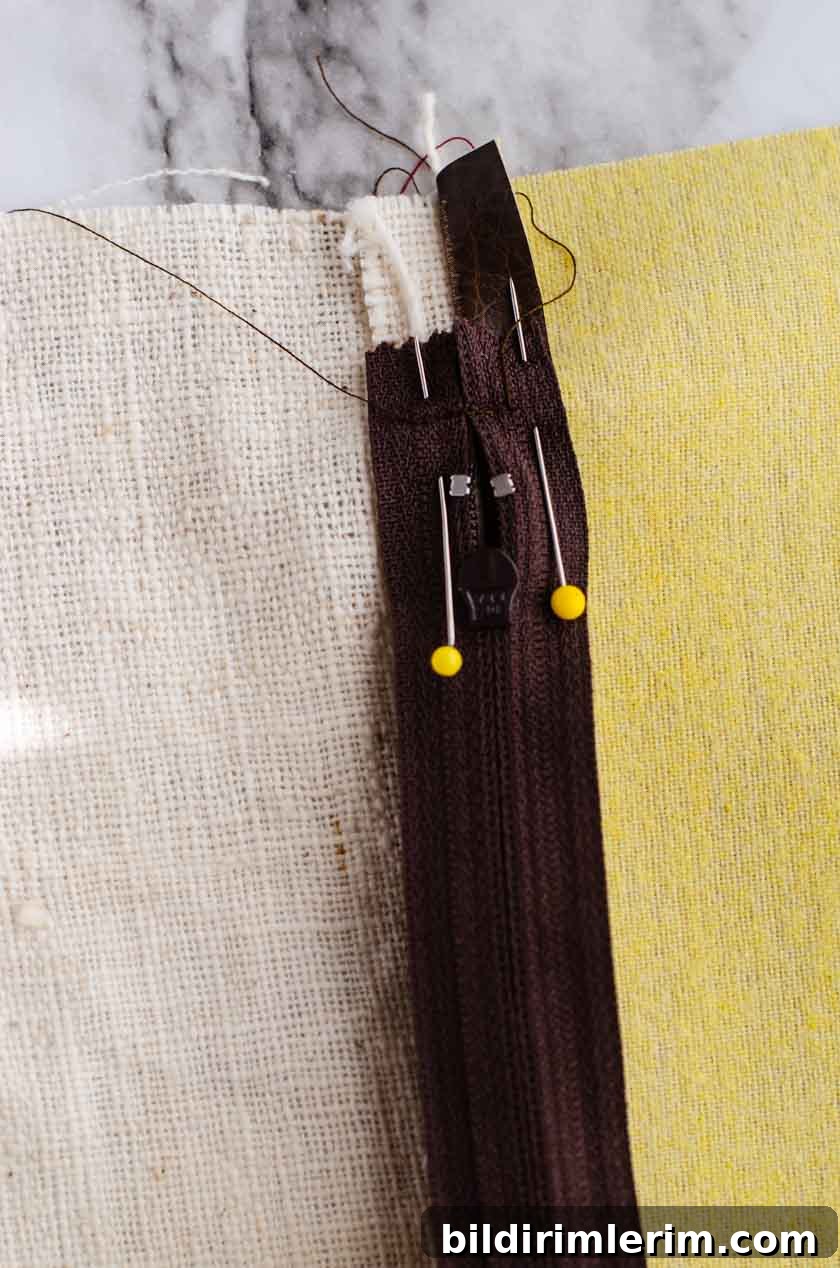
- Lay the zipper face down along the pressed seam so the zipper teeth sit directly on top of the seam. Pin or clip it in place and tack the top edge of the zipper with a short seam to anchor it.
- Attach the zipper foot to your sewing machine—consult your machine manual if you need guidance. The zipper foot lets you stitch very close to the zipper teeth without hitting them.
- Sew down both sides of the zipper using the zipper foot, then tack the bottom of the zipper, mirroring the top tack.
- Turn the fabric over so the zipper faces the right side. Using a seam ripper, carefully open the original seam that lies over the zipper. Rip the stitches between the tacked ends to create an opening—this converts your sewn seam into a working zipper closure.
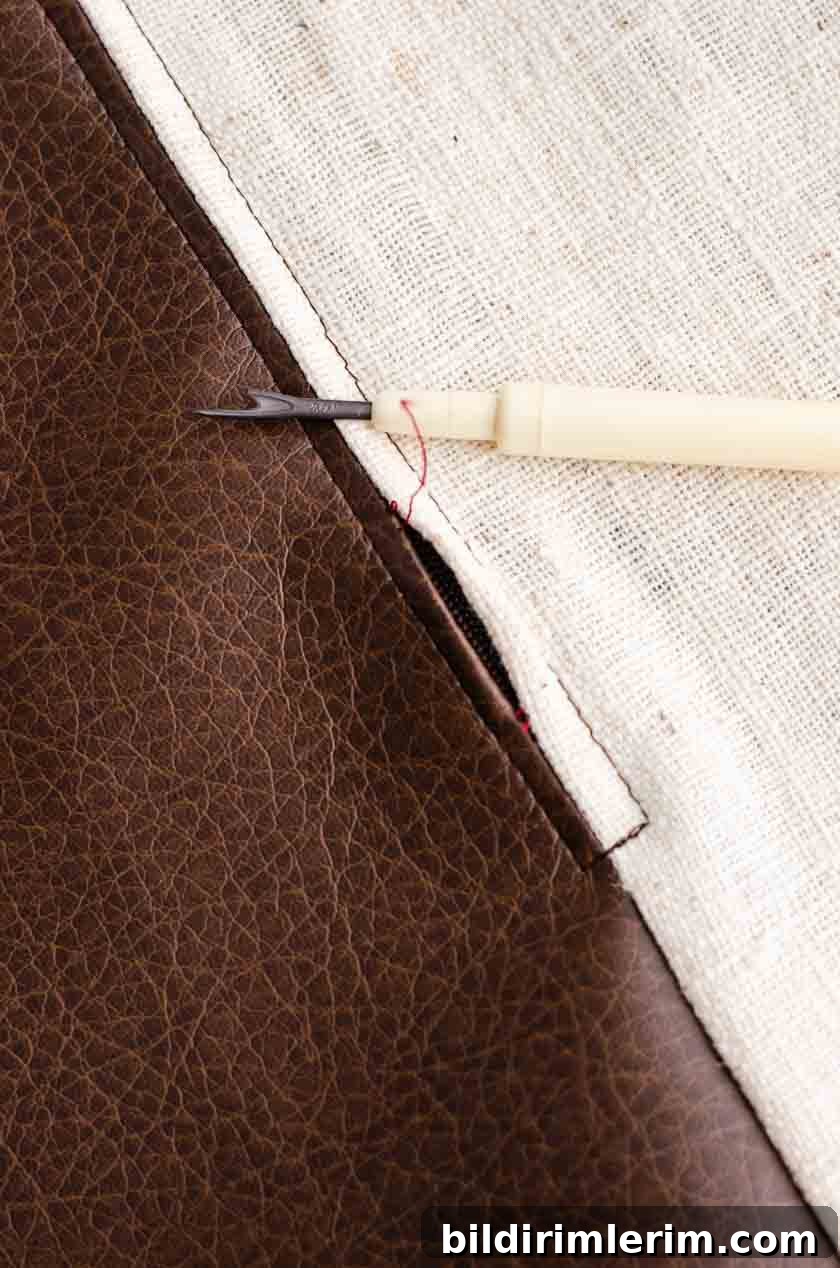
Once the seam is opened, the zipper will function as the closure for the pillow. It’s a neat, durable finish that looks professional.
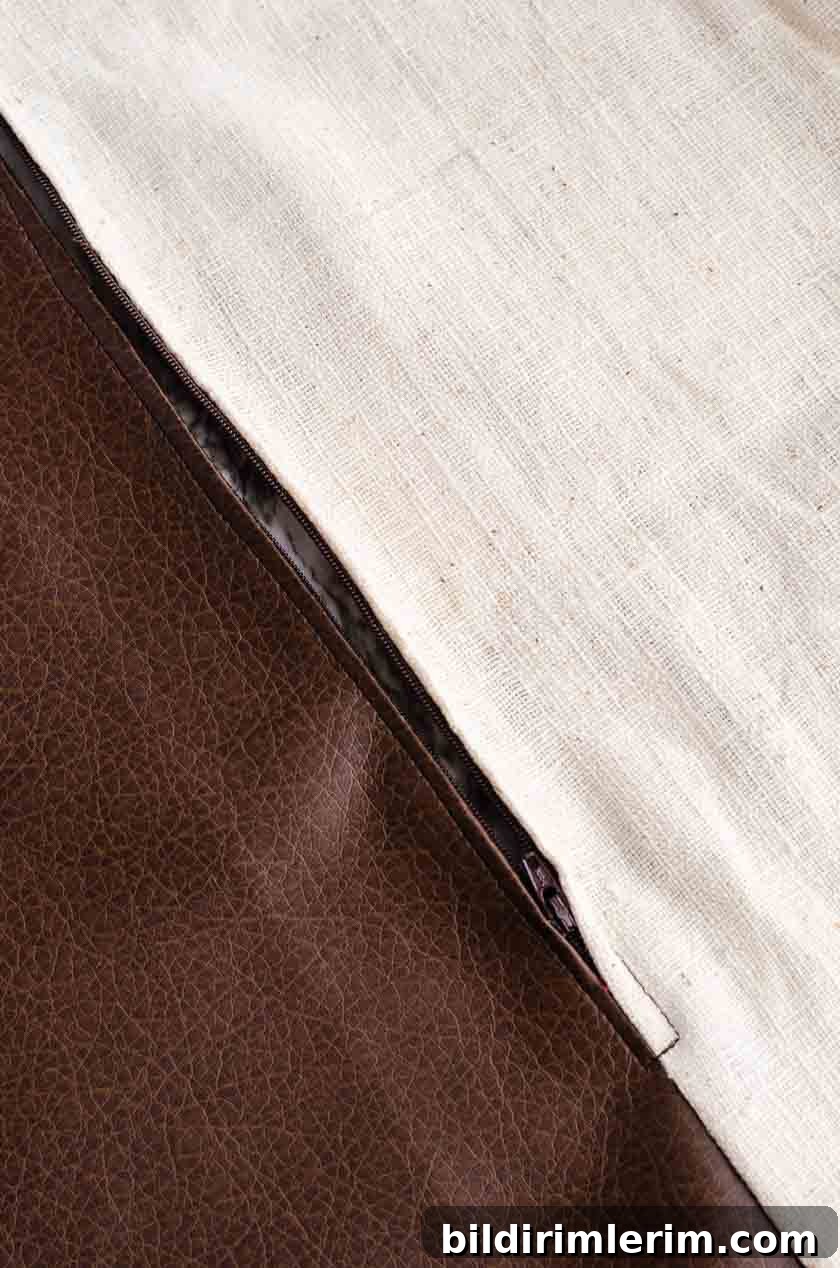
Step 4 — Sew the remaining sides
With right sides together, sew the remaining three sides of the pillow using a 1/2-inch seam allowance. Important tip: open the zipper at least partway before sewing the final seams so you can turn the cover right side out easily.
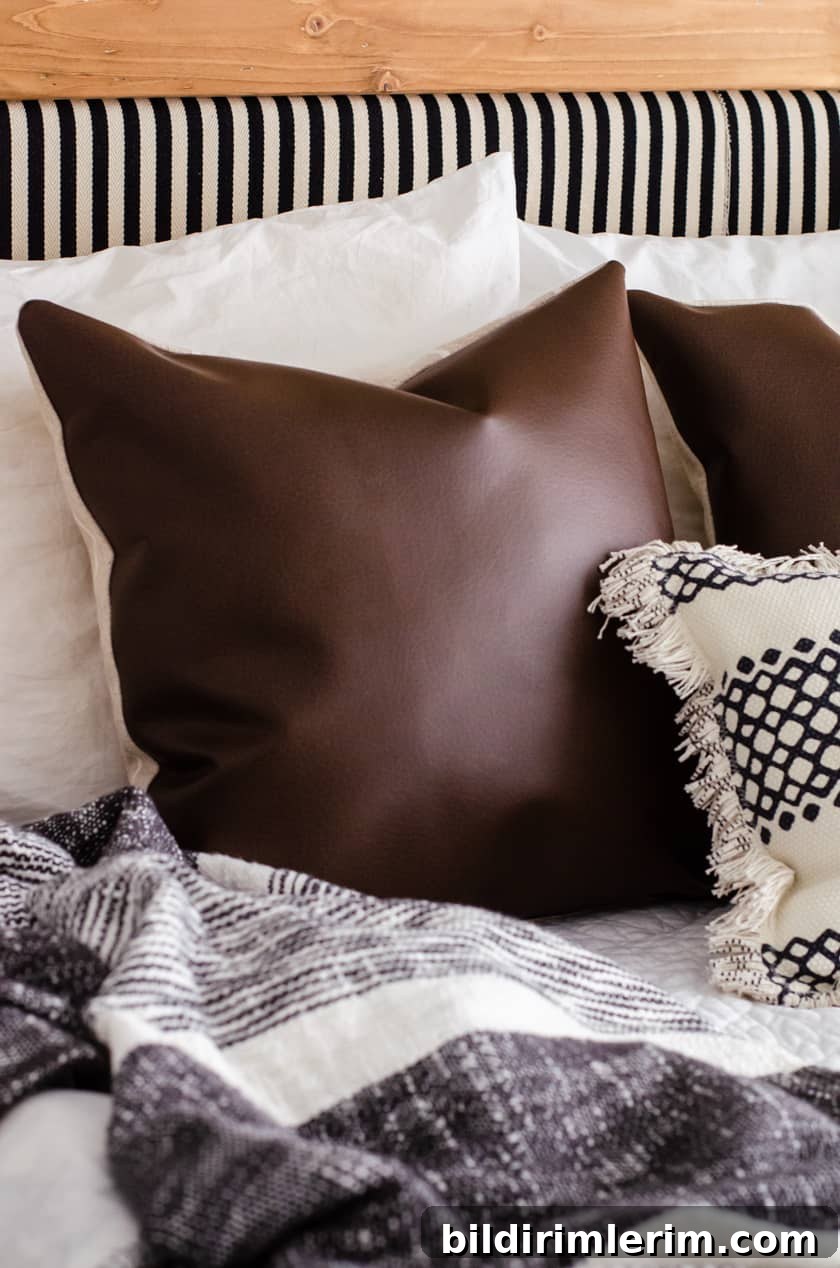
Step 5 — Insert the pillow and finish
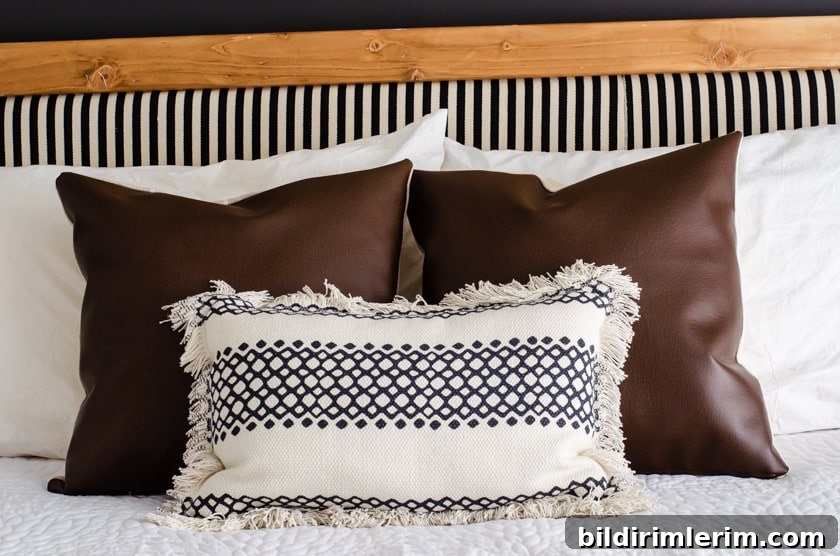
Turn the cover right side out through the zipper opening, push the corners into place, and insert the 18-inch pillow insert. Zip closed and smooth the cover. Admire your finished faux leather pillow—stylish, practical, and handmade.
Quick tips for success
- Use a leather needle and a sturdy thread; faux leather can be tougher than plain cotton.
- A walking foot or clips can help manage slippery faux leather—avoid pins that leave holes if your material is thin.
- Skip ironing the leather side. Press only the backing fabric if needed.
- If you want firmer pillows, cut closer to the insert size; for a relaxed look, add extra inches as shown.
These zippered faux leather pillow covers are a quick way to elevate your decor. With basic sewing skills and a zipper foot, you’ll have two custom covers in around 30 minutes.
© Rita Joy