There’s an unglamorous but essential side to room renovations that often gets glossed over: priming. It isn’t flashy, but it’s one of the most important steps before applying your final coat of paint and arranging the finishing touches.
Think of primer as the foundation of a well-planned outfit: skip it and your final look can be a disaster. I learned that lesson the hard way.
When I last painted this room, something odd was happening with the drywall from 1927 — it seemed to “drink” the paint. No matter how many coats I applied, the finish stayed streaky and uneven.
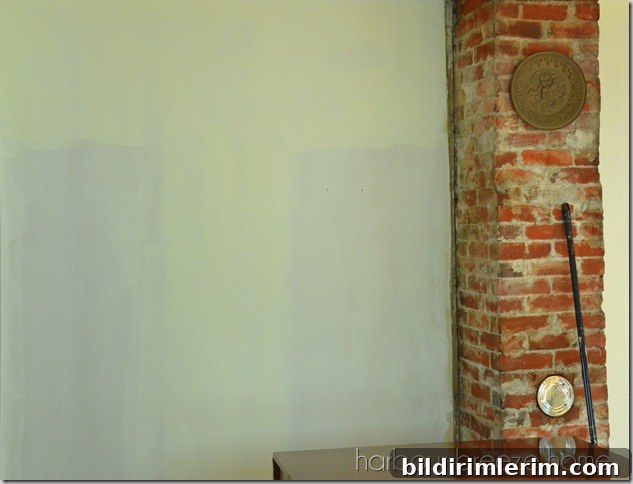
If you look closely at the photo above, you can see how patchy and streaky the walls appeared. This time, even though it felt like extra work, we decided to take the time to prime the surfaces properly before applying any finish paint.
We took a tiny sample of the old drywall into the paint store to figure out what was causing the problem. The paint associate was genuinely intrigued.
“It has wood chips in it! Hey, can I keep this?” he joked. Ultimately, his assessment was clear: the drywall had never been primed, so the paint couldn’t adhere correctly to the porous surface.
Before we could enjoy our new color, we had to prime every wall and the ceiling.
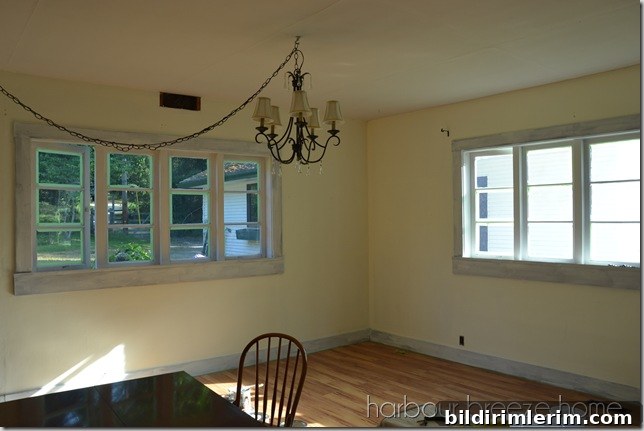
(Before the walls and ceiling were primed — ignore the trim for now; that’s a separate task.)
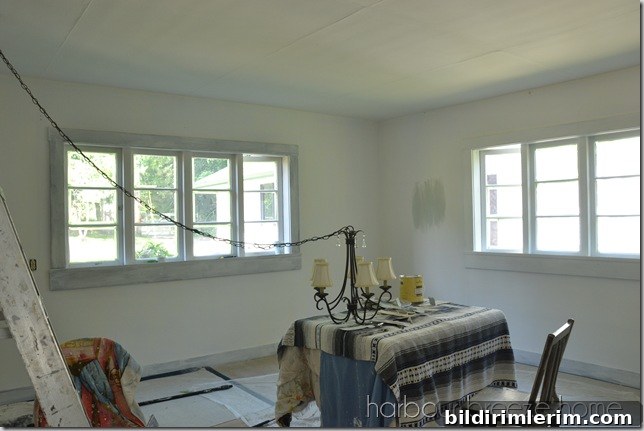
(After priming everything.)
The difference was immediate: after one coat of primer the room seemed to brighten, as if someone had flipped on the lights. The primer evened out the surface and eliminated the thirsty, blotchy look so common with old, unprimed drywall. Once the primer had been applied, the walls accepted color far more predictably and required fewer finish coats.
For this room we used a water-based product called Aqua Lock Primer/Sealer. It worked effectively on the old drywall and sealed the porous surface. We used one gallon to cover all the walls and the ceiling, and the results justified the extra step.
Practical tips from this project:
- Always prime porous, stained, or previously unprimed drywall. Primer seals the surface and improves paint adhesion so your topcoat goes on smoothly and evenly.
- Test a small area first if the surface looks unusual. Bringing a sample to a paint specialist can help identify odd materials or preparation needs.
- Choose the primer type based on the situation. Water-based primers like the one we used work well for many drywall jobs; stain-blocking or oil-based primers can be better for heavy stains or difficult substrates.
- Allow the primer to dry fully before applying finish paint. Proper drying ensures the finish coat adheres correctly and delivers the intended color and sheen.
Taking the time to prime transformed a frustrating, streaky room into a bright, dependable canvas for paint. It’s worth the effort: proper priming saves time and money in the long run by reducing the number of finish coats needed and producing a far more attractive result.
If you encounter thirsty, streaky walls in an older home, consider priming as your first line of defense. It’s not glamorous, but it’s the step that makes the final look truly shine.