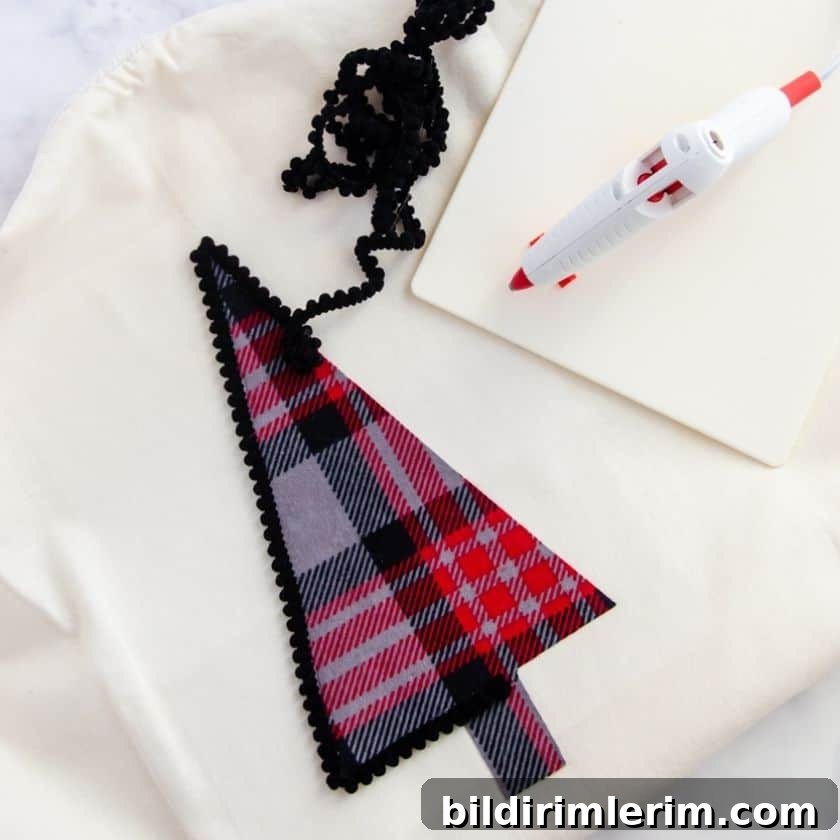
Learn the simple steps to create a no-sew DIY Christmas tree pillow in about 15 minutes—perfect for quick holiday accents or handmade gifts.
I recently found a plain white pillow cover while sorting through fabric and immediately pictured it styled for the holidays. With a few fabric scraps and some simple supplies, I turned it into a charming Christmas tree pillow without touching a needle. This easy project is fast, budget-friendly, and ideal for adding a handmade touch to your seasonal decor.

How to Make a No-Sew DIY Christmas Tree Pillow
Quick project: no sewing required. Great for last-minute decorations or thoughtful handmade gifts.
Supplies you’ll need for a DIY Christmas Tree Pillow
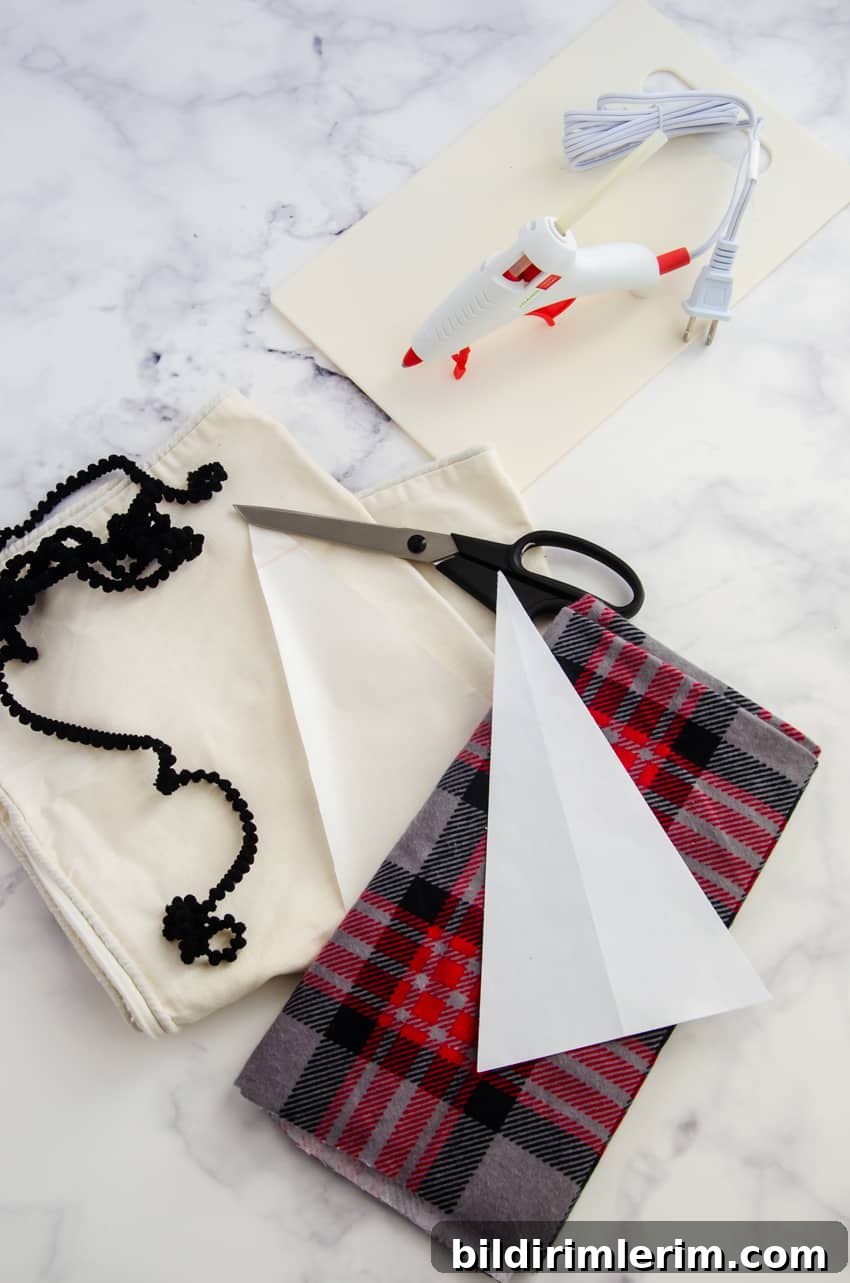
- Pillow cover (plain cotton or linen works well)
- Fabric scraps for the tree (flannel, plaid, felt, or any woven fabric)
- Pom pom piping or trim
- Heat‑n‑Bond or another iron-on adhesive
- Iron and ironing surface
- Paper for creating a simple tree pattern
- Hot glue gun and glue sticks
- Pillow insert or form
Step 1 — Make a simple paper pattern for your tree
This part is intentionally easy. Decide how large you want your tree to be in proportion to the pillow cover. For example, a tree about 5–6 inches wide and 9–10 inches tall works well on a standard square accent pillow. Cut a rectangle from scrap paper in that size, then fold it in half vertically. From the folded edge, cut a triangular or stylized tree shape down to the bottom edge. Open the paper to reveal a symmetrical tree shape you can trace.
Step 2 — Prepare the fabric and adhesive
Choose a fabric scrap with the look you want—cozy plaid, solid felt, or a textured flannel are all great choices. Follow the Heat‑n‑Bond manufacturer instructions: apply the adhesive to the back of your fabric piece by ironing the adhesive to the fabric’s wrong side. Use a piece of adhesive that is slightly larger than the finished tree so you have full coverage along the edges.
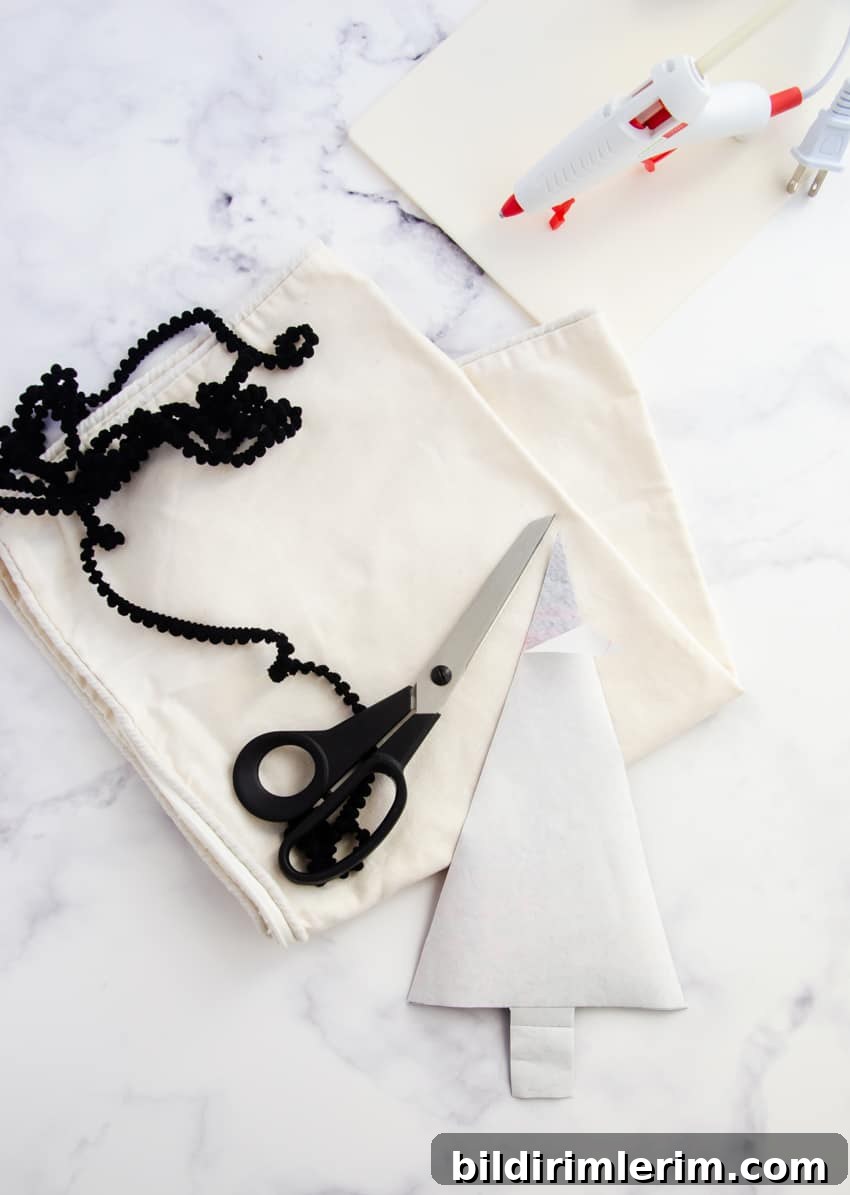
Step 3 — Trace and cut the tree
Trace your paper pattern onto the adhesive-backed fabric and add a small rectangle or trunk shape at the base if you like. Carefully cut out the tree and trunk using sharp fabric scissors for clean edges. Trim any excess adhesive backing if needed so the cut shape is tidy.
Step 4 — Iron the tree onto the pillow cover
Center the tree on the pillow cover, checking placement before pressing. Once you’re happy with the location, peel the backing from the adhesive and use a hot iron to press the tree onto the cover according to the adhesive instructions. Press firmly and hold the iron steady for the recommended time, using a thin pressing cloth if your fabric requires it. Allow the piece to cool so the bond sets fully.
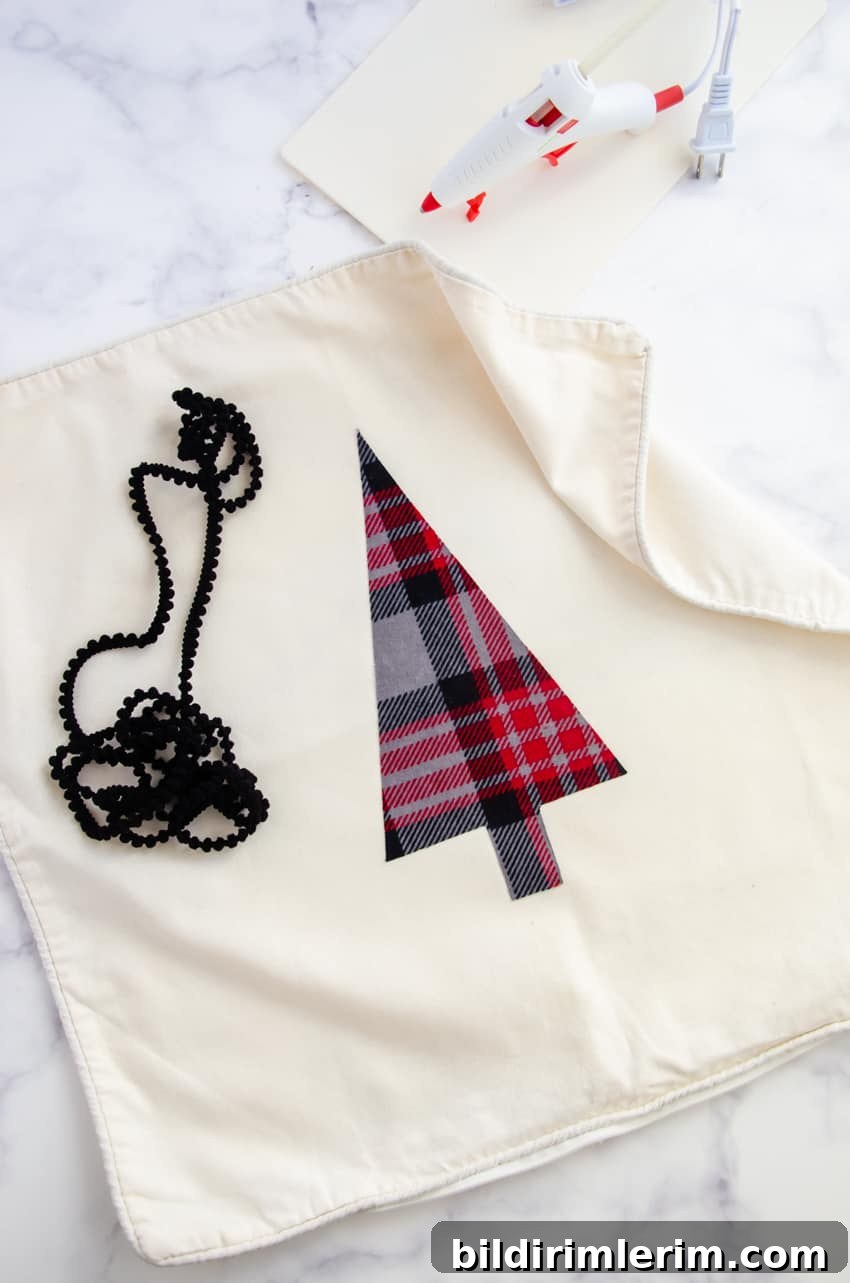
Step 5 — Add pom pom trim or other embellishments
Use a hot glue gun to attach pom pom piping around the edge of the tree for a playful, textured finish. Work in small sections, pressing the trim into place as the glue cools. You can also add buttons, sequins, stitched stars, or small fabric ornaments for extra detail—just glue or apply them securely so they won’t come loose with normal use.
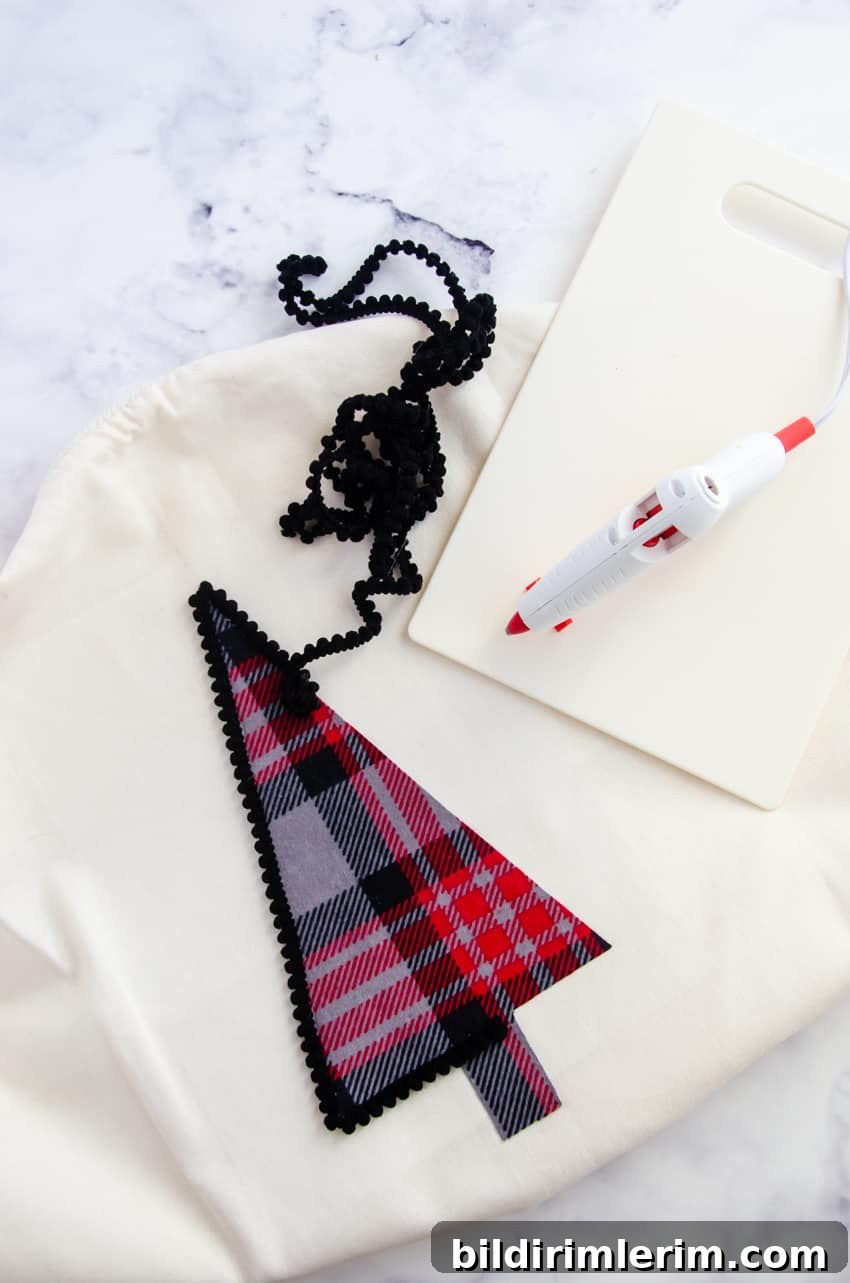
Once everything is attached and cooled, insert your pillow form into the cover. Fluff and arrange the pillow on a sofa, bed, or entryway bench to add a quick holiday touch. This simple no-sew pillow is a great accent in farmhouse, rustic, modern, or eclectic seasonal decor.

Tips, variations, and care
- Variation ideas: Make a set of pillows in different fabrics for contrast, or use a metallic fabric for a festive look.
- Color and texture: Plaid flannel, velvet, or felt each give a different mood—choose what fits your room.
- Secure edges: If the tree edges feel loose after regular handling, add a thin line of hot glue under the perimeter for extra hold.
- Care: Spot clean the pillow cover when possible. If you must wash the cover, remove any glued trim first and follow the fabric care instructions for the base cover and embellishments.
- Gifting: Fill a soft pillow form, wrap the pillow in tissue, and tie with ribbon for a quick handmade holiday gift.
More holiday decorating ideas
If you enjoy quick seasonal crafts, try other simple projects like a wood slice tree sign, mini flocked faux trees made from inexpensive supplies, or handmade felt ornaments. Small coordinated pieces—pillows, ornaments, and tabletop accents—can give your space a cohesive and welcoming holiday feel.

Project details
- Yield: 1 festive pillow cover
- Time: about 15 minutes (depending on embellishments)
- Difficulty: Easy — no sewing required
This quick DIY Christmas tree pillow is a satisfying weekend craft that adds personality to your holiday decorating and makes a thoughtful, handmade gift. Enjoy making it your own with fabrics and trims that match your home’s style.