How I Turned Cream Tablecloths into Simple Rod-Pocket Curtains
Last week I showed how I stenciled a pair of cream-colored tablecloths, and with only a few pressed folds and some straight seams, they became our new dining room curtains. Using ready-hemmed tablecloths is an easy, budget-friendly way to create custom window treatments without cutting complicated patterns or finishing raw edges.
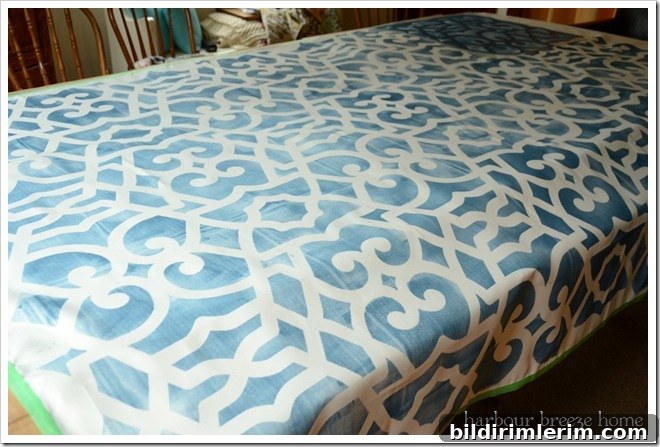
After painting the stenciled pattern and allowing it to dry, a few simple sewing steps transformed the tablecloths into attractive, functional curtains. The finished result gives the dining room a fresh, personalized look without spending a lot of time or money on custom fabric.
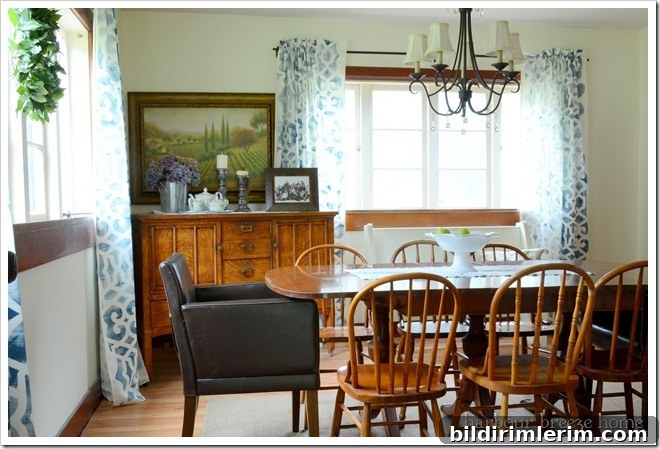
There are many curtain styles to choose from, but for this project I made simple rod-pocket curtains. Rod-pocket curtains are exactly what the name implies: the top of the curtain has a pocket or sleeve that the curtain rod slides through, and the fabric creates a soft header or ruffle above the rod.
One of the advantages of converting a tablecloth into a curtain is that tablecloths are already hemmed on all sides, so you don’t have to finish every raw edge. The tablecloths I used measured 97 inches long by 59 inches wide. The width was perfect for my windows, but the length was far too long. I trimmed 18½ inches from one end, intentionally leaving extra length. From experience, it’s much easier to shorten a curtain later than to find you cut it too short.
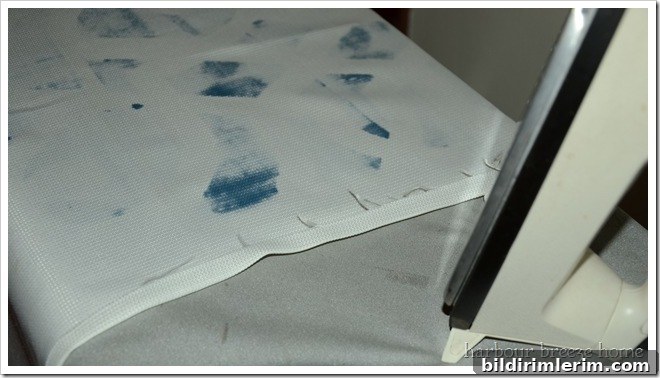
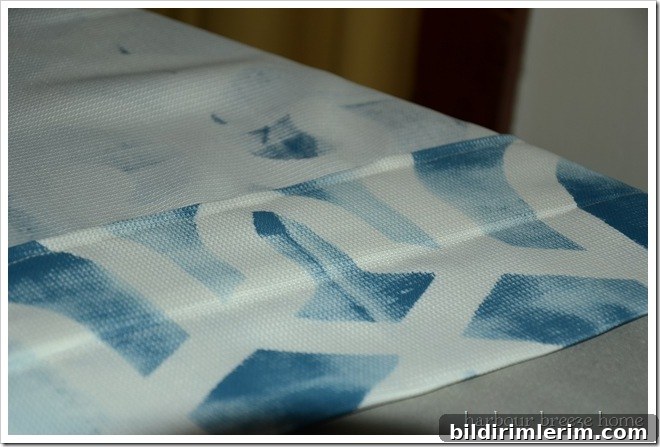
Once the paint was set, I ironed the underside of the top edge to set the paint and to create a clean edge for sewing. To prevent fraying, I pressed the cut top edge down by ½ inch. Pressing before sewing keeps the fabric stable and makes sewing straighter seams easier.
Next I made two important marks on the fabric: the measurement from the floor to the top of the curtain rod (this marks the top sewing line), and a second mark three inches above that. The three-inch measurement becomes the top of the header—the section you will fold down to create the rod pocket and the decorative ruffle above the rod.
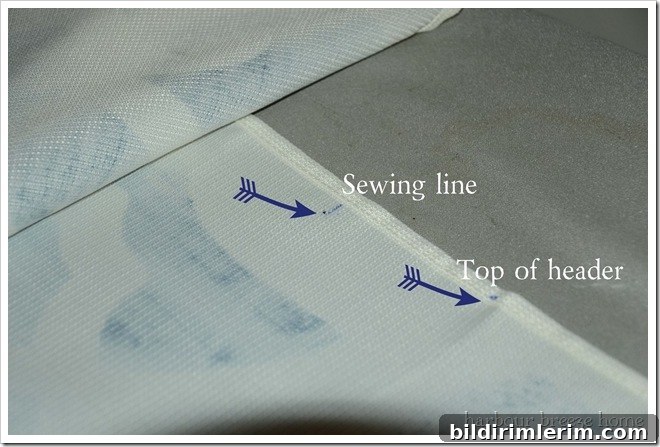
I pressed and pinned the fabric at the top-of-header line. My fold is wide because I left extra fabric on purpose—again, better to have too much than too little. 
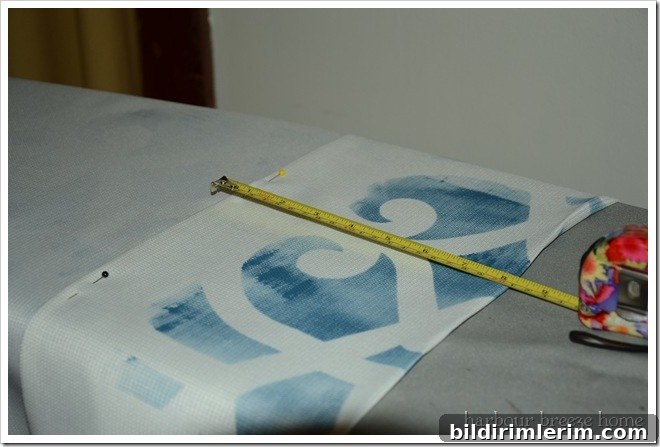
I stitched a seam three inches below the top fold to form the header. Normally you would simply sew a single seam that creates a sleeve wide enough for the rod, but because I had extra fabric I made an additional fold for a neater finish and a fuller header.
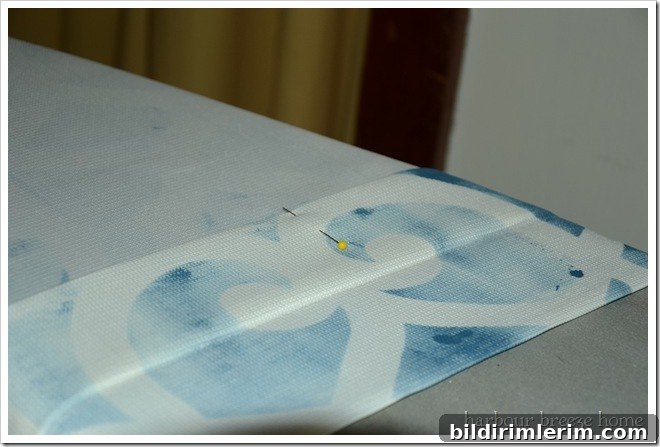
After sewing the first seam I pressed the seam allowance open, then folded the excess fabric down to meet that seam line and pressed again. This created a tidy double-folded header that hides raw edges and strengthens the pocket where the rod will sit. I pinned the folds in place before stitching the final seam.
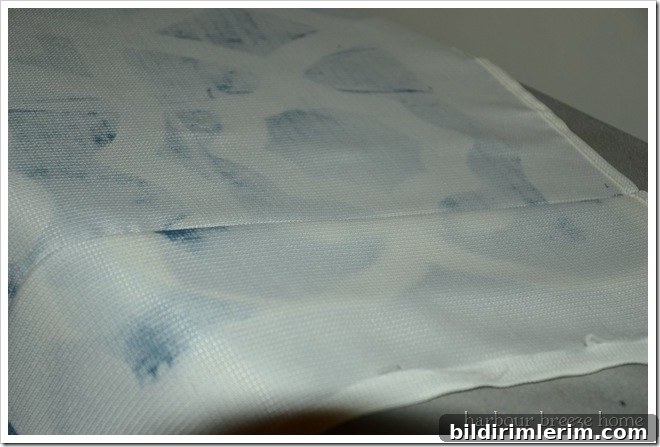
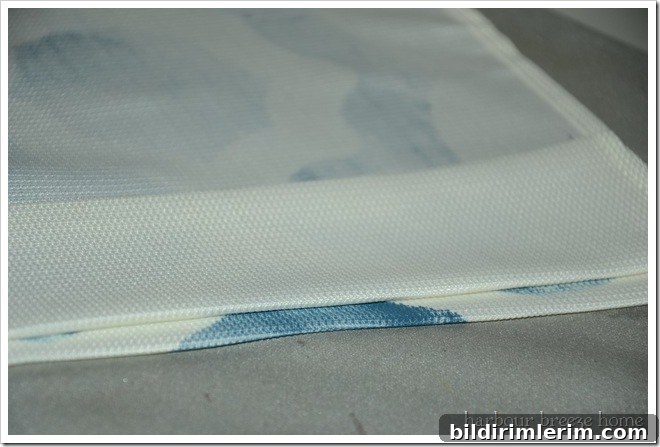
The finished back side shows the double seams that form the rod pocket. The actual pocket for the rod is sandwiched between the two parallel seams—the upper seam creates the decorative header ruffle while the lower seam forms the channel for the rod.
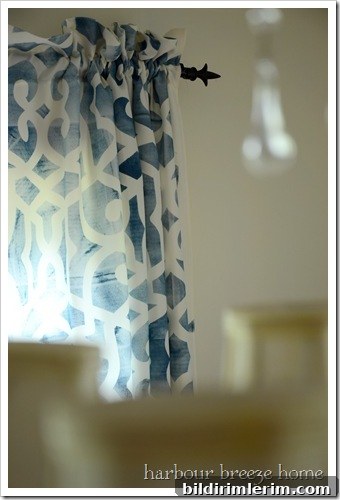
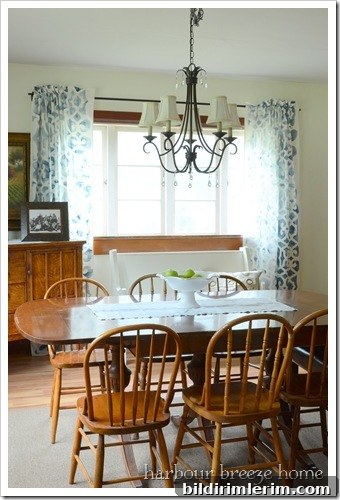
Hanging the curtains is simple: slide the rod through the pocket and gather to taste. The sewn header naturally forms a soft ruffle above the rod that adds texture and a finished look without additional trim. Because the tablecloths were already hemmed, the finished curtains look polished with minimal sewing.
If you’re starting curtains from scratch and need to calculate how much fabric to buy, search for reliable curtain-measuring guides to determine the correct width, length, and fullness for your windows. Remember these simple takeaways: use pre-hemmed fabrics when possible to save time, leave extra length so you can adjust before trimming, and press carefully at each step to achieve crisp, professional-looking seams.
This project is a great example of an easy DIY curtain makeover: upcycle an inexpensive tablecloth, add a stencil or other decorative detail if you like, and finish with basic pressing and sewing to create charming rod-pocket curtains that fit your space.