
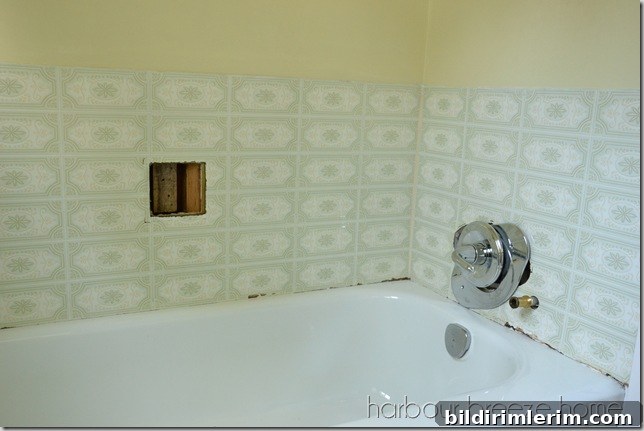
Older “barker board” or fake tile panels can age a bathroom, but a fresh coat of paint can transform the space. Below are practical, step-by-step instructions and tips for painting barker board to update your tub surround.
I just finished the first piece of our bathroom renovation—and it made a big difference.
For this update I tackled the faux tile paneling above the tub, commonly called barker board or tile board. It looks like ceramic tile at a glance but is actually a molded plastic panel product that was widely used as a tile alternative. While practical and easy to clean, the dated finish made the entire room feel older than it needed to be, so I decided to paint it for a fresh, modern look.
How to paint Barker Board (or Fake Tile) in a Bathroom
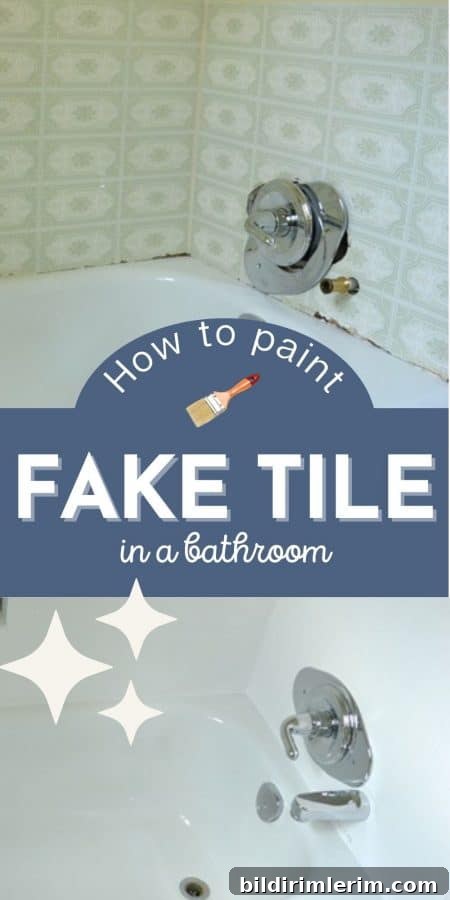
What is barker board (fake tile boards)?
Barker board is a smooth, molded panel designed to mimic tile without grout joints. It was popular in past decades as a low-cost, waterproof option for tub surrounds and bathroom walls. Today it’s still a practical product, but the glossy, dated finish can clash with modern design. Painting the panels is an effective way to update the look without removing them—provided you use the right prep and paint system.
Important note: I wouldn’t recommend painting barker board in a tub that has a shower head and frequent direct water exposure. Constant water spray can compromise painted finishes over time. This technique works best on tub surrounds that are not subject to direct shower streams.
What kind of paint to use on fake tile in a bathroom
Because barker board is very smooth and nonporous, a standard interior paint won’t adhere well on its own. For reliable adhesion you need a high-bond primer formulated for slick surfaces and a durable water-based topcoat. I consulted a paint professional and used a high-bond primer (a product like Zinsser All-Surface Bond Coat) followed by a durable white topcoat (Monamel in pure white was recommended). I also used a small foam roller for a smooth finish.
How to paint barker board
These are the steps I followed. Take your time on prep—good preparation is the key to a durable result.
Step 1: Remove old caulk and loosen fixtures. I cut away the thick, deteriorated caulking and loosened the faucet hardware so the panels could be painted cleanly. If you’re not comfortable removing fixtures entirely, loosen them enough to paint behind them.
Step 2: Clean and scuff the surface. Wash the panels thoroughly to remove soap scum and grime, then lightly sand with fine-grit sandpaper to create tooth for the primer. Don’t skip this—paint won’t bond well to a slick, dirty surface.
Step 3: Mask edges with painter’s tape. Tape around the tub, fixtures, and any trim so you get clean lines and avoid accidental paint on surrounding surfaces.
Step 4: Apply the bonding primer. Using a foam roller produced a smooth, even coat. The primer dried quickly; I applied a second primer coat to ensure consistent adhesion, although it didn’t dramatically change coverage.
Step 5: Apply the topcoat in thin, even layers. Thin coats reduce runs and give a more professional finish. Follow the manufacturer’s recommended drying time—in this case the can specified at least 24 hours between coats.
The old color took a number of thin coats to fully cover. I applied several thin coats over the course of a week—seven light coats in total—and allowed ample drying time between each. The finish looked smooth and even once the topcoats were complete.
The refreshed, clean white transformed the tub surround and brightened the entire bathroom. It’s an economical way to modernize without replacing the panels.
More tips for painting fake tile and plastic tile board
- Choose products designed for slick surfaces: a high-bond primer plus a durable water-based topcoat worked well for me. Many of these products are water-cleanup, which makes cleanup easier, though they can still have strong odors—ventilate the room.
- Apply thin coats rather than thick ones to avoid drips and uneven texture.
- Lightly sand between some coats for improved adhesion and a smoother finish.
- When removing painter’s tape, score the paint edge with a sharp utility knife first to avoid peeling fresh paint.
- Although brushing and rolling the work goes quickly, allow sufficient drying time—this can stretch the project over several days.
- Finish the job with neat caulking around fixtures and edges; a well-executed caulk bead makes a big difference in the final look.
More before and after bathroom renovations
- Completed bathroom makeover reveal (before and after).
- Powder room design ideas and inspiration.
- Small bathroom storage solutions and farmhouse-style updates.
If you have barker board in your bathroom and want a simple, cost-effective update, painting it with the proper primer and several thin topcoats can deliver a fresh, modern result without the expense and mess of demolition.