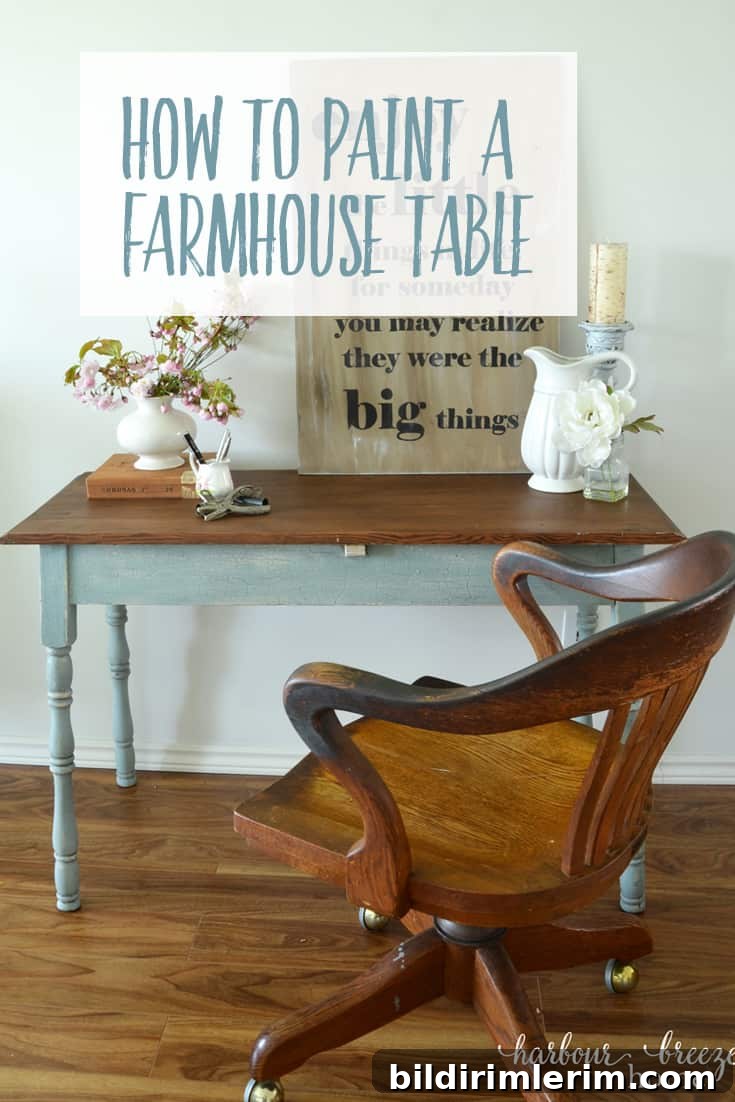
Yesterday I shared the story of my beloved old farmhouse table and why it was time for a fresh makeover. The tabletop was stripped, sanded, stained and sealed; those steps are described in detail in my previous post. This article focuses on the painting, distressing, glazing and waxing I did to refresh the apron and legs using Country Chic Paint.
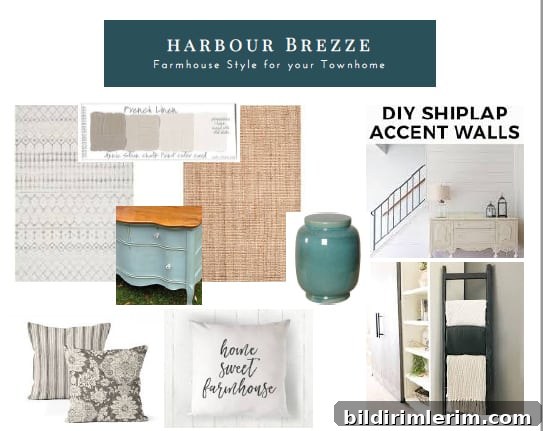
I wanted a new look without losing the character of the original crackled finish. I used an inspiration board from my Living Room project as my color guide and landed on a soft blue tone inspired by a small blue dresser in the board.
When it was time to paint, I took the table to my friend Jan’s workshop. Jan teaches chalk-paint workshops and carries Country Chic Paint. We worked together that day with a small group of women, each on different pieces. I was so absorbed in the process I didn’t photograph most of it, but I’ll describe the steps clearly so you can try them yourself.
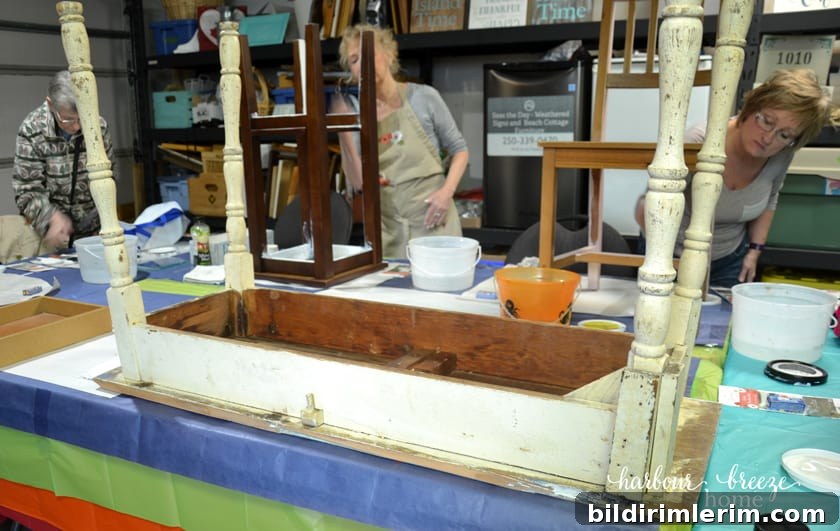
How to Create a Painted Farmhouse Table with Country Chic Paint
Supplies Needed
-
Bucket of warm water and a rag
-
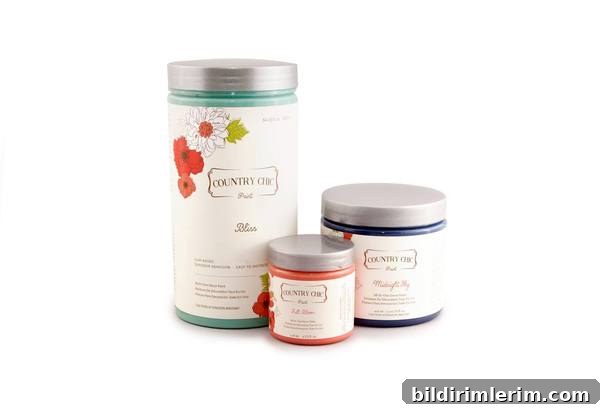
Country Chic Paint in your chosen color (I used “Elegance”)
-
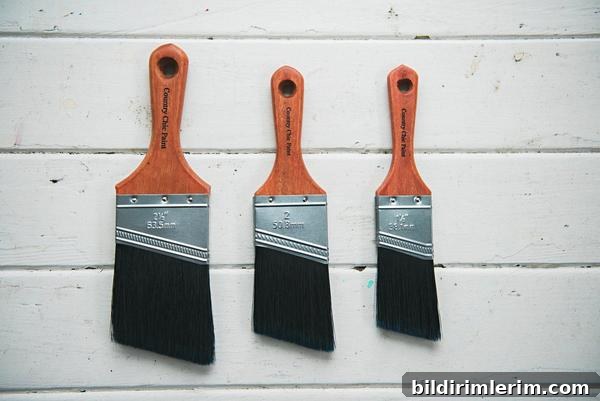
Good quality paintbrush
-
Country Chic Glaze (I used “Graphite”)
-
Small, flat brush for applying glaze
-
Blow dryer (optional, to speed drying)
-
Country Chic Wax (clear or natural)
-
Small microfiber cloth for applying wax
Step 1: Clean the Piece
Start by wiping the furniture with warm water and a clean rag. Paint adheres best to a surface free of dust, grime and cobwebs.
Step 2: Apply the Base Paint
Using a quality brush, apply a single, even coat of Country Chic Paint in your chosen color. I used “Elegance” and worked carefully around the apron and legs, watching for drips in carved or curved areas. For spindles and detailed legs, handleless brushes or short-handled brushes make maneuvering easier and help you get into tight spots.
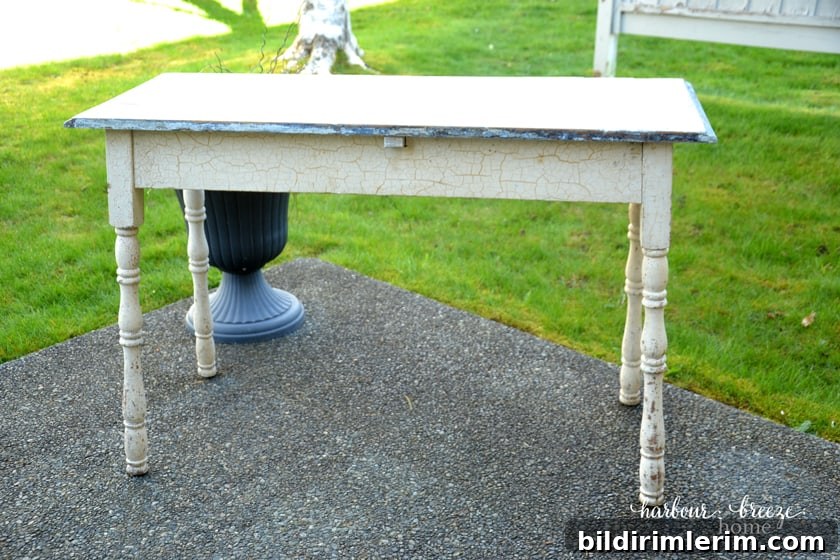
I avoided applying the paint too thickly because I wanted to preserve some of the original crackled texture beneath the new coat.
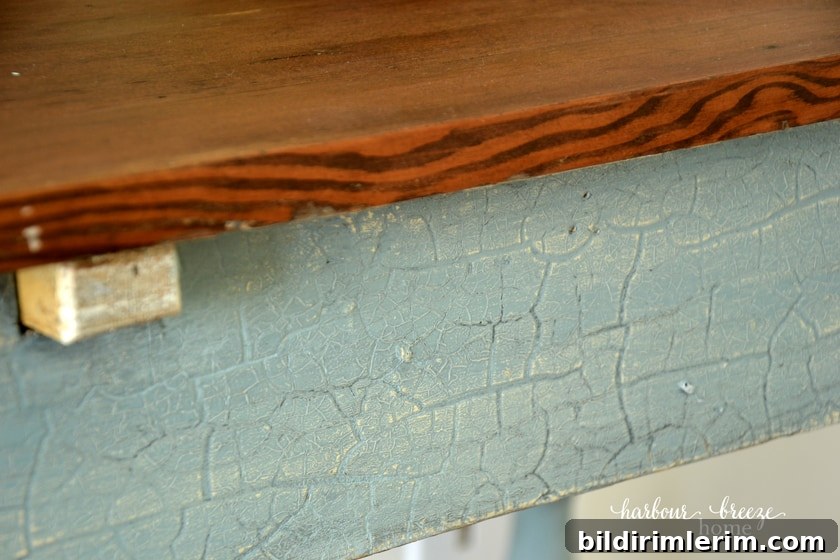
Step 3: Distress for a Natural, Aged Look
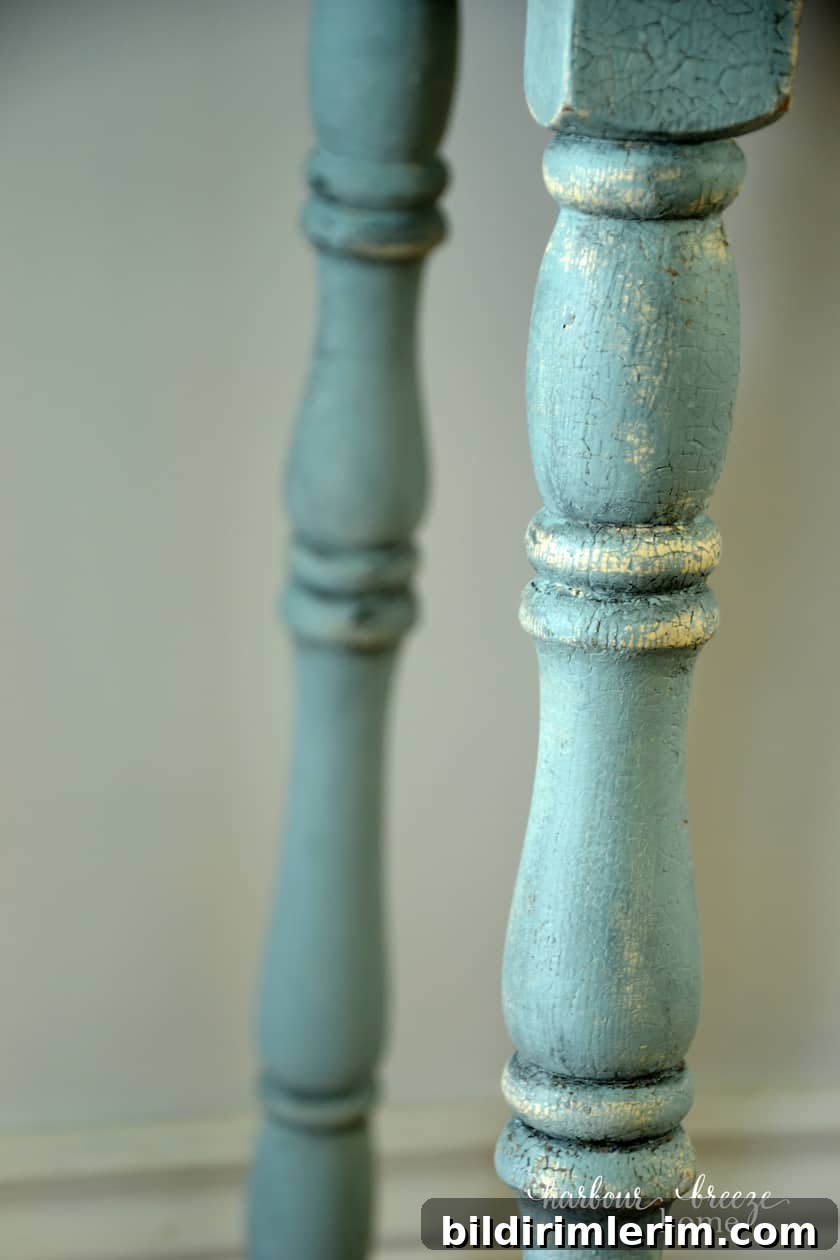
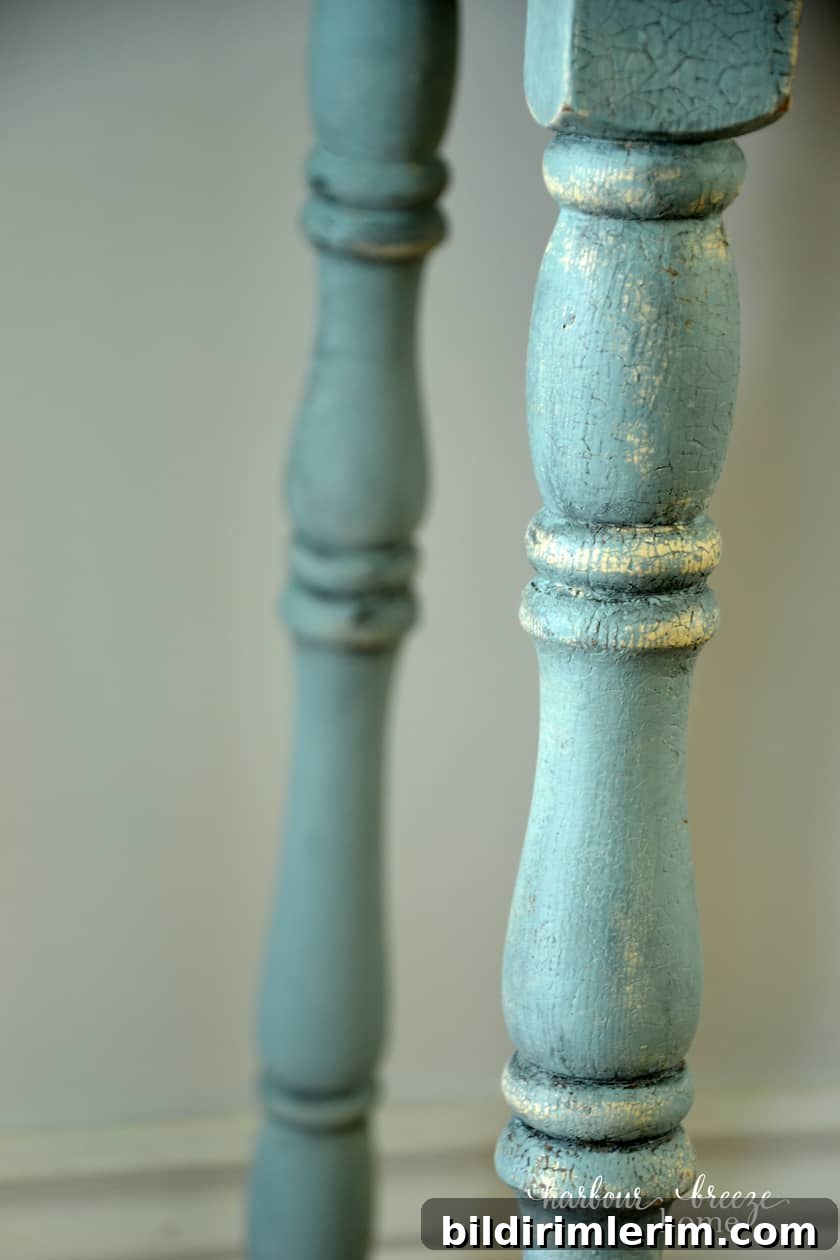
After the paint had dried, I lightly dampened a rag and rubbed the paint away in areas where natural wear would occur—edges, corners and the curving parts of the legs. This brand of chalk-style paint is easy to distress when still fresh; you can often remove paint without sanding, which keeps the process gentle on delicate moldings.
Step 4: Apply Glaze to Add Depth and Definition
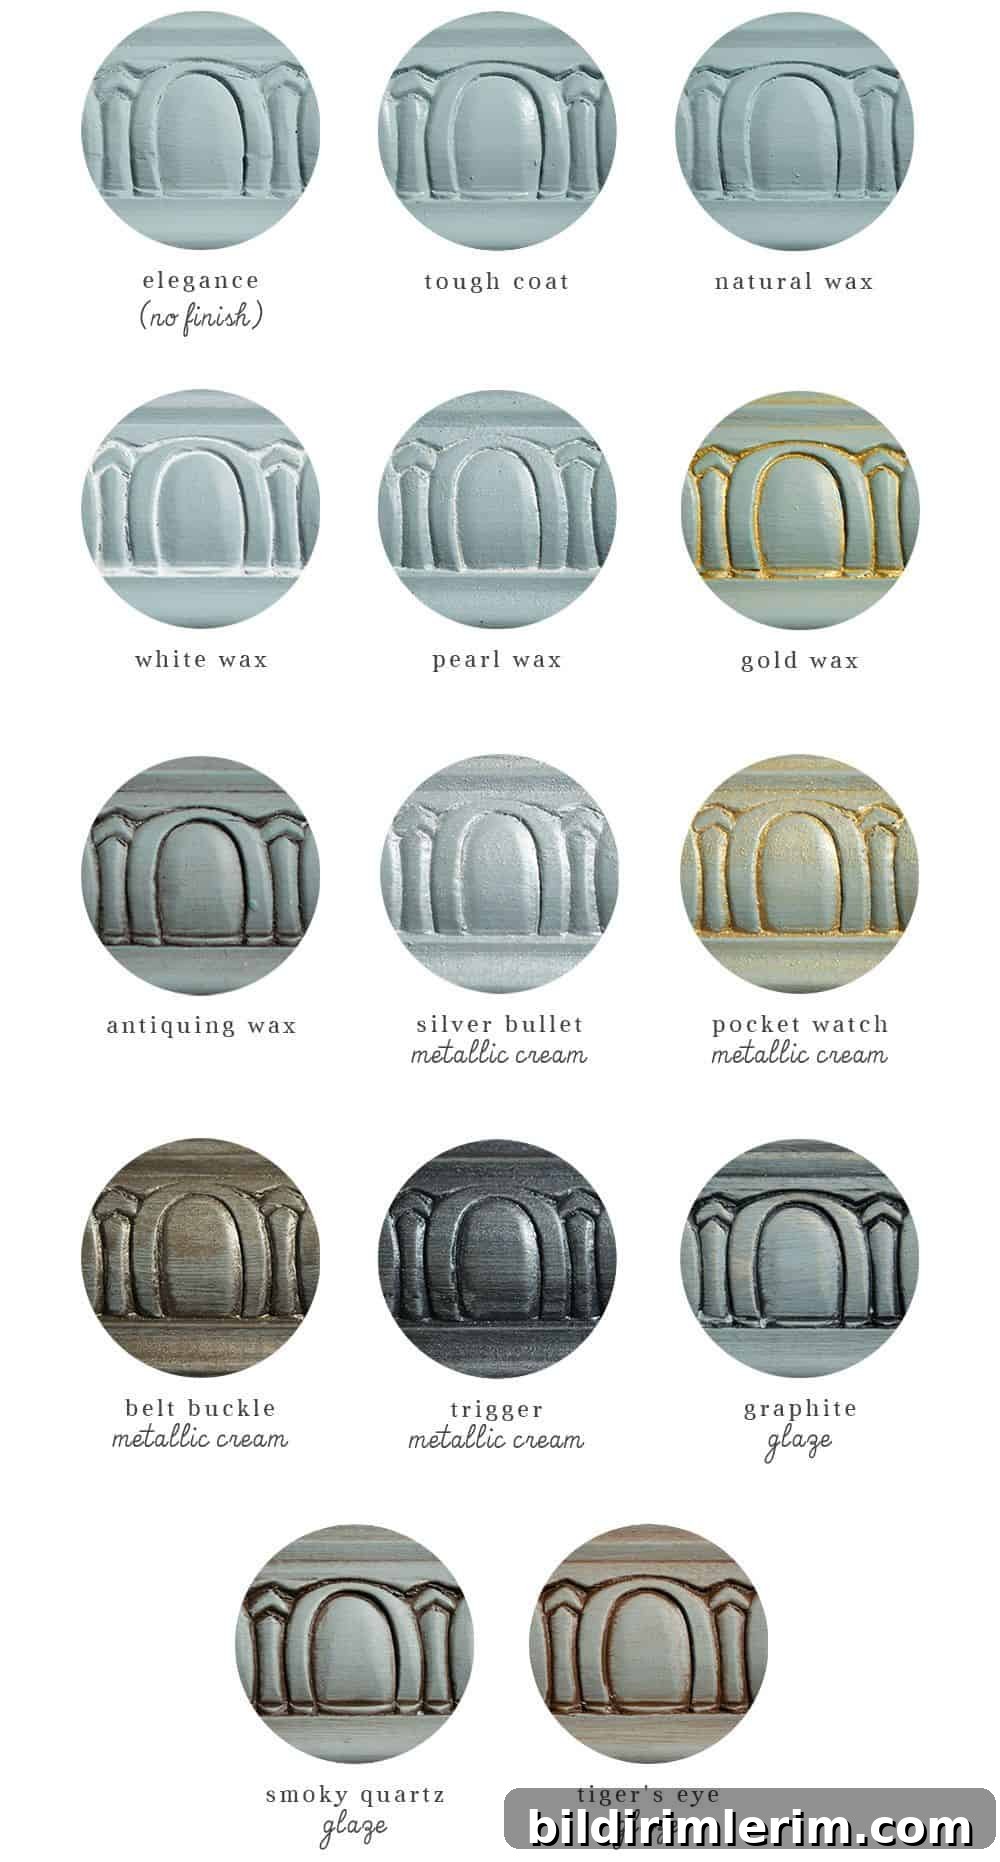
To enhance the crackle texture and add contrast to the carved areas, I applied a graphite-colored glaze. Glaze will subtly shift the overall tone, so testing on a sample area or consulting a color guide helps you choose the right shade.
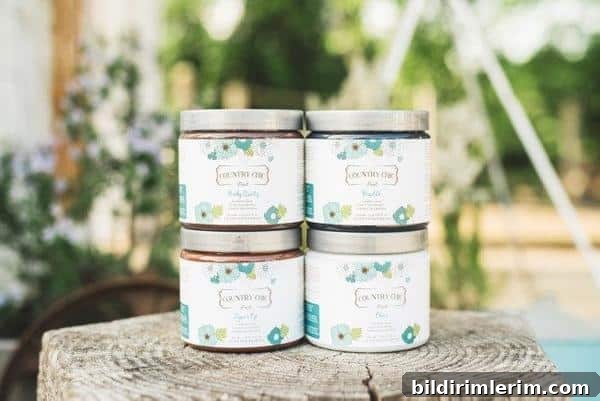
Apply glaze with a small brush into crevices and detailed areas, then remove excess with a damp cloth. Work in small sections so you can control depth and create natural-looking shadowing along curves and contours.
Step 5: Seal with Wax
Once the glaze is dry, seal the painted surface with a wax appropriate for chalk-type paints. I used a natural (clear) wax and applied it sparingly with a microfiber cloth, working one small area at a time. Buffing lightly brings out a soft sheen and protects the finish from everyday wear.
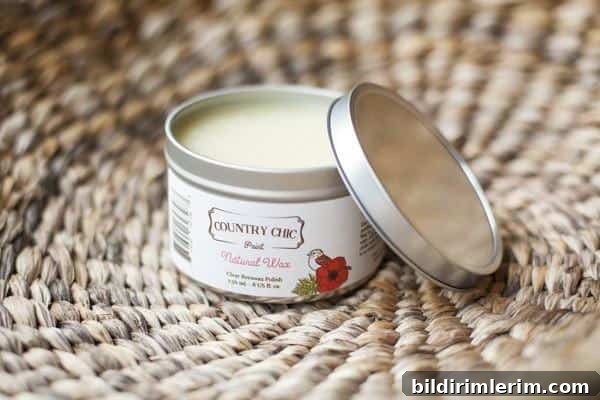
And that was it — the apron and legs were transformed while the tabletop retained its refreshed, stained wood surface.
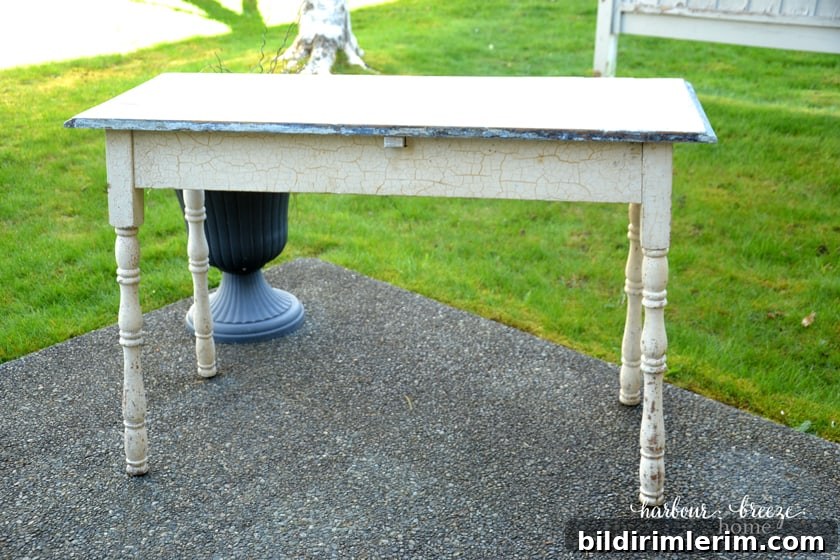
Here’s a reminder of the table before the makeover:
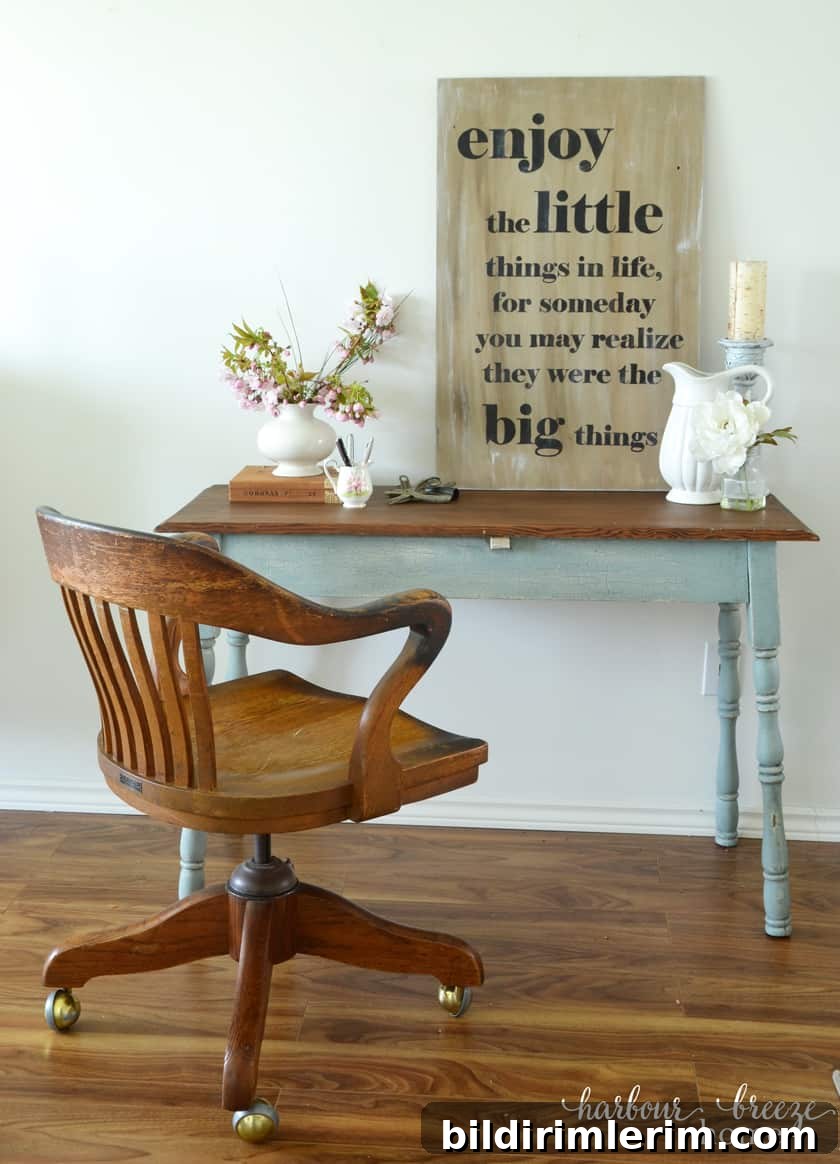
And the finished result — a blue-and-wood farmhouse table that now doubles as my daily desk:
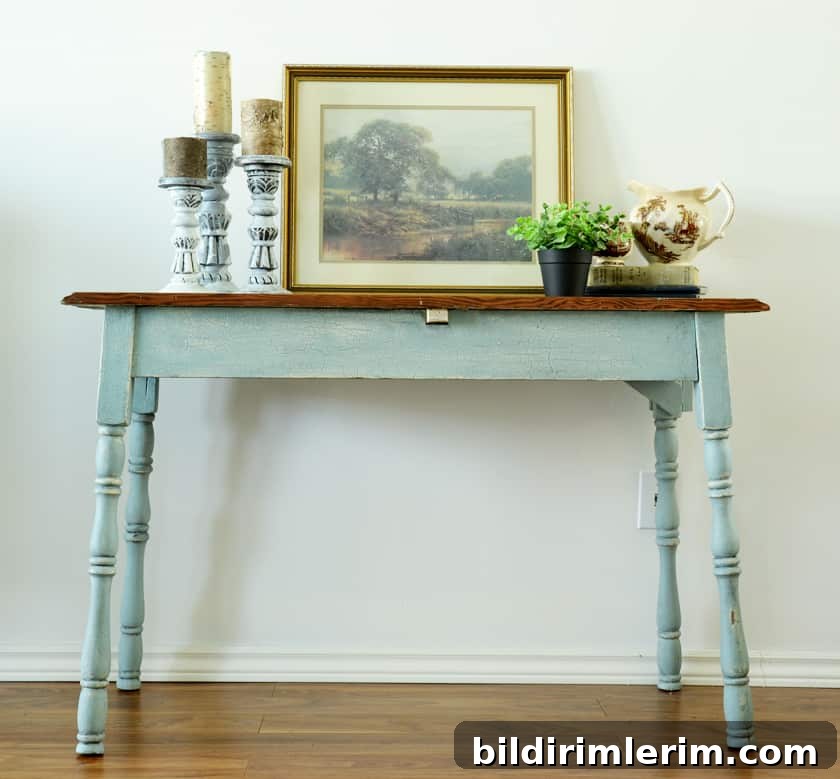
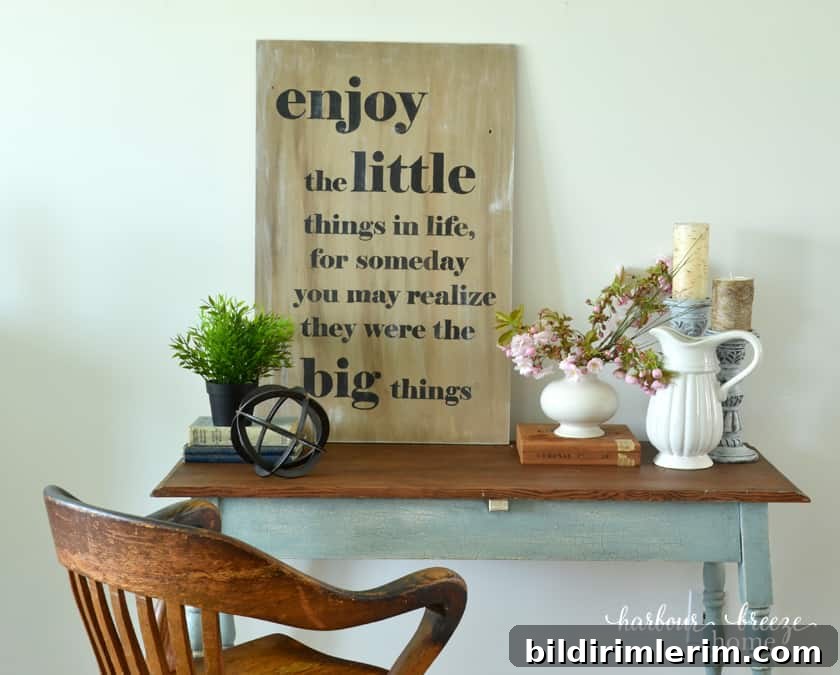
I love that the finished piece still shows evidence of its past — a patina and character that only time can create. The combination of a refreshed wood top and glazed, distressed legs gives the table personality while making it functional for everyday use.
If you’re curious about Country Chic Paint products, look for local stockists or instructors who run workshops—hands-on guidance is a great way to learn glaze and waxing techniques. I’m grateful to Jan for a fun, supportive workshop session; it made this makeover an enjoyable creative day.
Note: Product photos in this post are from the paint brand and this was not a sponsored project.