
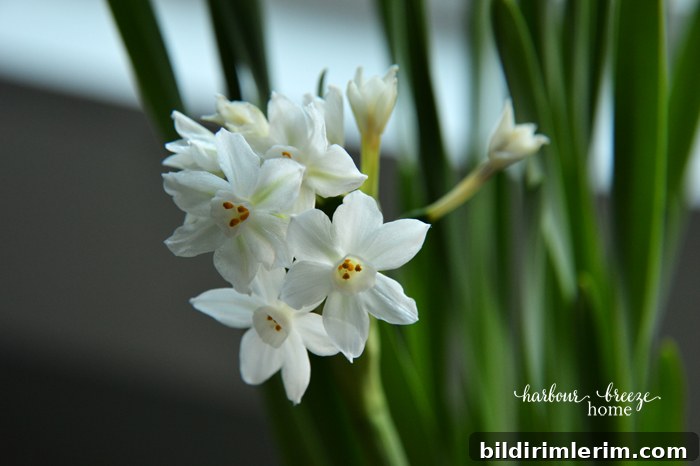
I may be stretching the definition of “handmade” with today’s idea, but I wanted to share a delightful gift I recently received: paperwhite bulbs.
I’m not an experienced indoor gardener, so when a friend handed me these bulbs I accepted them with some trepidation. The bulbs arrived with clear instructions, though, and I followed them closely.
Over the past few weeks we watched the small bulbs develop roots, send up shoots, and finally open into fragrant white blooms. It’s been rewarding—and surprisingly simple—to see them come to life.
If you’re considering gifting paperwhite bulbs, package them attractively for a memorable present. Here’s an easy and elegant presentation idea:
Find a tall clear vase—paperwhites can reach a fair height—and add a 1–2 inch layer of marbles or smooth stones to the bottom. Nestle several bulbs on top of that stone layer, pointed ends up, and fill in around them with more stones so the bulbs are supported and won’t tip over. Tie the care instructions (below) to the vase with a ribbon for a polished touch.
Below are the step-by-step instructions I was given for forcing paperwhite bulbs indoors. These tips will help your recipient enjoy long-lasting blooms and a simple, low-maintenance experience.
How to Force Paper Whites:
- Place a 1–2 inch bed of stones or marbles in the bottom of a container to provide drainage and support.
- Set the paperwhite bulbs on the stones with the pointed ends facing up. Pack them fairly close together; a snug fit helps keep the stems upright.
- Fill in around the bulbs with additional stones until the bulbs are covered up to their shoulders. The tips should remain exposed above the stone layer.
- Add water carefully so the level reaches the base of the bulbs but does not submerge them. Allowing the bulb bottoms to sit in water encourages root growth; fully covering the bulbs can lead to rot.
- At this stage the bulbs don’t require light and actually prefer cooler conditions. Check the water level daily and top up as needed to maintain contact with the bulb bases.
- Once you see roots forming, move the container to a bright location. Brighter light produces sturdier growth, but avoid excessive heat—warmth can make the stems grow too tall and spindly. Mine may have stretched a bit—still, the flowers are beautiful.
- After the plants bloom, they often last longer when moved out of direct sunlight and into a cooler spot with soft, diffused light.
As for availability, I’m not certain whether paperwhite bulbs are still sold locally at this time of year—check your garden center or online retailers if you want to buy bulbs. Many gardeners can also offer tips on sourcing bulbs seasonally.
Watching these blossoms develop each day has been a small daily delight. The fragrance and delicate white flowers make paperwhites a thoughtful, living gift for the holidays or any indoor décor refresh.
If you’ve been following the 12 Days of Handmade Christmas Ideas series, here are the previous projects for inspiration:
- Paper Star Ornaments
- Painted Antler Signs