
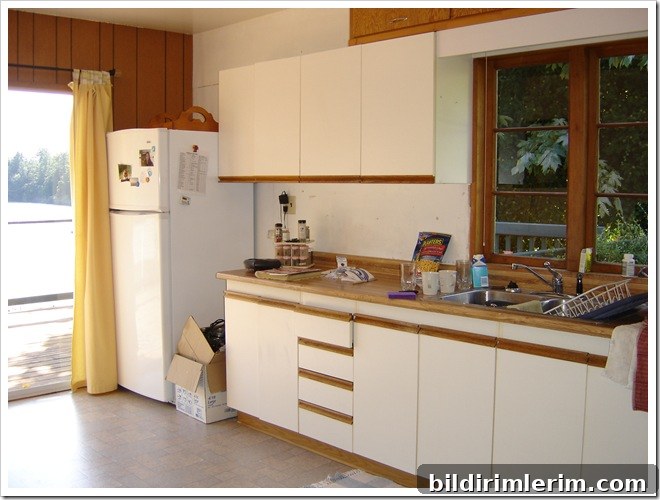
Today marks one year since we started our budget-friendly kitchen remodel. It began around this time last spring when I set aside a day for deep cleaning and realized the kitchen needed more than tidying. For long-time readers you may remember watching this unfold in real time; for new visitors, here’s a concise, refreshed look back at the project and how we achieved a big transformation on a very small budget.
Budget Friendly Kitchen Remodel
Why we remodeled the kitchen
Our goals were simple: improve the kitchen’s functionality and inject more of our personality into the space. The layout felt cramped and inefficient, and there was a lot of unused space that didn’t reflect our style.
Here’s how it started:
When we first moved in, the refrigerator jammed against the wall and the opposite wall was essentially wasted space. We temporarily added a freestanding counter, but it felt like a band-aid solution.
The “pre” kitchen refresh
Before we embarked on the full remodel—back when I wasn’t blogging—we did a few practical fixes that immediately improved daily life:
-
Moved the refrigerator to the other side of the room for better flow
-
Scored lower cabinets from a local reStore for a fraction of the cost
-
Painted the kitchen a bold Dill Pickle Green to give it personality
That “pre-reno” stage made the space more functional, but a major problem remained: the upper cabinets were installed too high. At 5’2″ I could only reach the bottom shelf, which made daily use frustrating and limited storage access.
What the budget-friendly remodel included
We focused on smart changes that boosted usability and updated the look without a major investment. Highlights of the remodel:
All the upper cabinets were removed, modified, and reinstalled lower on the wall to make shelves reachable and useful:
An awkward, unused corner became a message center and a spot to display meaningful items, turning dead space into a functional feature:
We lowered the upper cabinets, added an extra shelf and crown moulding, and intentionally left the cabinet doors off in some places to create open shelving for everyday items:
The opposite wall received a beadboard wallpaper treatment, and where cabinet doors were missing we used fabric “doors” to add texture and conceal storage while keeping costs down:
The cost of our kitchen remodel
Every renovation reflects the homeowner’s priorities and circumstances. We were working with a very tight budget and, since we don’t own the house, we focused on reuse, repurposing, and creative solutions instead of costly replacements. By using what we already had, hunting for bargains, and investing time rather than money, the entire renovation totaled just $159.00. Yes—one hundred and fifty-nine dollars. Small investment, dramatic result.
I believe you don’t need a large budget to make a room work better and feel like yours. With thoughtful planning, a willingness to repurpose, and a bit of elbow grease, you can create a kitchen makeover that improves daily life and reflects your taste.
If you want a detailed list of all the projects we completed for this kitchen, see the full kitchen remodel before and after. The new wall color we used later in the process is Designer Gray by General Paint.
More small kitchen remodel ideas
- Small kitchen remodel ideas that won’t break the bank — practical tips for limited spaces
- DIY kitchen pendant light projects to customize lighting affordably
- How to organize cupboards in a small kitchen for maximum storage and efficiency
- Room makeover reveals: dramatic before-and-after transformations done for under $200
A free budget-friendly room makeover course
If you’re ready to tackle a budget-friendly room makeover but aren’t sure where to begin, I created a free resource that outlines five essential “ingredients” for a successful makeover. Use these steps to plan and complete a room project you’ll love.