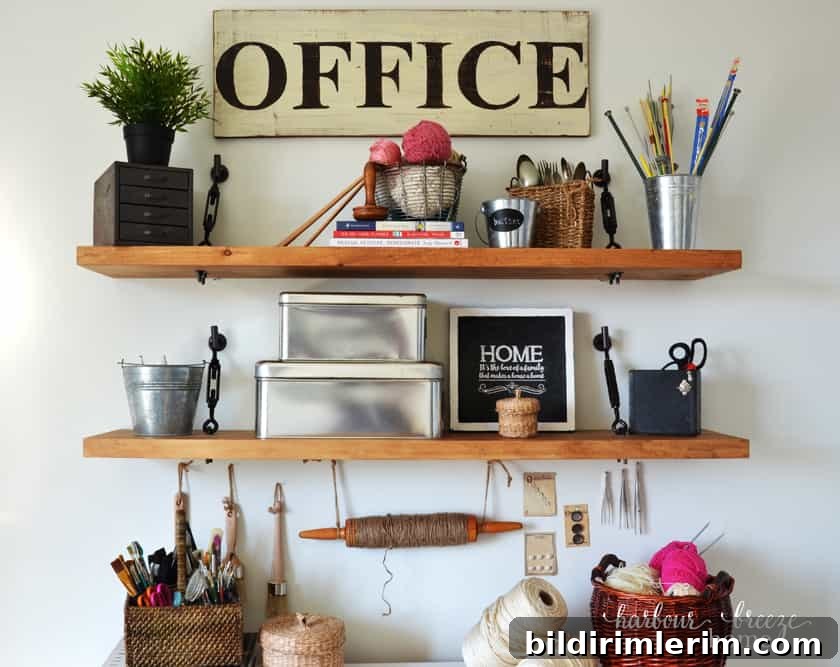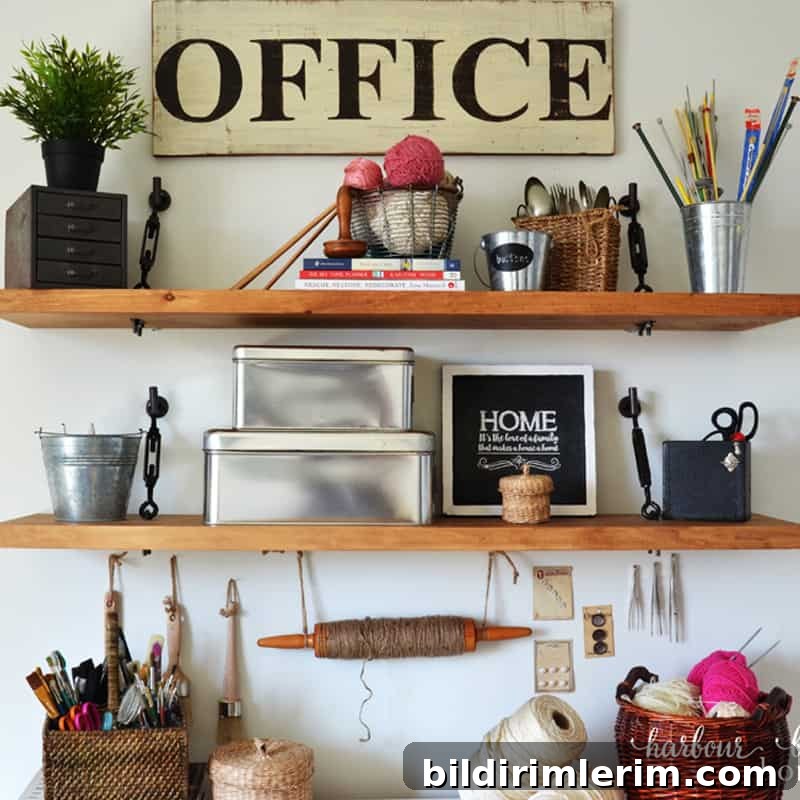
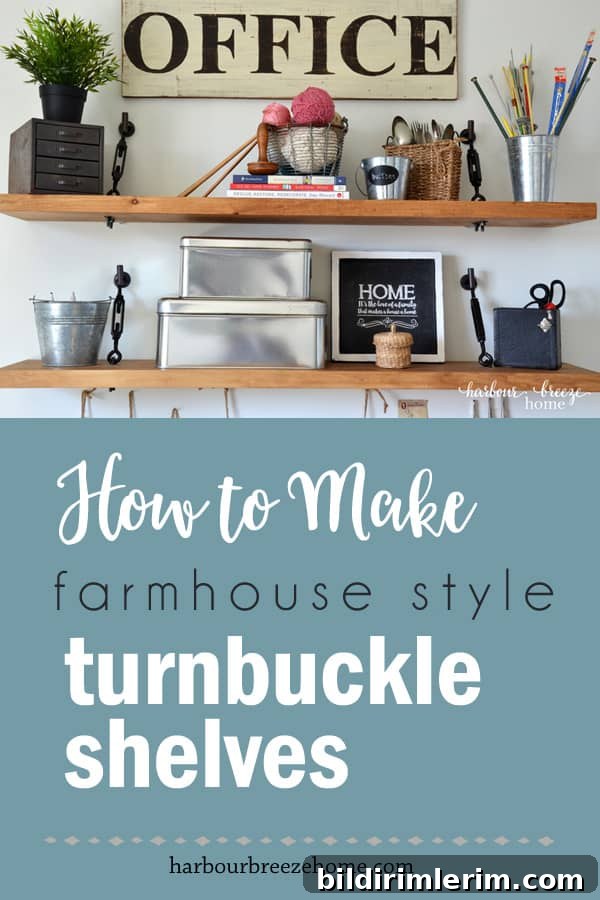
I was standing in the Home Depot aisle with my husband trying to pick a shelf bracket when friends walked up and mentioned they were building floating shelves using turnbuckle hardware. I’d never heard of a turnbuckle shelf before, so I searched online and instantly wanted one. We started the project right away—and I love how the shelves turned out. Below is a clear, step-by-step guide so you can build your own DIY turnbuckle floating shelves.
How to Make Floating Shelves with Turnbuckle Hardware
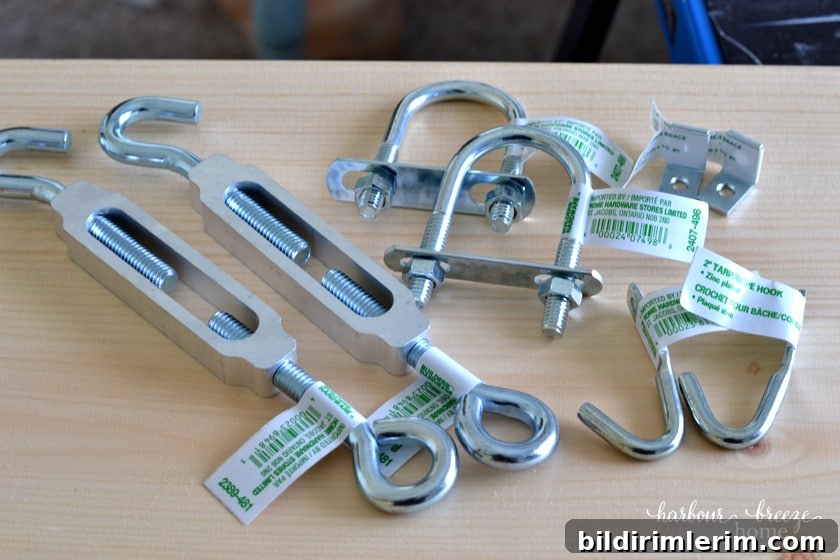
Supplies for Two Turnbuckle Floating Shelves
Note: this list covers materials for two shelves.
- One 2×10 board cut to length (we used an 8-foot Eastern pine board cut into two 4-foot shelves)
- U-bolts (4), approximately 5/16″ diameter
- Turnbuckle eyes/hooks (4), sized to match your U-bolts
- Wall hooks for anchoring the turnbuckles to studs (4)
- Small L-brackets (4) to stabilize the back underside of each shelf
- Spray paint in oil-rubbed-bronze or black (optional, for the hardware)
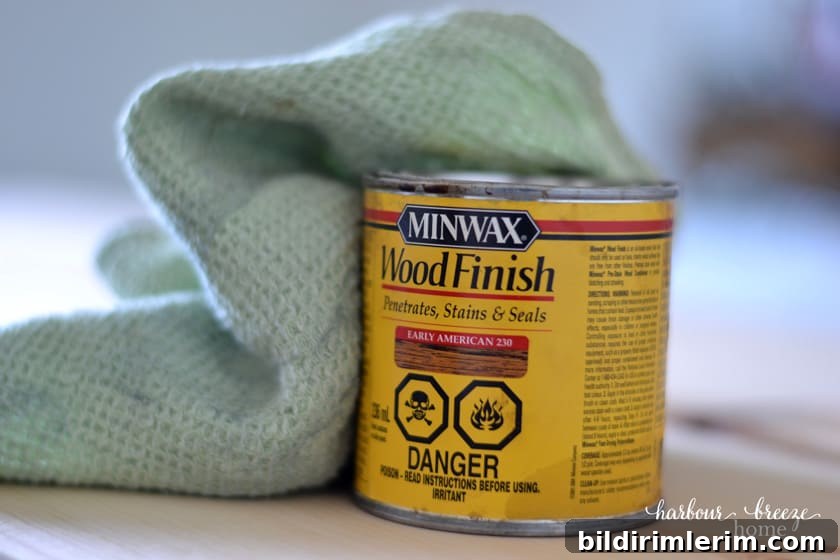
- Wood stain in a color of your choice (we used Early American)
Tools needed:
- Stud finder
- Level
- Drill and drill bits
- Measuring tape and pencil
- Cloth for applying stain
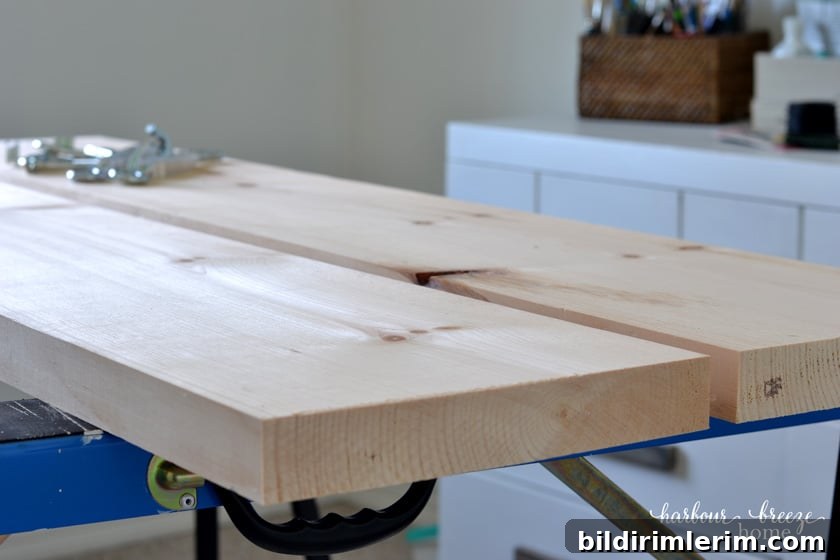
Where to Find Turnbuckle Hardware
Turnbuckle hardware can be tricky to track down. Check the hardware store sections with cabinet handles, hooks, and shelf brackets. Some stores place decorative hooks separately from utilitarian, industrial-style hooks. If you can’t find a match locally, check specialty hardware stores that carry marine or rigging supplies, as turnbuckles are common there.
Measure Your Space and Locate Wall Studs
Before drilling, decide exactly where the shelves will go and locate wall studs with a stud finder. Anchoring into studs is essential for safely supporting weight on floating shelves. In our installation, the studs dictated that the turnbuckle attachments would sit 8 inches from each end of the board.
Stain the Shelf Boards
After cutting and sanding, apply your chosen wood stain with a cloth, rubbing it into the grain and wiping off any excess. Allow the stain to dry fully before drilling holes or attaching hardware.
Drill Holes for the U-Bolts
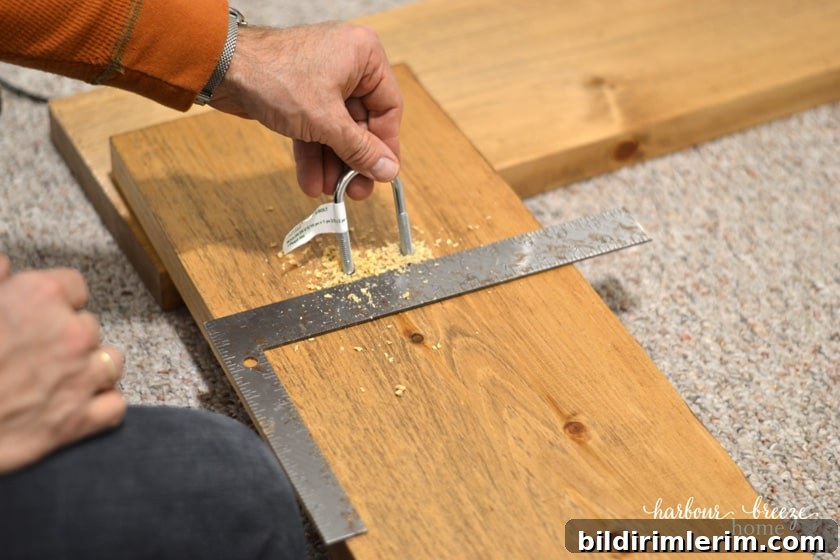
When the stain is dry, measure and mark where the U-bolts will go—centered across the thickness of the board and spaced from the end according to your design (we used 8 inches). Drill appropriately sized holes for the U-bolts.
Spray Paint Hardware (Optional)
If you prefer a uniform look, clean and dry the hardware, then spray paint the hooks, U-bolts, and turnbuckles in oil-rubbed bronze or black. Allow the paint to cure completely before assembly.
How to Hang Floating Turnbuckle Shelves
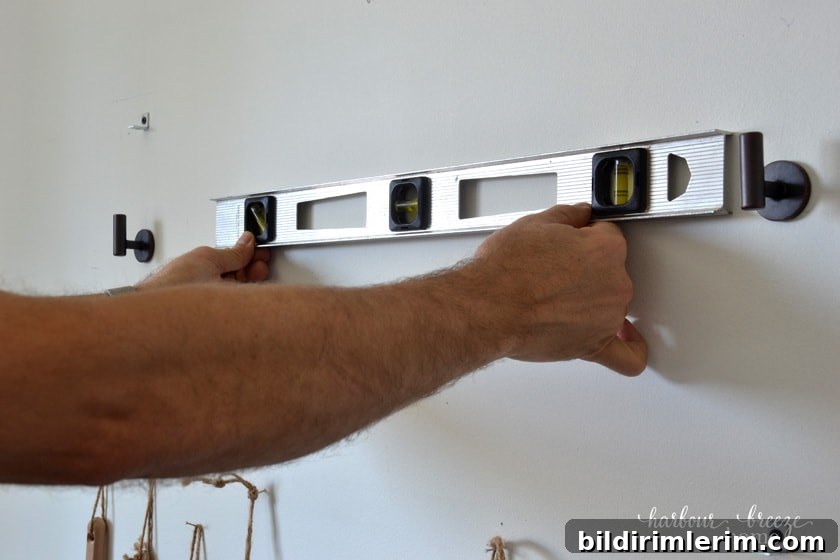
The hanging process is the most precise part. Work slowly, use a level, and mark lightly with pencil:
- Decide shelf heights and spacing. For example, we positioned the bottom shelf 17 1/4″ above the dresser and the second one 12 1/2″ above the bottom shelf.
- Hold the shelf at the desired height and use a level to ensure it is straight. Lightly mark the top edge as a guide.
- Using your stud location marks, line up where the turnbuckle will attach to the wall hook and mark the hook locations. Double-check they are level.
- Install the wall hooks into the studs and hang the turnbuckles on them.
- To prevent tipping, attach the small L-brackets under the back edge of the shelf. Mark bracket positions, remove the shelf, screw the wall-side of the L-brackets into the studs, then replace the shelf and secure the shelf-side of the brackets.
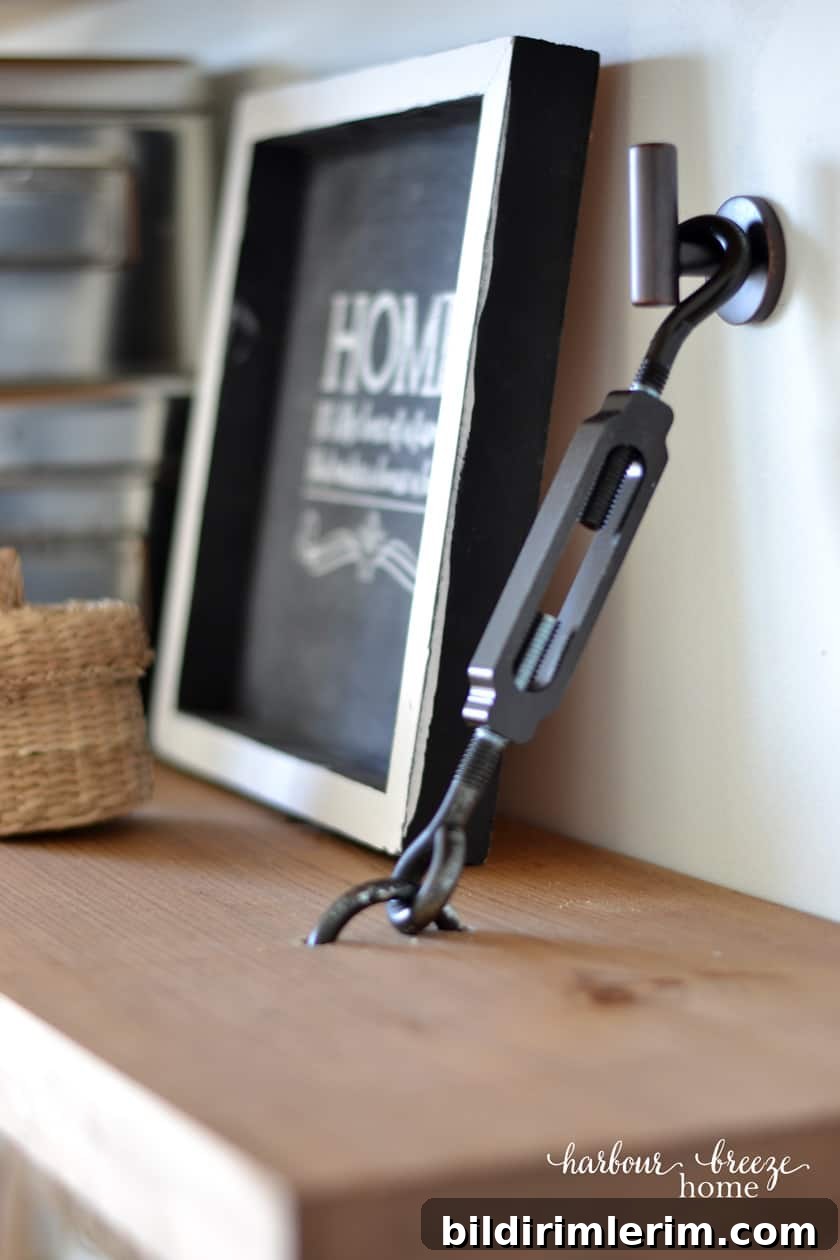
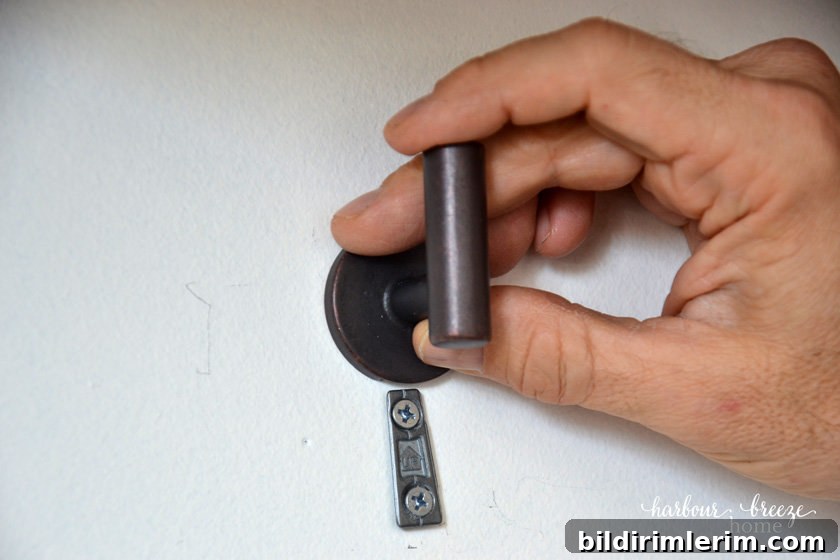
Additional Tips
- Light pencil marks on painted walls are easy to remove with a gentle eraser or mild cleaner—test first in an inconspicuous spot.
- Make sure hardware is clean and fully dry before spray painting for even coverage.
- Always drive screws into studs for maximum strength. If studs aren’t available where you need them, use rated anchors designed for the wall type and expected load.
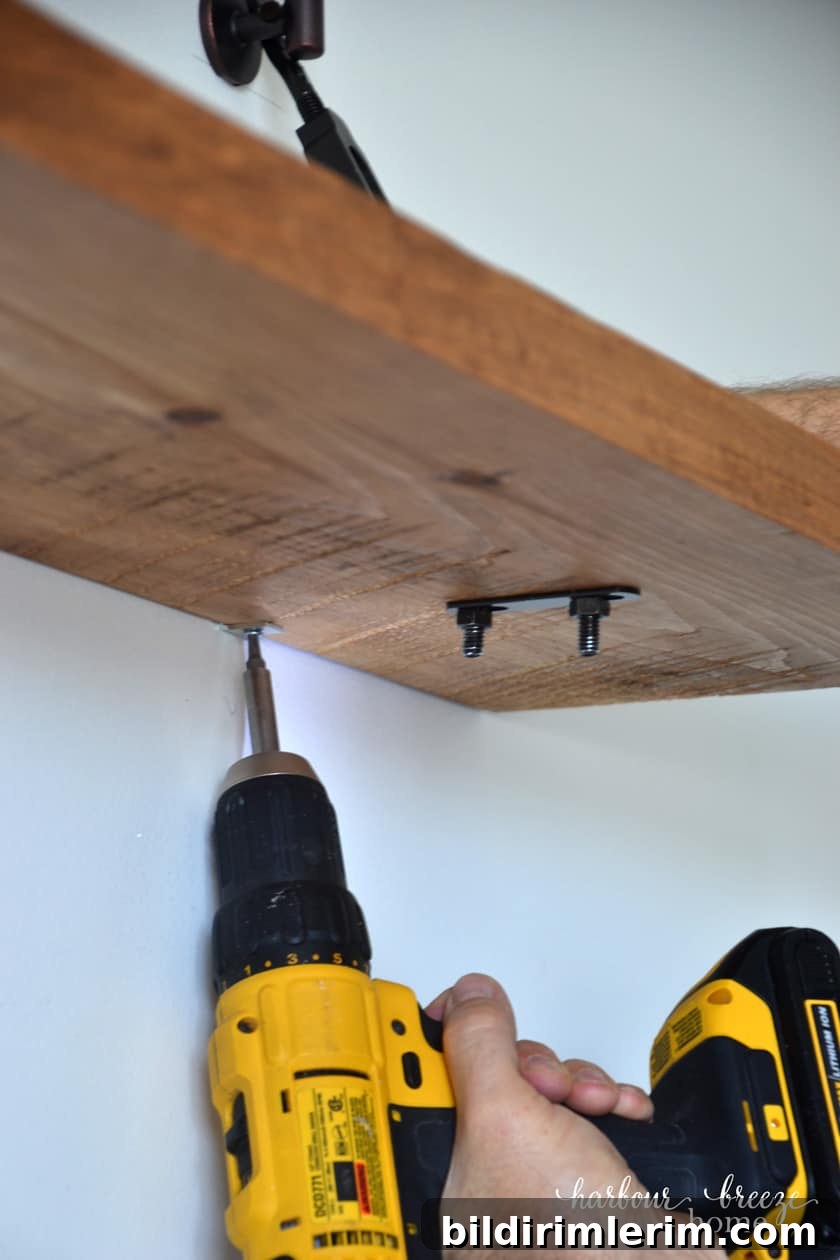
I love how these shelves transformed my craft room and office. They provide both functional storage for frequently used supplies and a display area for sentimental decor—like my grandmother’s rolling pin holding jute twine, which adds a rustic farmhouse touch.
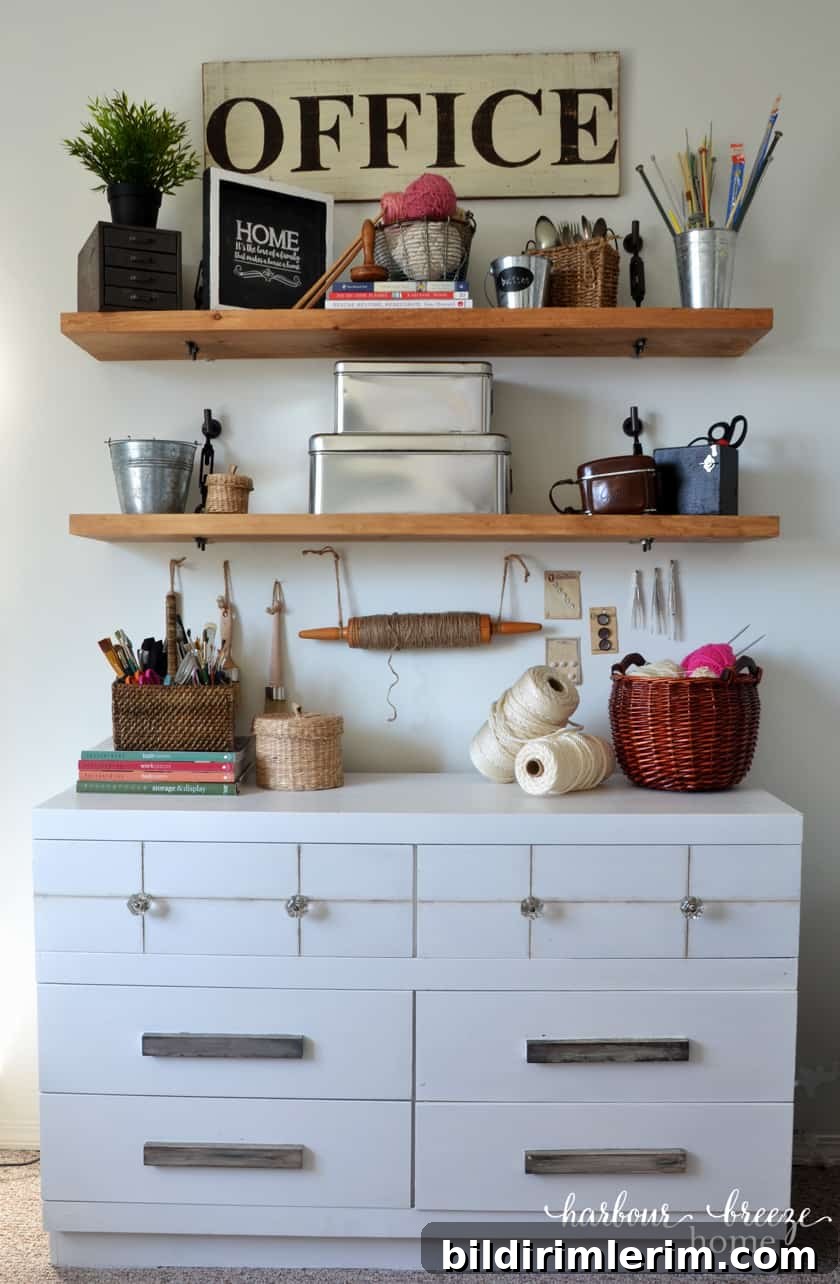
If you have questions about building or installing turnbuckle floating shelves, feel free to leave a comment below. These shelves are a stylish, sturdy, and space-savvy solution for many rooms in the home.