Revamp an old veneer end table with clear step-by-step instructions, a tidy supplies list, and practical tips for handling common issues.
During a recent beach cottage bedroom makeover, I wanted to introduce coastal paint colors and a touch of watery aqua blue. The nightstand I planned to update was an older dark-veneered piece I’d had since high school—still sturdy but dated.
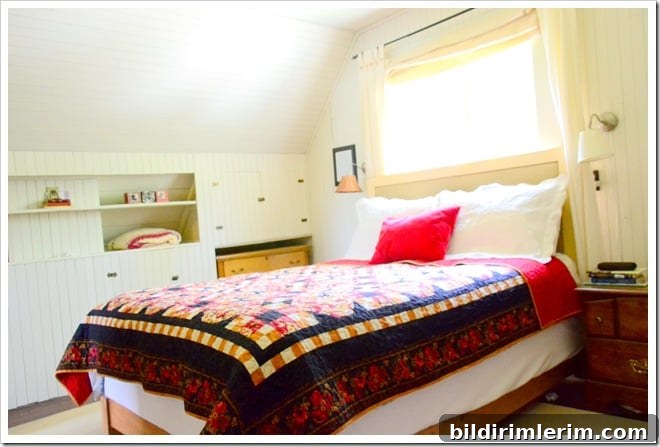
I didn’t get a perfect before shot in the rush of the renovation, but you can see the original nightstand in this photo:
I was nervous about painting such a glossy surface—veneer can feel slippery and unfamiliar to work with—but the project turned out to be straightforward with the right approach.
Supplies You’ll Need to Paint a Veneer Cabinet (End Table)
Gather these materials before you start to make the job easier and cleaner.
- Oil-based primer (or a high-quality water-based primer formulated for slick surfaces—ask your paint supplier for recommendations)
- Disposable foam brushes or inexpensive brushes for applying the primer
- Latex or acrylic paint in your chosen color for the topcoat
- A good-quality brush for the latex paint (a dense, angled brush works well for smooth strokes)
- Fine-grit sandpaper for light sanding between coats
- Optional: antiquing gel or glaze if you want a distressed or aged finish
Step-by-Step Instructions for Painting a Veneer Cabinet, Table, or End Table
- Clean the piece thoroughly with a degreasing cleaner, then wipe completely dry. Paint won’t adhere well to dirt, oil, or moisture.
- Apply the oil-based primer with a disposable foam or inexpensive brush, working in long, even strokes. If using a water-based primer rated for slick surfaces, follow the manufacturer’s instructions. Allow the primer to dry fully.
- Paint the first coat of latex paint with a high-quality brush, loading it enough to make long, even passes and reduce visible brush marks. Watch for drips and brush them out immediately.
- Allow each coat to dry according to the paint manufacturer’s recommended time. Lightly sand with fine-grit sandpaper between coats to smooth the surface and improve adhesion, then wipe away any dust before applying the next coat.
Tips for Painting Veneer Furniture
A few practical lessons from this project that may help you avoid common headaches:
- Consider a spray primer if you want the most even application with fewer brush marks; it can make coverage faster and cleaner.
- Foam brushes can disintegrate quickly with oil-based primer—keep extras on hand or use inexpensive bristle brushes instead.
- Work briskly but carefully; some primers and paints begin to tack quickly on slick surfaces.
- Minor drips are common. Sand and smooth them between coats, or use them as part of a distressed look if that suits your style.
The project is a learning experience, and small mistakes are fixable as you go.
Colors I Used for This Painted Veneer End Table
After priming, I painted the base and drawers twice with a soft white (Benjamin Moore’s Cloud White) and the top with an aqua (Behr’s Tide Pools), sanding lightly between coats for a smooth finish.
At first the combination looked too sweet—almost nursery-like—so I balanced it with a dark chocolate antiquing gel. Wiping back the glaze brought out depth and contrast and transformed the piece into a more mature, coastal bedside table.
The antiquing gel added the right amount of contrast, taking the nightstand from “nursery” to a relaxed, beachy look suitable for the master bedroom.
Here’s the final Beach Cottage bedside table after refinishing and glazing:
I left the original hardware in place for this version, though the positioning made a playful “smiley” face appearance. Next time I might reposition or fill and re-drill holes for a more balanced look.
A simple vignette—like a woven basket and a soft throw—helps the finished piece blend into the room while drawing attention to texture and color rather than the hardware.
Other Furniture Makeover Posts:
- Chalk paint bookcase makeover
- How to strip and refinish a farmhouse table
- Painting an electric fireplace — yes, it’s possible
- Plywood dresser transformed with paint
- Quick tips for repainting a dresser