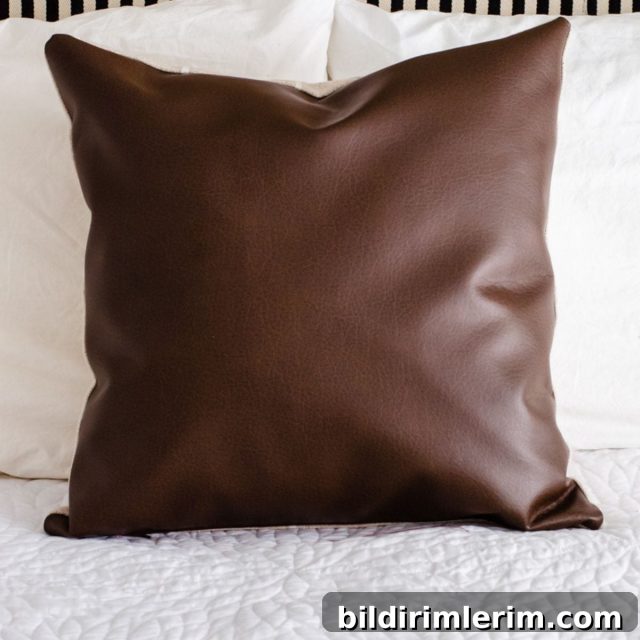
Simple Linen Envelope Pillow Cover Tutorial
I still remember the very first pillow tutorial I saw on television. It was by Sara Richardson on her early design series, Room Service. She demonstrated a “simple linen pillow cover” that felt remarkably clever and practical. I never found that exact episode online, but it stuck with me and inspired this version of the same idea.
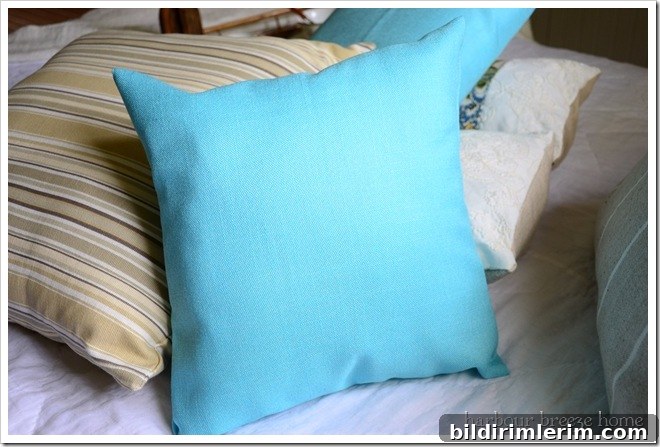
This envelope-style pillow cover can be made from almost any fabric, though this was my first time working with linen and I loved the natural texture and weight. The piece of linen I used was a lucky find at a garage sale—a real steal—and it gave the finished cover a relaxed, tailored look. For this tutorial I’ll use a 13.5-inch pillow form, but the same steps apply to any size: just substitute your form measurements into the formulas provided.
Materials and basic notes
Materials you’ll need:
- Fabric large enough for the cut piece (see measurements below)
- Thread that matches or complements your fabric
- Pins and sewing machine (or needle for hand sewing)
- Iron and ironing board
- Scissors or rotary cutter
- Pillow form (13.5 inches used in this example)
Technique notes: the envelope back is fast and requires only straight seams and hems. If you prefer a snug fit, sew slightly larger than the nominal seam allowance; I usually stitch at 5/8″ even when planning 1/2″ seams because I like a fuller, firmer finish once the form is inserted. Pressing as you go makes a big difference in the final look.
Measurements and cutting
Determine the rectangle you need to cut by calculating two dimensions: the length around the pillow (including hems and the back overlap) and the finished width to cover the pillow’s front and back.
For a 13.5-inch pillow form this example works like this:
- Length around the pillow: 2 × 13.5″ = 27″ (this accounts for front and back)
- Add hem allowance at the top and bottom: 1″ + 1″ = 2″
- Add extra for the overlapping flap on the back (so the cover closes without buttons): 6″
- Total cut length: 27 + 2 + 6 = 35″
- Width: the pillow width (13.5″) plus 1/2″ seam allowance on each side: 13.5 + 1 = 14.5″
So cut a rectangle of fabric 35″ × 14.5″. If you are using a different size pillow, replace 13.5″ with your form measurement and follow the same formula: (2 × pillow size) + hems + flap for length, and (pillow size) + seam allowances for width.
Construction steps
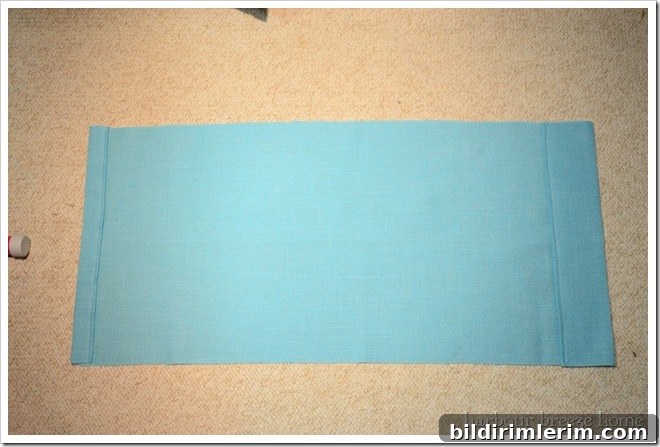
1. Hem the bottom edge: Fold the bottom edge under 1″ toward the wrong side of the fabric, press, fold under again to encase the raw edge, press, and stitch the hem close to the inner fold. This creates a clean finished edge on one long side of the rectangle.
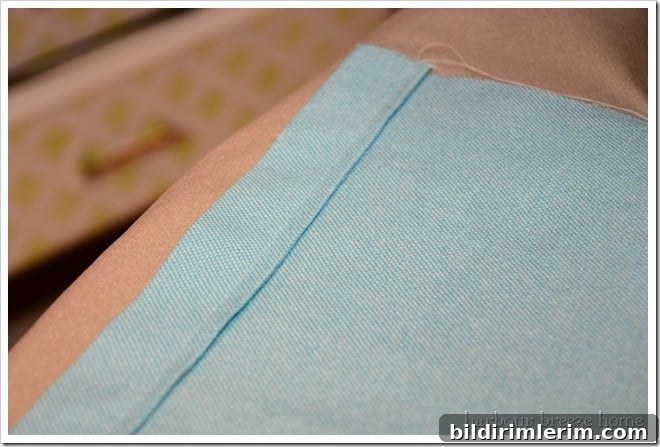
2. Prepare the flap: On the opposite long end, fold under a 3″ hem, press, then fold over again and press to make a neat hem. Stitch this hem so the flap edge is finished. This folded flap will become the overlapping closure on the back.
3. Position the flap: Fold the flap down so it covers slightly less than half the length of the pillow back—just a bit under 6.75″ for a 13.5″ form—and pin it in place. This leaves room for the bottom portion to fold up and create the envelope closure.
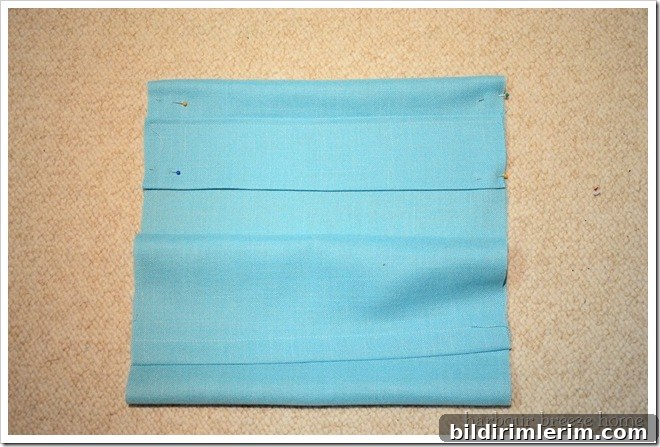
4. Fold up the bottom: Fold the bottom hem up so the entire piece measures the finished pillow length (13.5″ in this example). When folded correctly you will have the finished front panel with the flap overlapping on the back.
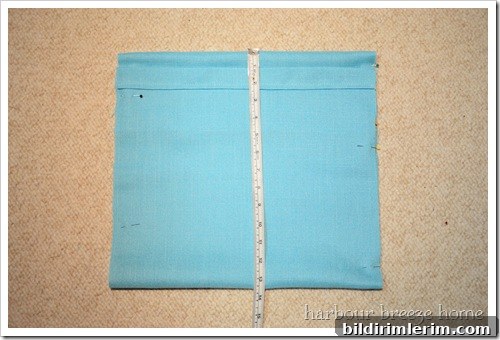
5. Sew the side seams: With right sides together, stitch both side seams. If your plan was for 1/2″ seam allowances, you may choose to stitch a touch wider (I used 5/8″) for a firmer cover. Backstitch at the beginning and end of each seam to secure the thread.
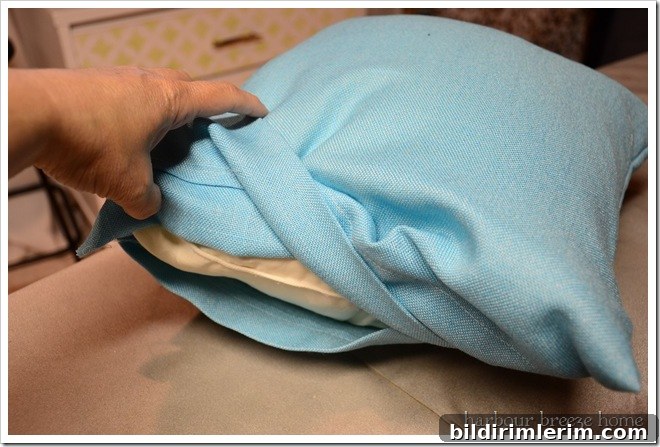
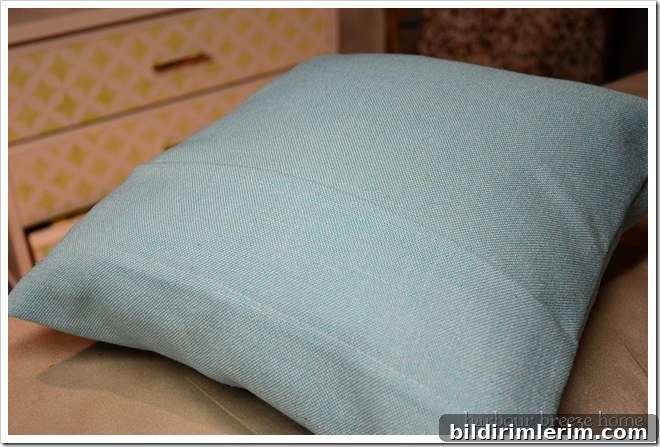
6. Finish the corners and turn: Clip the corners diagonally (carefully, not into the stitching) to reduce bulk, then turn the cover right side out and press the seams flat. Insert your pillow form, smooth everything into place, and pull the flap over to close the back.
Finishing touches and variations
This clean linen front looks great as-is for a minimal, natural look. If you want decorative details, you can add buttons to the flap or sew on trim around the edges. For a more polished interior finish, consider using French seams; for added security you can hand-stitch a few small tacking stitches where the flap overlaps to prevent shifting.
I later discovered another tutorial that uses the same envelope concept and includes instructions for adding buttons and French seams—it’s a nice variation if you want a different finish. No matter which finish you choose, this envelope method is fast, economical, and ideal for swapping covers seasonally or for coordinating with other room accents.
Care and tips
Linen will soften with washing and will take on a relaxed, lived-in look. Pre-wash your fabric if you expect shrinkage, and press seams well during construction for the best result. If you prefer a less wrinkled appearance, use a linen blend or press with steam regularly.
Enjoy making covers to match your décor—this envelope method is simple, adaptable, and perfect for both beginners and experienced sewists who want quick, attractive pillow covers.