DIY Antique Window Decor: Handmade Home Decor Ideas
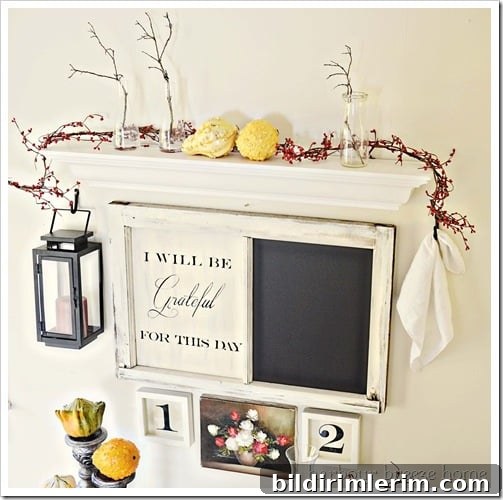
There is something special about handmade home decor. Creating decor yourself not only often saves money, it also lets you customize every detail so the finished piece fits your space and style. I have a soft spot for old, antique windows and enjoy incorporating them into our home. One large vintage window became a functional message center for the kitchen, and other windows have been repurposed into decorative wall art for an entryway or a child’s room.
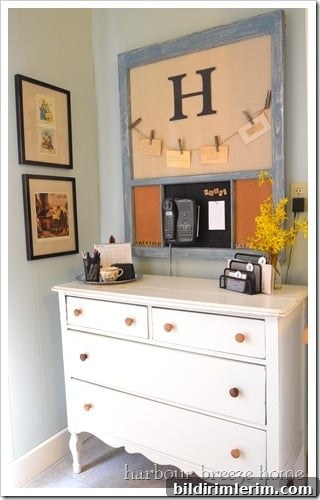
The same window used in a seasonal entryway also had a chalkboard panel on one side, which made it both decorative and practical for short notes and reminders.
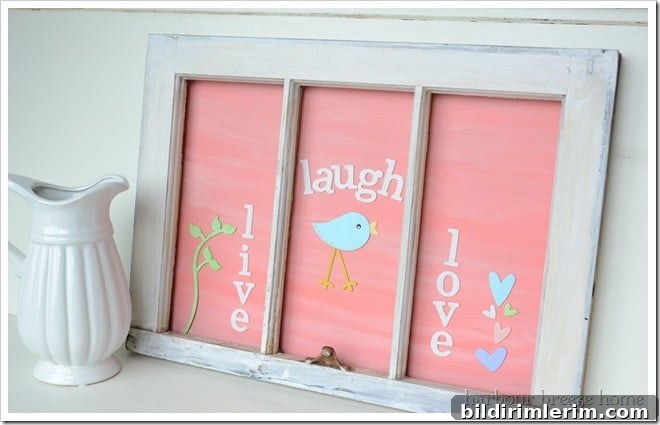
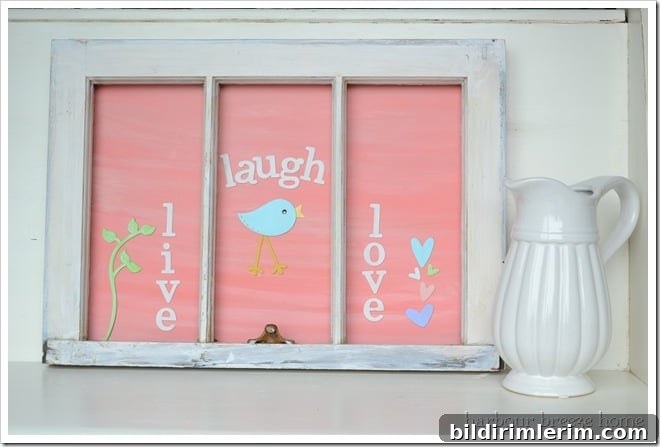
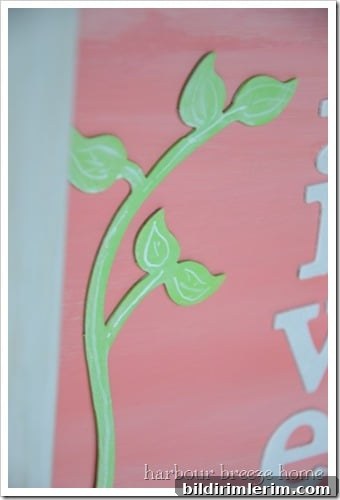
Another design I created was aimed at a girl’s room, using layered dimensional elements and a soft color palette. By changing colors and wording, the same technique can suit any room or style.
Materials You’ll Need
- An antique window (or salvaged window sash) with intact glass and frame
- MDF or thin artist board cut to fit the window openings (about 1/4″ thick works well)
- Cardboard dimensional pieces or layered paper embellishments from scrapbooking supplies
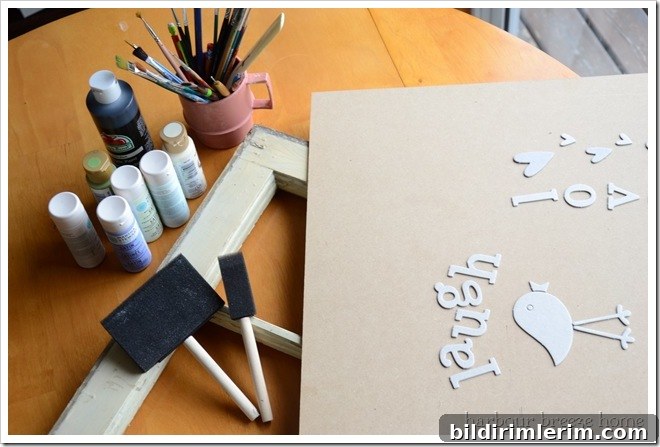
- Foam brushes and small detail paint brushes
- Acrylic paints in your chosen palette
- Mod Podge or decoupage glue for adhering the dimensional elements
- Sandpaper (for light sanding of the wood)
- Basic tools: measuring tape, pencil, small clamps or painter’s tape for temporary holding
Step-by-Step Instructions
Below are simple steps to make a decorative panel inside an antique window. These instructions are flexible—adjust color, scale, and embellishments to match your vision.
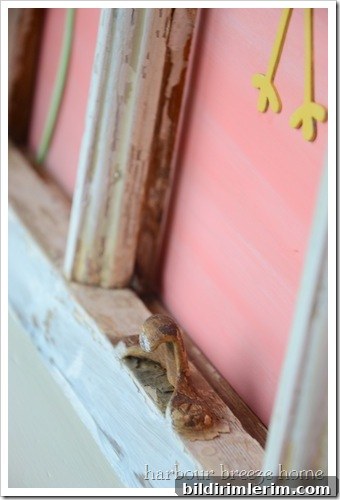
- Prepare the window: Lightly sand the frame to remove loose paint or dirt. If the window is very old, work outdoors and take precautions for possible lead paint dust (wear a mask and avoid creating dust). I prefer to keep some of the original patina, so I sand gently and then apply a thin wash of acrylic paint rather than fully stripping the finish.
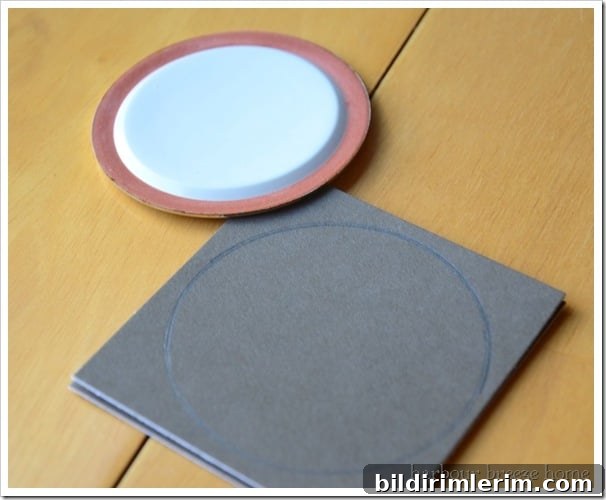
- Cut and paint the backing board: Have an MDF or thin artist board cut to fit each window pane opening. Paint the board with your chosen base color using foam brushes for an even finish. Allow it to dry completely before moving on.
- Paint dimensional elements: Paint any cardboard or paper dimensional elements in coordinating colors. Use small brushes for shading and highlights. These layers add depth and visual interest once assembled.
- Attach the backing board: Fit the painted MDF or board into the window opening from the back and secure it with small screws, brad nails, or strong adhesive depending on the frame construction. Make sure it sits flush and stable.
- Apply embellishments: Use Mod Podge or a decoupage glue to adhere the painted dimensional elements to the board. Apply a thin layer over and around the edges of each element to ensure they stay in place.
- Add hand-painted details: Once the glued elements are dry, enhance them with hand-painted lines, dots, or shadows to give more depth and a finished look. Tiny highlights or outlines can elevate the whole piece.
- Final touches: Wipe away any excess glue, touch up paint where needed, and mount or hang the window as desired. If you plan to hang it on a wall, use proper picture hangers rated for the weight.
These steps will give you a unique piece of decor that blends vintage charm with handmade detail. The finished piece works well as wall art, a message center, or a focal point in a hallway or bedroom.
Design Tips and Variations
- Color and theme: Swap colors to match seasonal decor or the recipient’s favorite hues. Neutral backgrounds with bright accents make the dimensional pieces pop.
- Mixed media: Combine fabric, pressed flowers, or small wooden shapes with the cardboard elements for extra texture.
- Functionality: Turn one pane into a chalkboard by painting with chalkboard paint, or add small hooks to hold keys and lightweight items for a practical entryway organizer.
- Preserving patina: Leave portions of the original finish visible for an aged, authentic look. A light paint wash will refresh the frame while keeping its character.
This project is forgiving and customizable. Whether you prefer a clean modern look or rustic vintage charm, repurposing an antique window into decorative wall art brings warmth and personality to your home. Enjoy the process of creating something uniquely yours.

Part of a series of creative home decor projects and ideas to make your space uniquely yours.