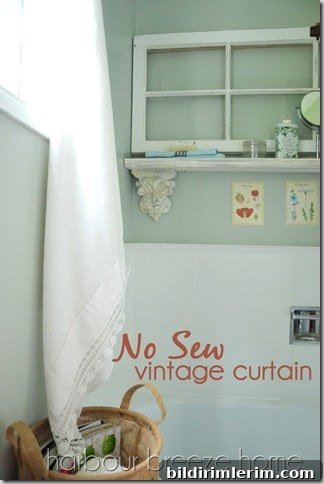
Turn a vintage pillowcase into a quick DIY no-sew curtain.
Have you ever finished one project only to create a dozen new tasks and an even bigger mess? When that happens I try to speed things up and keep projects simple. On a recent day when I was finishing the final touches in the main bathroom, my husband announced we had to leave for an errand in one hour. Instead of abandoning everything, I tightened my timeline and completed a fast solution for the window.
I needed something pretty to display by the tub and a window covering that would let in light during the day but provide privacy at night. For months I had been considering several ideas for this small window and experimenting with different options. Eventually I realized a vintage pillowcase from my stash would work perfectly.
How to Make a DIY No-Sew Curtain
Why this no-sew curtain works
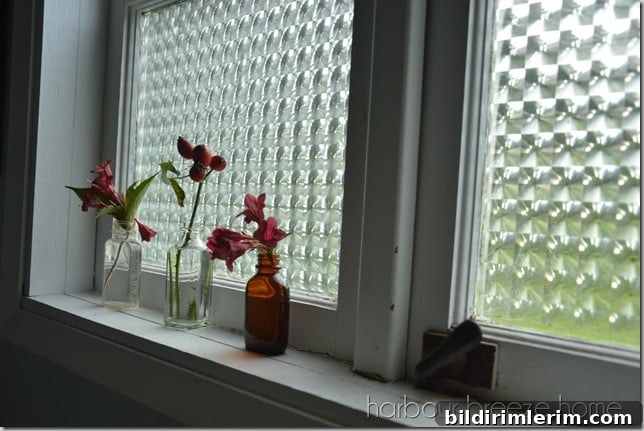
I love having the top pane of the window uncovered during the day so natural light floods in, and the bottom pane already has privacy treatment. But after dark the bare window felt like a black void, and I wanted a simple way to create privacy without blocking daylight when it’s not needed. A vintage pillowcase offered soft texture and pretty lace that fit the look I wanted.
Step 1: Open the pillowcase
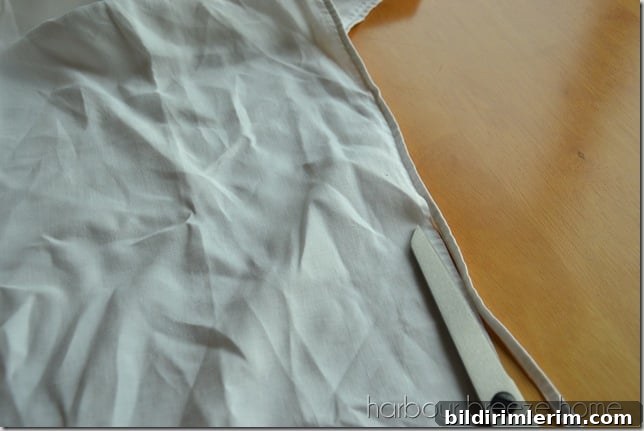
The pillowcase was folded along one side, so I only had to undo two seams. I first tried a seam ripper but the stitches were tiny, so I carefully used scissors to open the seam. Once opened, I held the fabric up to the window and it fit well.
Step 2: Find or create loops
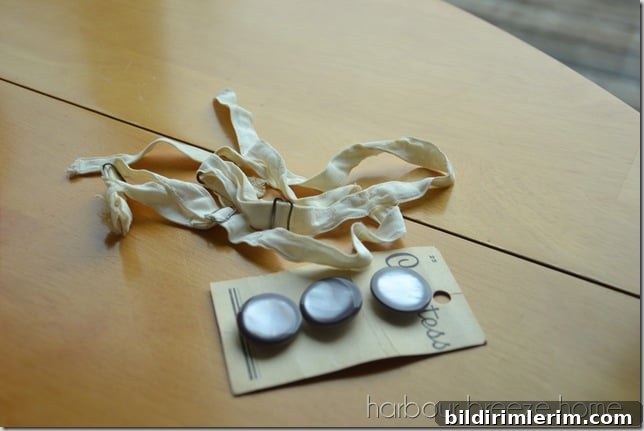
For hanging loops I dug through my vintage supplies and found an unexpected but perfect solution: old bra straps that looked like soft muslin. They were the ideal width and texture for small curtain loops.
Step 3: Cut and prepare the loops
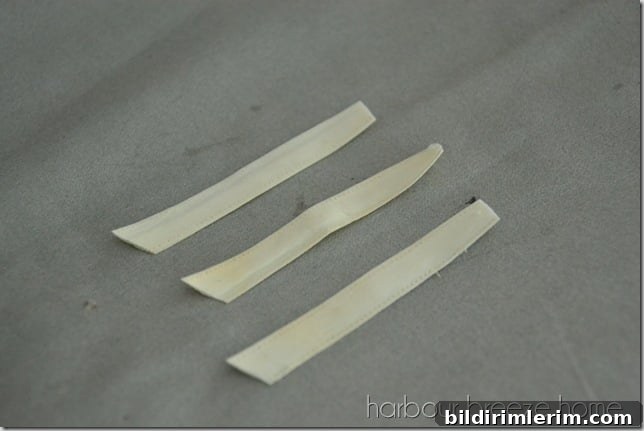
I ironed the straps flat and cut three pieces to equal lengths, about 3.5 inches each. Matching lengths helps the curtain hang evenly and look tidy.
Step 4: Attach loops to the curtain
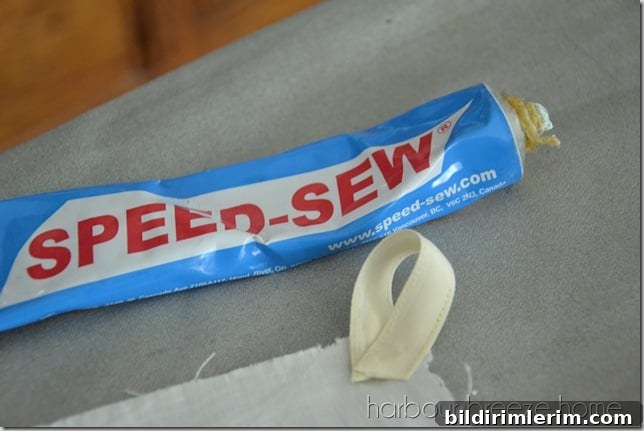
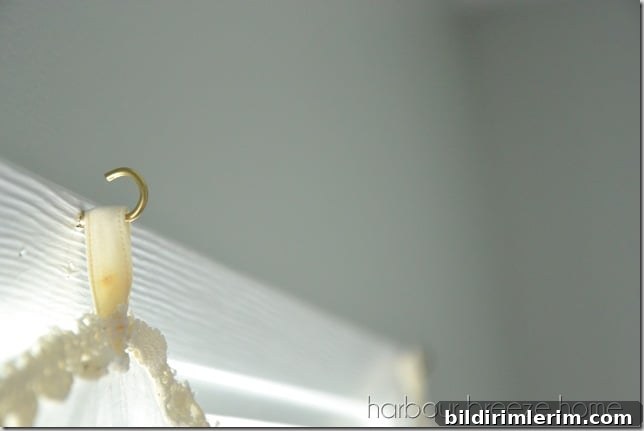
I formed each strap into a loop and secured them along the top edge of the pillowcase with an all-purpose fabric adhesive. Placing one loop at each end and one centered made it easy to lift the curtain into place and kept the gathers balanced.
Step 5: Install simple hooks
I used three small cup hooks screwed into the top of the window frame — one at each end and one in the middle. These hooks are unobtrusive and strong enough to hold the lightweight vintage fabric, making it easy to hang or remove the curtain as needed.
Step 6: Finish the raw edge with vintage lace
The top edge of the opened pillowcase showed a raw hem that I wanted to tidy. I glued a strip of vintage lace across the top for a finished look that echoed the pillowcase’s original lace detail. This small finishing touch makes the curtain look collected and intentional while staying true to the vintage style.
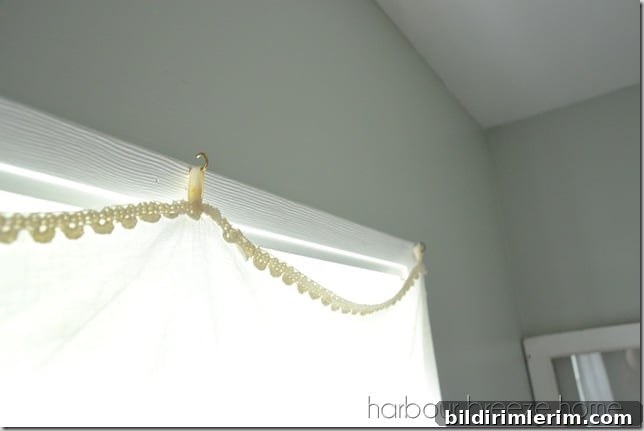
During the day the curtain can be draped casually to the side so light pours in, and at night the loops hook over the cup hooks to provide privacy and softness to the room. This solution is fast, affordable, and requires no sewing — perfect for a last-minute makeover.
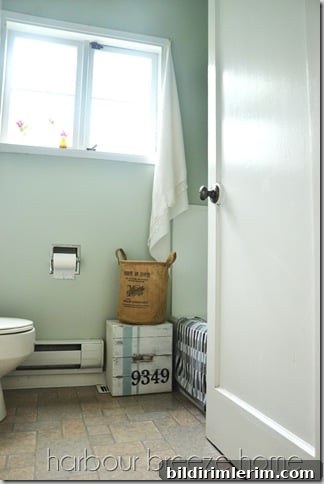
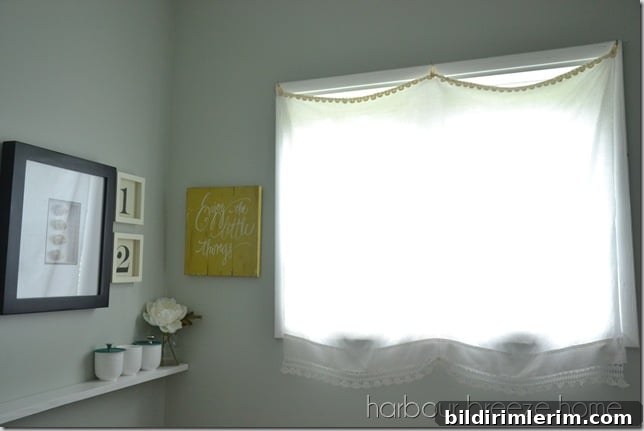
Creative solutions often arrive under pressure. In my case, a little desperation, a few vintage finds, and a willingness to work quickly resulted in a charming, functional bathroom curtain — and yes, vintage bra straps saved the day.
Related ideas using vintage linens
- Where to find vintage linen and creative ways to use it
- How to launder vintage linens and remove odors
- Creating a colorful spring tablescape with vintage linens
- How to sew a lavender sachet from vintage fabric
Want more home ideas?
Join the VIP newsletter for decorating tips, tutorials, and printable resources. Signing up gives you access to free printables and project inspiration delivered straight to your inbox.