Sometimes life hands you a tight deadline that becomes the best motivation to get a project done.
I had been talking with my sister for months about the challenges she faced in her kitchen. We live 793.9 miles apart (and an ocean between us), so I couldn’t be there to help most of the time—except to listen and plan.
When I scheduled my trip, we carved out a week specifically for the kitchen. Seven days. Every day had to count.
How We Completed a Kitchen Makeover in Just 7 Days
Start by defining the problems.
Before picking out paint or accessories, we spent time identifying what actually needed to change. Everything boiled down to two core issues:
- Function: improving how the kitchen works for everyday tasks.
- Form: updating the look and making the space feel cohesive and welcoming.
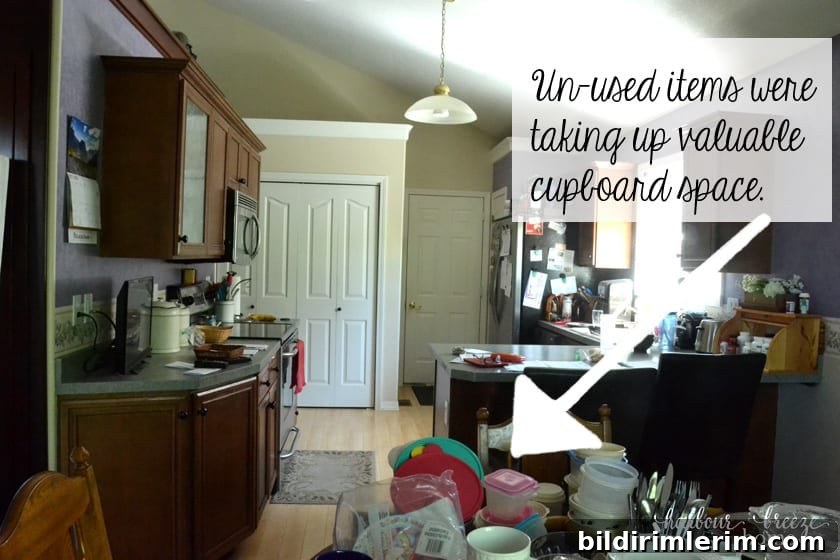
Balancing function and form kept our decisions practical and focused on long-term use rather than short-term trends.
Organize first — then beautify.
We were both tempted to jump straight into the “pretty” changes, but organization had to come first. A functional kitchen starts with the contents and layout of drawers, cabinets, and pantry.
Our method was simple but thorough: empty every cupboard, drawer, pantry shelf, and hutch. Lay everything out, sort by category, and make intentional choices about what to keep.
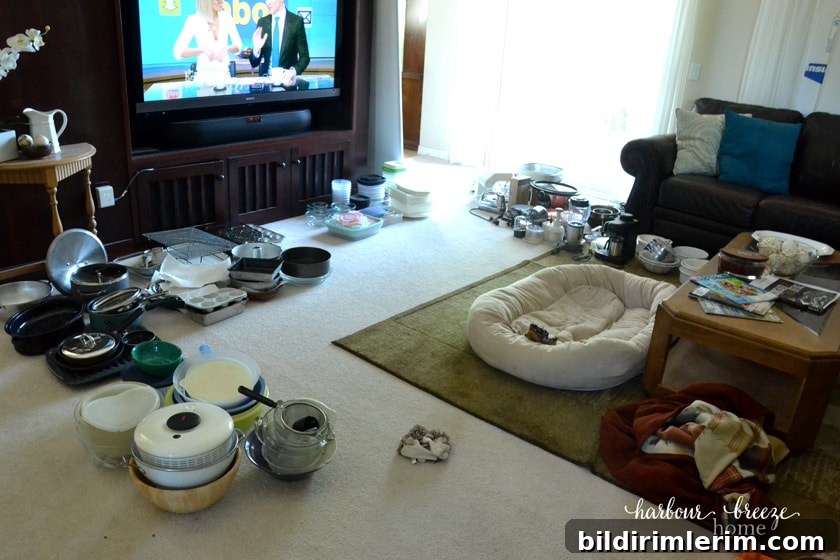
I spread every single item on the living room floor so nothing would be overlooked. Then, one item at a time, my sister decided what to keep, donate, or discard. Giving clear permission to let go of things she didn’t love or use made the process faster and less emotional.

Once decisions were made, I boxed donations and returned the chosen items to the cupboards in logical zones—everyday dishes near the dishwasher, baking supplies together, and so on. Creating zones improves workflow and saves time in the long run.
Keep momentum and stay focused on the goal.
A hard deadline is a powerful motivator. Knowing we had only a week helped us avoid distractions and keep steady progress. We worked in blocks, took short restorative breaks, and always asked, “What’s the next task that moves us toward completion?”
Adjust the plan when needed.
Around day four it became clear not everything would be finished in the time I had. We reprioritized: what I would complete during the visit and what my sister and brother-in-law could finish later.

For example, we planned to convert an under-used closet beside the fridge into an appliance garage with shelving. The design and materials were decided, but I ran out of time and energy, so my brother-in-law volunteered to handle that build after I left. Prioritizing tasks this way ensured the essential changes were completed during my visit and left a clear to-do list for later.
Small, delegated projects can extend a makeover without stalling the main timeline.
Plan how to make it pretty—within a budget.
Not every remodel needs contractors or permits. This was a budget-friendly refresh focused on paint, textiles, and smart decor choices rather than structural changes. If you’re considering a full renovation—new floors, cabinets, or plumbing—expect a much larger investment of time and money.
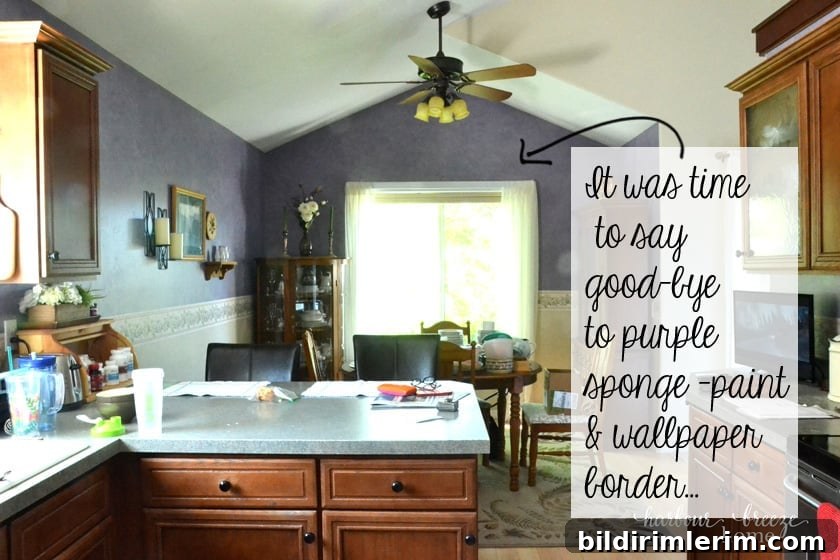
For our one-week makeover we removed an outdated wallpaper border, took down an awkward cabinet, and repainted the walls. Simple choices like a new rug, curtains, and coordinated accessories finished the look and helped the kitchen reflect the family’s style.

By focusing first on function and then on form, we transformed the space into a more organized, attractive, and practical kitchen—in just seven days.
See the full reveal for this seven-day kitchen remodel to get ideas for organizing, budget-friendly updates, and practical design choices.
More Kitchen Remodel Posts
- Before and after budget small kitchen remodel – under $200!
- Ideas for the best paint colors for a small kitchen
- Adding kitchen storage with clever organizing solutions
- Make your own pendant light for above the sink
- Our current before and after small kitchen remodel