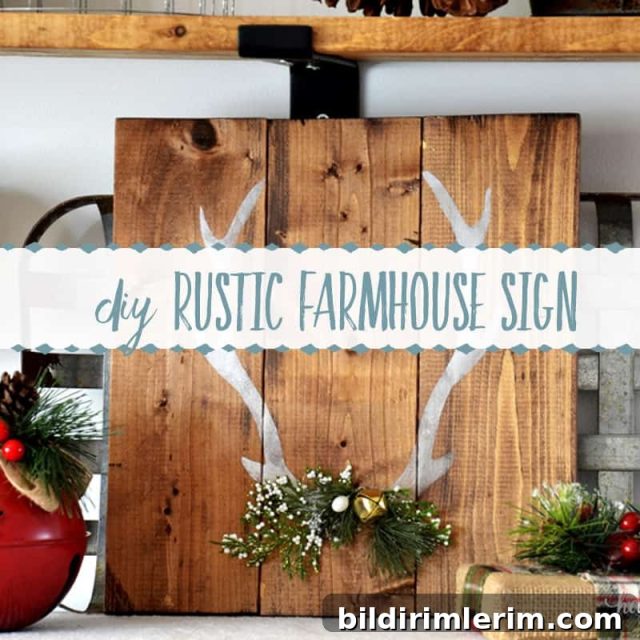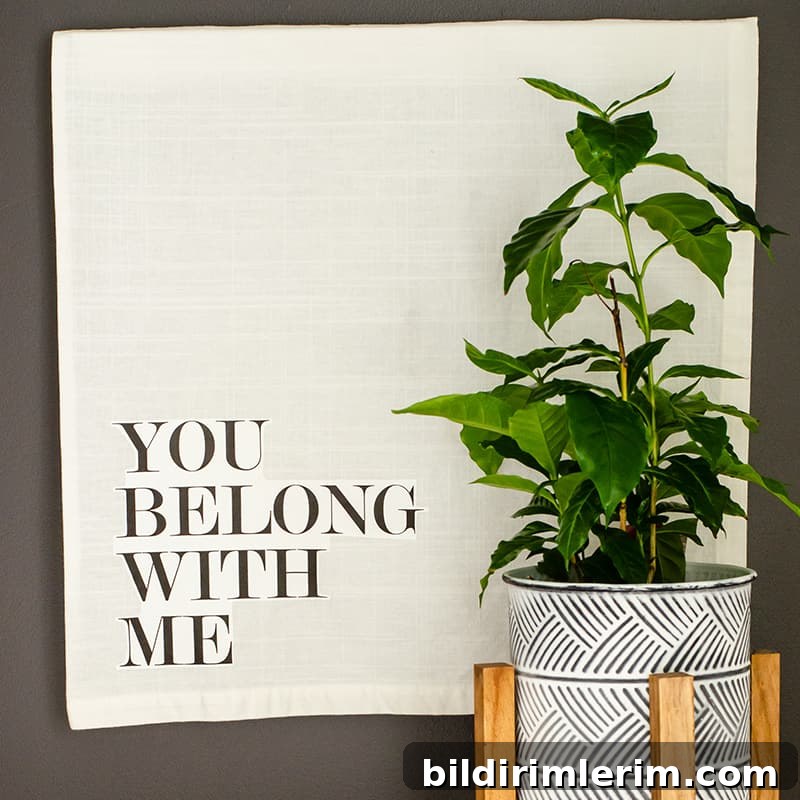
Create this quick and easy DIY farmhouse sign using fabric and free printables. It’s an affordable, stylish way to decorate your walls with a modern farmhouse boho vibe.
I often wish I could browse the aisles of my favorite craft stores for the perfect wall art, but inspiration doesn’t require a big shopping trip. After studying the look of rustic wood signs and textile hangings, I came up with a simple method to create Hobby Lobby–inspired wall art using fabric and printable transfers. The result blends farmhouse charm with soft, boho texture, and it’s made from supplies I already had on hand.
How to Make a DIY Farmhouse Sign with Fabric & Free Printables
Supplies needed:
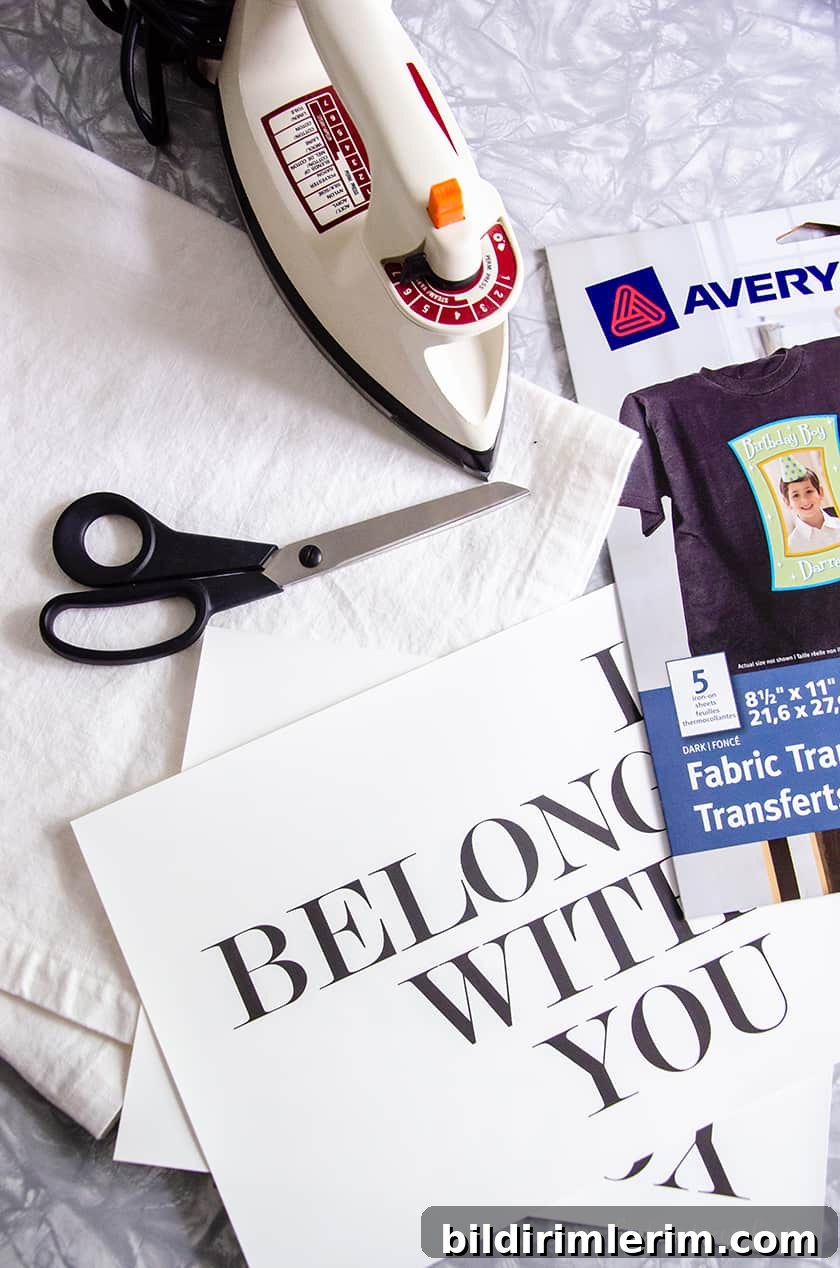
- Fabric remnant large enough for an 18.5″ x 20″ finished piece (cotton or linen works well)
- Iron-on transfer paper suitable for fabric (choose the type recommended for your fabric color)
- Iron and ironing surface
- Sharp scissors or a craft knife for trimming transfers
- Free printable art or lettering (download from your printable library or create your own)
- 1 x 2 inch (or 1 x 3 inch) board to staple the fabric to for hanging
- Staple gun and staples
- Two sawtooth picture hangers and small screws or nails
- Optional: iron-on hem tape for a neat edge
Step 1: Prepare and print the artwork on transfer paper
Start by placing your chosen printable onto the iron-on transfer paper according to the transfer paper manufacturer’s instructions. If you’re using text as the focal point, remember to mirror the image on the transfer sheet if the instructions say to do so. Many free printable designs are available from printable libraries; save your desired design and print it at home or at a print shop if you prefer a higher-quality print.
Tip: If you prefer a framed look rather than fabric, these printables can also be printed on 8.5″ x 11″ cardstock and framed for a different finish.
Step 2: Hem the fabric to the finished size
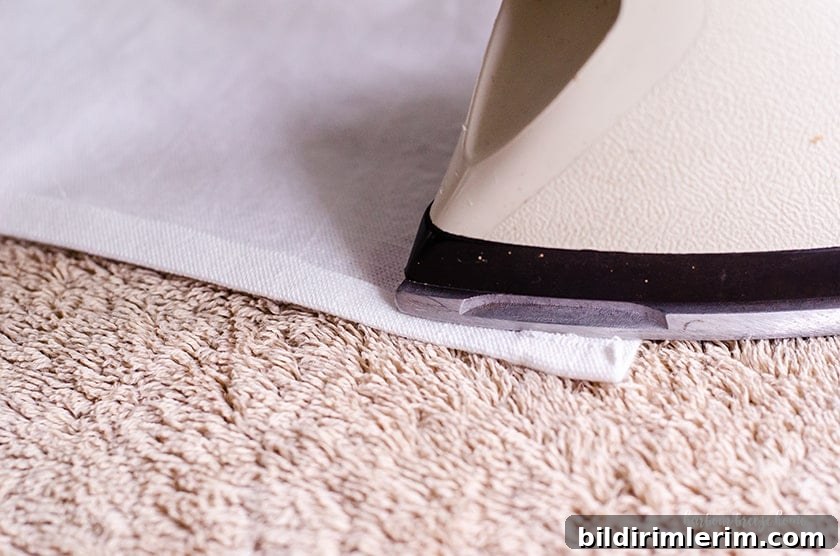
Trim and hem the fabric so the finished piece measures roughly 18.5 inches wide by 20 inches tall. Hem tape or iron-on hem tape speeds this step and gives a clean edge without sewing. Press the hems carefully with an iron so the fabric lies flat and looks finished.
Step 3: Apply the transfer to the fabric
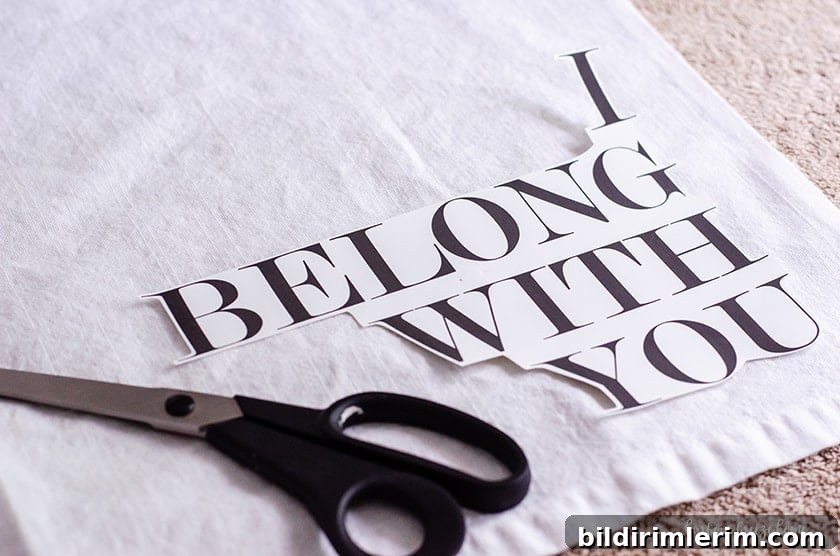
Trim closely around the letters or design on the transfer paper to reduce excess material. Position the transfer on the front side of the fabric where you want the lettering or graphic to appear. For symmetry when hanging on either side of a bed, place the design toward the inner edge of each piece so they frame the headboard nicely.
Follow the transfer paper instructions for the correct iron temperature, pressure, and timing. Press evenly and allow the transfer to cool slightly before removing the backing to reveal the transferred design.
Step 4: Attach the fabric to the backing board and add hangers
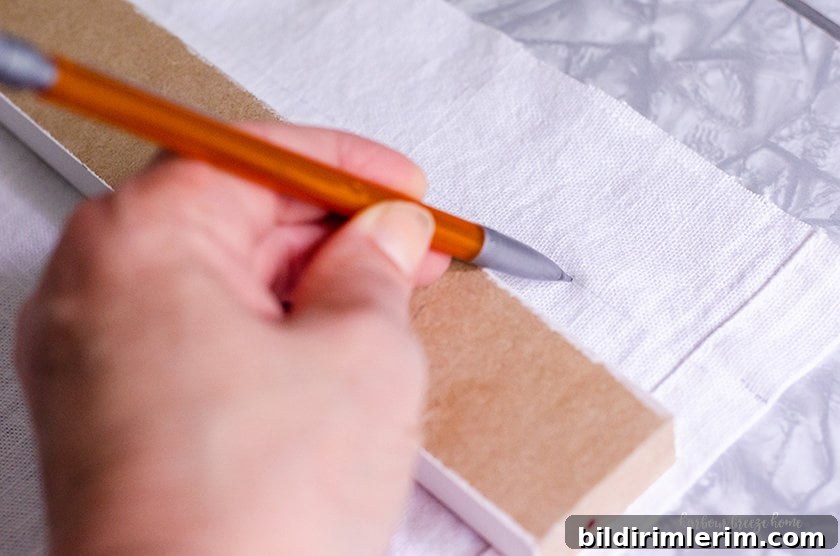
Measure 18.5 inches up from the bottom edge of the finished fabric and mark a light pencil line across the back. Lay the 1 x 2 (or 1 x 3) board along that line on the back side of the fabric. Pull the fabric taut, fold the excess over the board, and staple it in place with a staple gun, spacing staples evenly for a secure hold.
Attach two sawtooth hangers to the back of the board so the hanging points align with your wall mounting. A simple picture-hanging trick is to mark and level the hangers on the wall, then place the sign on them for easy adjustment.
Finishing touches and styling ideas
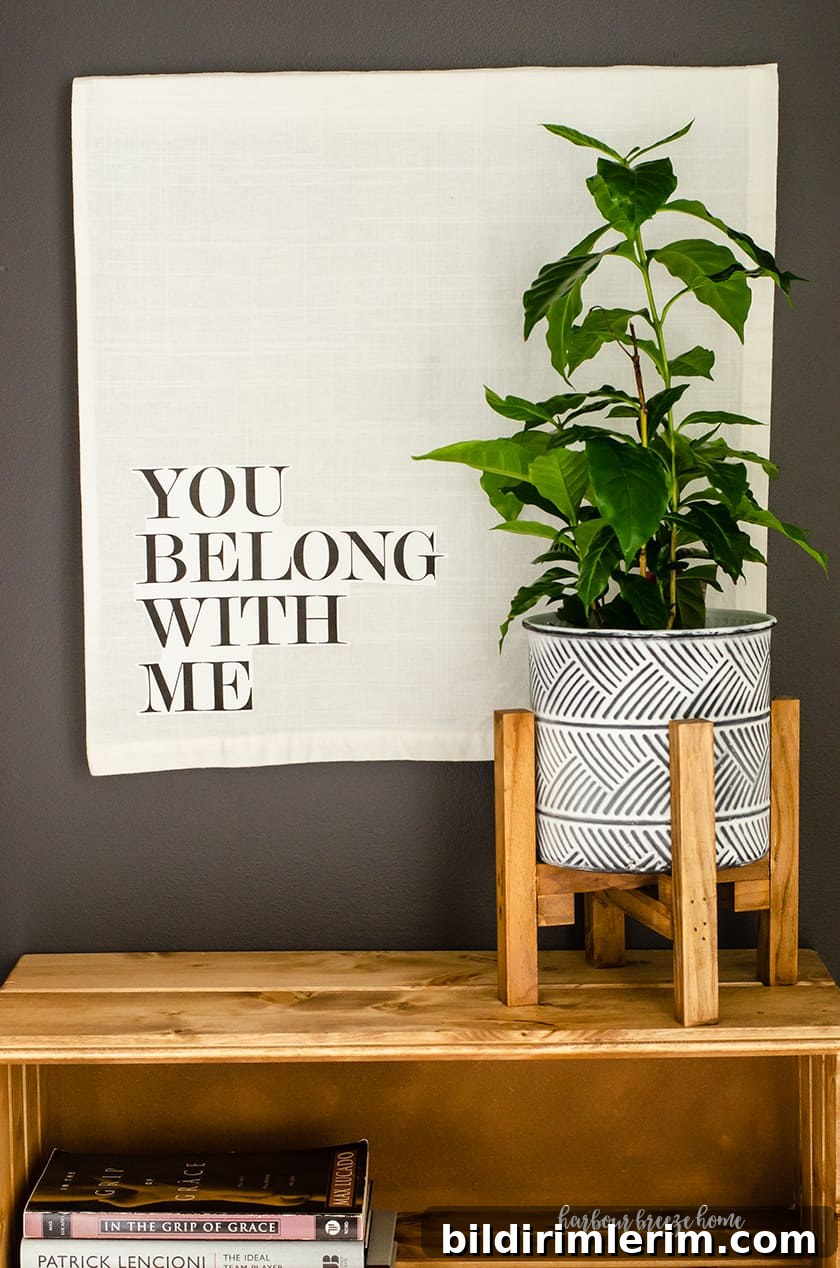
These wall hangings look great above bedside tables, flanking a bed, or as accents in a hallway or entryway. For a more boho look, sew or glue a row of tassels, pom-poms, or fringe trim across the bottom edge. You can also distress the wooden board slightly with sandpaper or stain it to match your decor.

Alternative options and care
If you don’t want to use fabric, print the art on heavy cardstock and place it in an inexpensive frame for a quicker project. To keep fabric signs looking fresh, spot clean with a damp cloth and avoid direct sunlight to prevent fading of the transferred artwork.
More projects using free printables
- Pillows made with printable designs for seasonal or quick updates
- Printable gallery walls for over-couch displays
- Simple printable farmhouse sign crafts for easy decor updates
If you’d like step-by-step guidance on a whole room makeover—from planning to finishing touches—consider exploring printable libraries and courses offered by DIY home decor creators. Many resources include printable art and tutorials to help you complete projects on a small budget.
These fabric farmhouse signs are a fast, budget-friendly way to add character to your home. With a few basic supplies and a little time, you can create coordinated art that fits your style perfectly.