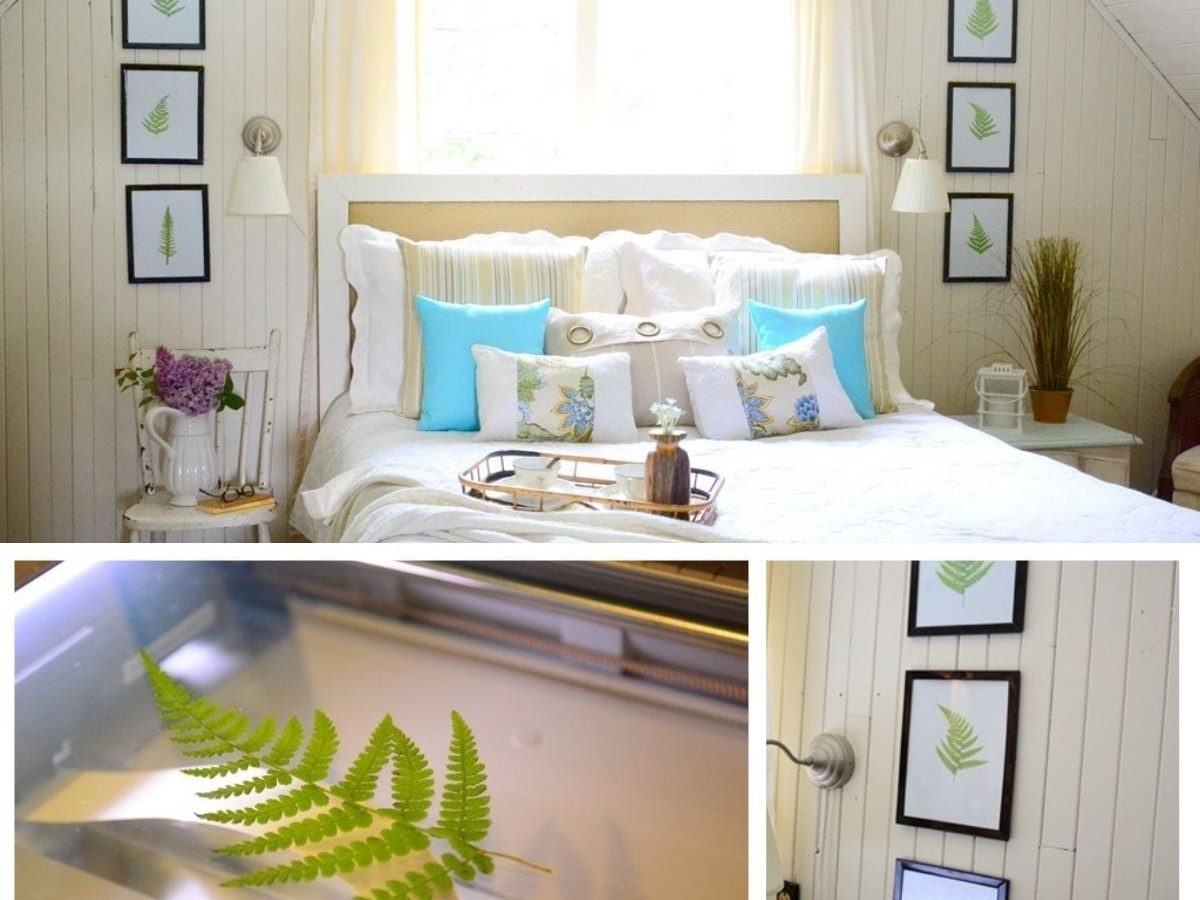
Long before I found free printable botanical art sets, I’ve always loved botanical prints. Years ago I had a simple idea: use real fern leaves and a home photocopier to create quick, natural wall art.
Instead of painting leaves or pressing them into ink, I decided to try a faster approach inspired by pressed-flower art. I laid fern fronds directly on the copier glass and made prints—no paint, glue, or special equipment required.
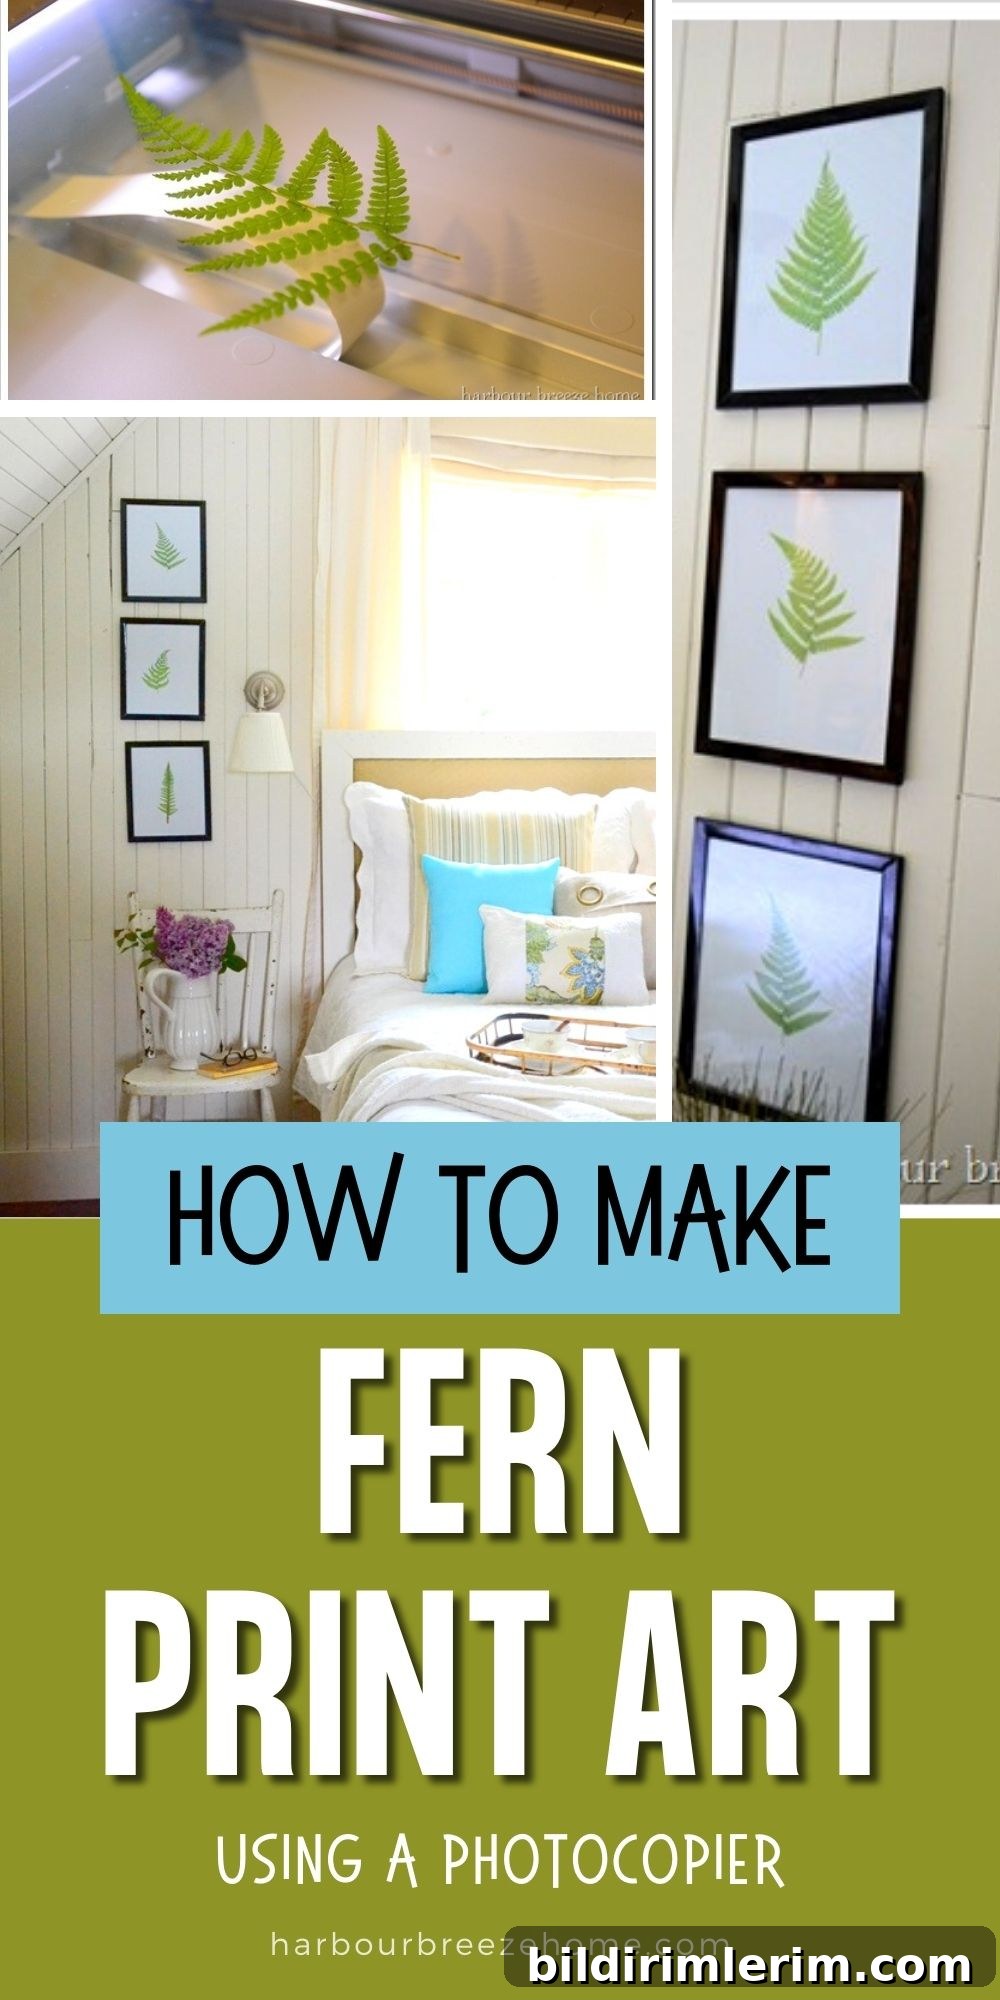
How to Make Quick Fern Leaf Printing Art without Paint
This technique is ideal when you want fresh, natural artwork on a budget. The process takes only minutes, and the results bring a fresh botanical feel to any room. Below are simple instructions, helpful tips, and creative variations so you can make a series of prints to display as a gallery wall.
Supplies
- Real fern leaves (or other flat foliage)
- Home photocopier or flatbed scanner and printer
- Heavy white cardstock or matte paper
- Optional: simple frames and mats for display
Step-by-step Instructions
The method is straightforward and works best with clean glass and slightly flattened leaves. Follow these steps for crisp prints:
- Choose fern leaves that are flat and free of debris. Trim them to the desired size for your print.
- Clean the copier glass to remove dust and smudges so they don’t appear on the print.
- Arrange the fern on the glass with the side you want to reproduce facing down. You can overlap fronds for more complex compositions.
- Place a sheet of heavy white cardstock over the leaf, gently close the lid, and make a copy. For the sharpest contrast, try both color and black-and-white settings to see which you prefer.
- Repeat the process with different leaves or arrangements to build a set of coordinating prints.
- Allow prints to rest flat while they finish drying, then frame or mat them for display.
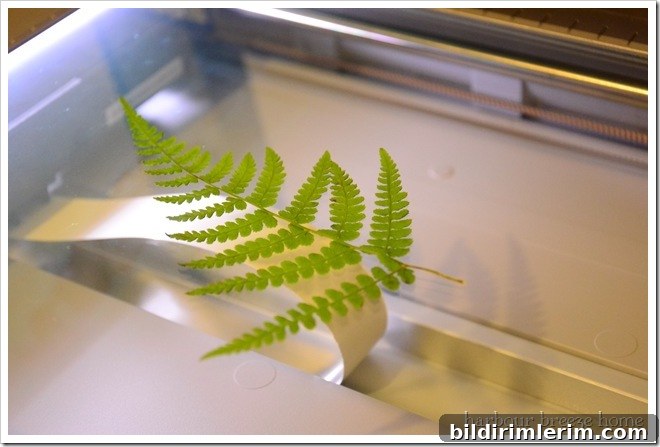
Ta-da—five-minute art that looks fresh and organic. Using heavy cardstock helps the print feel substantial and frame-ready. If you prefer a softer look, try printing on textured or archival paper through your scanner-printer setup.
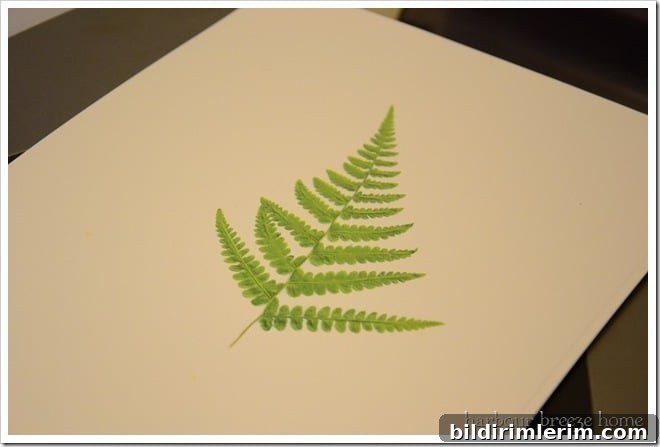
Create a Gallery Wall with Different Prints
I made six small fern prints and placed them in simple black frames to create a cohesive gallery. When shopping for frames, be careful with bargains; some very inexpensive frames can be awkward to disassemble or may require extra work to remove the glass. If you plan to hang multiple pieces, lay them out on the floor first to find the best arrangement and spacing.
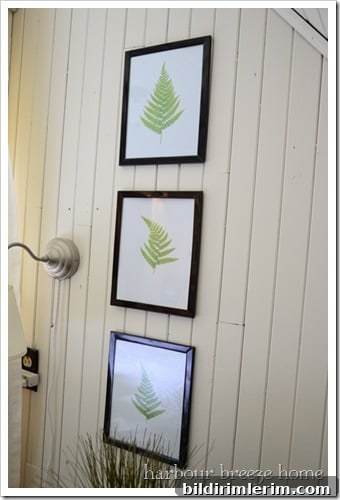
Framing tips: use mats to create breathing room around each print, and consider UV-protective glass if the artwork will be in direct sunlight. Lightweight frames work well in clusters and make it easy to change prints seasonally.
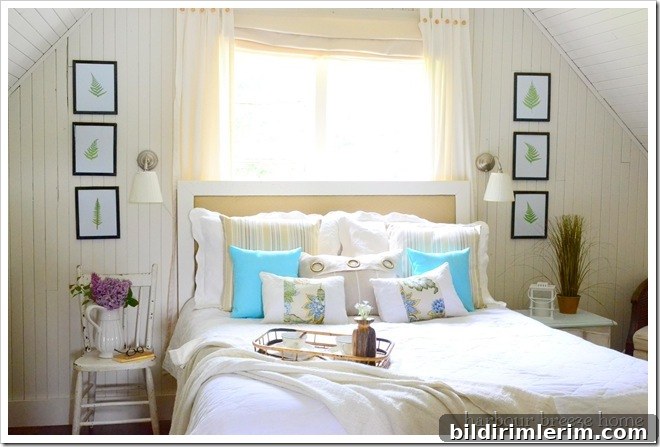
Variations and Creative Ideas
- Mix different fern varieties or combine several small leaves on one print for layered compositions. Add the botanical name by hand with a fine-tipped marker for a vintage botanical label look.
- Use a flatbed scanner to capture a digital image of each leaf, then edit contrast, crop, or add a colored background before printing to create custom tonal effects.
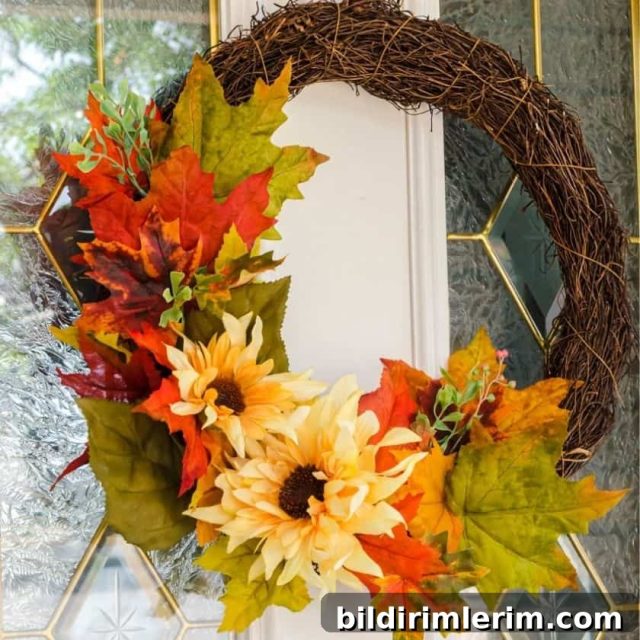
- In autumn, substitute colorful fall leaves for seasonal prints—their shapes and veins make striking compositions.
- Try printing onto colored or tinted cardstock to change the mood; white gives the most classic botanical look, while pale kraft or soft pastels create a rustic or modern vibe.
Care and Display Suggestions
Handle prints by the edges to avoid fingerprints on the surface. If you frame without a mat, place a piece of thin backing board behind the print to keep it flat. Rotate your displays occasionally to prevent uneven fading if they are exposed to light.
More Wall Decor Ideas
- Consider combining these fern prints with other DIY pieces, such as simple line art or modern boho printables, to create layered, eclectic walls.
- Make coordinating art for seasonal updates—switch in autumn leaves or small pressed flowers for a fresh look.
- Create matching sets for gifts: a framed trio of small prints makes an easy and thoughtful present for housewarmings.
Join the Newsletter for More Crafts and Home Ideas
If you enjoy simple DIY decor, consider subscribing to the site newsletter for seasonal projects, recipes, and access to printable art resources. Subscribe through the website to receive updates and free printable downloads.