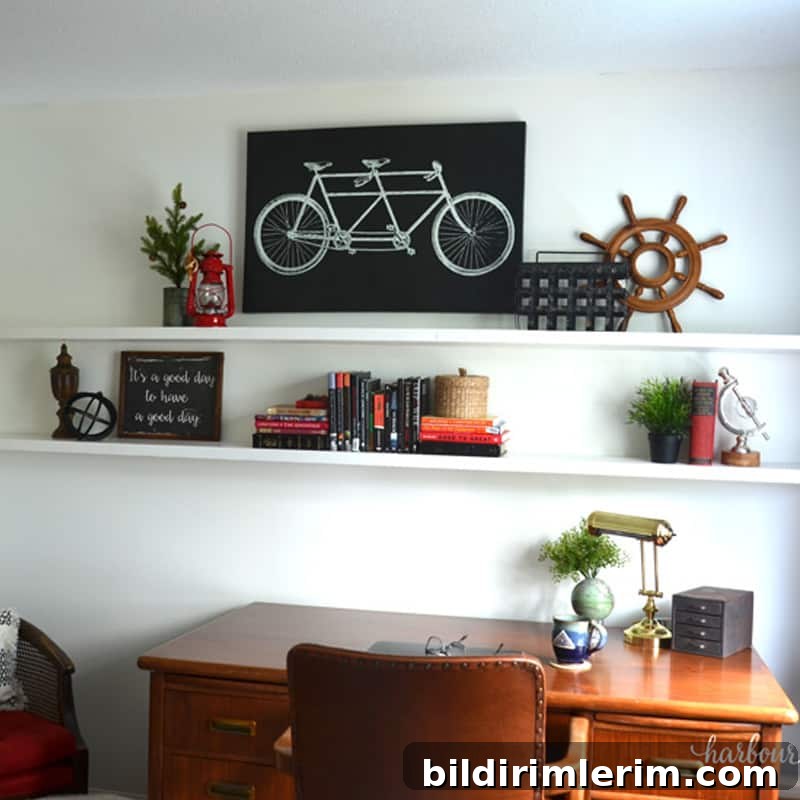
In this article: These DIY floating wall shelves with dowels offer an attractive, functional solution for wall decor and storage. Follow this step-by-step guide to build your own.
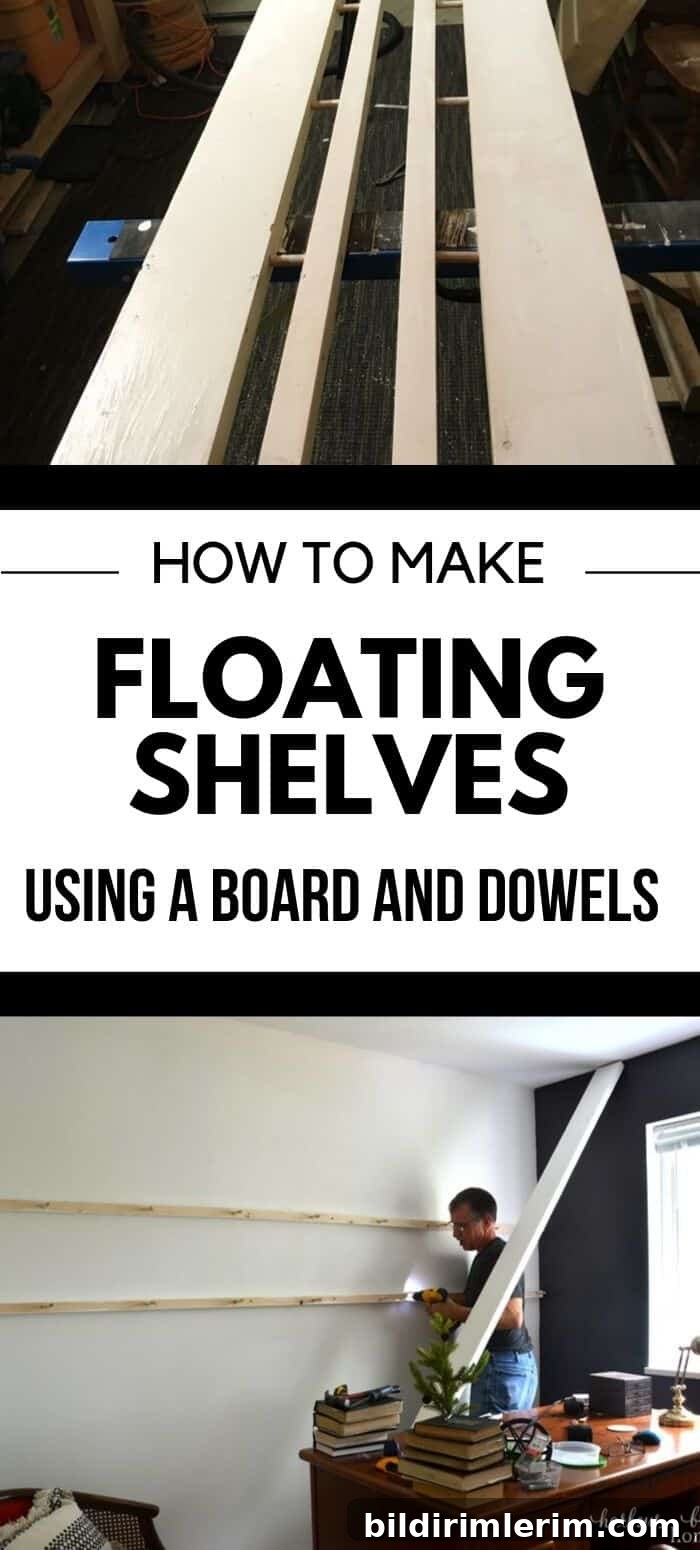
How to Make DIY Floating Shelves with a Board and Dowels
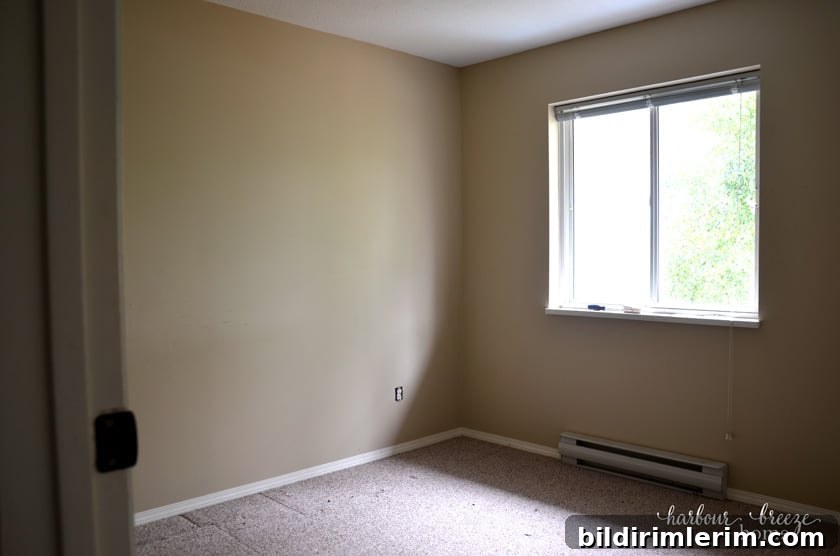
A few months ago we converted one of the townhouse bedrooms into my husband’s office. During the quick renovation we were left with a large, blank wall and wanted a clean, practical way to add storage and visual width to the room.
The Inspiration
I turned to Pinterest and saved office ideas to an “Office” board. One image stood out and became our template for long floating wall shelves that span nearly the entire length of the wall. The continuous line of shelves makes the room feel wider and keeps the look modern and uncluttered.
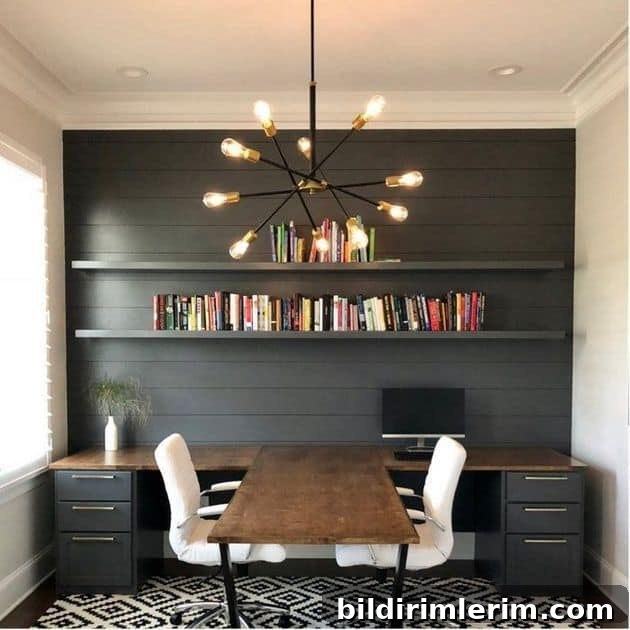
Source
We liked that the shelves were long, low-profile, and floating—an understated way to add storage for books, decor, and meaningful objects without overwhelming the room.
The Challenges
Before committing, we identified three key requirements:
- Budget friendly — we needed an affordable option.
- Quick and simple — the project had to be efficient.
- Minimal tools/workshop required — we no longer had access to a full workshop with a planer or table saw, so the method had to work with basic tools and assistance from a lumber supplier.
The Plan
My husband found a method that avoids building an internal frame box. Instead of assembling an inner frame and outer shell, this approach uses a single board and a series of dowels to create the hidden support. It proved to be faster, simpler, and ideal for our tools and budget.
Supplies for floating wall shelves
The list below covers materials for two 10-foot floating shelves. Adjust quantities for shorter or additional shelves.
- 2 boards, 2×8, 10 feet long (actual dimensions about 1-1/2″ thick by 7-1/4″ deep). Prices vary—shop around; we found much better deals than some lumberyards.
- 6 feet of 1/2″ dowel
- Wood glue
- Drill and 1/2″ drill bit
- Sandpaper or sanding sponge
- Paint in your chosen color (semi-gloss recommended)
Steps to Making Floating Shelves with a Board and Dowels
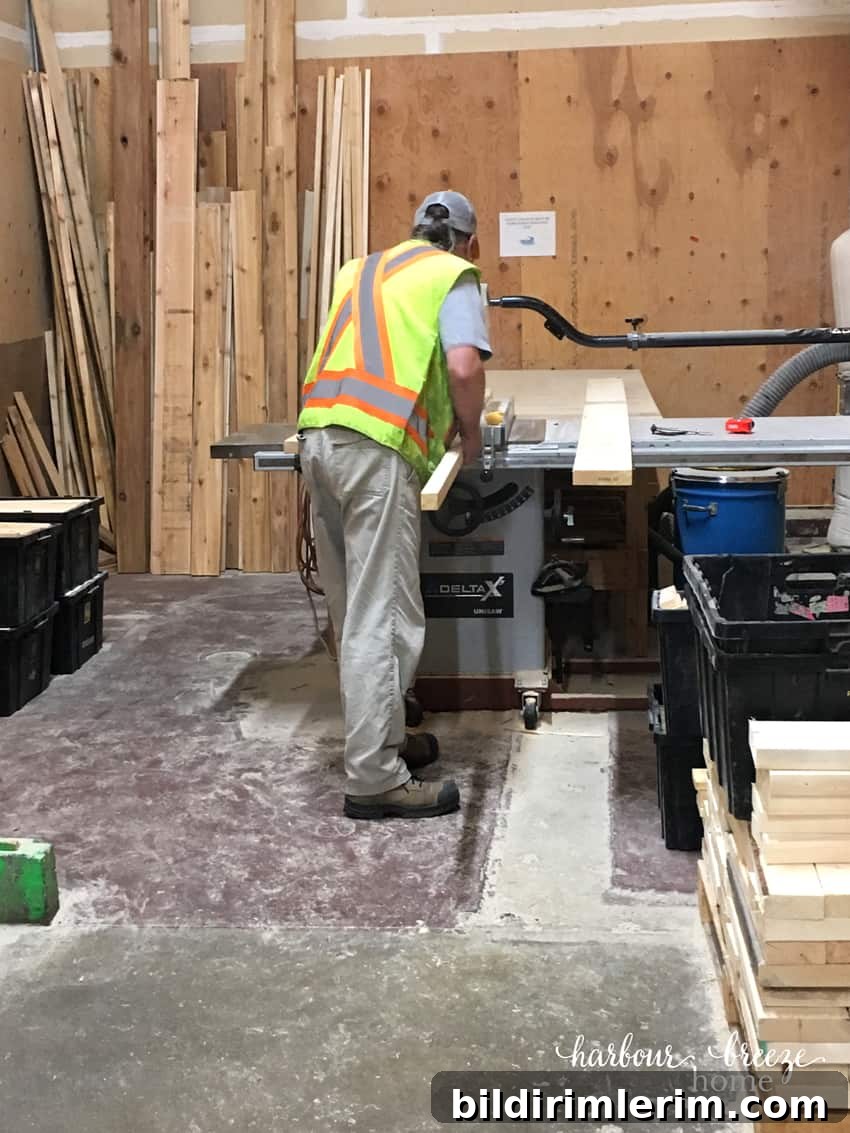
Have the lumber store rip each board to 1-1/2 inches thickness.
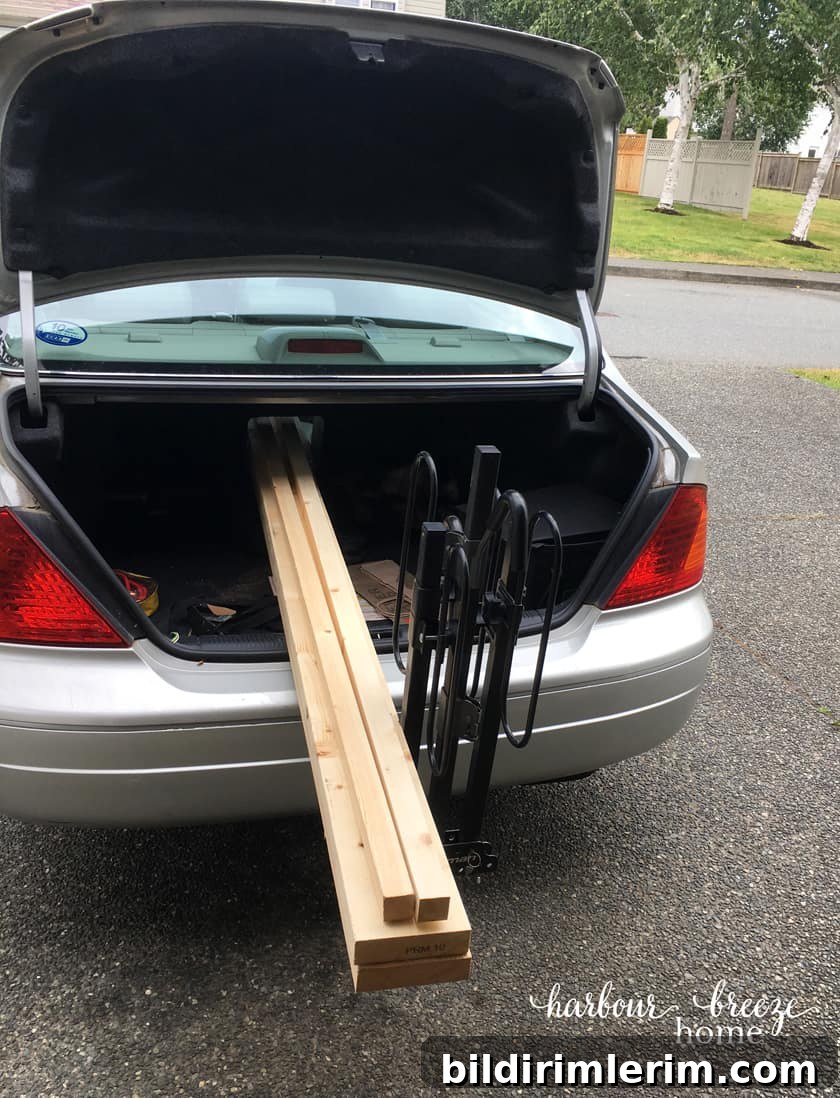
Plan your transport before picking up lumber—use bungee cords or a truck if the boards extend beyond your vehicle.
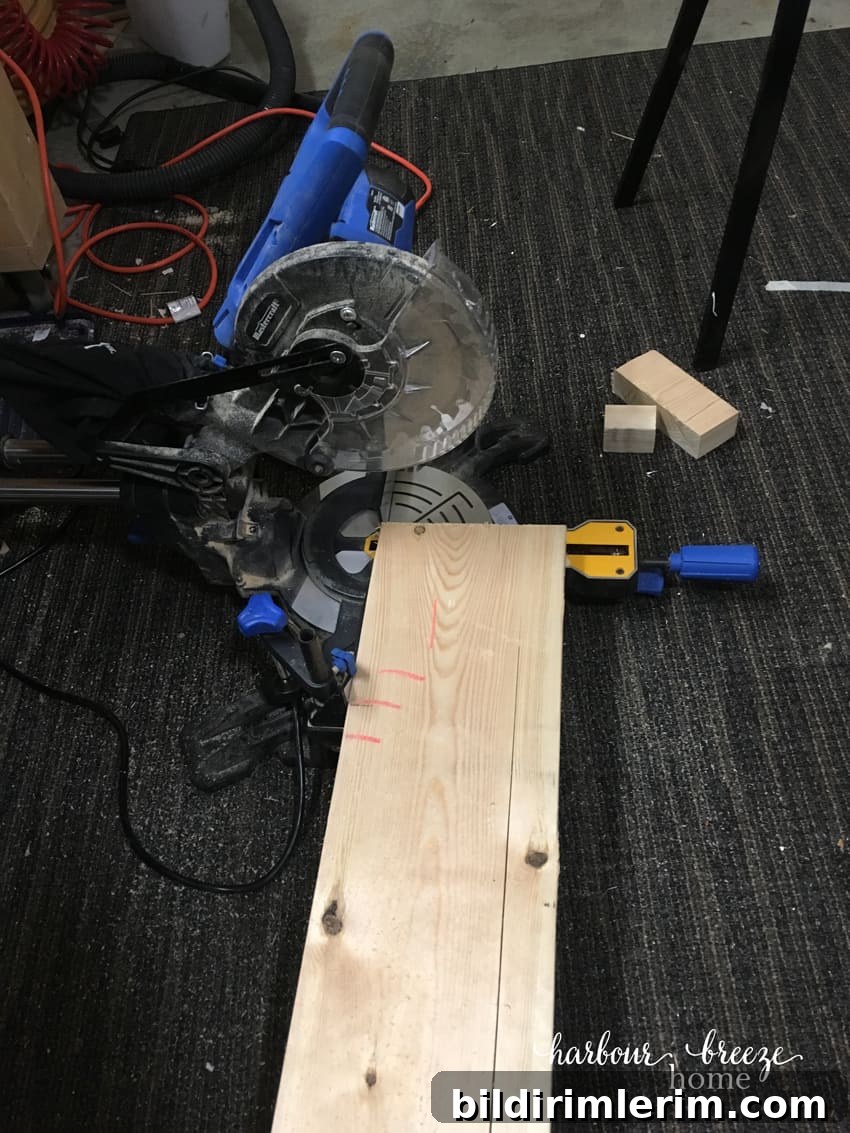
Clamp the ripped narrow strip to the larger board so their faces are flush, then trim both ends so they are exactly the same length.
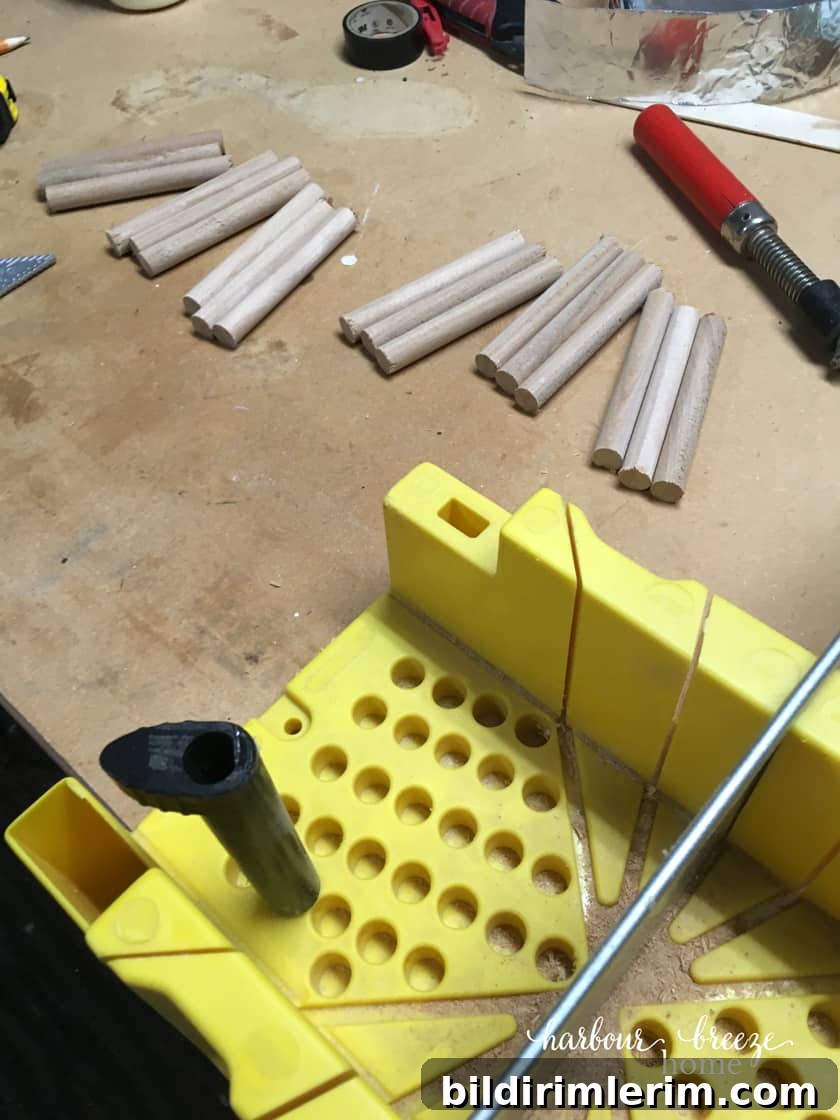
Cut the dowels into 4-inch lengths. We made 18 pieces for our two shelves. Use consistent lengths for an even fit.
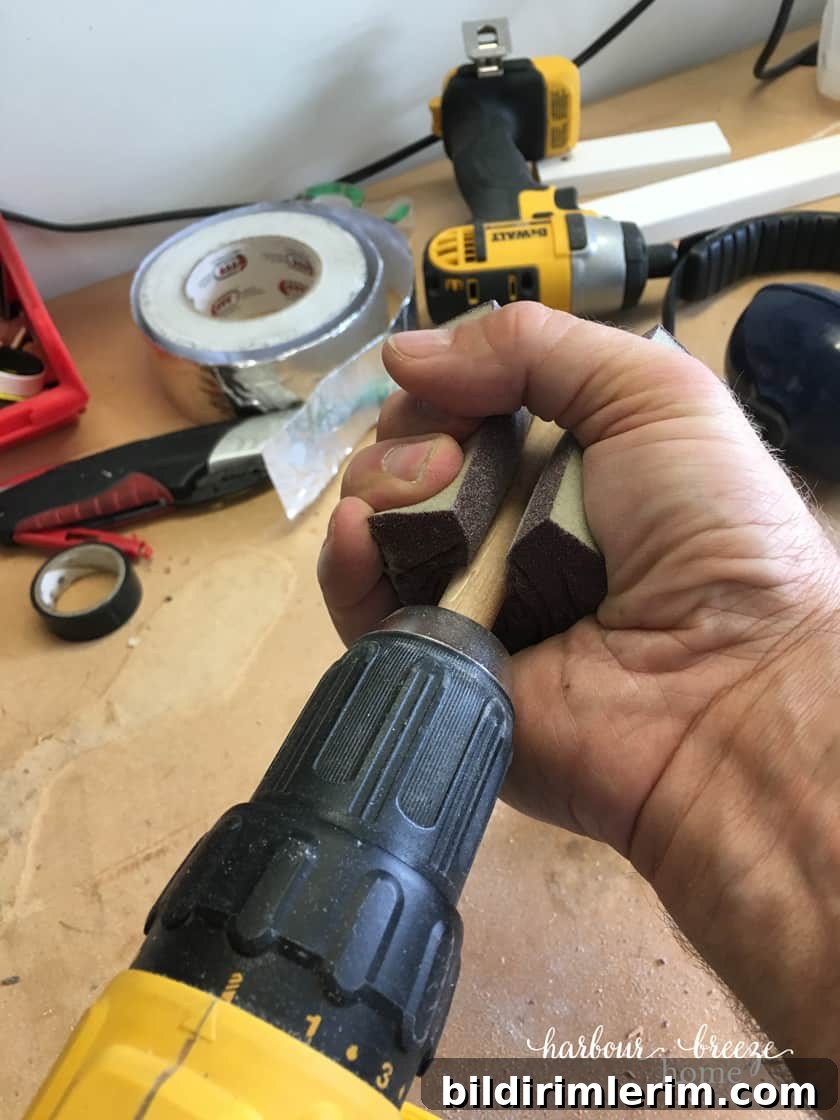
To slightly shape and smooth each dowel end, insert a dowel into the chuck of your drill, wrap a sanding sponge around it, and run the drill briefly. This gives a cleaner fit when the dowel slides into its hole.
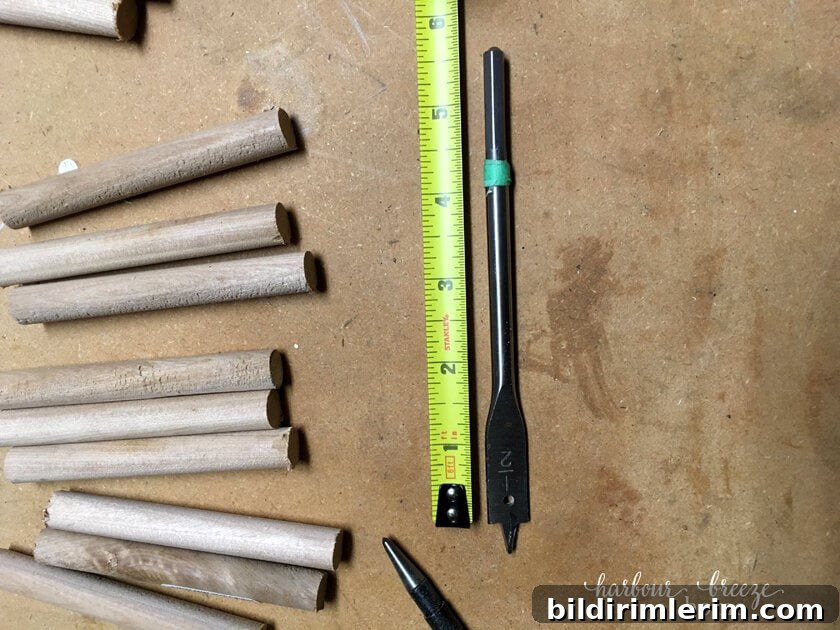
Mark your 1/2″ drill bit at 4 inches with tape so you know how deep to drill. Drill slightly deeper than the dowel length for ease of assembly.
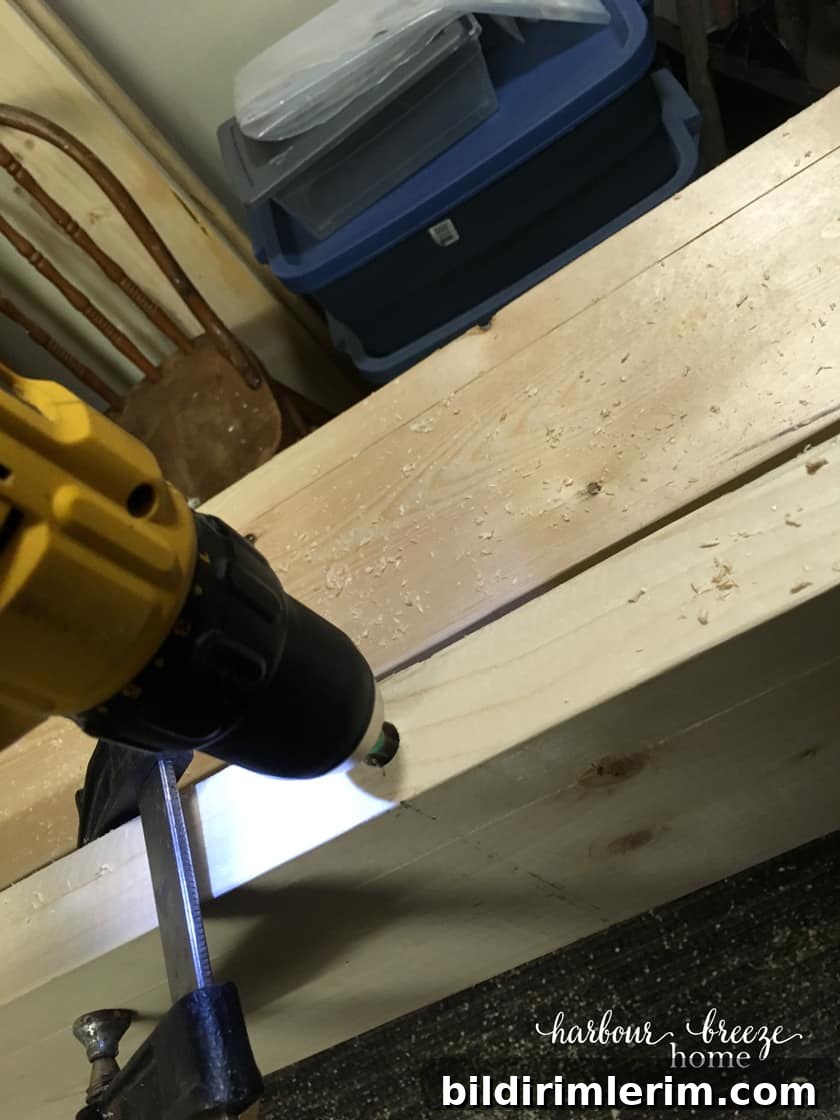
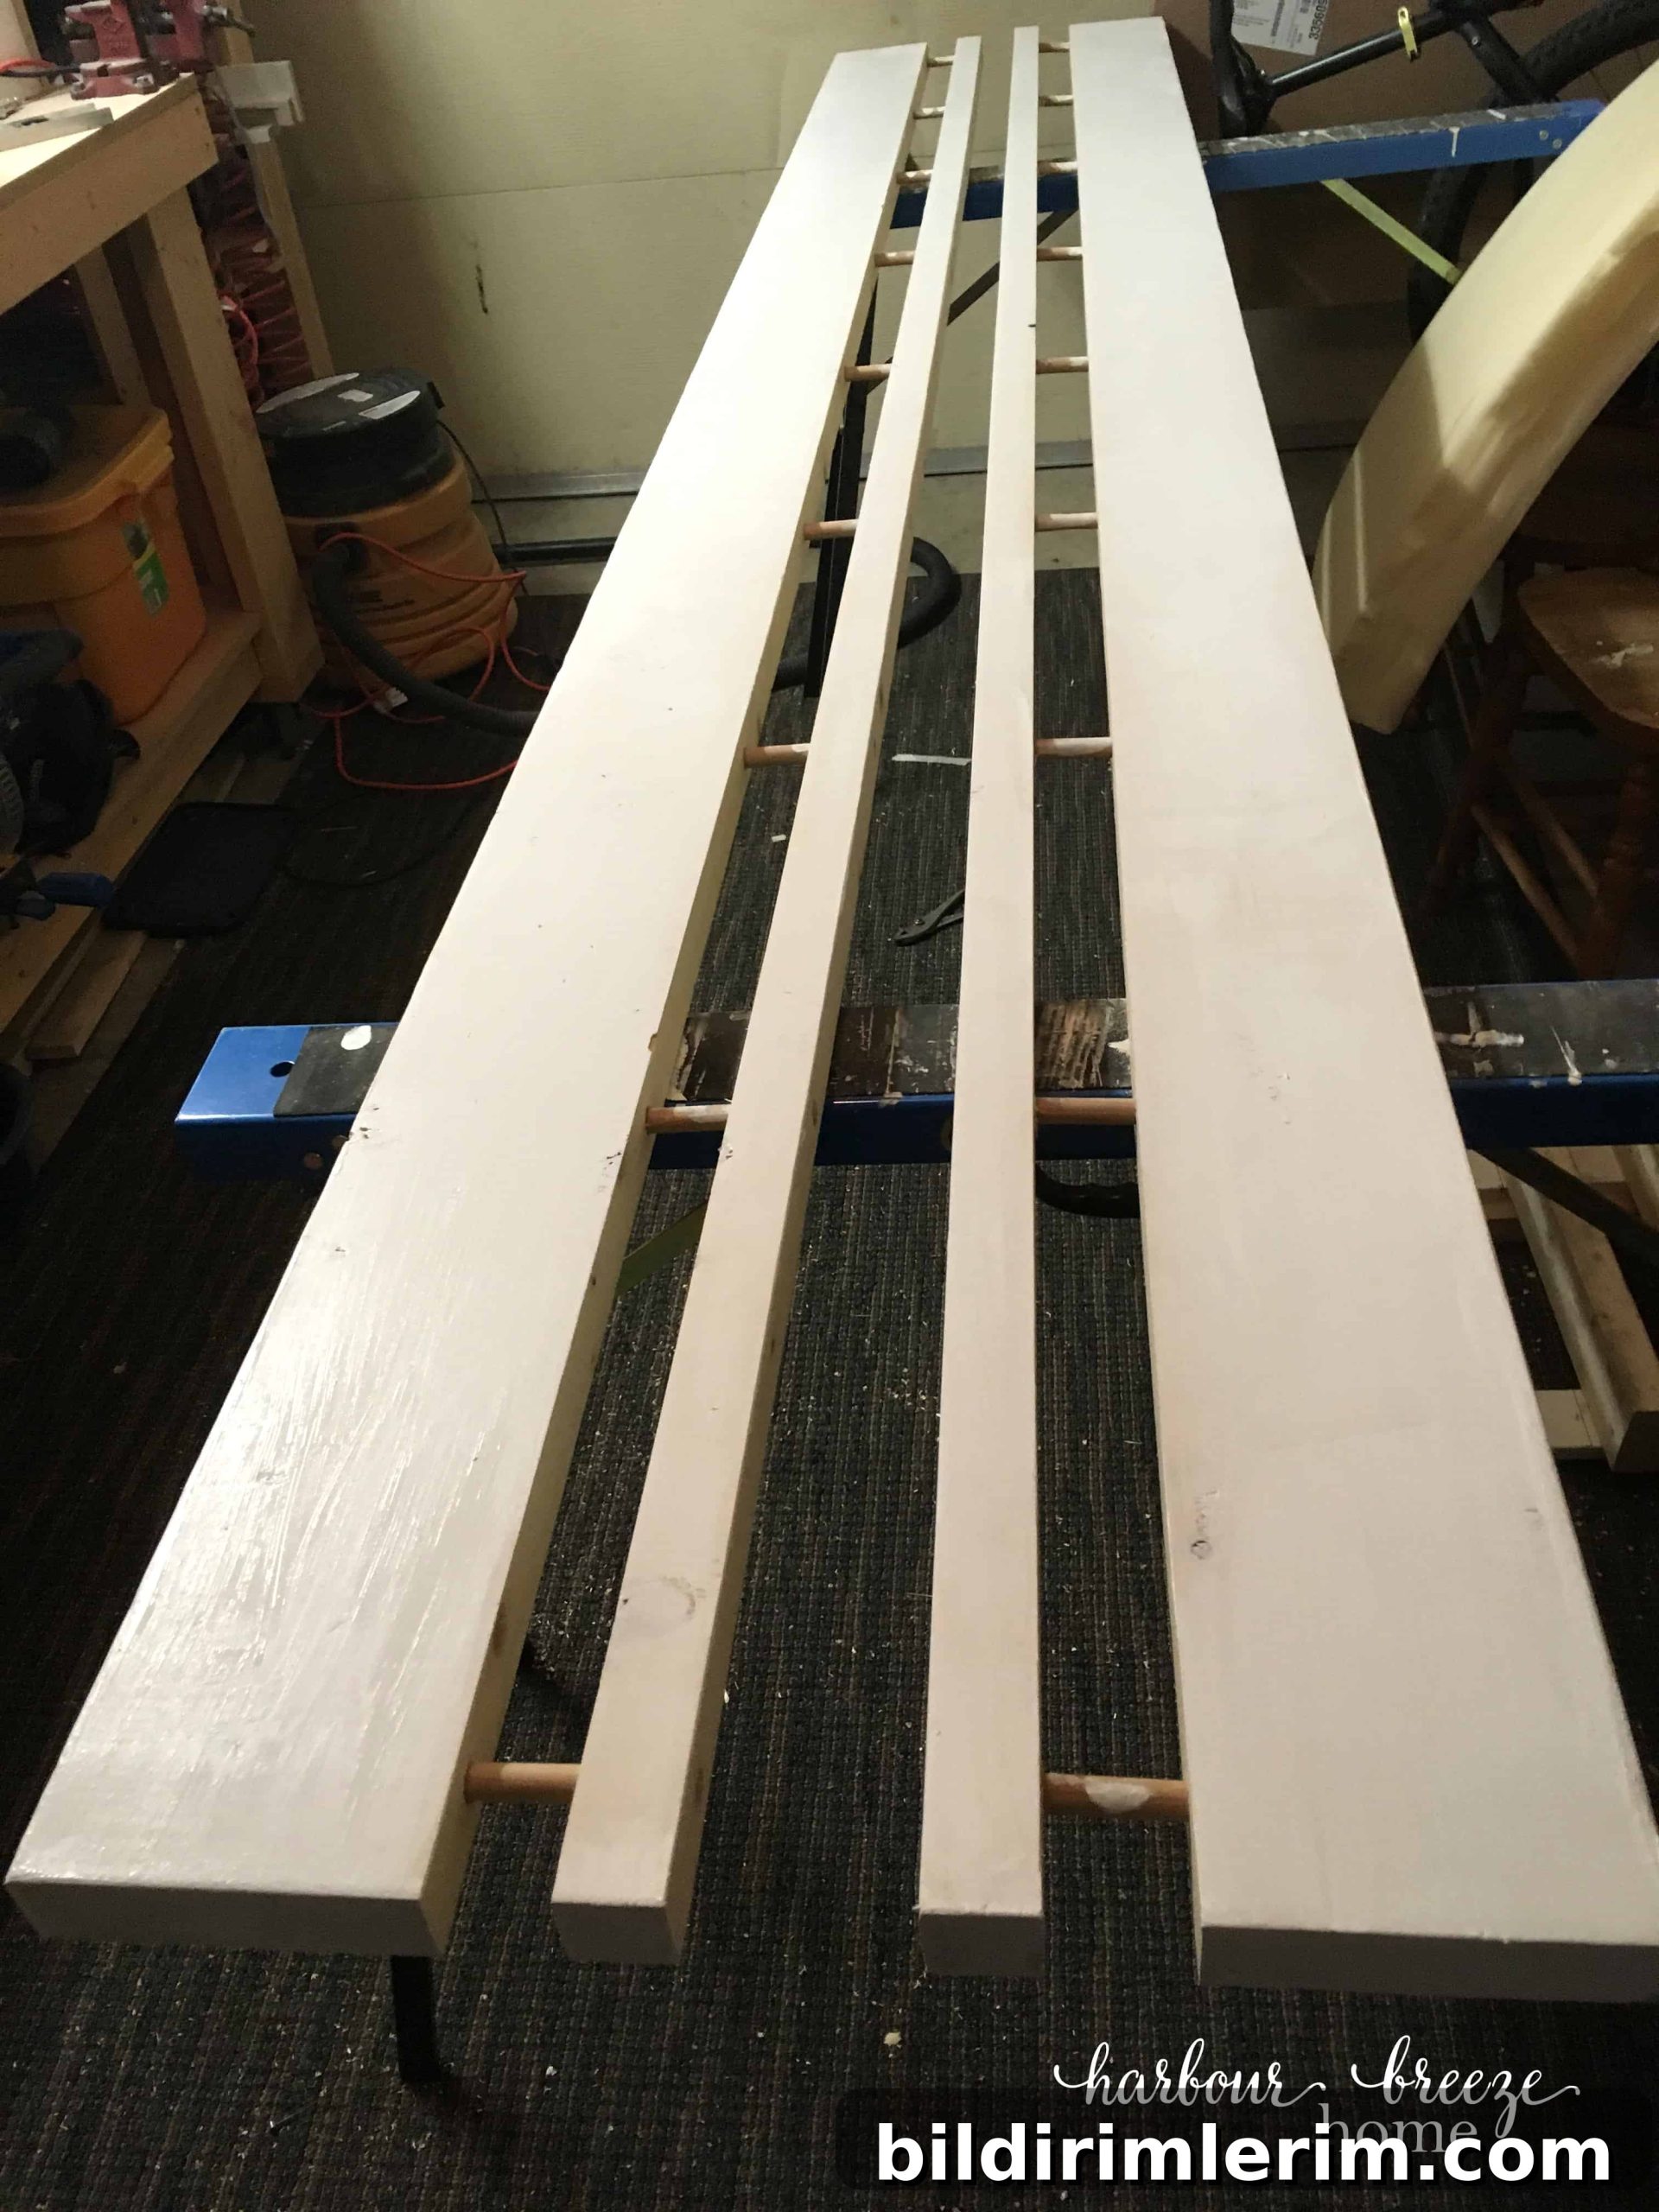
Clamp the thin ripped strip and the thicker board together so their ends align. Drill evenly spaced holes for the dowels starting at each end and across the length of the strip.
Unclamp the pieces. Apply glue to the dowel ends and insert them into the thin board so the dowels are flush with the surface. Wipe away any excess glue and allow it to dry fully.
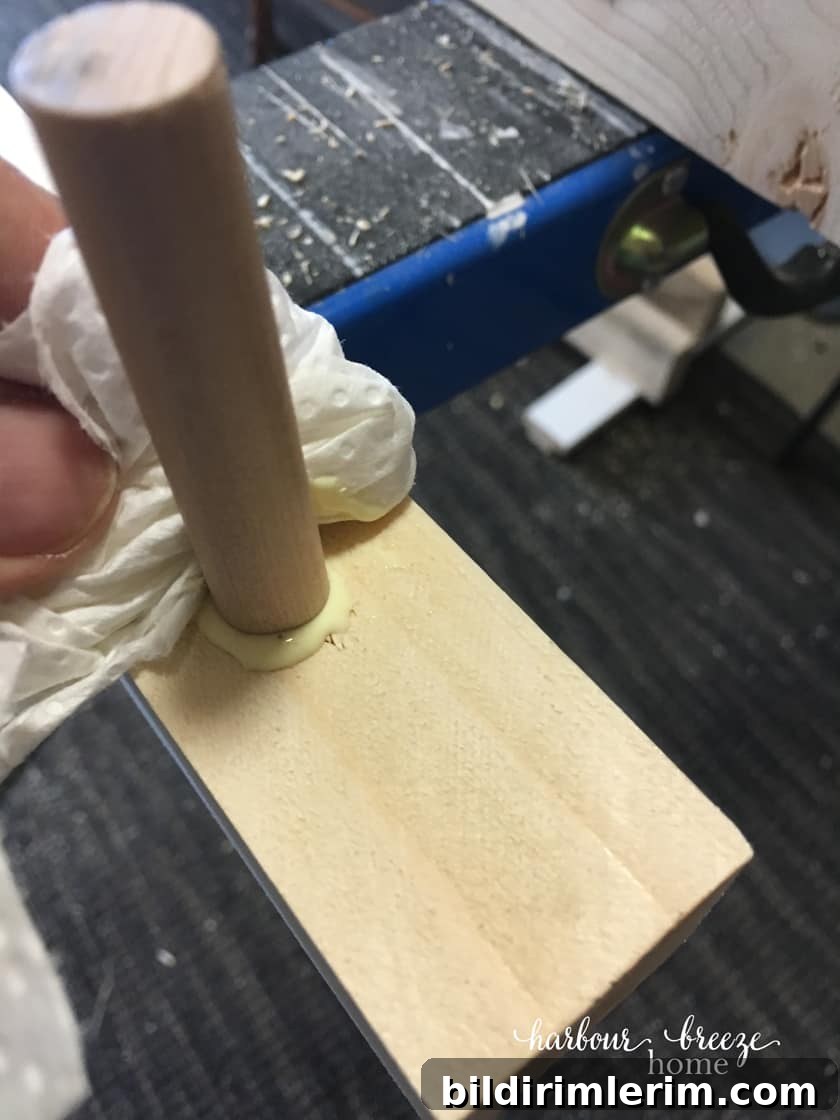
Once the glue has set, the dowel-backed strip will slide over the dowel ends to form a hidden support system for the shelf.
How to Hang the Floating Wall Shelves
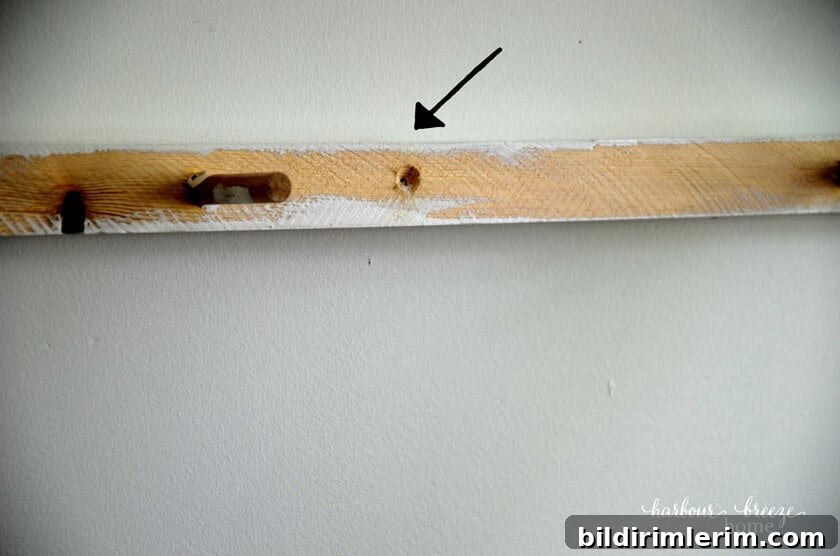
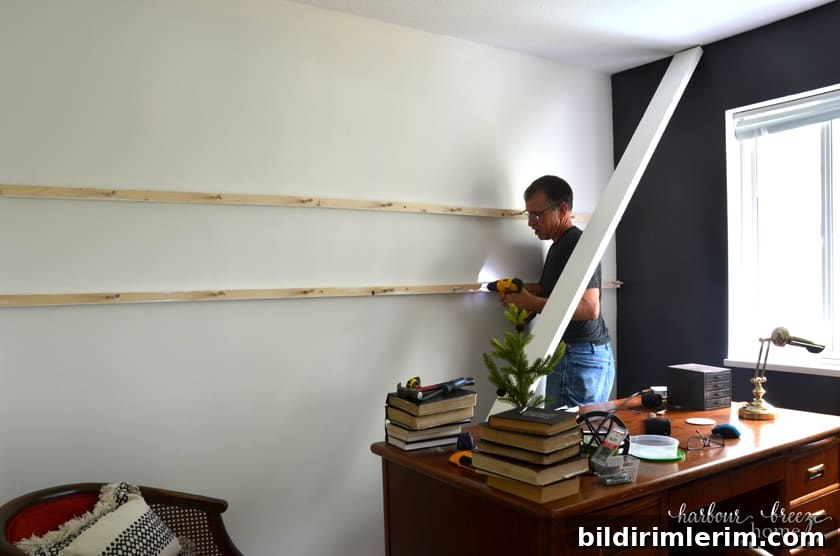
Locate and mark studs with a stud finder. Drill pilot holes through the narrow backing strip to align with the studs, then secure the backing strip to the wall using 3″ wood screws into the studs.
After the backing strips are securely fastened, slide the shelf over the exposed dowels, aligning the holes. A rubber mallet can help seat the shelf fully onto the dowels if needed.
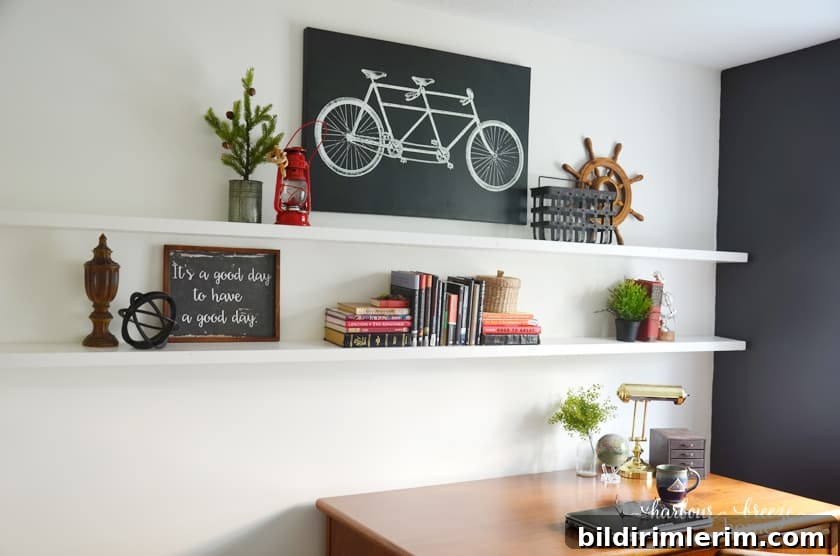
We painted our shelves the same color as the walls—Benjamin Moore Simply White in semi-gloss—to blend them into the room, but you can also choose a contrasting stain or paint for a bolder look.
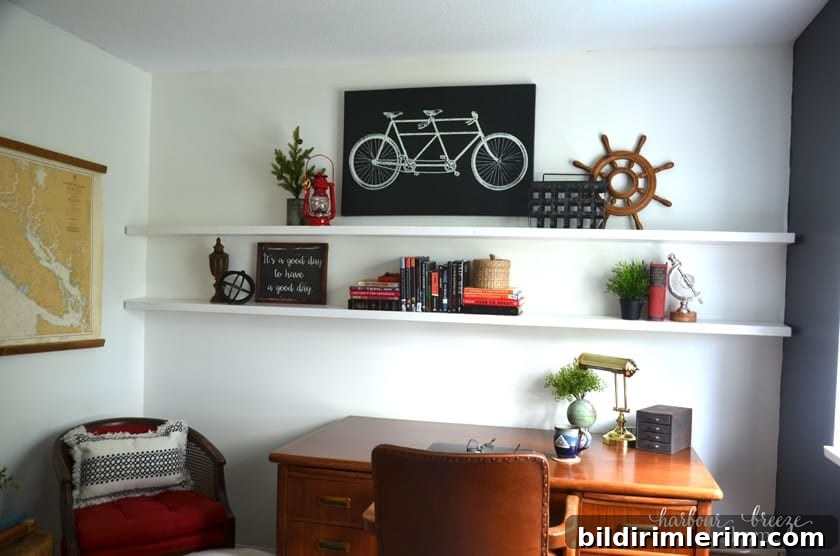
These shelves are now a practical and attractive feature in the office. They provide storage for books and a display area for art and sentimental items while keeping the room open and streamlined.
If you’re interested in other farmhouse-style shelving ideas, consider exploring additional DIY shelf projects and variations that suit small spaces, rustic looks, or alternative hanging hardware.
- 8 different DIY shelf ideas you can build in a few hours
- Fixer-upper style farmhouse shelves
- Turnbuckle-style floating shelves
- Rustic shelf with hooks — a compact solution for small spaces