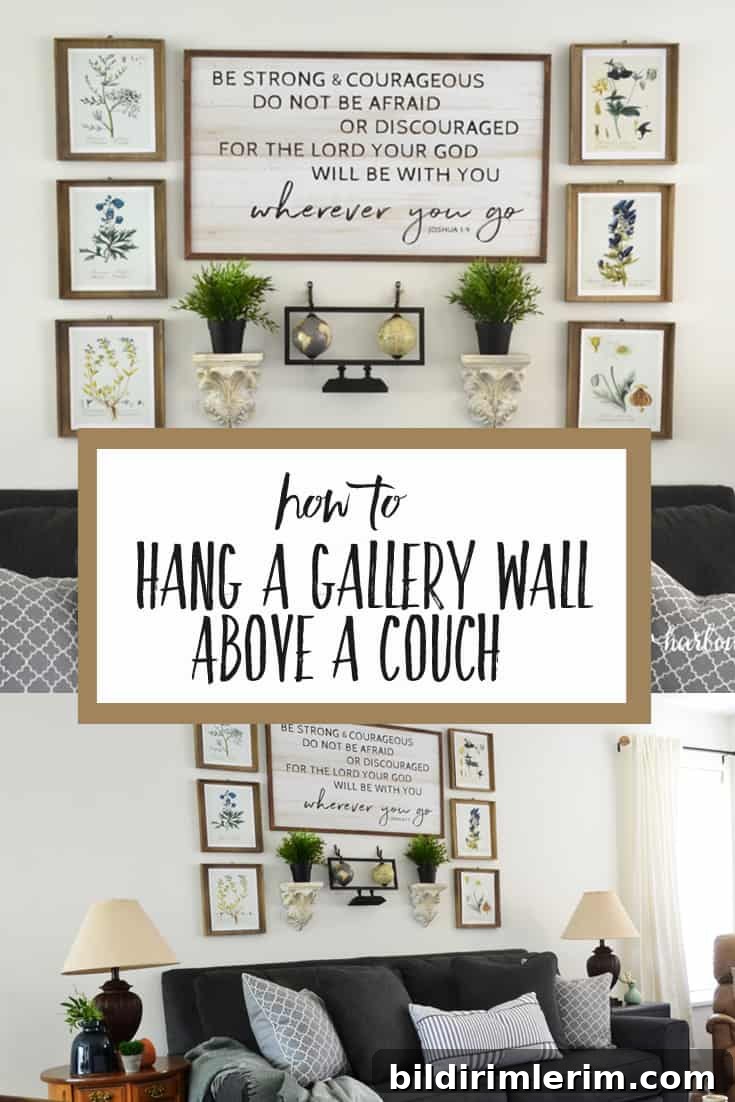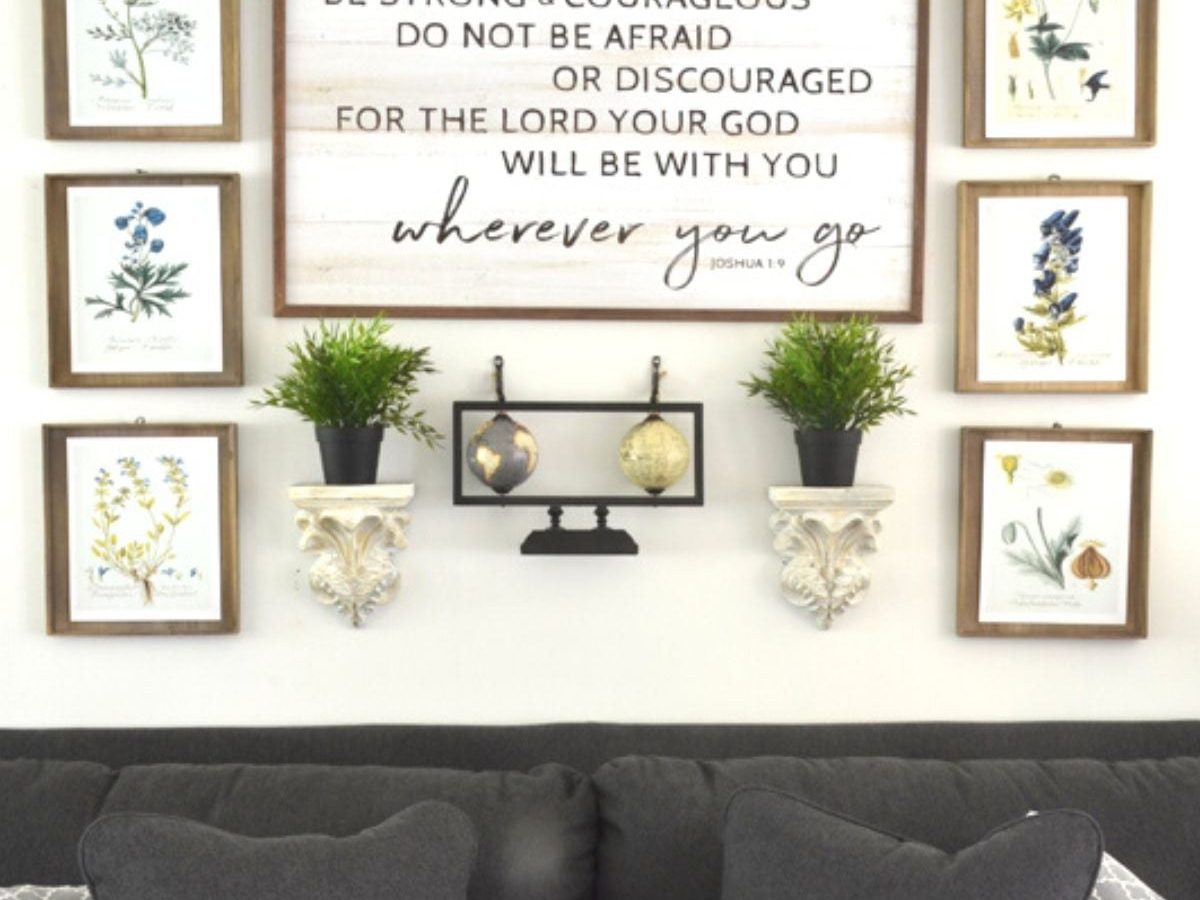
Above-sofa wall art can be intimidating. Learn a simple way to hang a gallery wall above a couch by making your own paper template. This method works if you’re working alone and avoids misplaced nail holes.
I’ll be honest: I’ve always been pretty casual about hanging things on walls. In older houses with questionable paneling or plywood, a stray nail hole was never a catastrophe—picture frames cover a lot. Still, when I needed to install a gallery wall above our couch by myself, I wanted the placement to be precise.
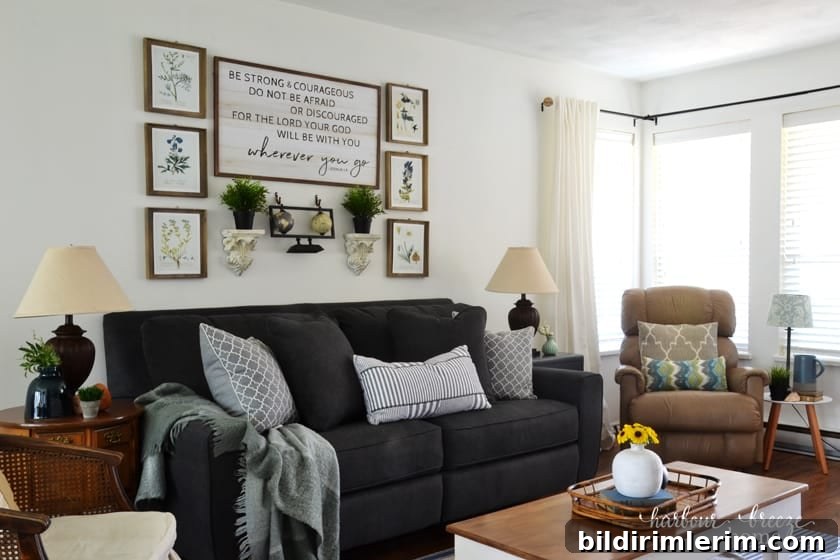
I pulled a reliable trick out of my bag of design hacks and it worked perfectly. Below is a clear, step-by-step method for creating a gallery wall template and hanging art above a sofa with confidence.
How to Make Your Own Gallery Wall Template
Supplies needed
- Large roll of paper (wrapping paper, kraft paper, or brown packing paper)
- Tape (painter’s tape recommended)
- Measuring tape
- Pen or pencil
- Hammer
- Nails or picture hangers
1. Measure the wall space above your couch
Decide how much space you want your gallery to occupy. For a statement area, measure a width and height that feel balanced with your couch. For example, I chose a rectangle roughly 70 inches wide by 45 inches tall to create a strong focal point without overpowering the sofa.
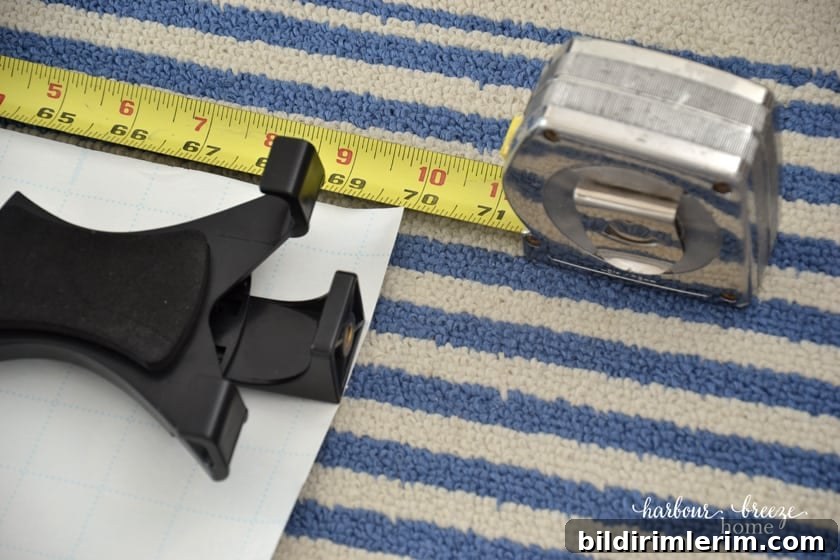
2. Cut a paper template to the measured size
Roll out your paper on the floor and cut a rectangle to match the measurements. You may need to tape sheets together for height or width. A single, large sheet gives you a clear visual of the finished arrangement before any holes go into the wall.
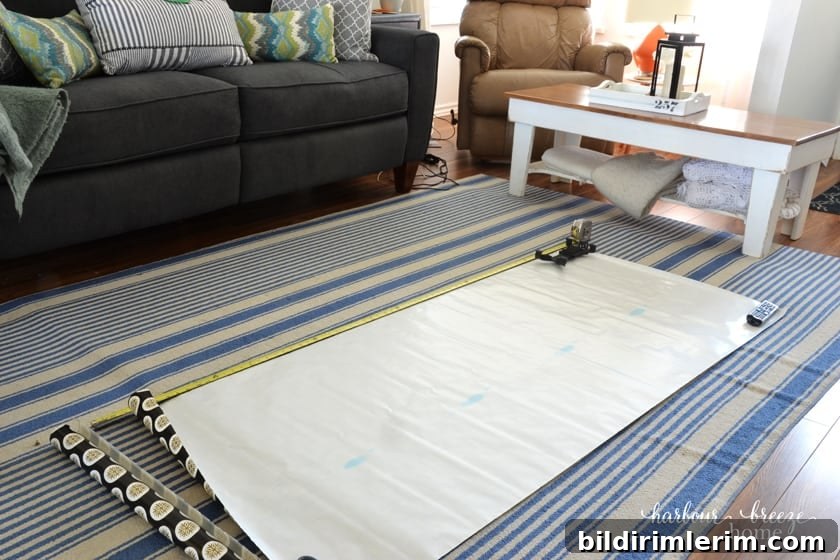
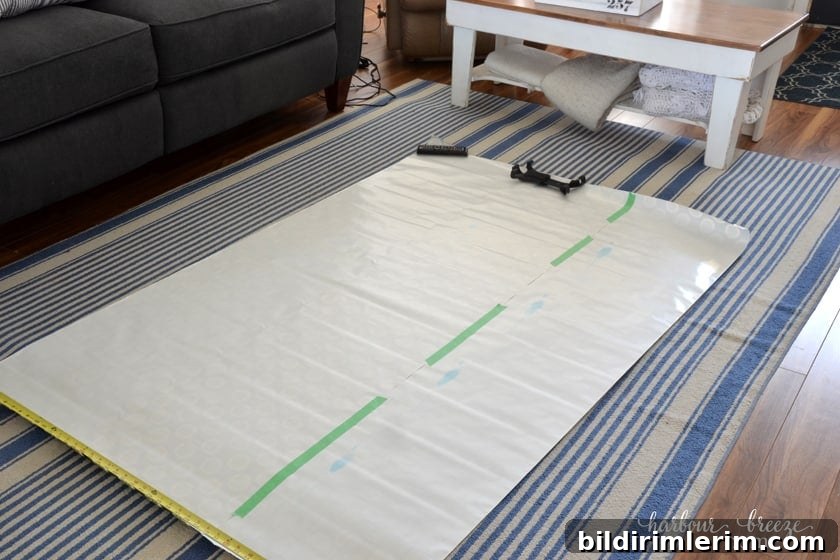
3. Tape the template to the wall to confirm size and position
Hold or tape the paper to the wall above the couch to check proportion and height. This step lets you make adjustments before committing. If you need a quick rule of thumb, many designers suggest leaving a gap of several inches between the top of the sofa and the bottom of the artwork; consider what feels most balanced in your space.
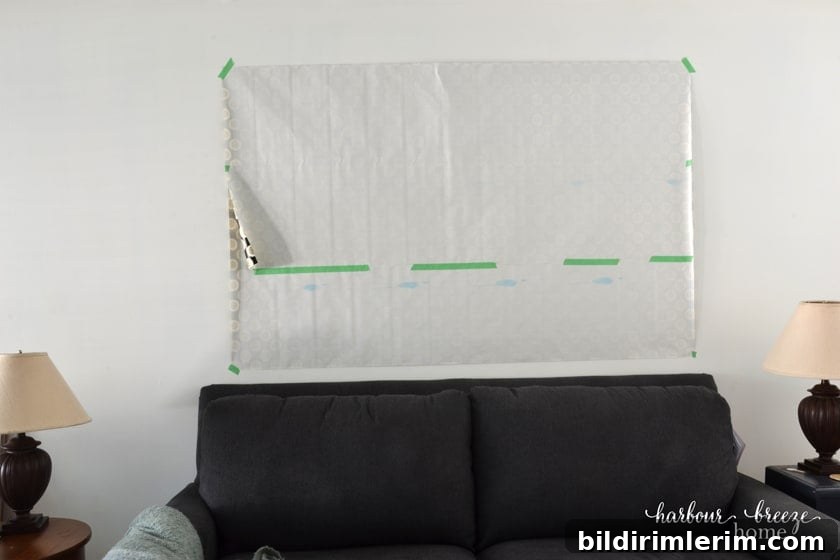
4. Arrange artwork on the template until you’re happy
Lay frames, prints, or decorative items on the paper while it’s on the floor. This is the easiest time to try different layouts—symmetrical grids, salon-style clusters, or a centered focal piece surrounded by smaller works. If your paper has grid marks, use them to keep lines straight and spacing consistent.
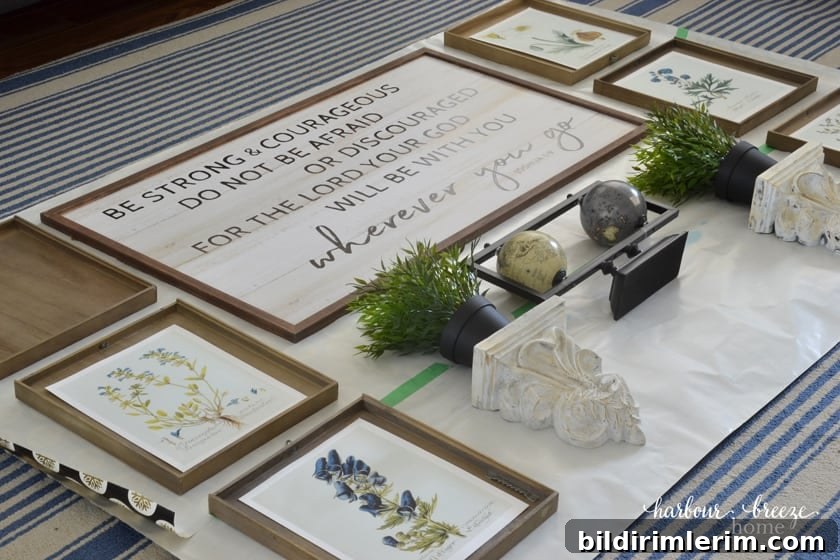
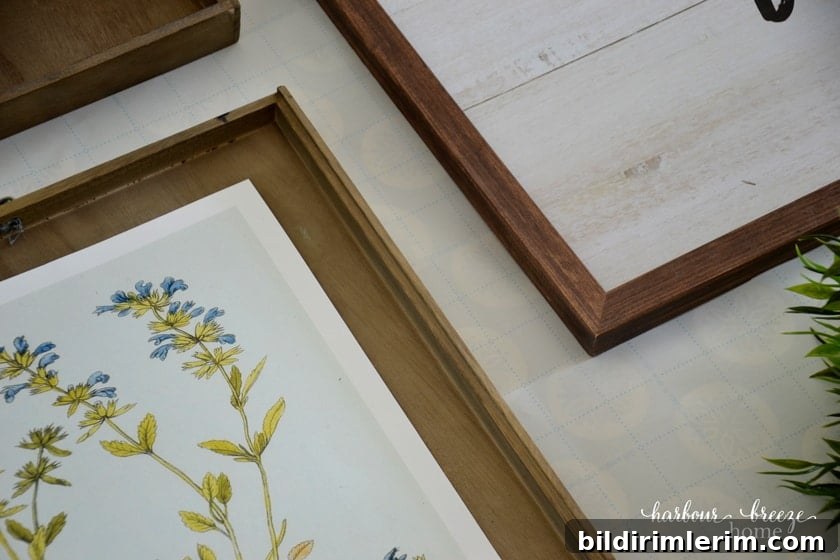
5. Mark hanger positions directly on the template
With frames in their chosen spots, mark both the top edge of each piece and the exact spot where the hanger or nail should be. Use a ruler for accuracy when needed. Mark an “X” at each hanger point so you have a reliable guide for nailing.
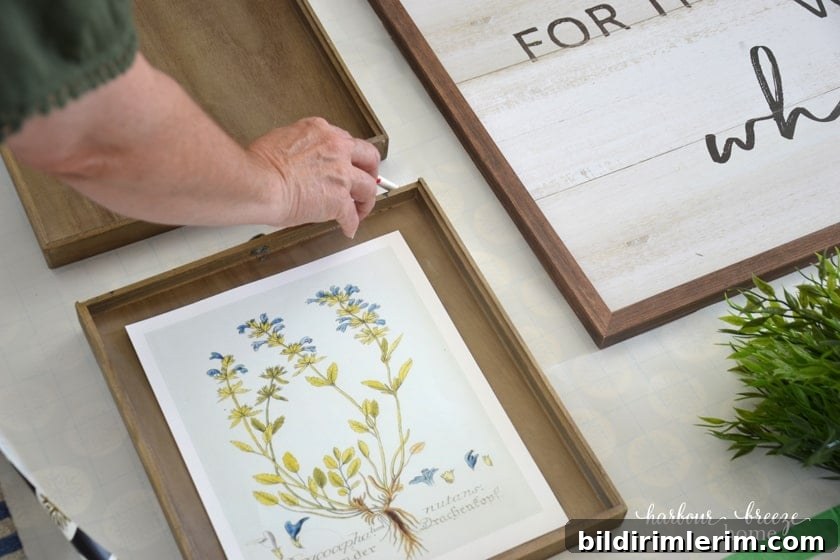
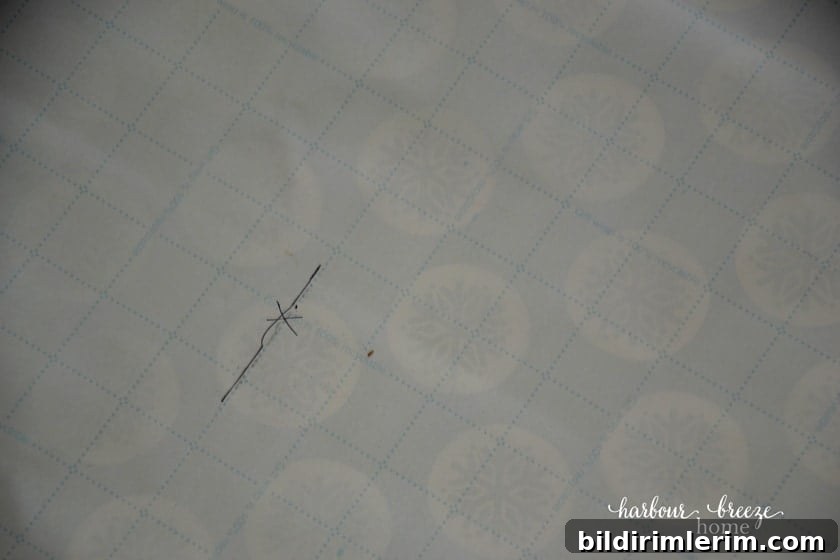
6. Tape the template to the wall and hammer in your nails
Once the template is aligned where you want it, tape it to the wall and hammer nails or install picture hangers through the marked “X”s. I recommend starting with the central or largest piece and working outward—this helps maintain balance as you proceed.
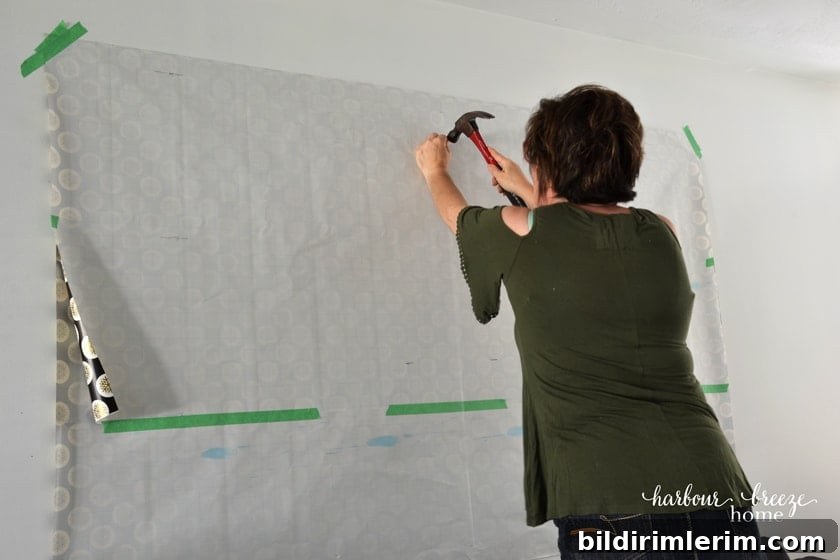
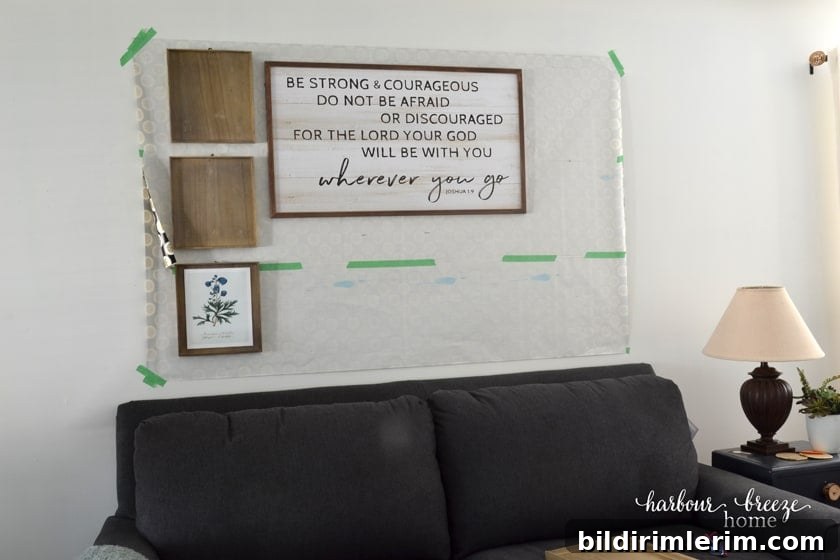
7. Remove the template, then hang your frames
After all hangers are in place, remove the template and rehang each piece on its corresponding nail or hook. Step back and make any small adjustments as needed. Seeing the full arrangement come together is satisfying—and since you used a template, you shouldn’t need to patch any extra holes.
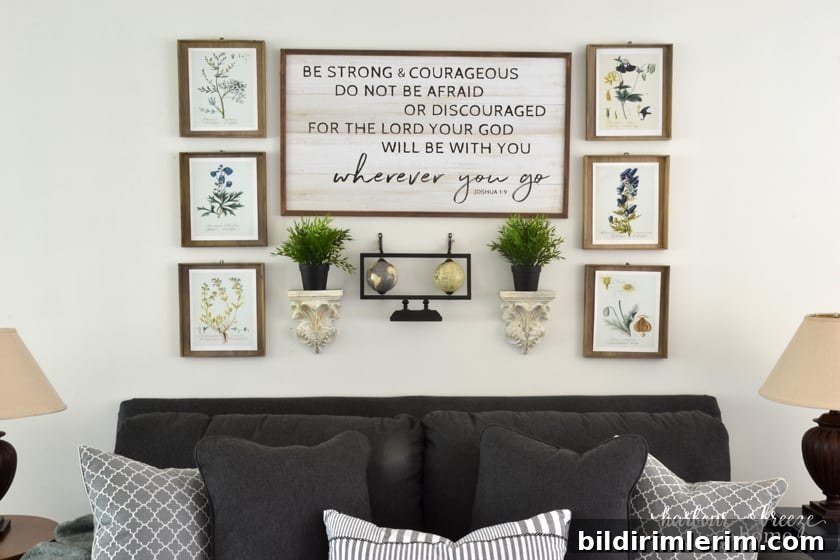
The result is a personalized, perfectly placed gallery wall you completed yourself—no guesswork, no extra holes, just a professional-looking display.
Tips and ideas for above-sofa wall art
- For balance, choose a template width slightly narrower than the sofa, or intentionally extend to create a bold, oversized look.
- Use a mix of frame sizes and orientations for interest, but maintain consistent spacing between pieces for a cohesive appearance.
- If you want a centered focal point, place the largest piece at eye level and arrange smaller pieces around it.
- Keep tools and supplies handy: a level, pencil, and a small ruler help achieve precise placement.
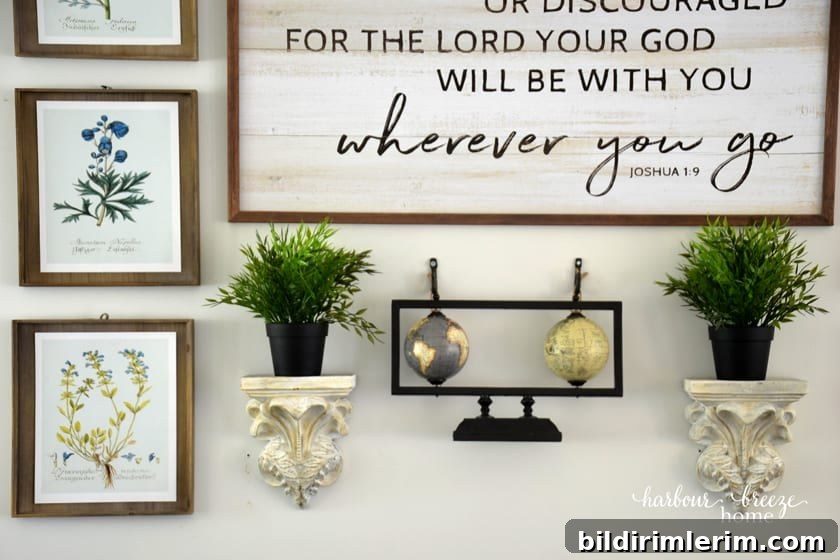
Materials and sources used in this project (no links provided): Verse print sign from a craft store purchased during a sale; free printable botanical art prints from Simply Made by Rebecca; globe decor and other accessories from common home decor retailers; faux plants from Ikea.
A paper template is a low-cost, low-stress way to design and install a gallery wall above a couch. It lets you experiment, adjust, and achieve clean results without the worry of misplaced nails. Try it the next time you want a polished statement above your sofa.