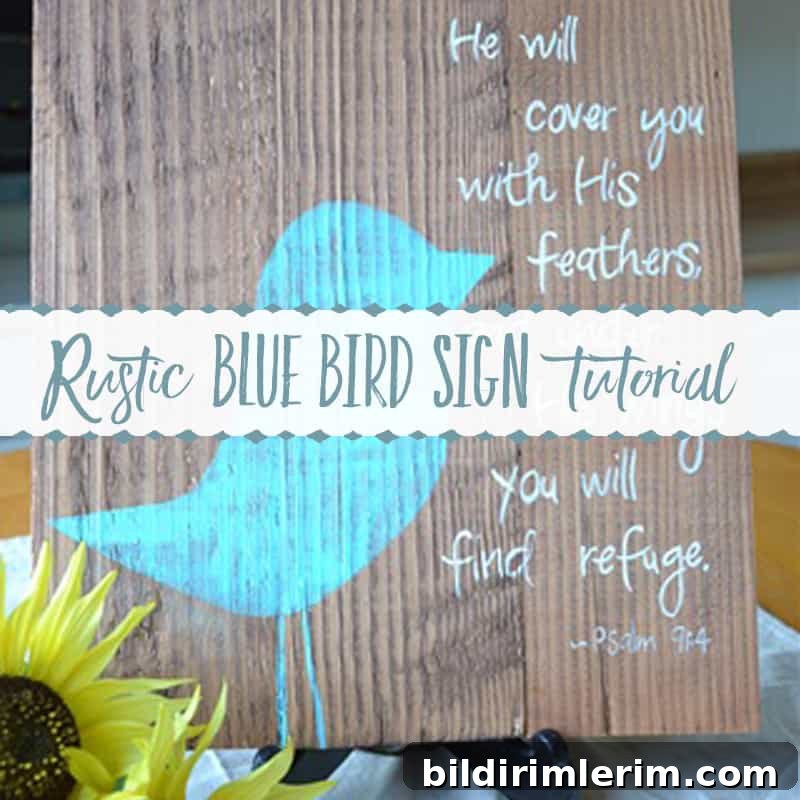
While working with my rescued wood planks, I decided I wanted to make signs wider than a single plank. After trying a few methods, I settled on the approach described here for creating a sturdy, rustic wood sign suitable for hand-painted lettering and simple graphics.
My husband first cut several planks to equal lengths. I applied a bead of wood glue to the edge of one board, pressed another board tightly against it, and continued until the panel was as wide as I wanted. I clamped the glued boards overnight to allow the glue to set firmly.
The glued panel felt good, but when I accidentally dropped one, the seam failed: the lamination alone didn’t provide enough strength for a frequently handled sign. To reinforce the back, I laid two thin wood strips across the rear of the assembled panel, marked nail positions, and predrilled holes with a drill press to prevent splitting when nailing.
After drilling, I spread a thin layer of carpenter’s glue along each strip, positioned them on the back of the sign, and drove nails—carpet tacks in my case—through the predrilled holes to secure the strips. Any small nails or brads would work; I prefer the look of larger black nail heads for a rustic accent. I also attached my small “Harbour Breeze Creations” tag to one of the nails for a handmade signature.
With the panel reinforced and fully dry, I prepared to create the design. For this project I wanted a simple bird silhouette paired with a favorite verse from the Psalms, so I left the wood stained for a rustic, natural finish rather than painting a full background.
To transfer the lettering and bird shape, I used white tracing paper to outline the words and cut a bird stencil. I positioned masking tape around the area where the bird would sit and traced the bird shape onto the wood with a pen. Using an X-Acto knife, I carefully cut the stencil and removed the interior piece to create a crisp edge.
For the bird I used a turquoise paint applied with a dry-brush technique so some of the wood grain would show through, keeping the rustic aesthetic. Applying the paint with very little medium on the brush lets the texture of the wood remain visible and produces a softer, aged appearance. I removed the masking tape while the paint was still tacky to prevent tearing paint edges—this gives the cleanest result.
The lettering was hand-painted in a warm “Light Buttermilk” color for strong contrast against the stained wood. I used a font style similar to “Pea Bea” as my reference for spacing and shape, but all brushstrokes were painted by hand to retain the handmade charm. Taking the time to pencil guidelines first made the painted letters more consistent without losing the artisanal look.
This combination of reclaimed wood, a simple graphic, and hand-painted text creates a rustic blue bird sign that works well as inspirational wall art or cottage-style decor. Leaving the wood slightly imperfect and allowing grain and knots to show makes each piece unique and adds character.
I plan to create a companion piece with a matching style and palette; the two signs together make a nice paired display for a hallway, entryway, or living room. If you enjoy DIY sign projects, this method—laminating planks, reinforcing with strips, creating a stencil, dry-brushing color, and painting lettering—provides a reliable workflow for producing attractive, durable signs from reclaimed wood.
If you are interested in purchasing finished pieces, I also offer a small selection of signs through my Etsy shop under the name Harbour Breeze Creations. Each sign is handmade, sealed for durability, and varies slightly due to the natural character of the wood and custom painting.
This tutorial focuses on practical steps for creating a sturdy, rustic wood sign: prepare and glue the planks, reinforce with back strips and predrilled nails, transfer your design with tracing paper and a stencil, dry-brush color to retain wood texture, and hand-paint the lettering for a personalized, inspirational finish.