Decorative Painting on Wood Signs: A Practical DIY Guide
Create custom signs for your home using this decorative painting technique for wood signs.
Many of my craft-fair projects start with a simple piece of wood. Whether it’s a reclaimed board, a slice of driftwood, or a smooth shop-bought panel, the preparation and basic process are the same. This guide covers the essential steps for creating attractive, long-lasting decorative wood signs you can personalize for your home or gifts.
Materials and Preparation
Before you begin, gather basic materials: a wood panel, sandpaper, oil-based stain, acrylic craft paints, a foam brush, a selection of paintbrushes, graphite transfer paper (for wood), a stylus or ballpoint pen for tracing, painter’s tape, and an acrylic sealer spray. Optional items include a saw-tooth hanger for wall mounting and a sanding block if you plan to distress the finish.
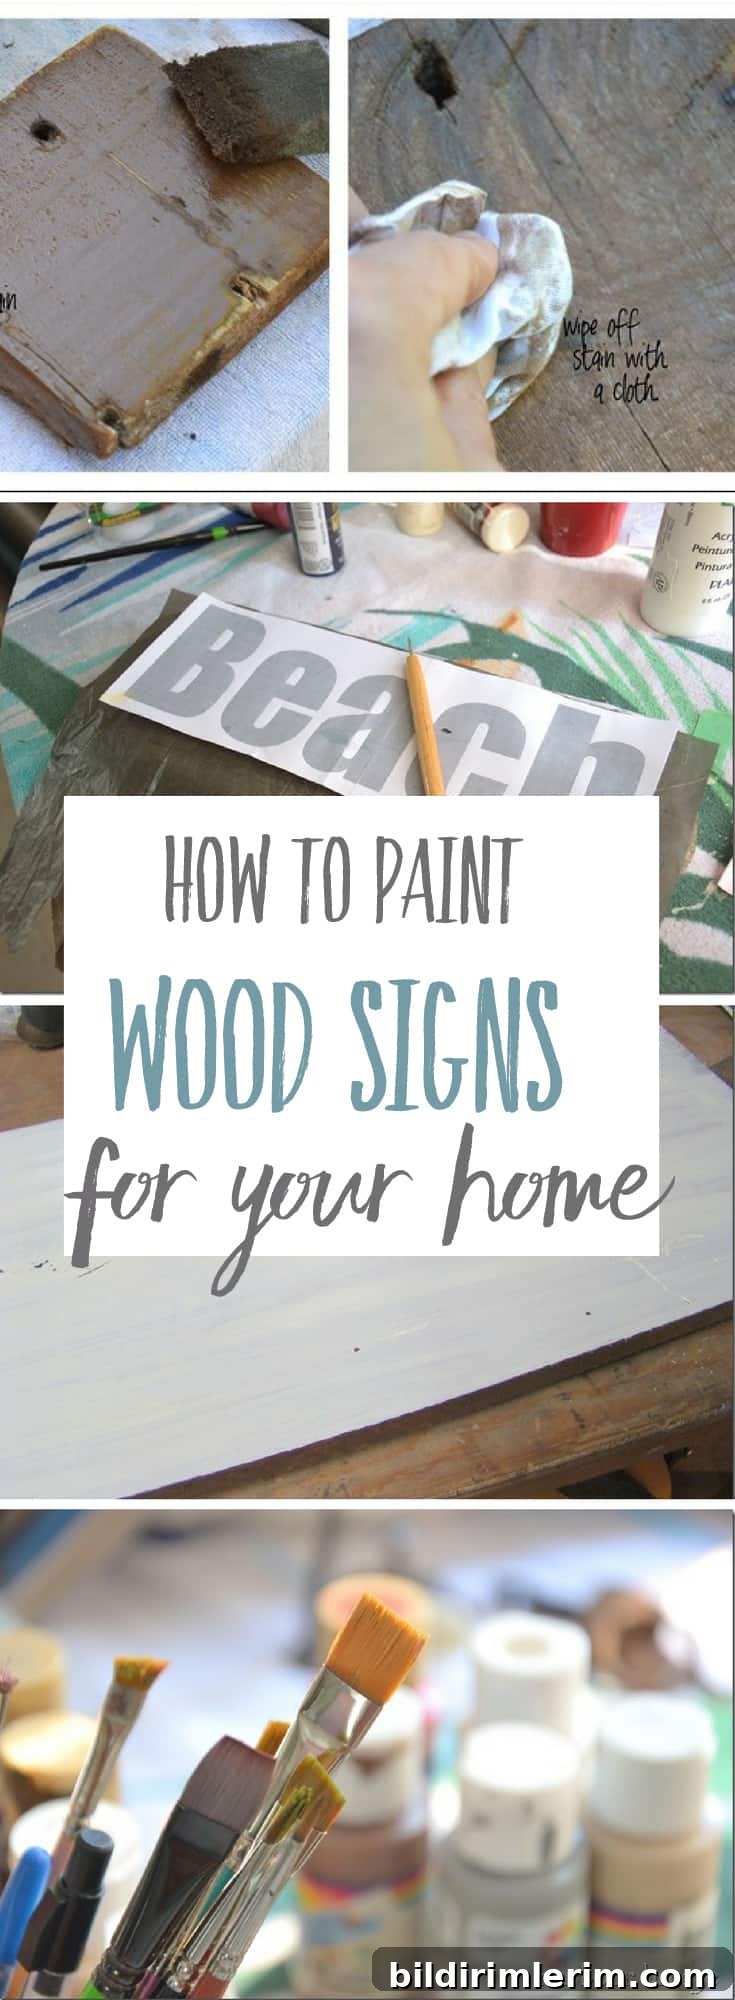
I start every project by sanding the wood roughly to remove dirt, loose fibers, or rough spots. After sanding, I stain the entire piece on all sides with an oil-based wood stain. The stain seals the wood and acts like a primer, giving a uniform base that helps the paint adhere and last longer. I generally avoid oily woods like cedar because their natural oils can sometimes affect paint color and adhesion.
Design Template and Layout
Once the wood is prepped and dry, I make a paper template of the design. I use a simple desktop publishing program to set the exact sign dimensions on a blank page, choose a font, and arrange the layout. Print the design using a draft or economy print setting to save ink — the print is still dark enough to transfer. Trim and tape the printed pieces together precisely if the design spans multiple pages.
- Set the page size to match your sign dimensions in your design software.
- Choose a clear, readable font and scale the text to fit the board.
- Print on regular paper using draft mode, then trim and align the sheets carefully.
Base Coat and Color Layering
The next step is to apply a base coat. I use acrylic craft paint applied directly to the wood with a foam brush for a smooth finish. You may need two or more coats for solid coverage. Layering colors is a useful technique: paint a darker undercoat first (for example, black), then a lighter topcoat (cream or white). If you sand or distress the top layer later, the darker undercoat will peek through and create a naturally aged look.
Allow each coat to dry thoroughly before adding another. Proper drying prevents tackiness and helps your hand-painted details lay cleanly on the surface.
Transferring the Design
When the base coat is fully dry, transfer your printed design onto the wood using graphite transfer paper made for wood surfaces. Lay the transfer paper with the graphite side down on the sign, then position your printed template over it. I tape one edge of the template down to create a hinge so the alignment stays precise while you check or re-position the layout.
Trace the design firmly with a stylus or a ballpoint pen. The transferred lines will give you a clear guide for hand-painting letters and motifs.
Painting the Design
With the outline transferred, fill in the letters and imagery using acrylic paints and an assortment of brushes. Invest in a few good-quality brushes of varying sizes—small detail brushes for fine lines and larger flat or round brushes for fills and backgrounds. Keep brushes clean and store them upright to extend their life.
Helpful tip: thin acrylic paint slightly with water so it flows more smoothly from the brush. The paint should be a little like ink in consistency for crisp edges. Practice steady strokes and take your time—clean lines come with patience and practice.
Distressing and Finishing Options
Finishing your sign is a matter of personal style. If you prefer a rustic, aged appearance, sand the painted surface lightly after the paint is completely dry to reveal the darker undercoat or natural wood beneath. Light dry-brushing with a contrasting color can also add texture and depth. For a cleaner, more modern look, simply make sure the paint coverage is even and crisp.
If the sign is intended to hang on a wall, attach a saw-tooth hanger on the back with small nails or screws, making sure it’s centered and secure.
Sealing and Care
The final step is to protect your work with a clear acrylic sealer spray. Apply the sealer in thin, even coats in a well-ventilated area and allow it to dry fully between coats. This locks in the paint, protects the surface from dust and moisture, and gives a finished sheen that lasts.
Voila — your custom wood sign is ready to display! With these core techniques you can experiment with fonts, color palettes, distressing methods, and decorative motifs to create one-of-a-kind pieces for your home, gifts, or craft events.
Linking To: Home Stories from A -Z