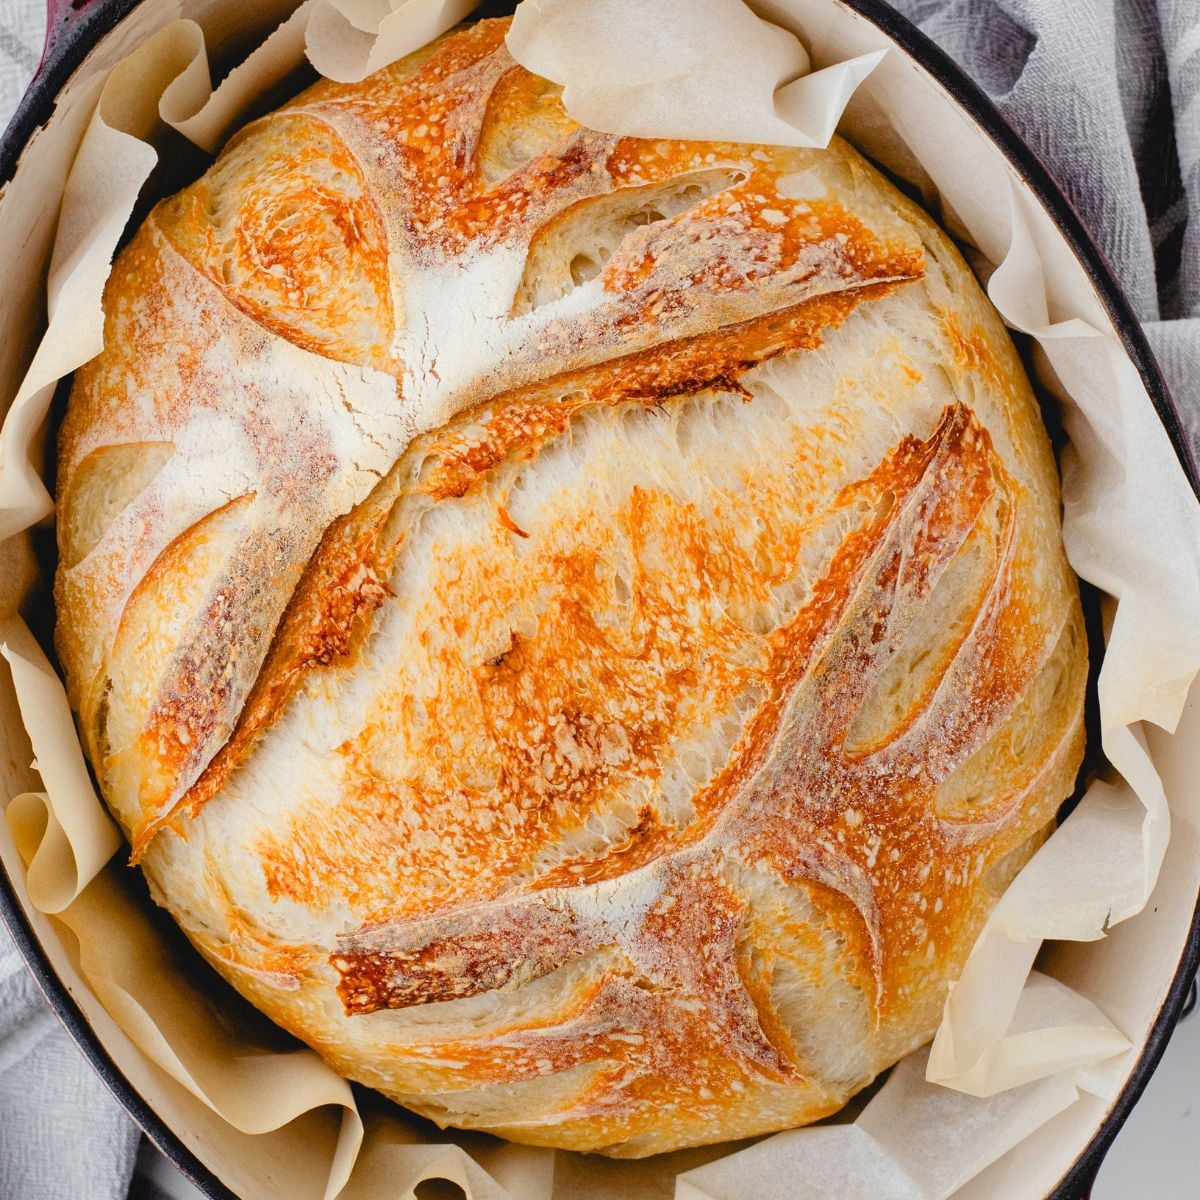
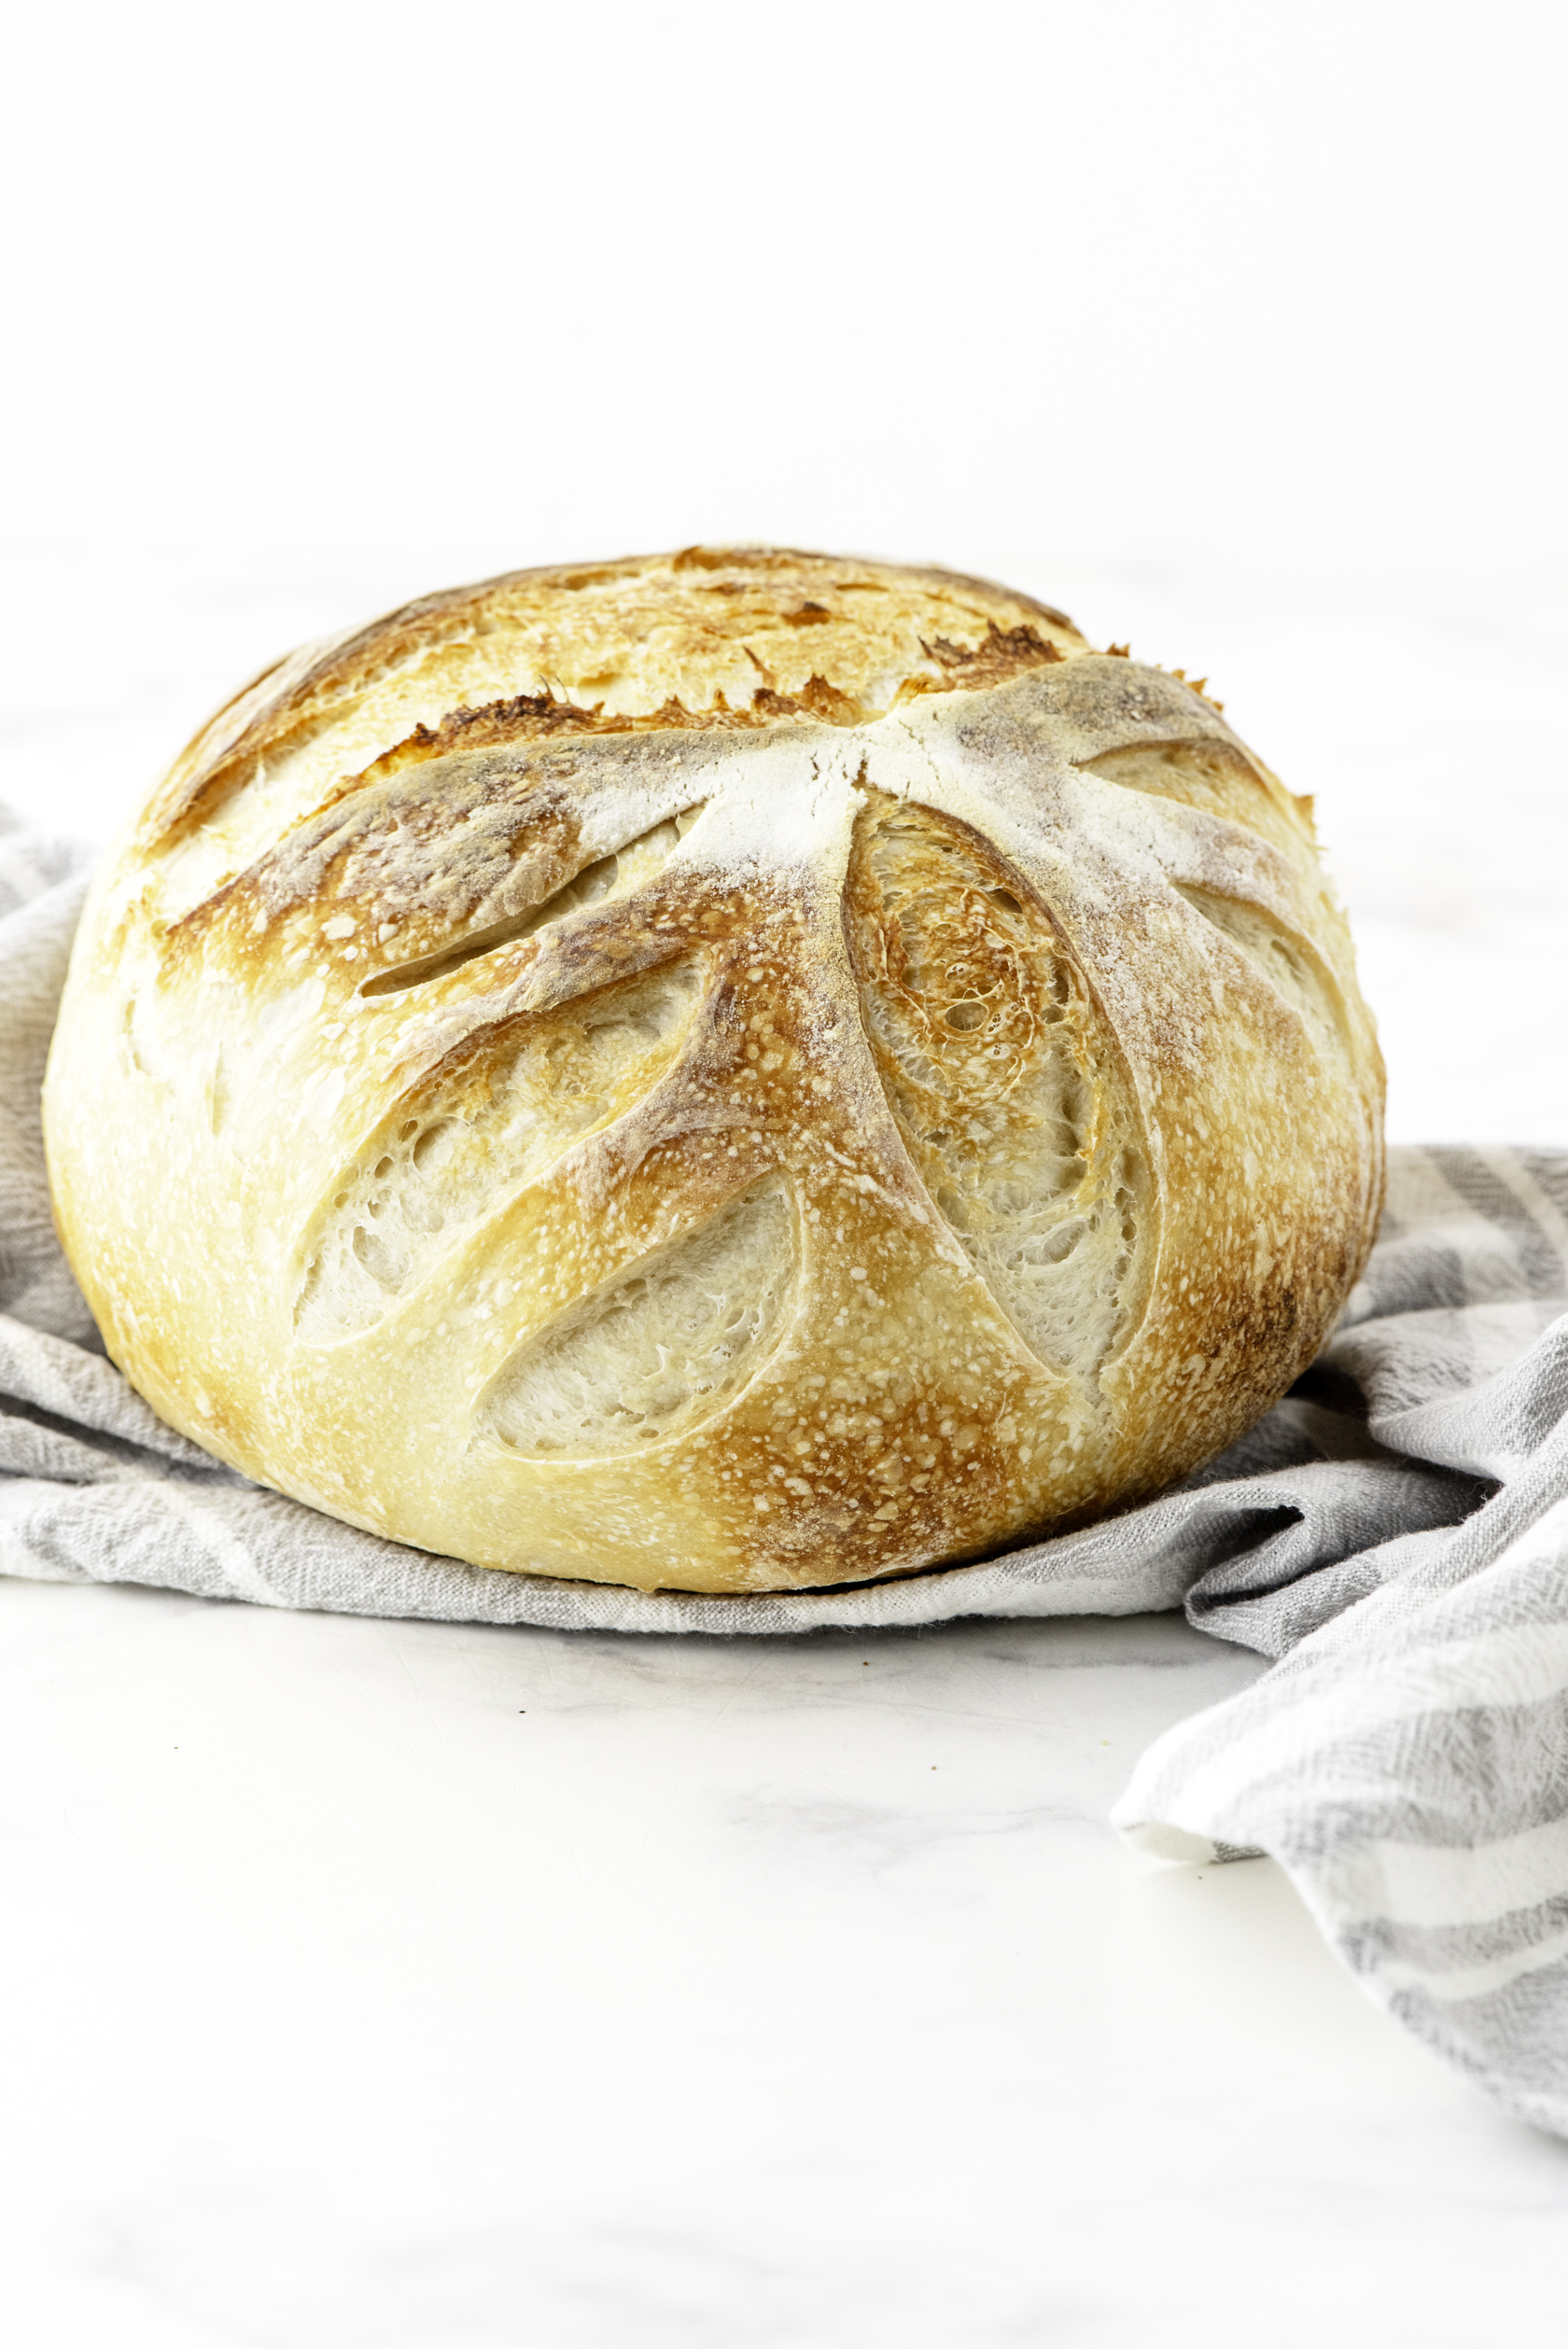
This dutch oven sourdough bread recipe uses just 3 ingredients and a gifted starter for a golden, crispy-crust loaf. Heat dutch oven to 500°F, then bake at 450°F, for the perfect artisan bread — full step-by-step instructions included.
Why you’ll LOVE this sourdough bread recipe
There’s only 3 simple ingredients. Yes, you read that right. Although sourdough bread looks complex and complicated, it’s made with only 3 ingredients – flour, water, and salt! But, if you’re a newbie like I am, I totally recommend getting started making sourdough bread using starter that has been gifted by a friend.
It’s absolutely delicious. Classic sourdough bread is soft and tender on the inside and has a delicious, tangy flavor. The crust is toasty and crisp. Having a piece toasted and hot is comfort food at its finest.
You can work full time outside the home and still make this sour dough bread method work! There are a TON of ways to make sour dough bread, and some of them involve a daily routine with the sourdough starter. This sour dough method is a once-a-week routine that can be fit into your work schedule. I love that!
You don’t need a bunch of specialty equipment or tools. Although there are various special tools that work well for making sour dough bread, I’ll show you how I make mine with minimal extra “gadgets”. You probably already have these in your kitchen supplies.
The rhythm of making sourdough bread will become a routine-and you just might find you love it as much as I do! Here’s a short video with some of my sourdough bread story and snippets of making the bread. (Tip: Click on the expand arrows in the lower right hand corner and you’ll be able to view the video larger.;))
Kitchen Tools Needed for this Dutch Oven Sour Dough Bread
Disclosure: This post contains affiliate links for your shopping convenience.
- A dutch oven. A cast iron dutch oven is the perfect place to bake up this classic round sour dough bread loaf so that it has a crispy crust and tender inside. A 7 quart cast iron dutch oven with lid is most recommended, but mine is a 5 quart dutch oven and it has been working just fine.Most people use a round dutch oven, but I use an oblong one and it still works great.
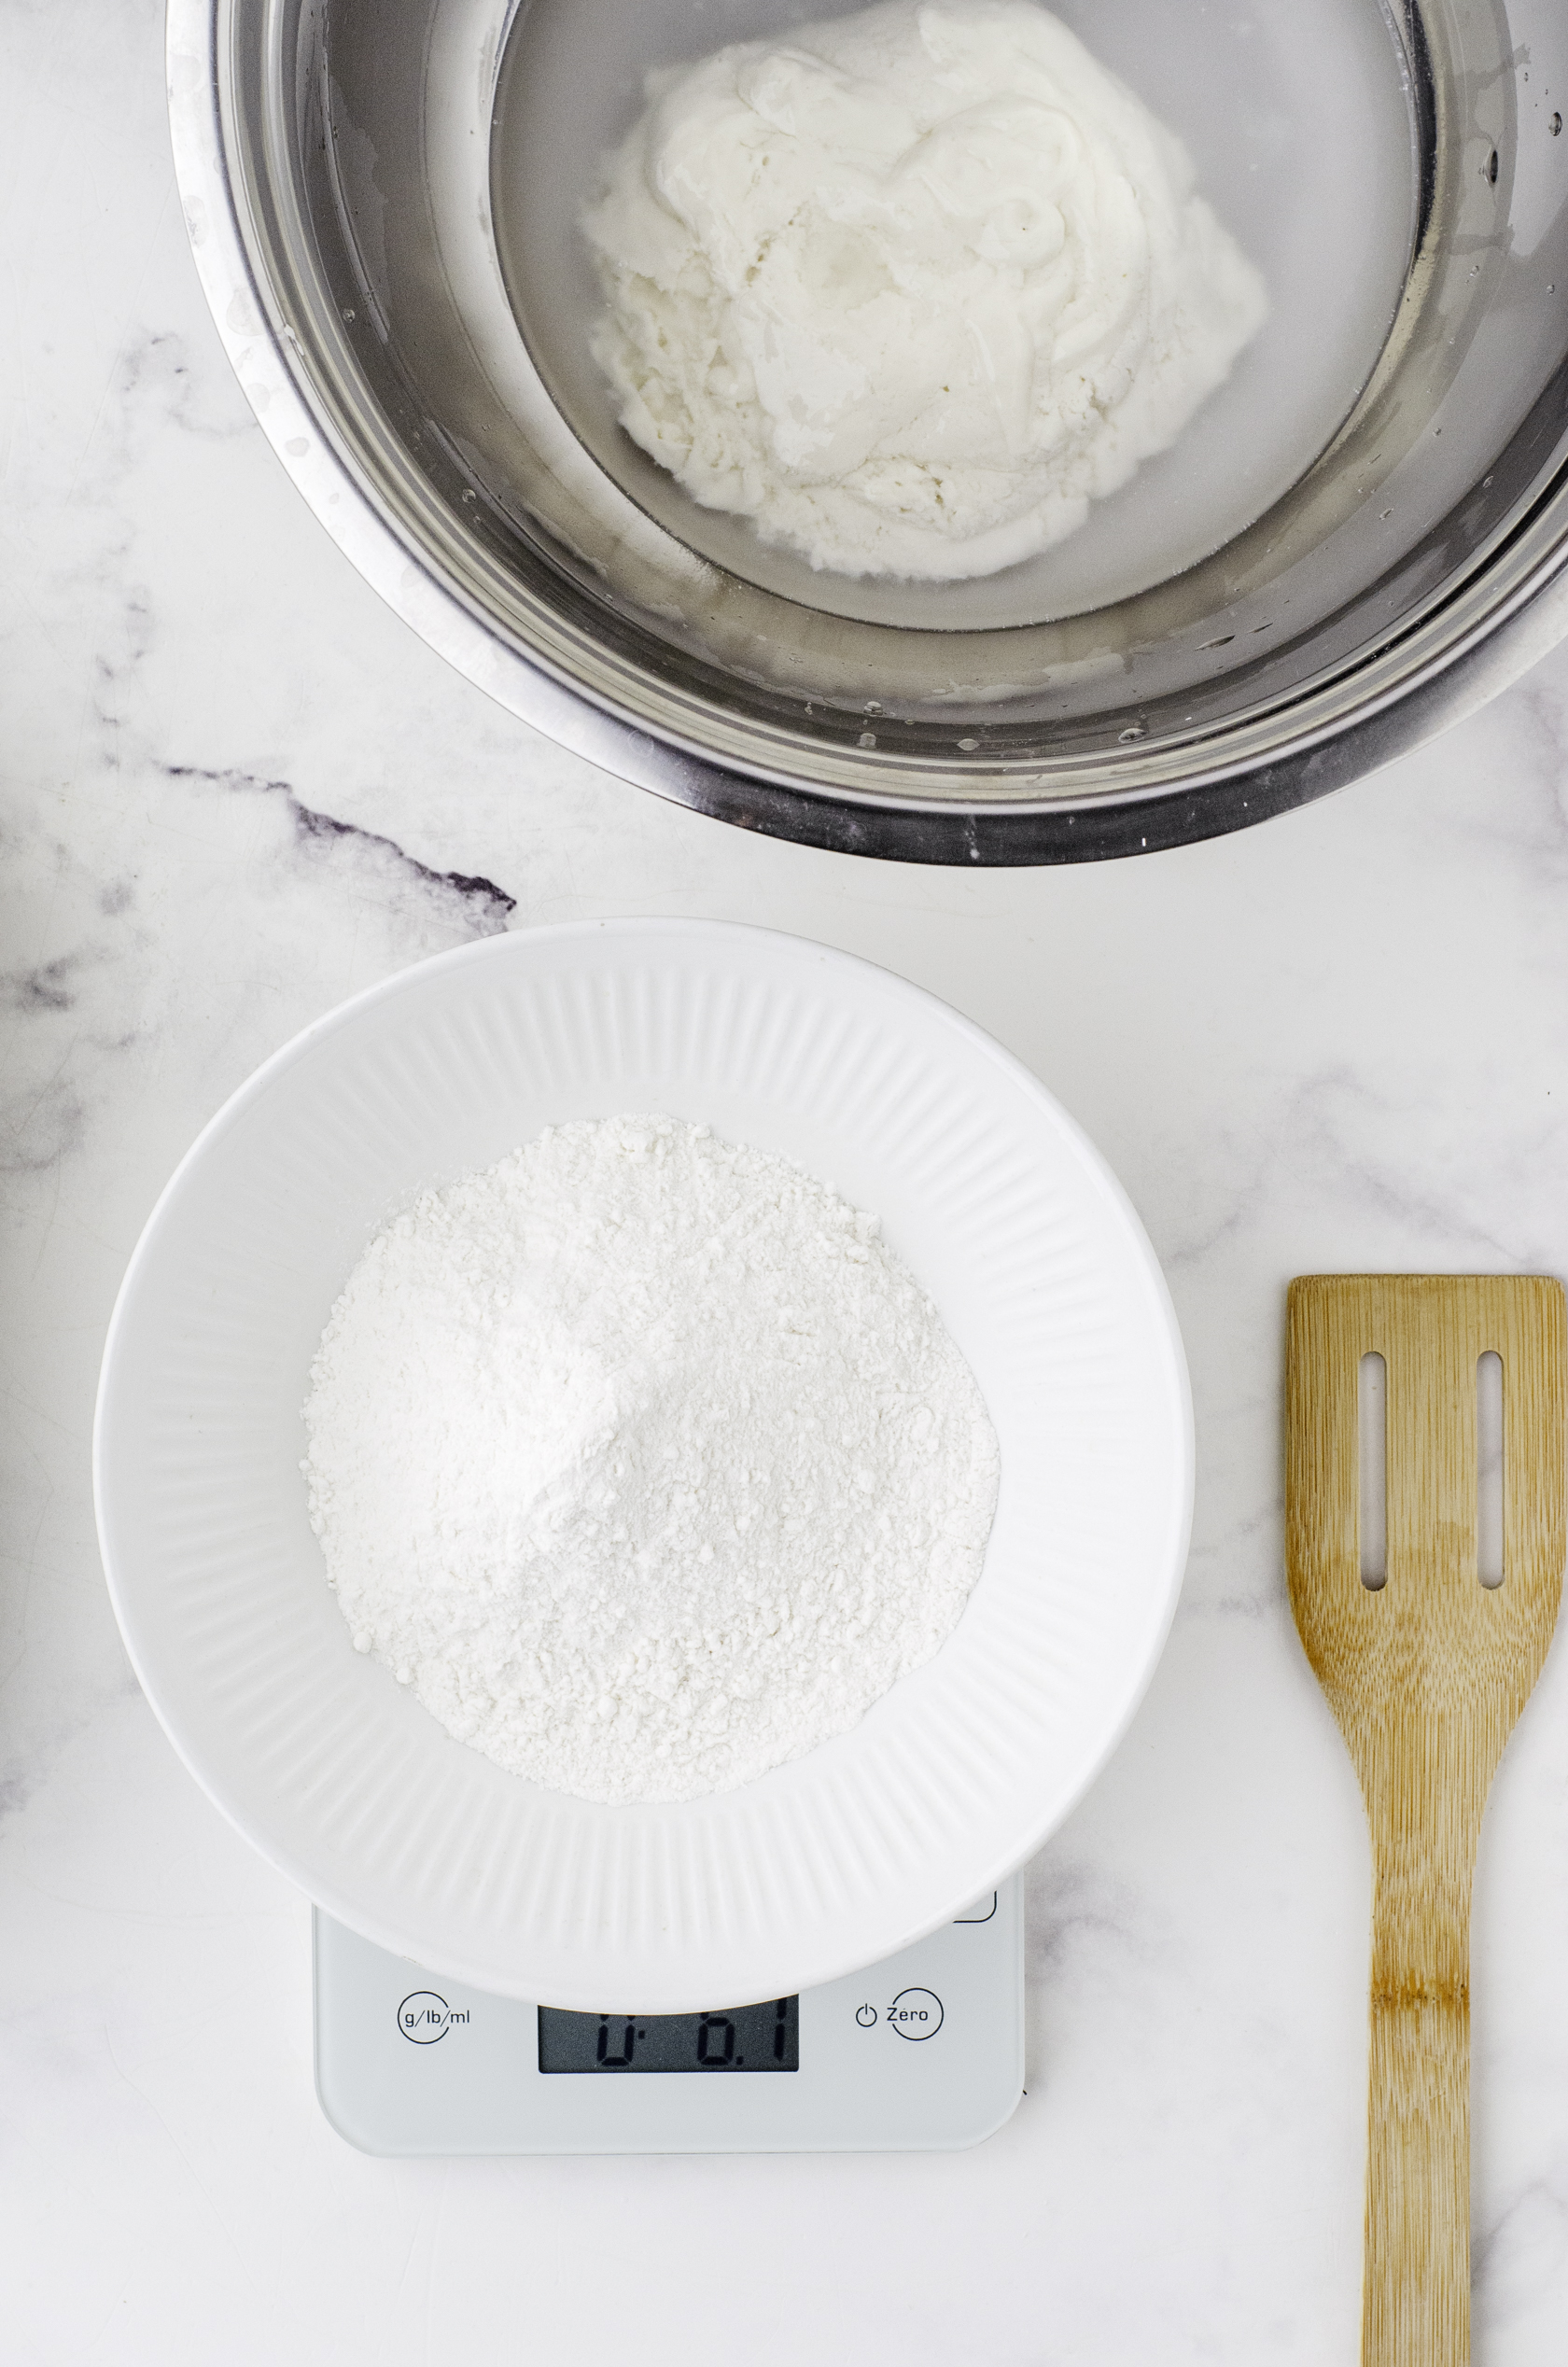
- Digital kitchen scale. You’ll need this to measure accurately.
- A metal mixing bowl. I use a metal bowl when I feed my sour dough (so I don’t wake up to bubbly sour dough starter on my counter if it rises beyond the top of the mason jar). The metal bowl helps make the plastic wrap stick well on the top!
- A wood spoon with holes in the middle – or a Danish dough whisk. You can use any other sturdy utensil to stir your dough together, but I find the hole in the wooden spoon seem to help. The Danish dough whisk is on my wish list!;)
- Stand mixer with a dough hook. – I bought my Hamilton Beach stand mixer many, many years ago and have rarely used the dough hook attachment. But, now I use it every week. If you have a Kitchenaide mixer with dough hook, it will work fabulous, too.
- A large dishtowel. If you don’t use a dough batten for the final rise of your dough, you’ll need to line a bowl with a floured dishtowel.
- A bread lame or straight razor blade. You’ll need something sharp to score your bread before baking. I use a straight razor and it works fine. You will need something sharper than just a basic paring knife, though.
- Sourdough Bread Proofing Baskets (optional)- Bread proofing baskets are totally optional. I just use a bowl with a large dishtowel in it instead. But this bread proofing basket set is a nice one with lots of other helpful tools included.
To find all these sourdough bread baking tools in one handy spot, be sure to check out my Amazon Shop.
FAQs about dutch oven sourdough bread
Preheat your oven to 500°F with the empty Dutch oven inside for at least 30 minutes, then turn it down to 450°F once you add the bread. Bake with the lid on for 20 minutes, then remove the lid and bake 20 minutes more, until golden brown.
About 40 minutes total — 20 minutes covered, then 20 minutes uncovered — though timing can vary slightly depending on your oven and loaf size.
Ingredients you’ll need for this Dutch Oven Classic Sourdough Bread
- Sourdough starter from a friend
- Flour – approximately 6 cups
- 1 tablespoon salt
- Cold tap water
Step by Step: How to Make Dutch Oven Sourdough Bread
This whole process happens over three days, but don’t let that scare you off — the actual hands-on time is only a few minutes here and there. Here’s how it fits into a normal work week:
Day 1: Feed the starter- 9 pm
Right before bed, weigh out your starter and stir in equal parts cold water and flour. It’ll look bumpy and rough, and that’s exactly right. Cover it and let it sit on the counter overnight while you sleep.
Day 2, Morning — Mix the Dough:
Before heading out the door, combine your starter, water, and salt, then mix in the flour with a stand mixer and dough hook until the dough pulls away from the sides and feels just a touch sticky. Give it a quick knead on the counter, then let it rise in a covered bowl for 6-8 hours while you’re at work.
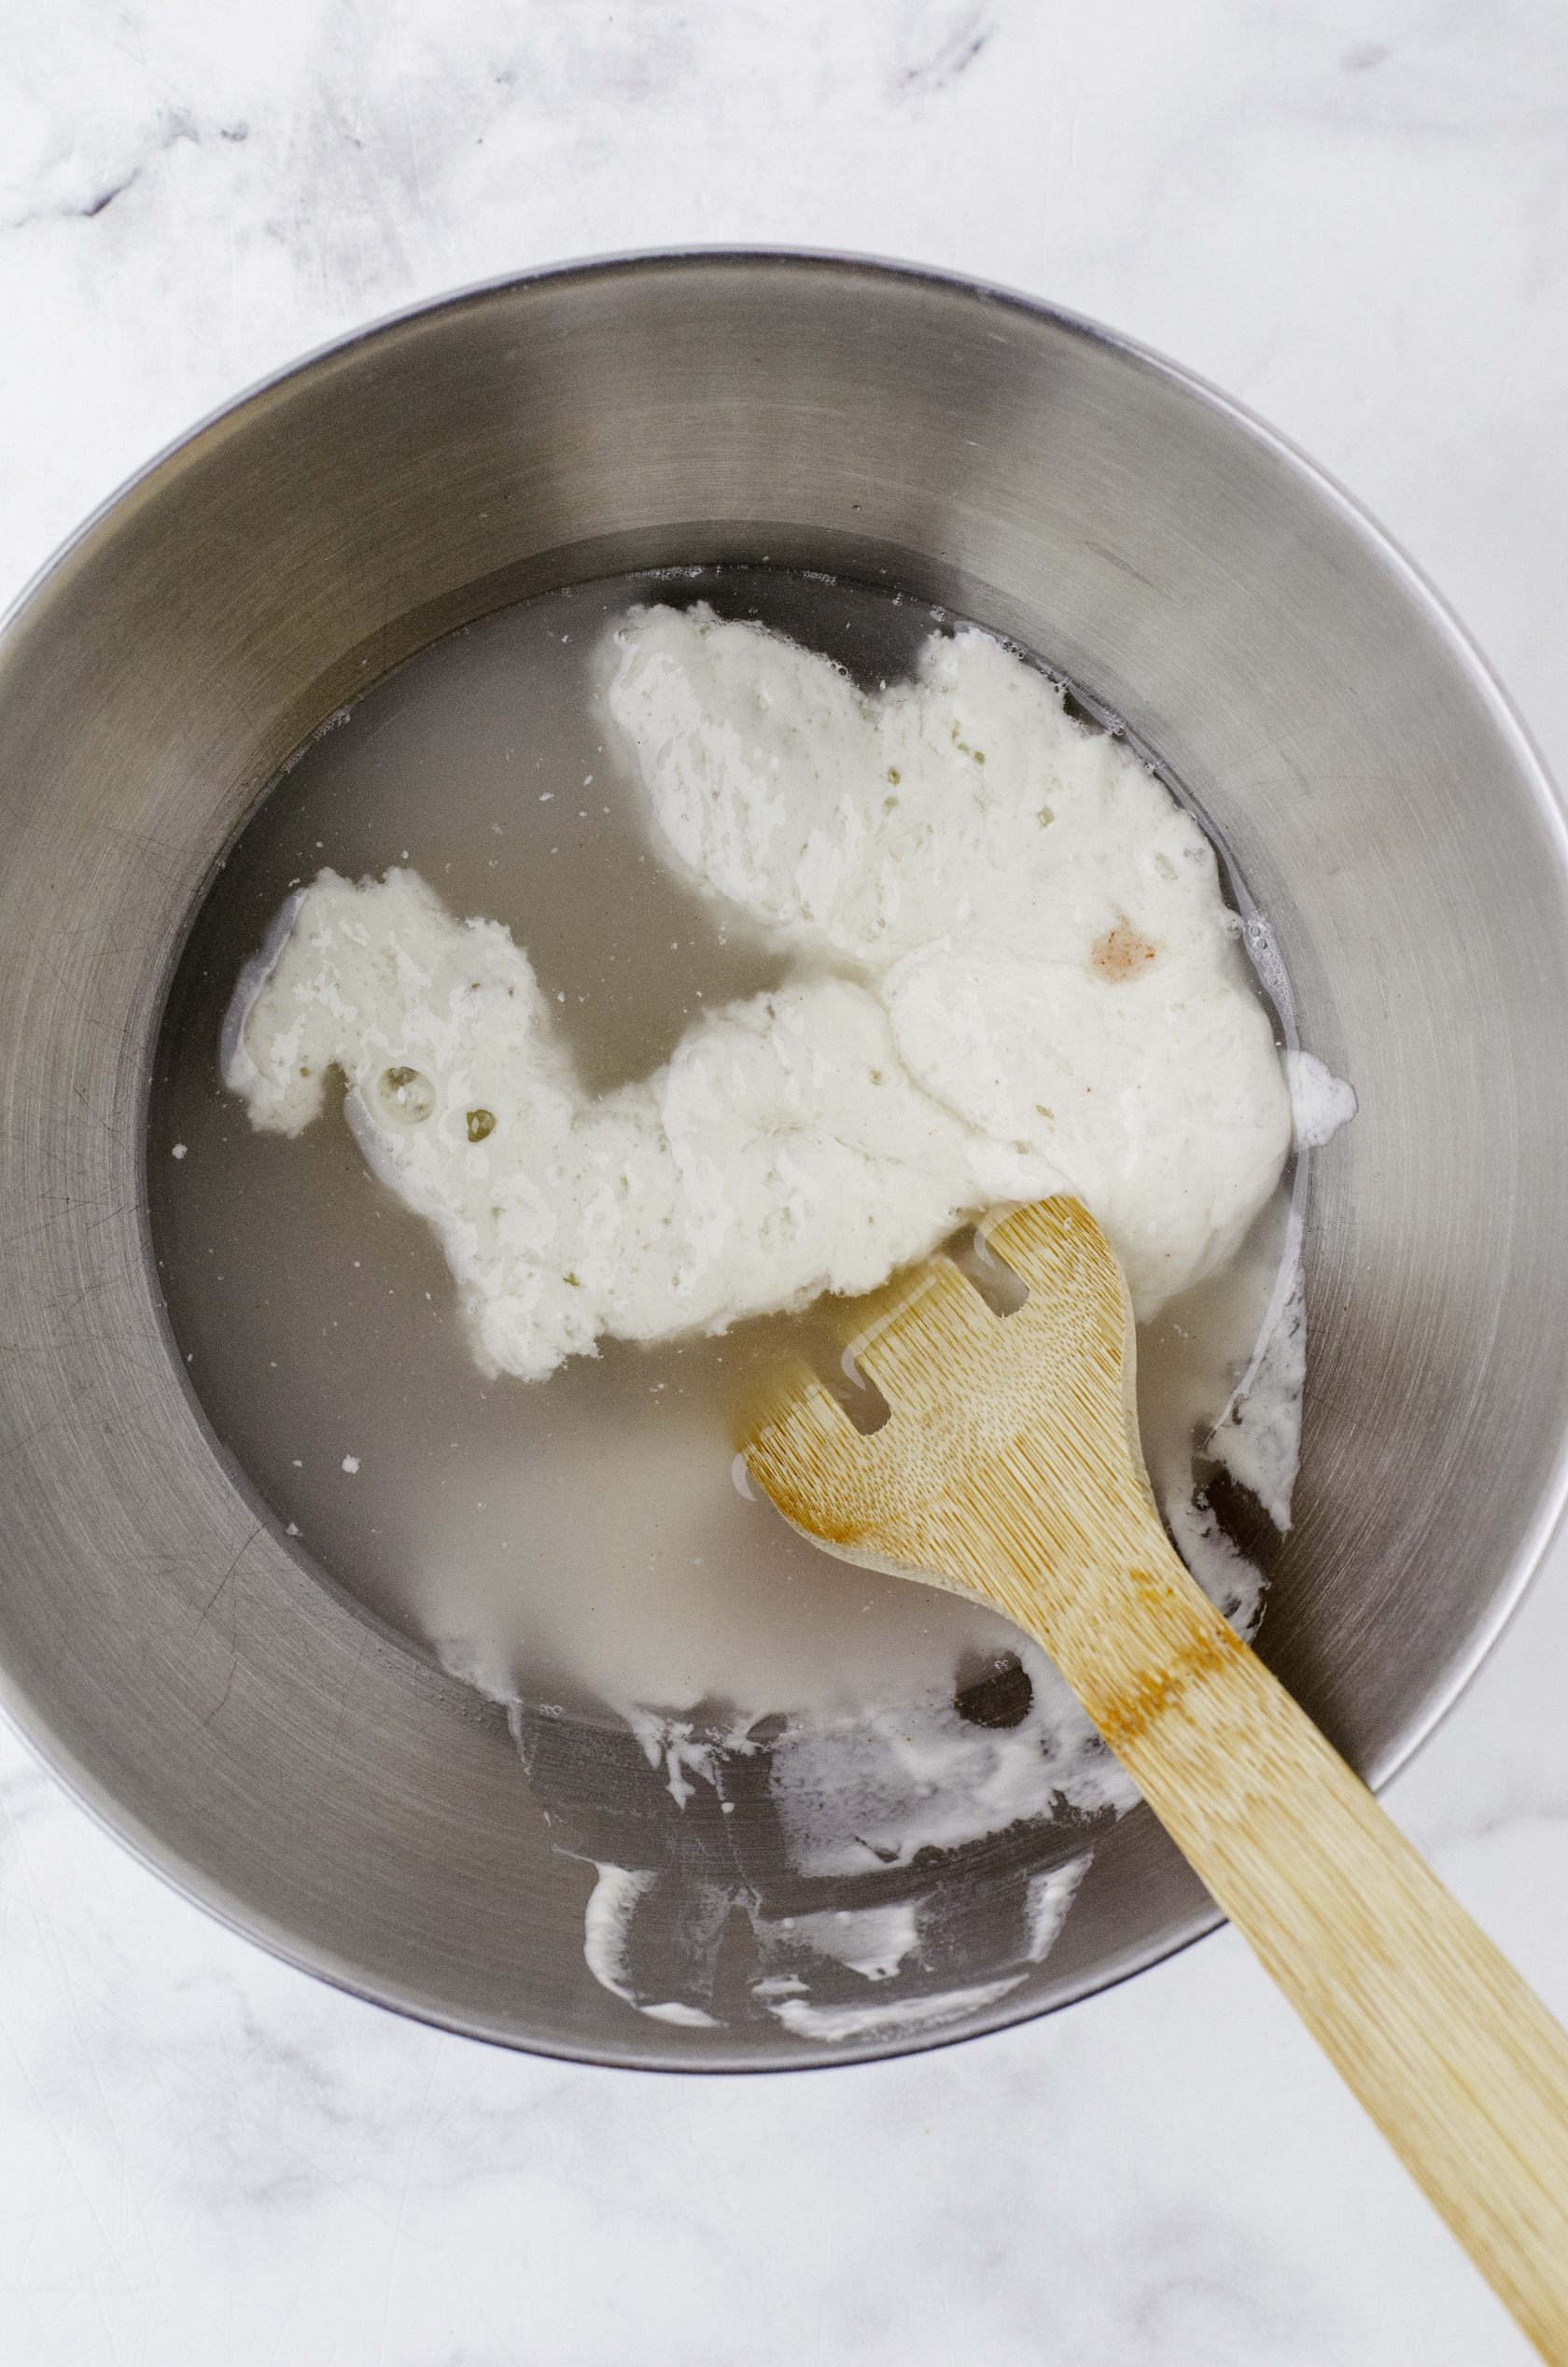 Add salt and water to the sourdough starter first.
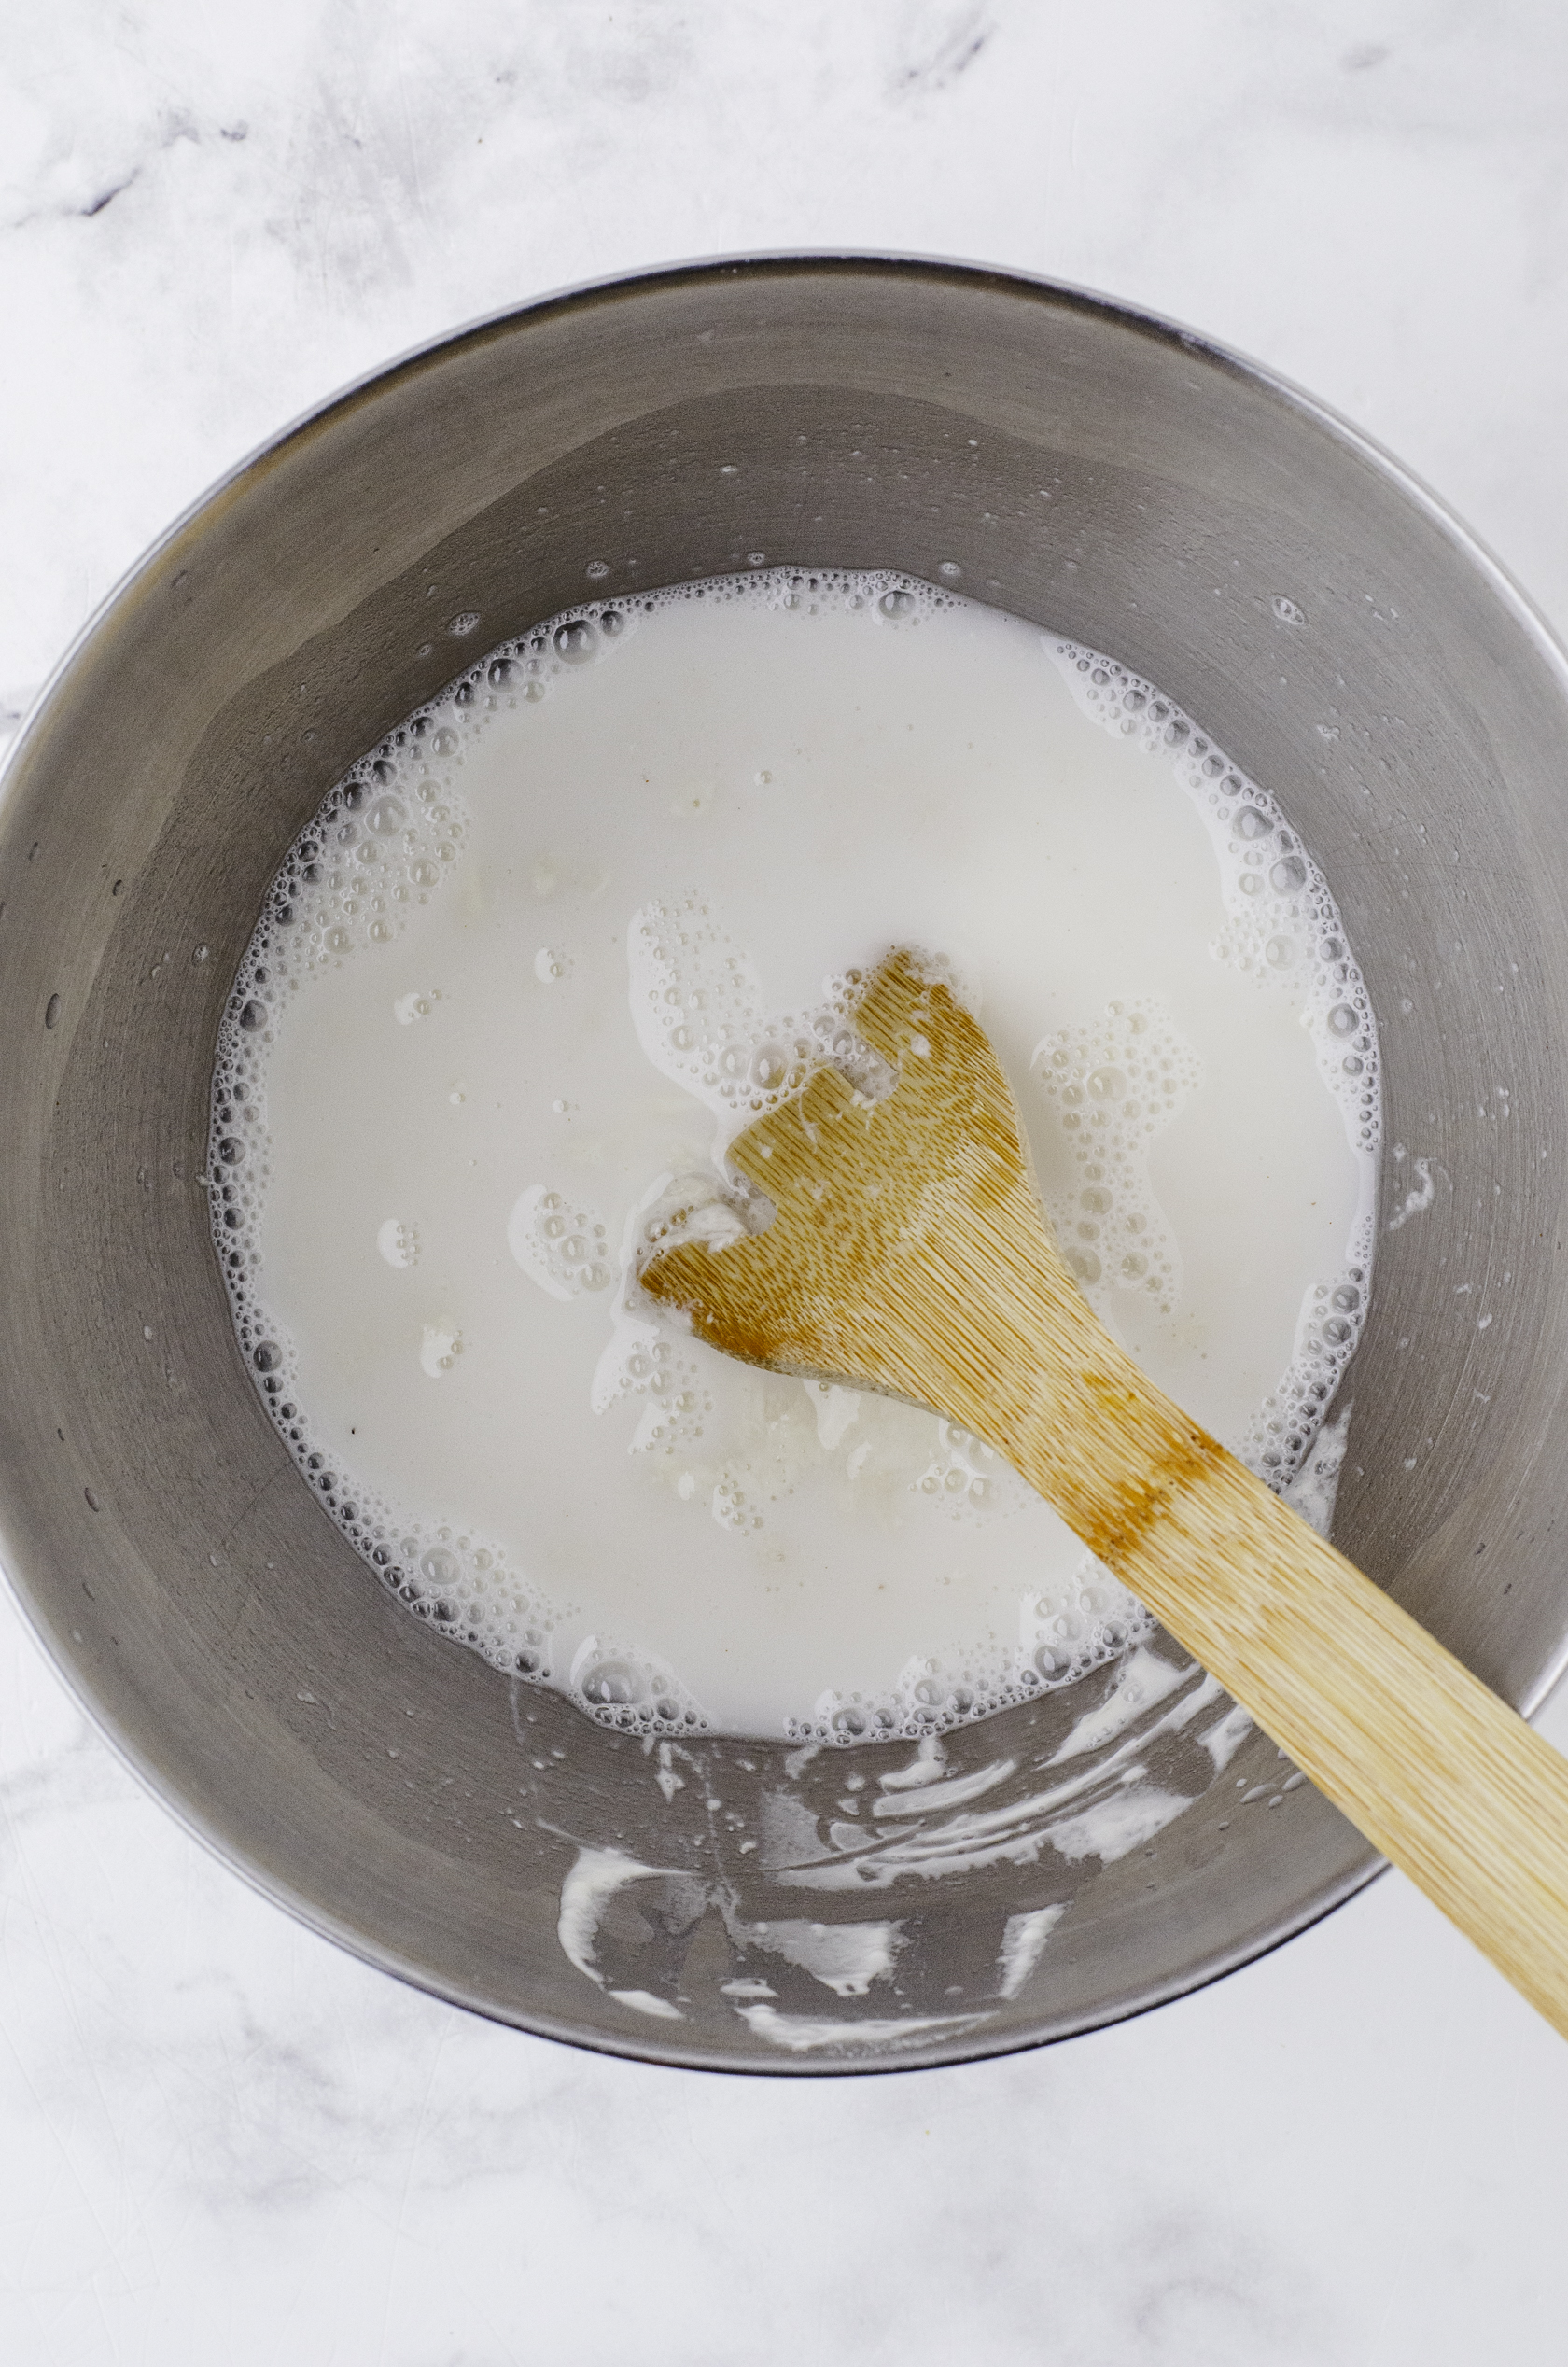 Stir with a woodend spoon with holes or a danish whisk until it is well combined.
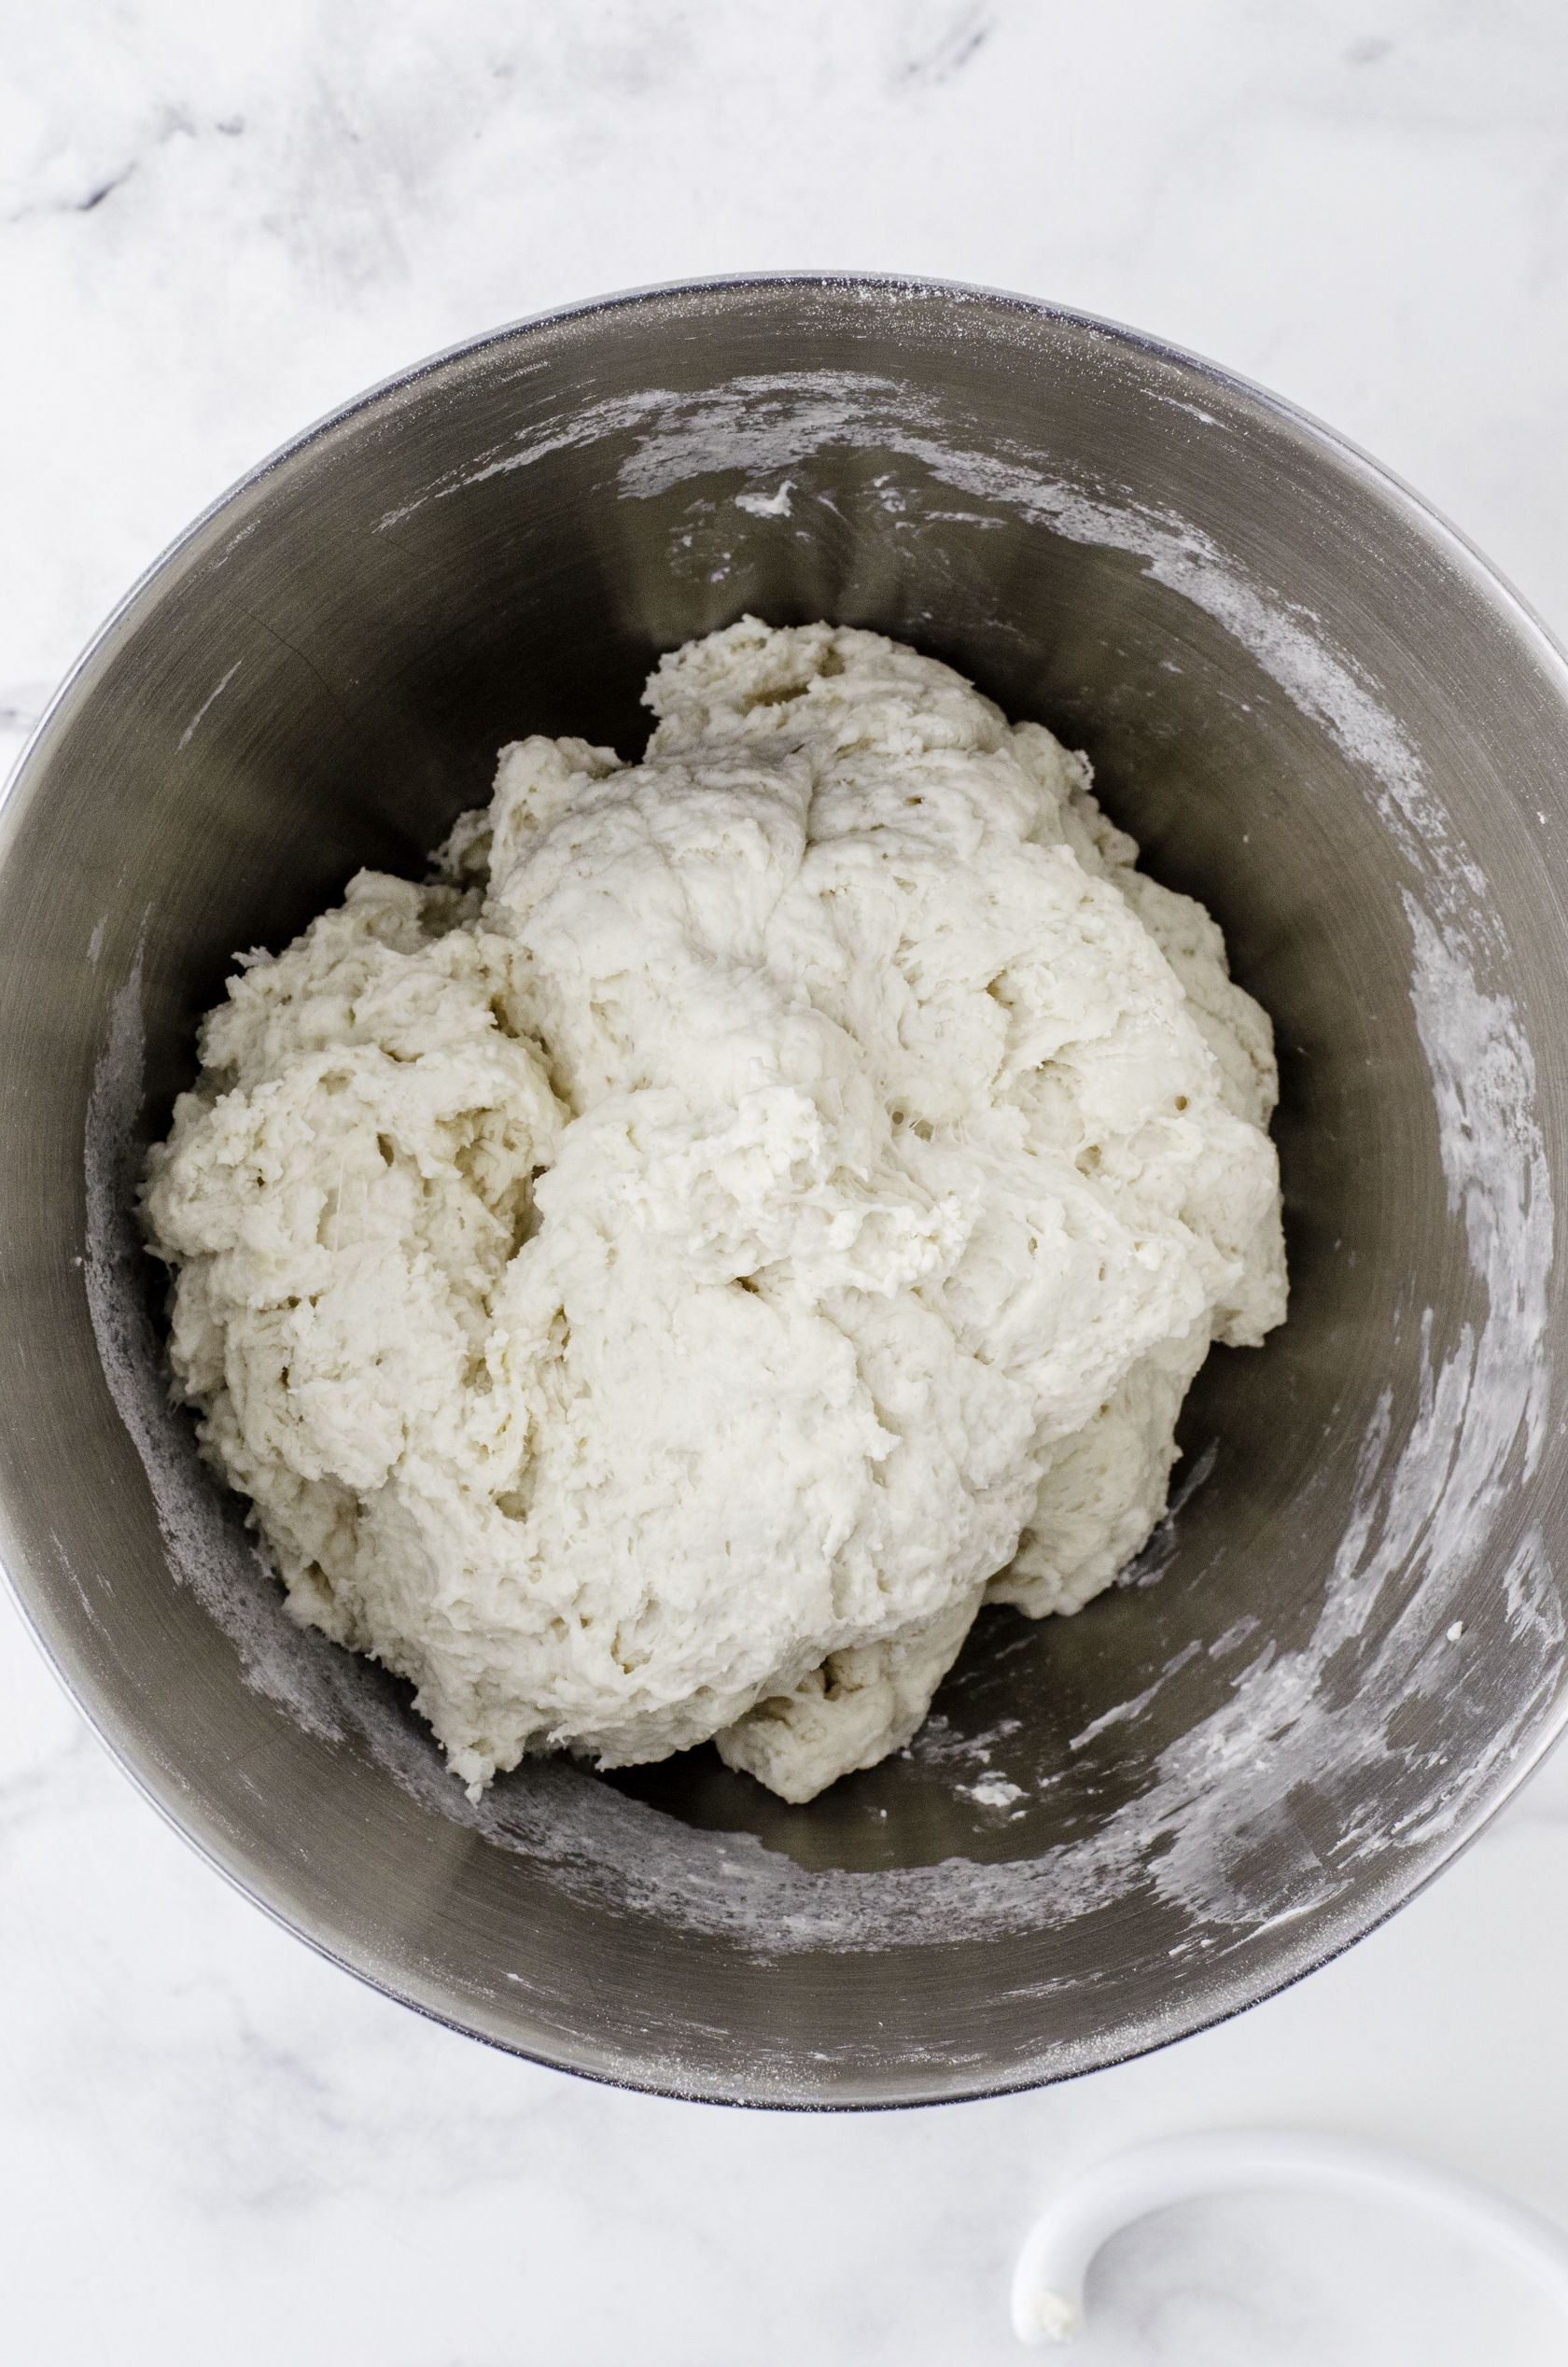 Mix all the flour in the liquid mixture all at once with the dough hook of a stand mixer.
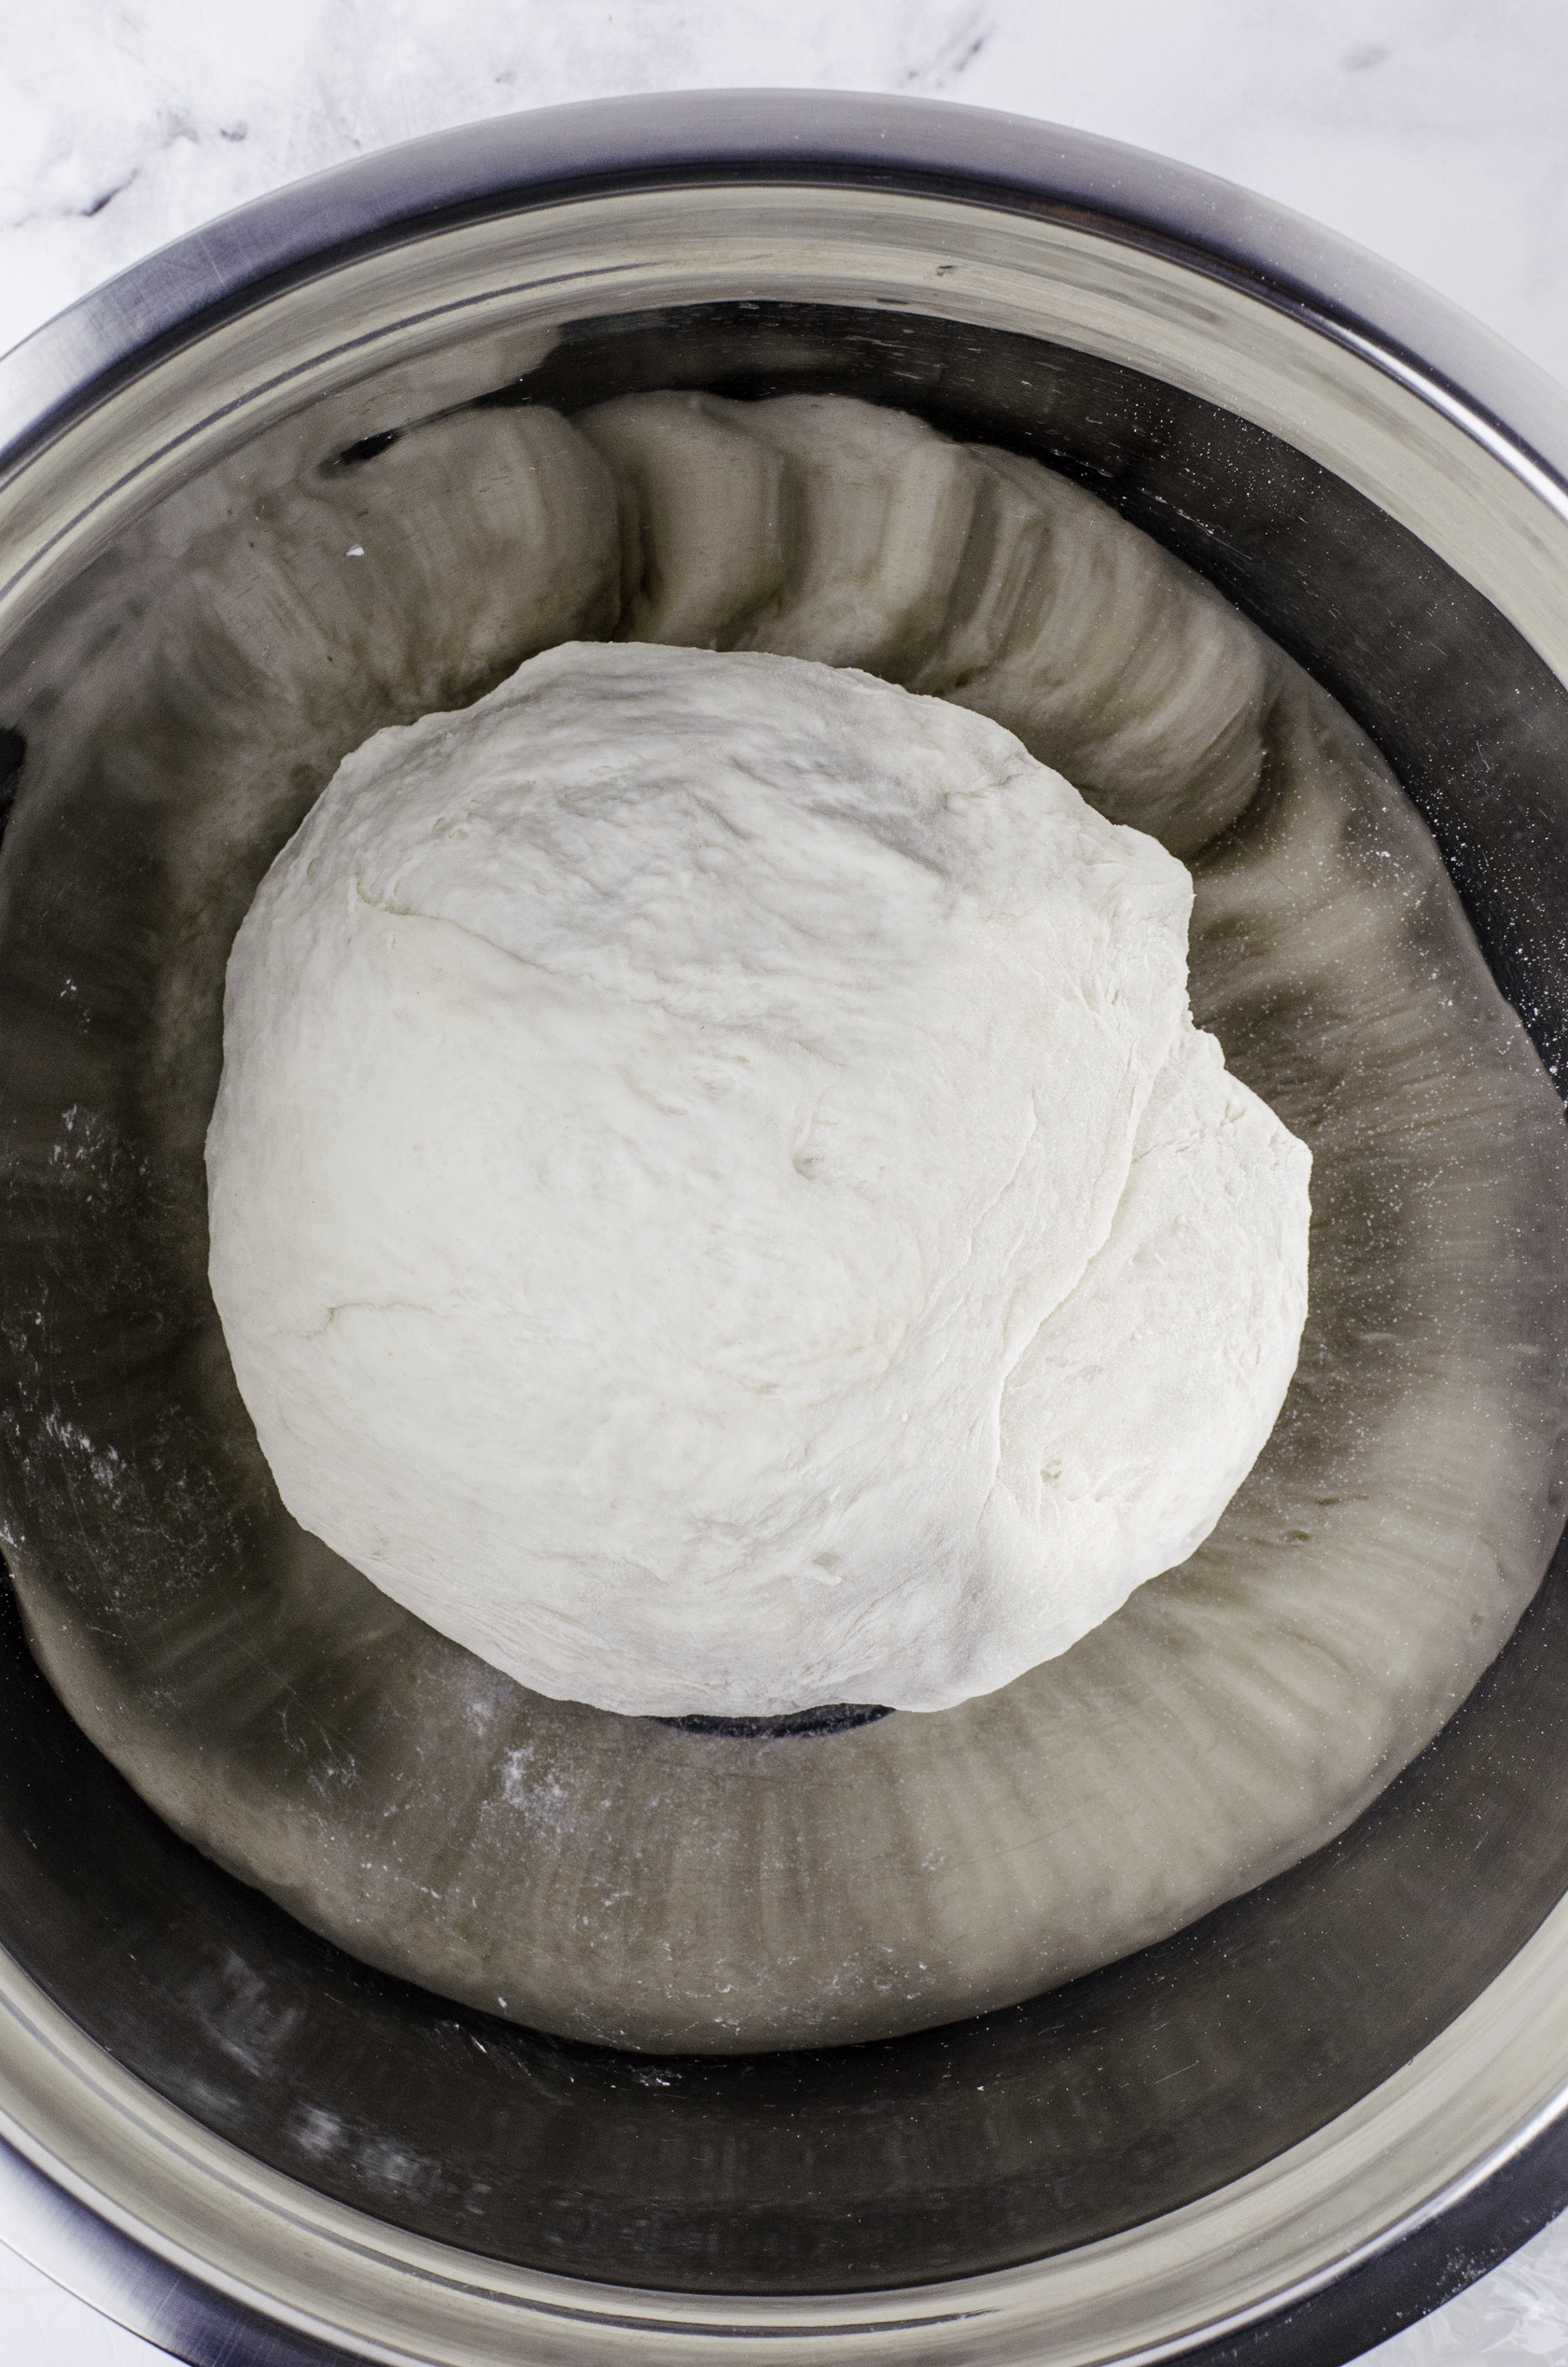 Cover the dough with plastic wrap and let it rise until at least double.
Day 2, Evening — Stretch and Fold:
Once the dough has doubled, it’s time for the stretch and fold — my favorite part! Pull one side of the dough up and tuck it under itself, rotating the bowl each time, resting about an hour between folds. After four rounds, shape the dough into a smooth ball, tuck it into a floured towel-lined bowl, and pop it in the fridge overnight.
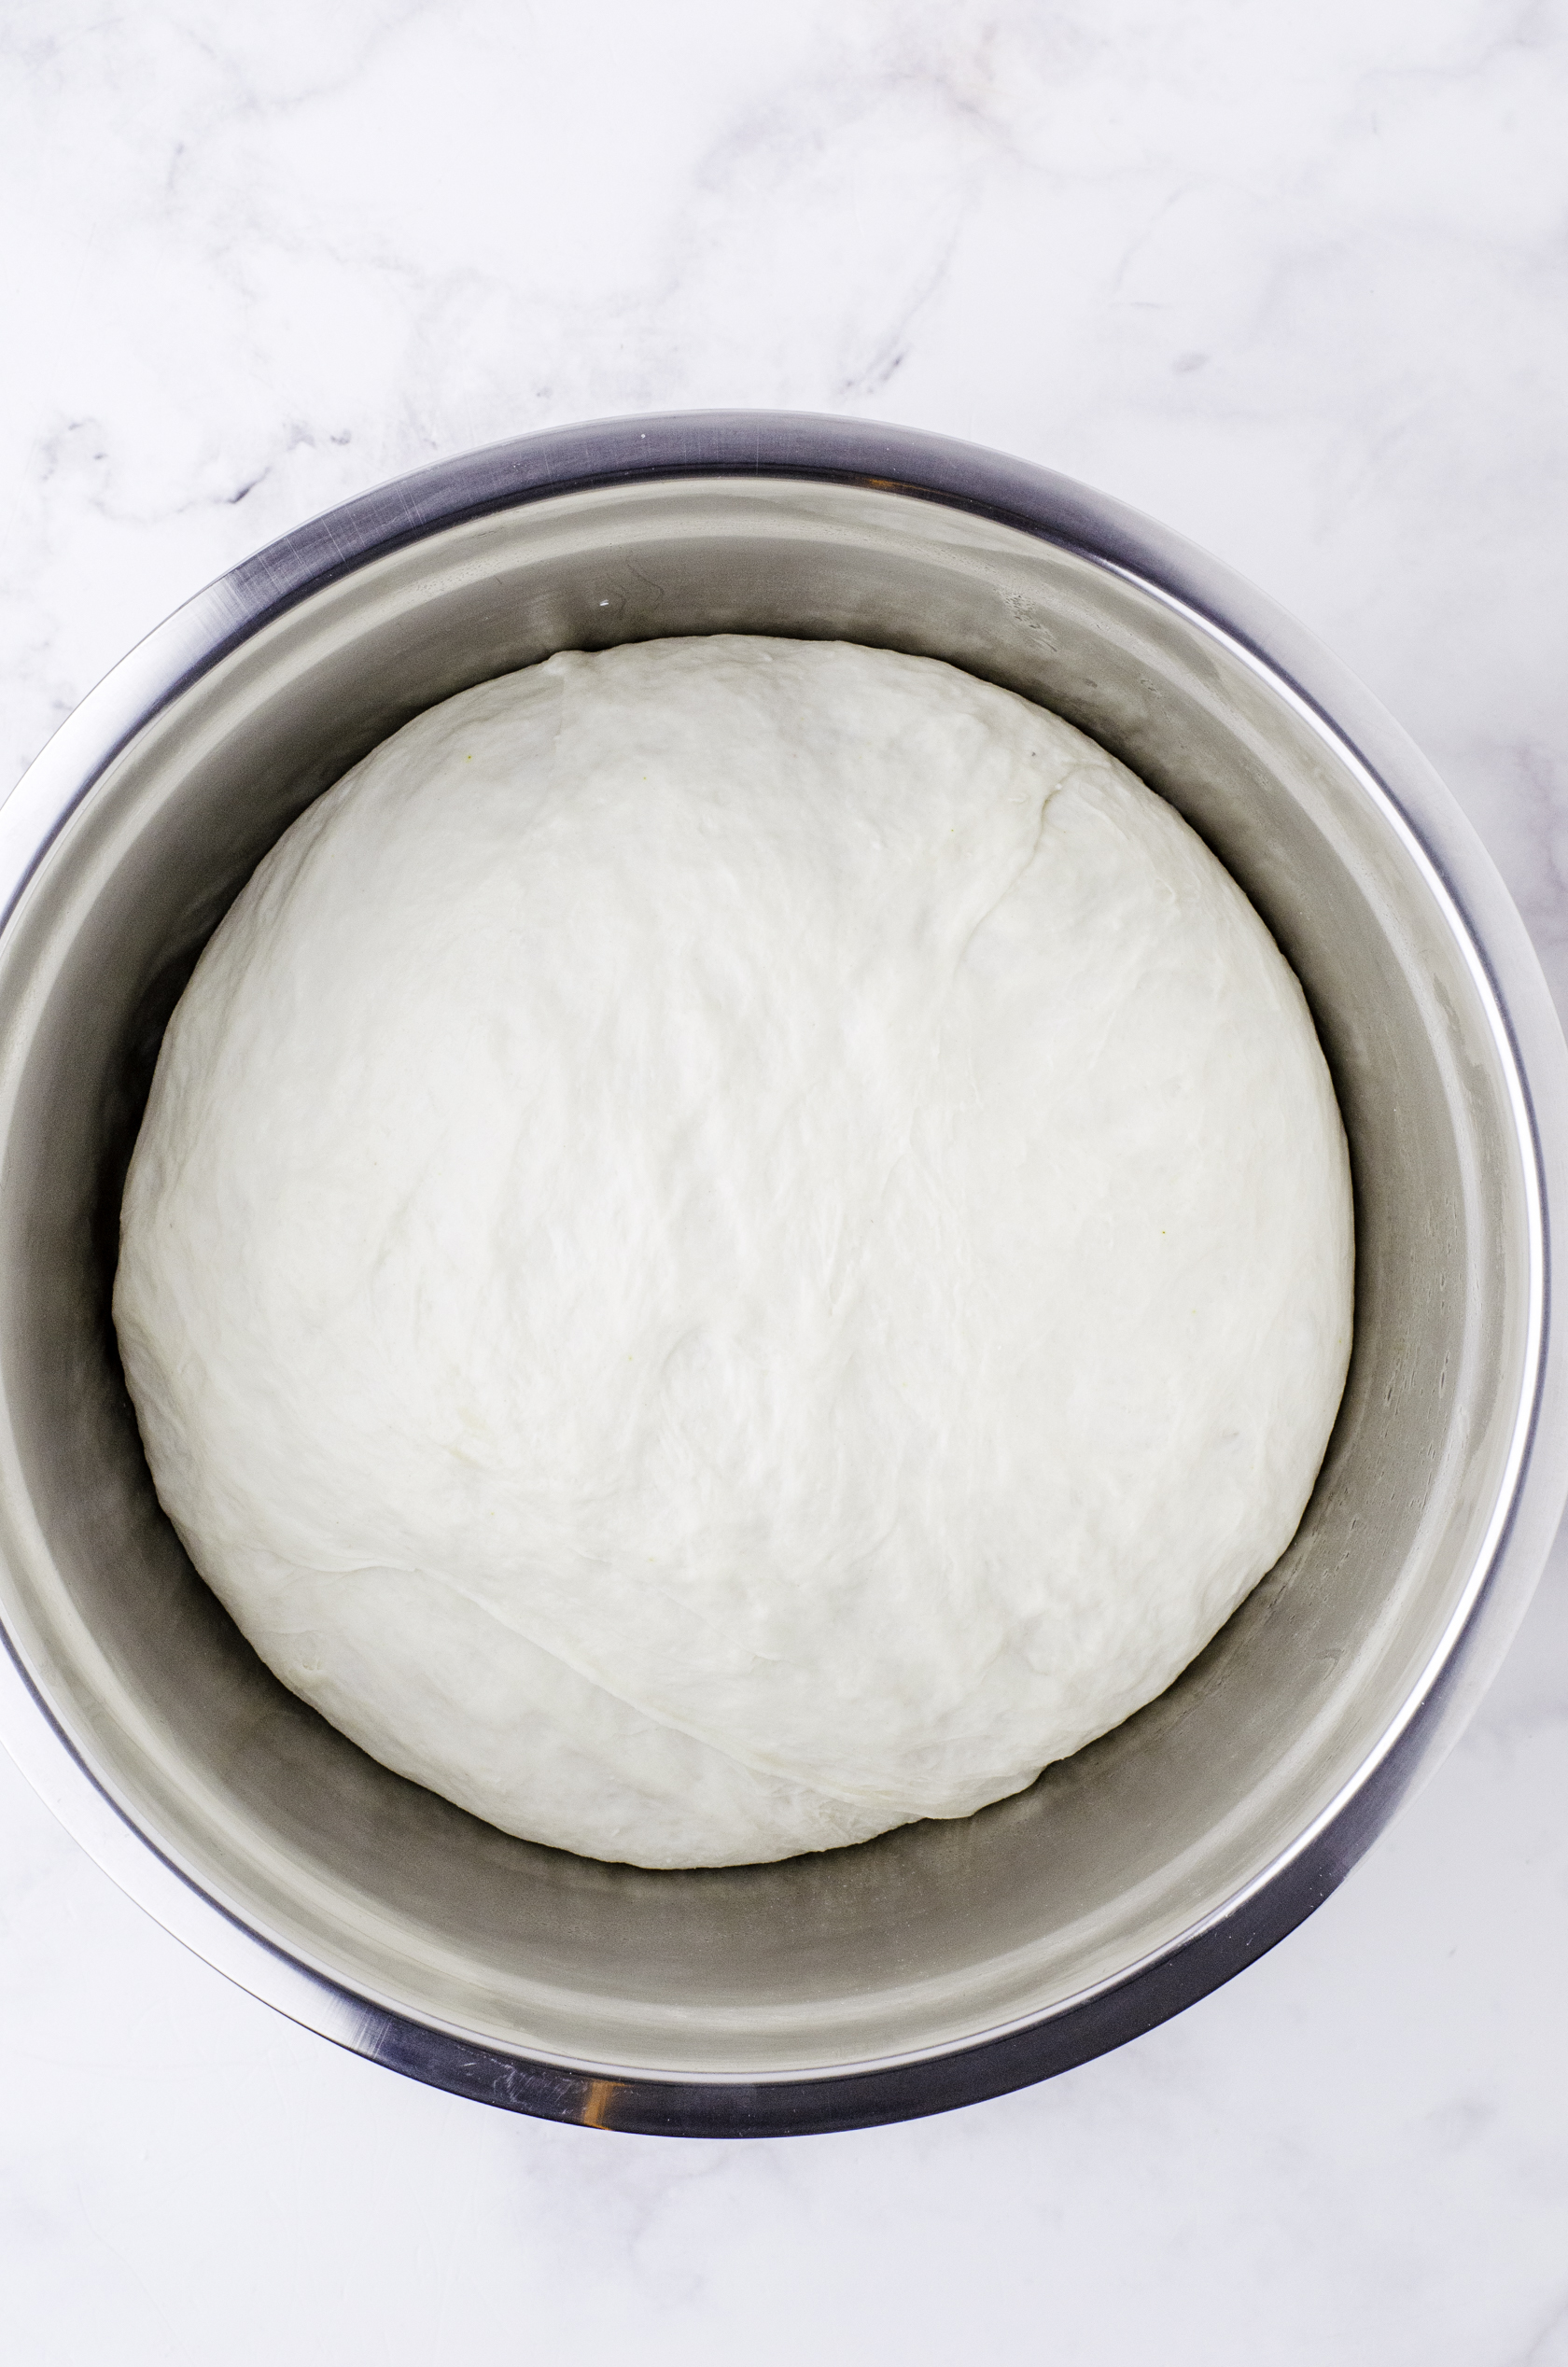 The bread should be at least double in size before starting the stretch and fold process.
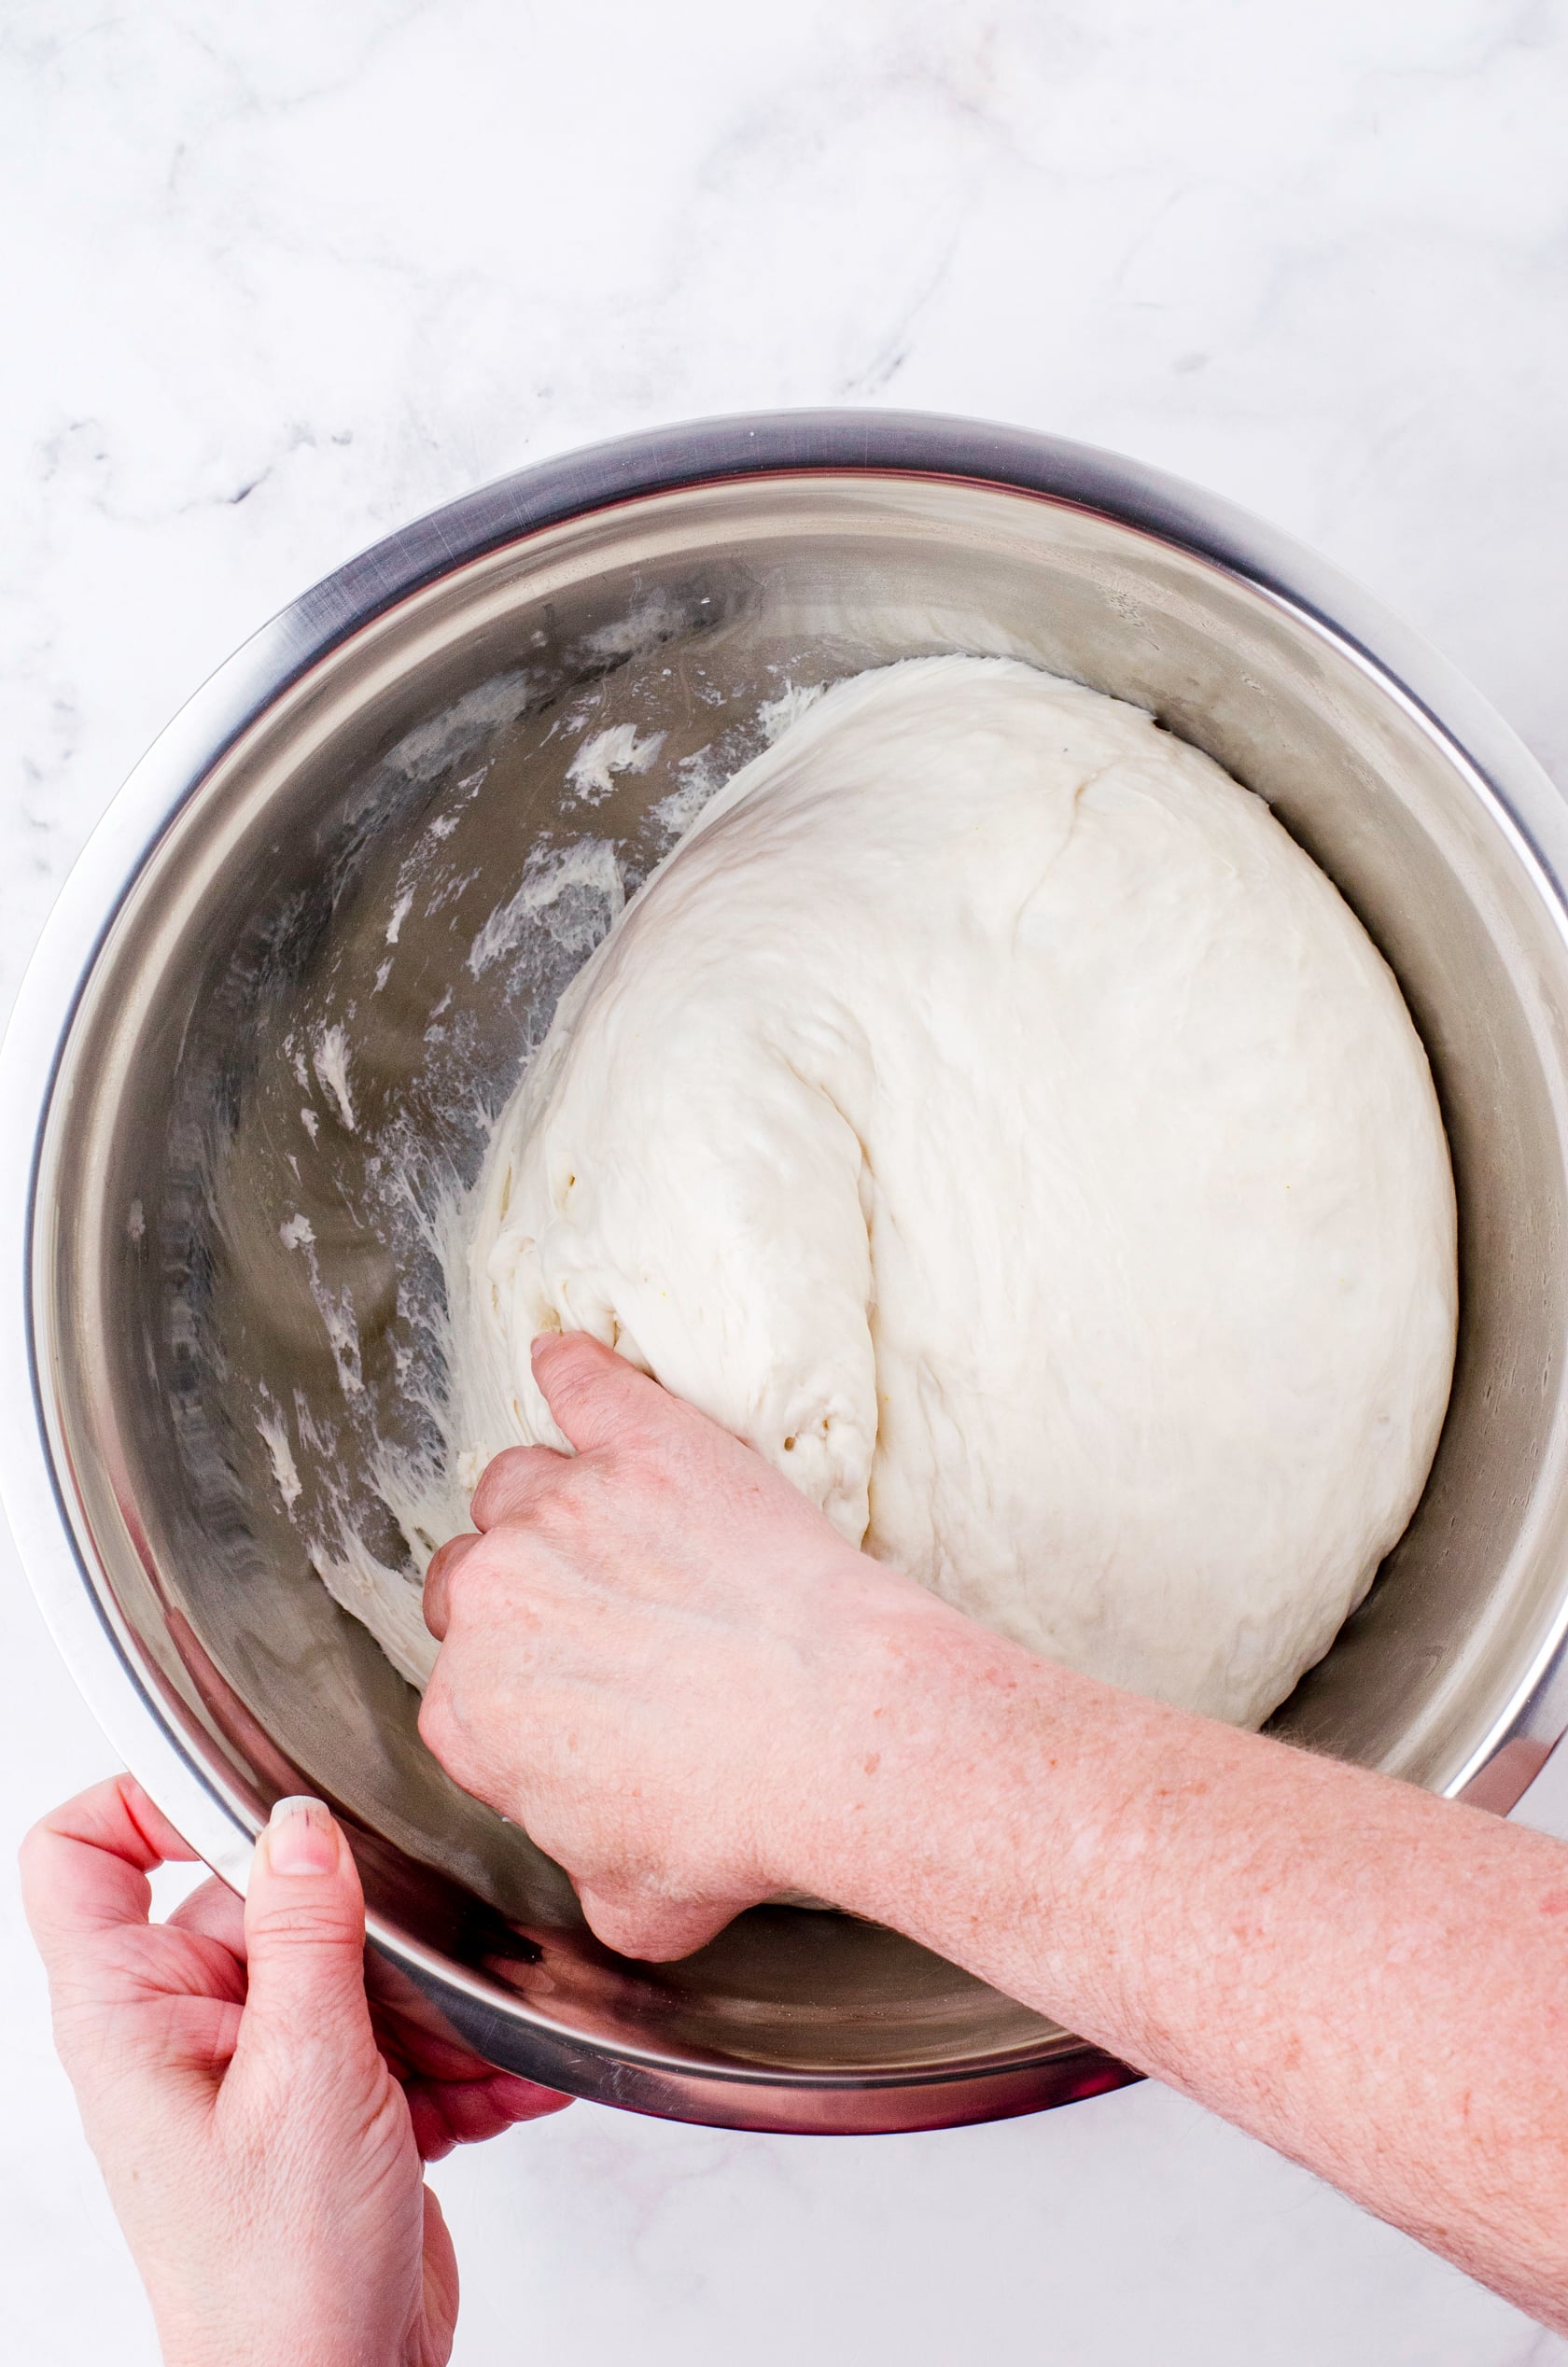 Pull the sourdough bread away from the sides of the large metal bowl and do the stretch and fold right in the bowl!
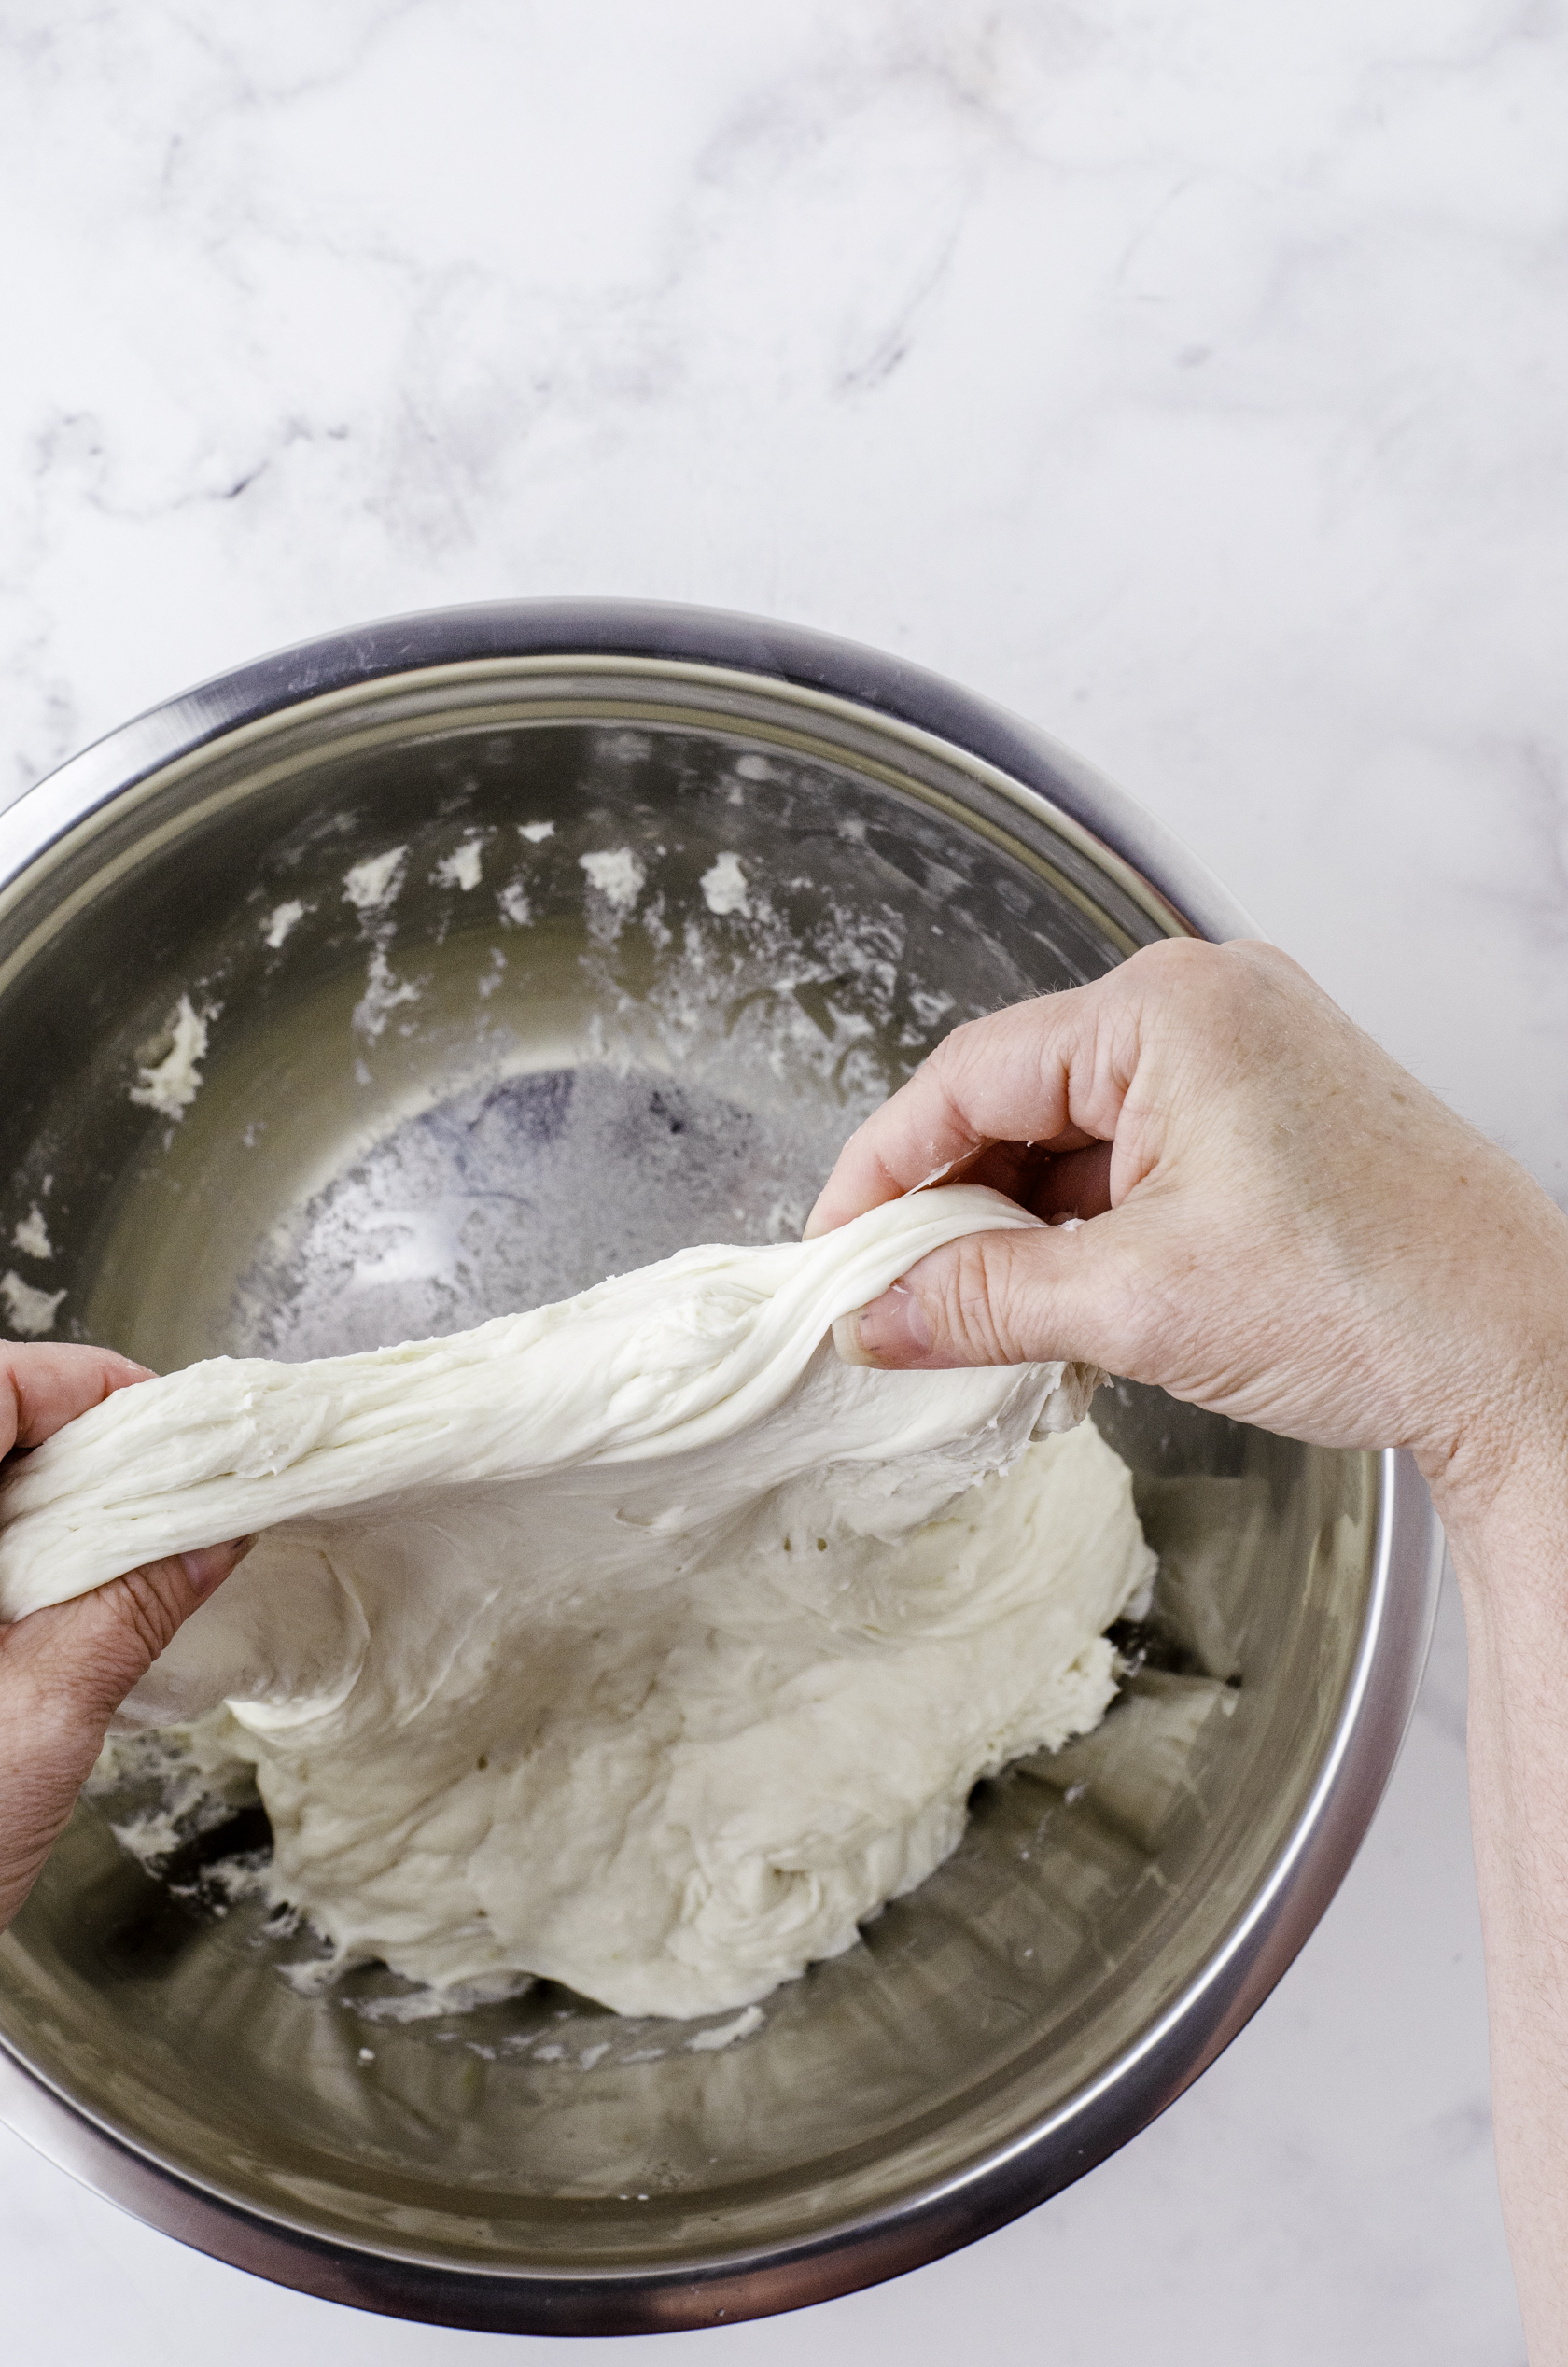 You can stretch and fold the sourdough right in the bowl so it keeps the mess contained!
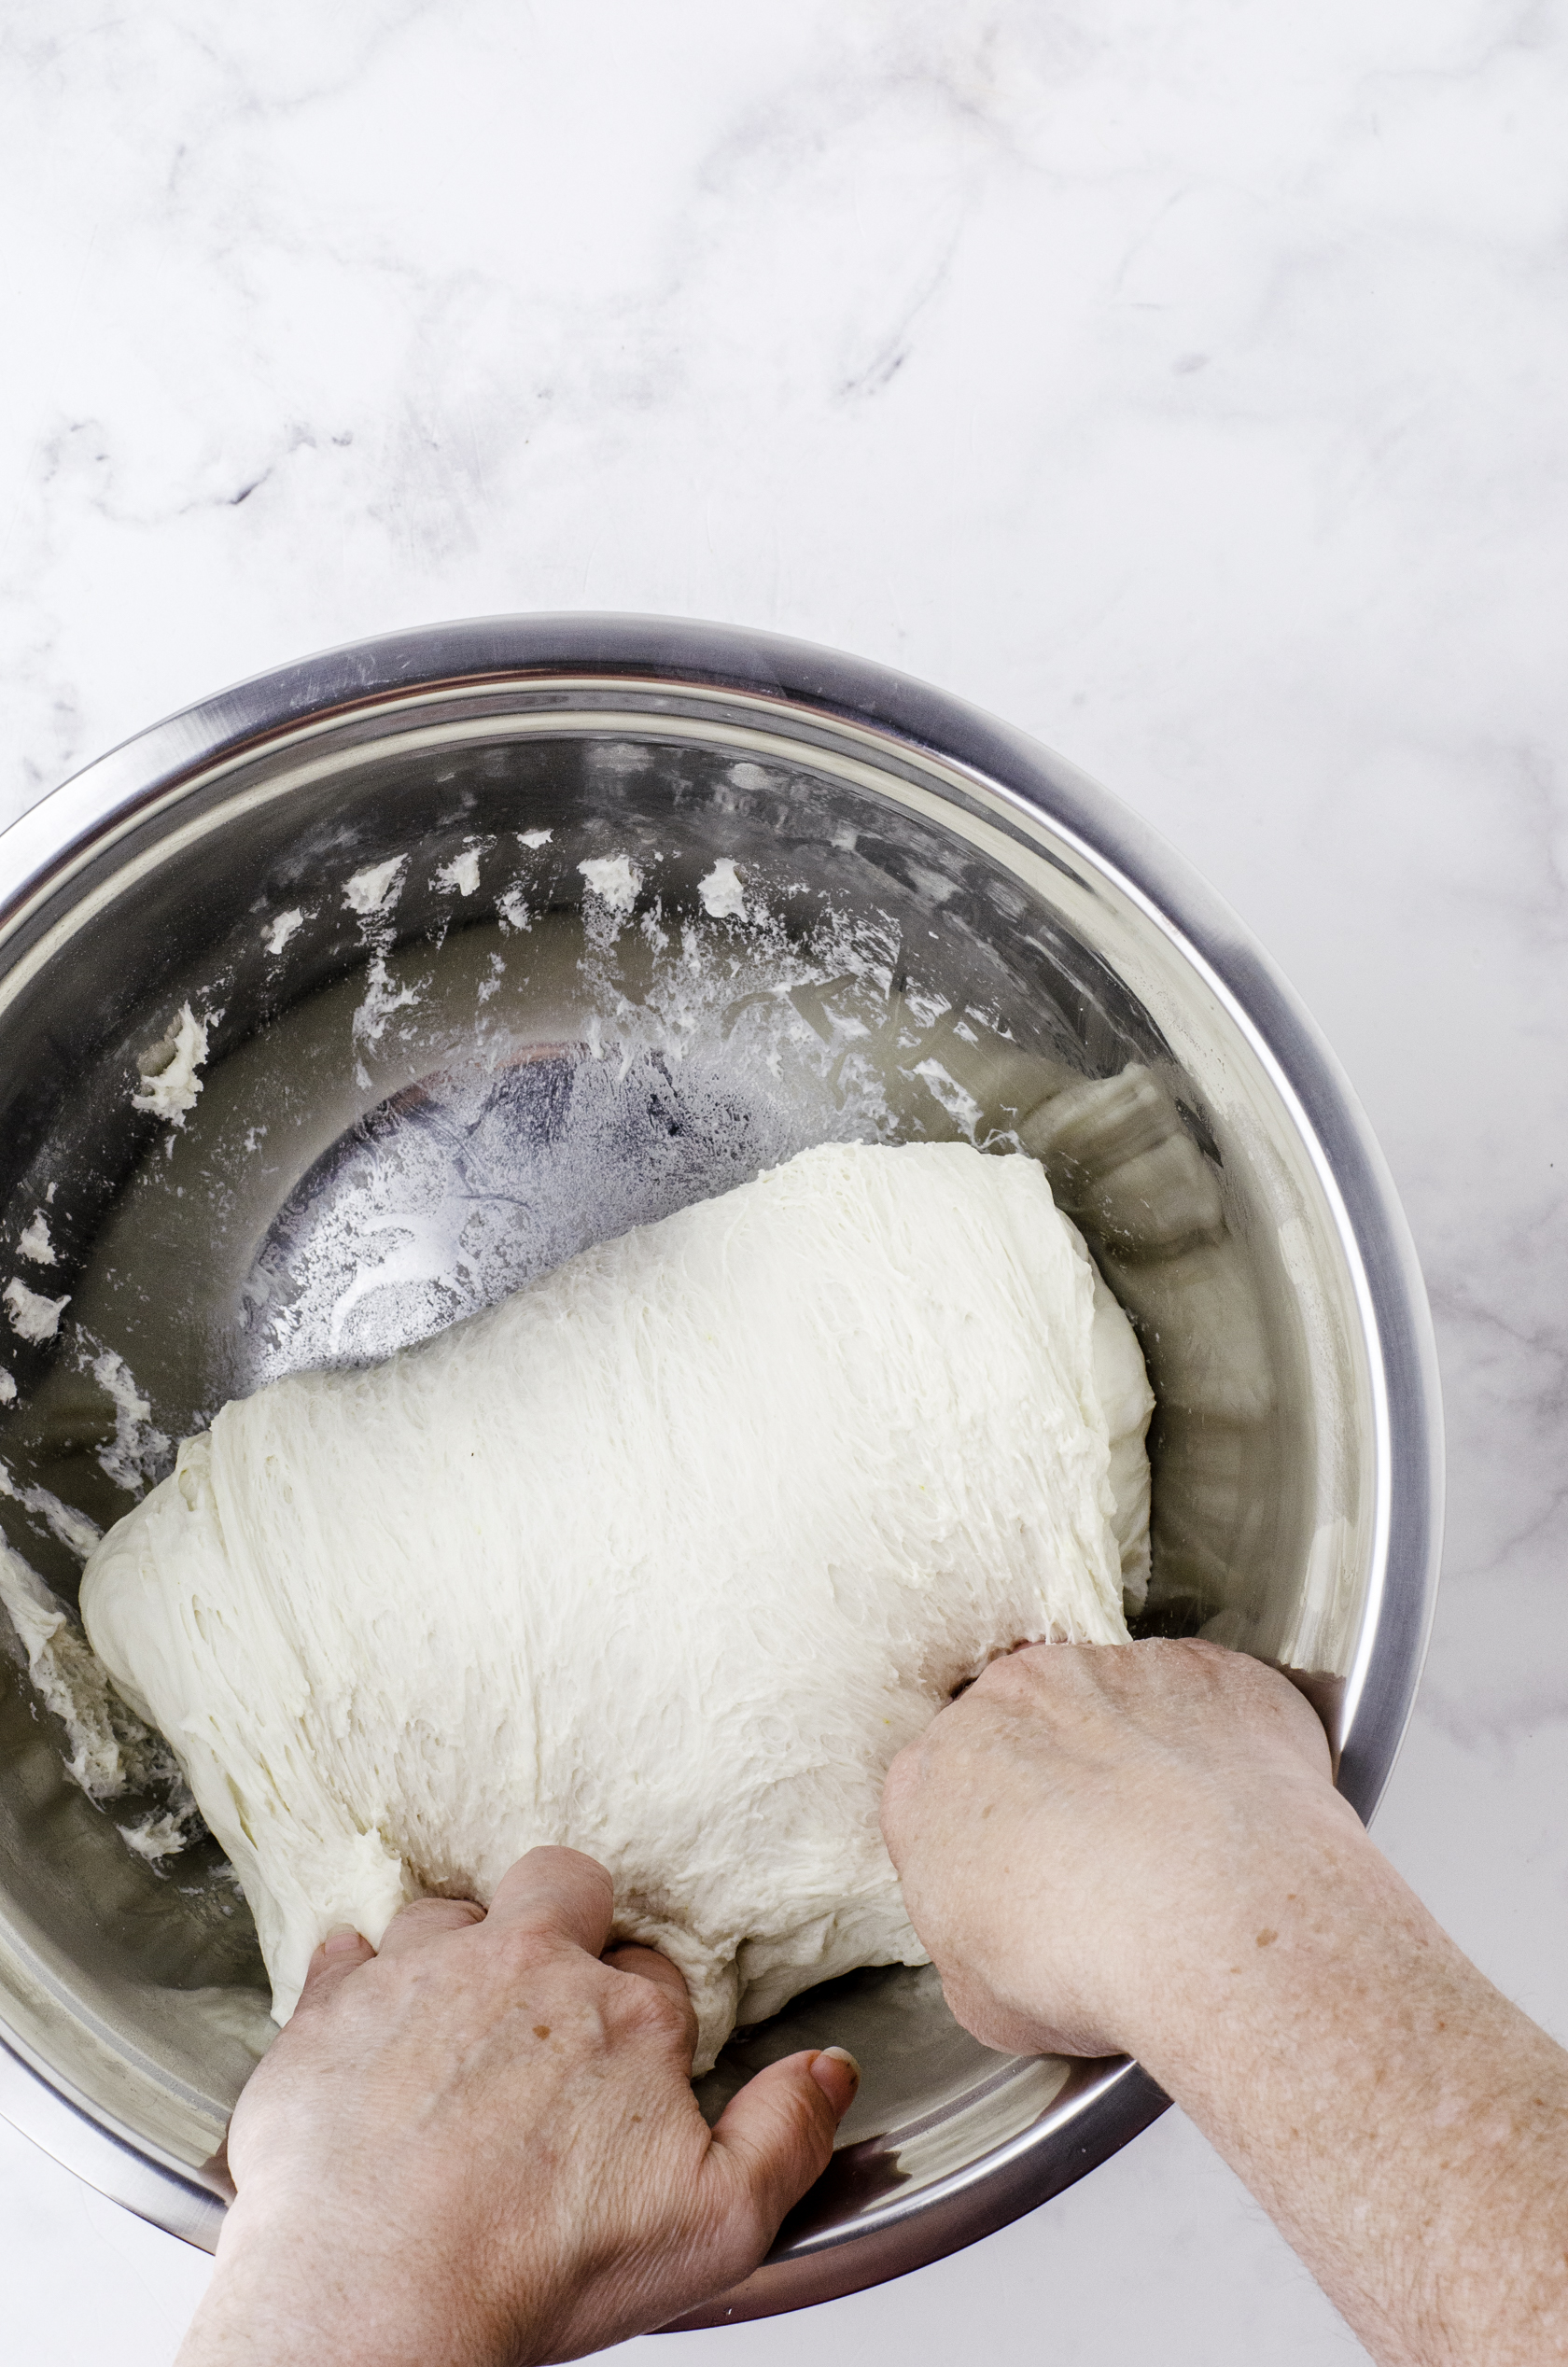 Pull the dough up and over the rest of the dough.
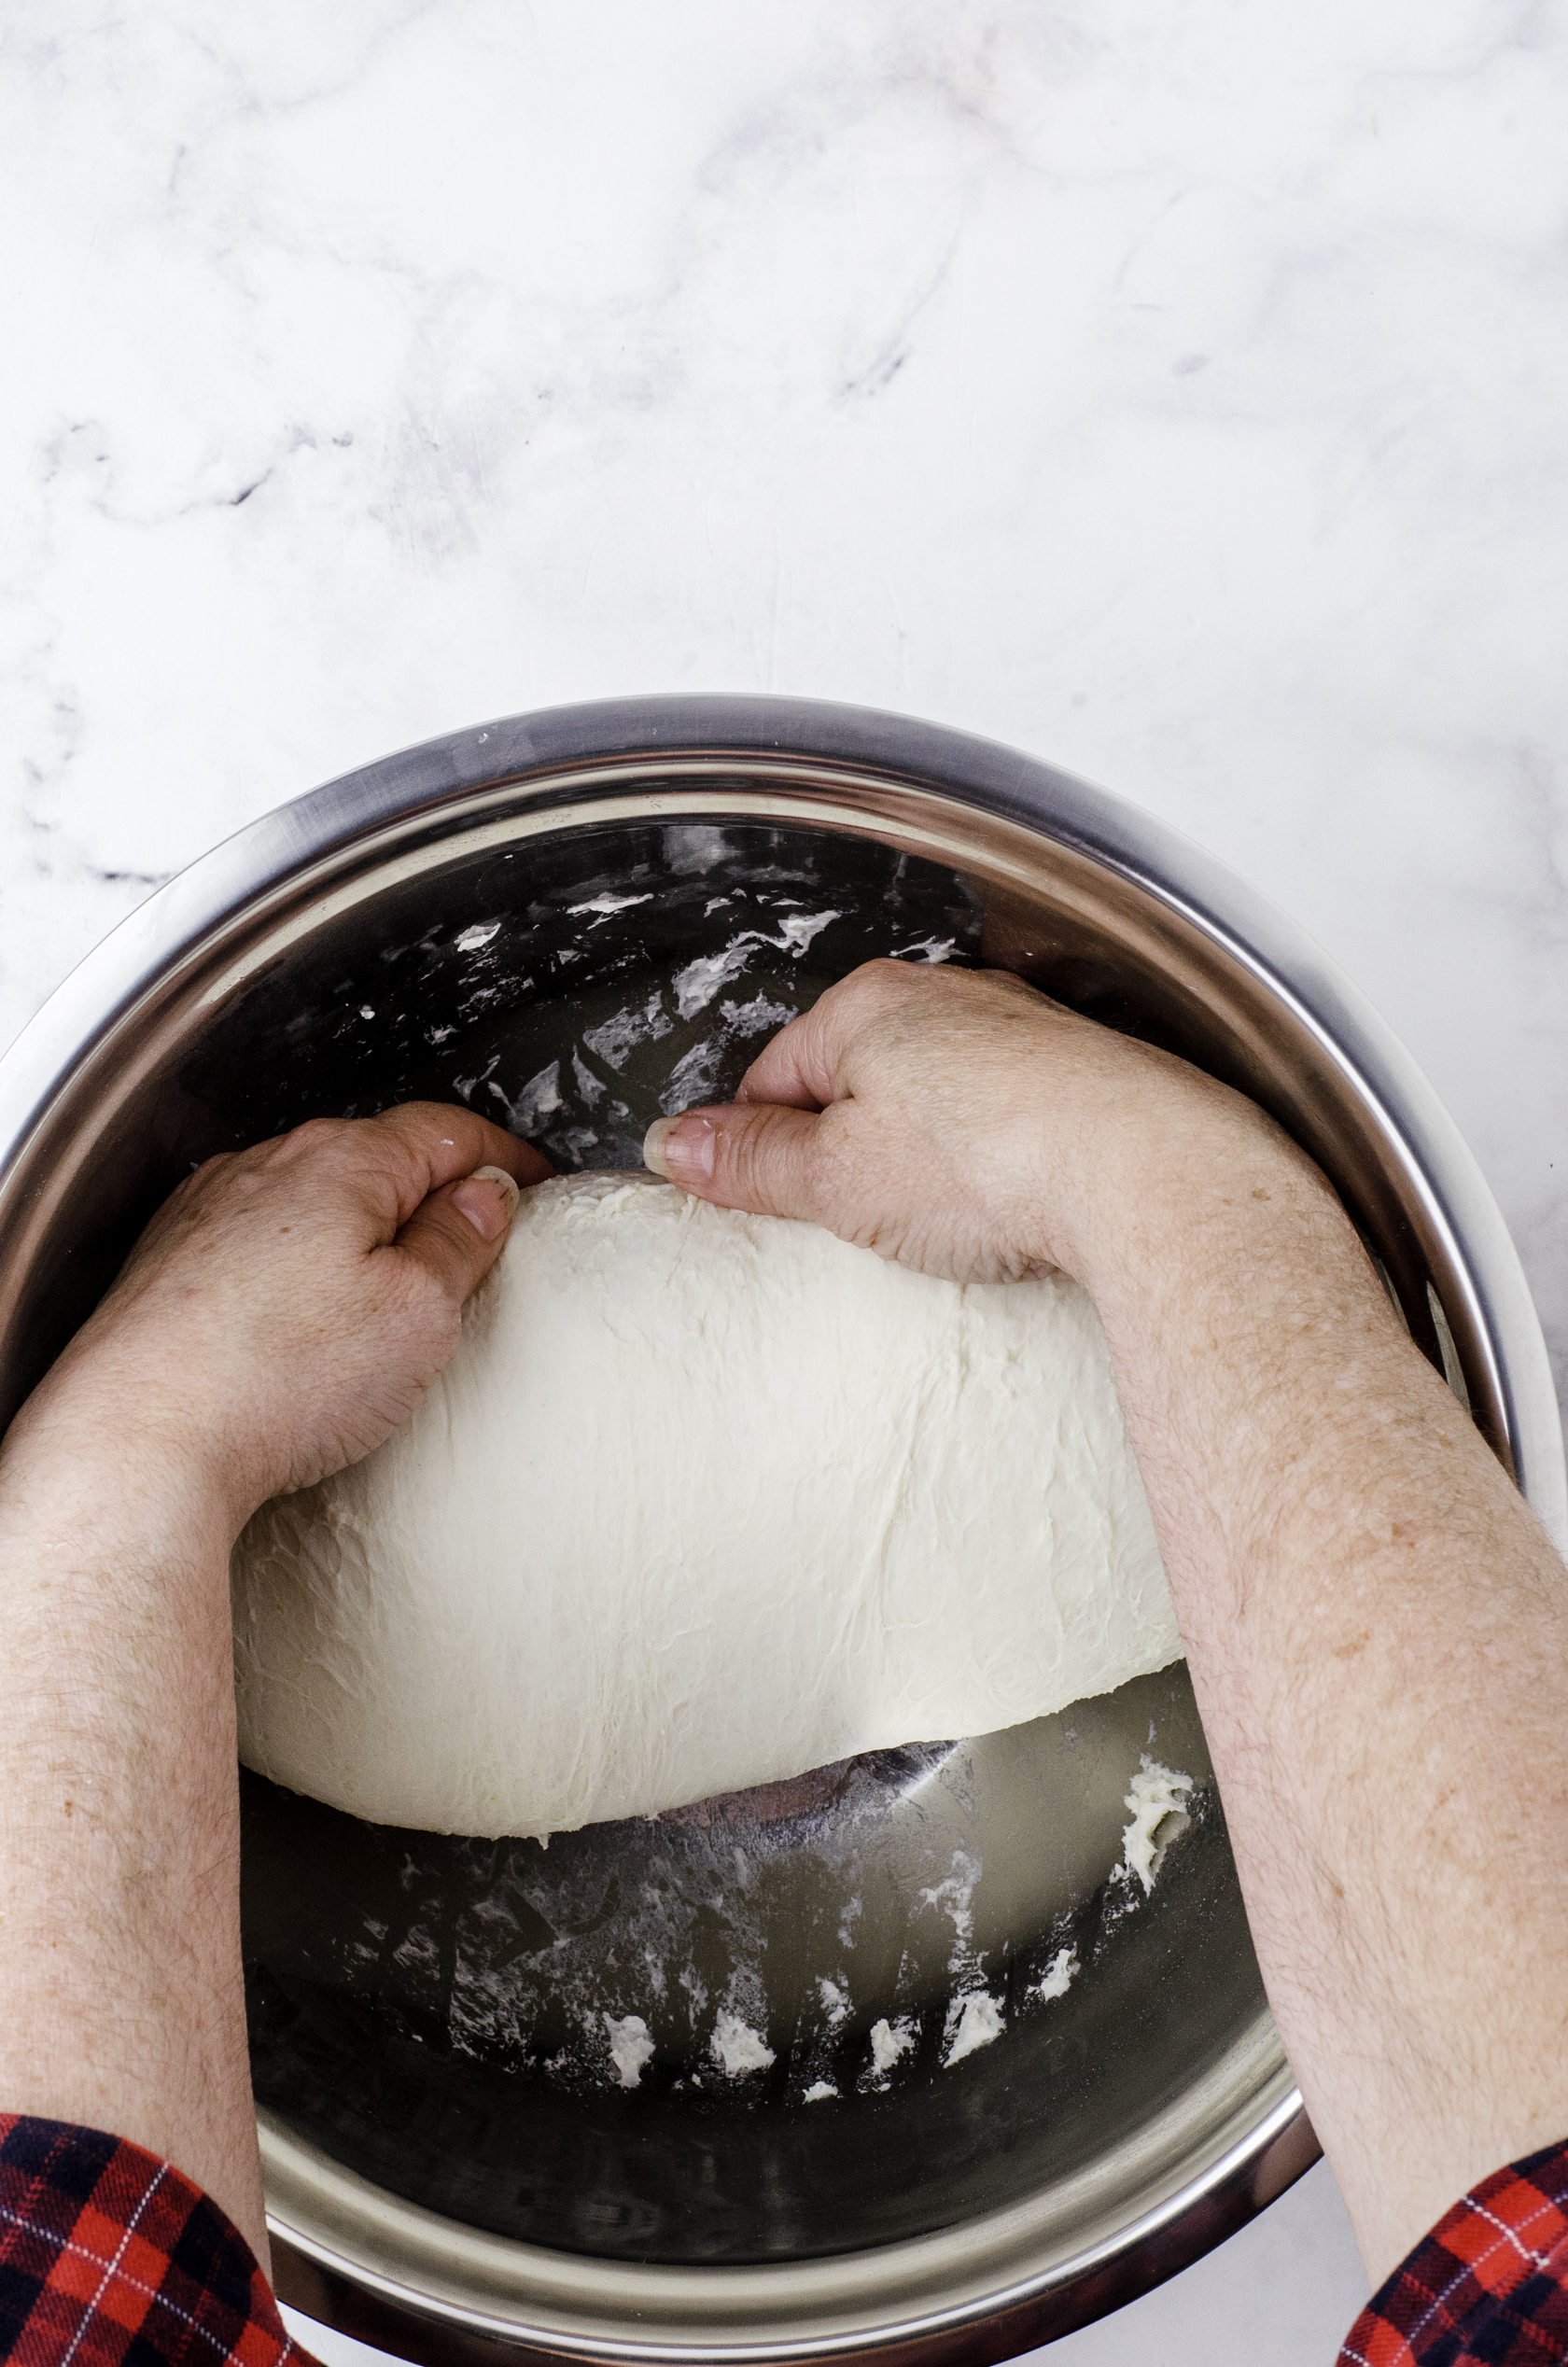 Tuck the end of the stretched dough under the rest of the dough.
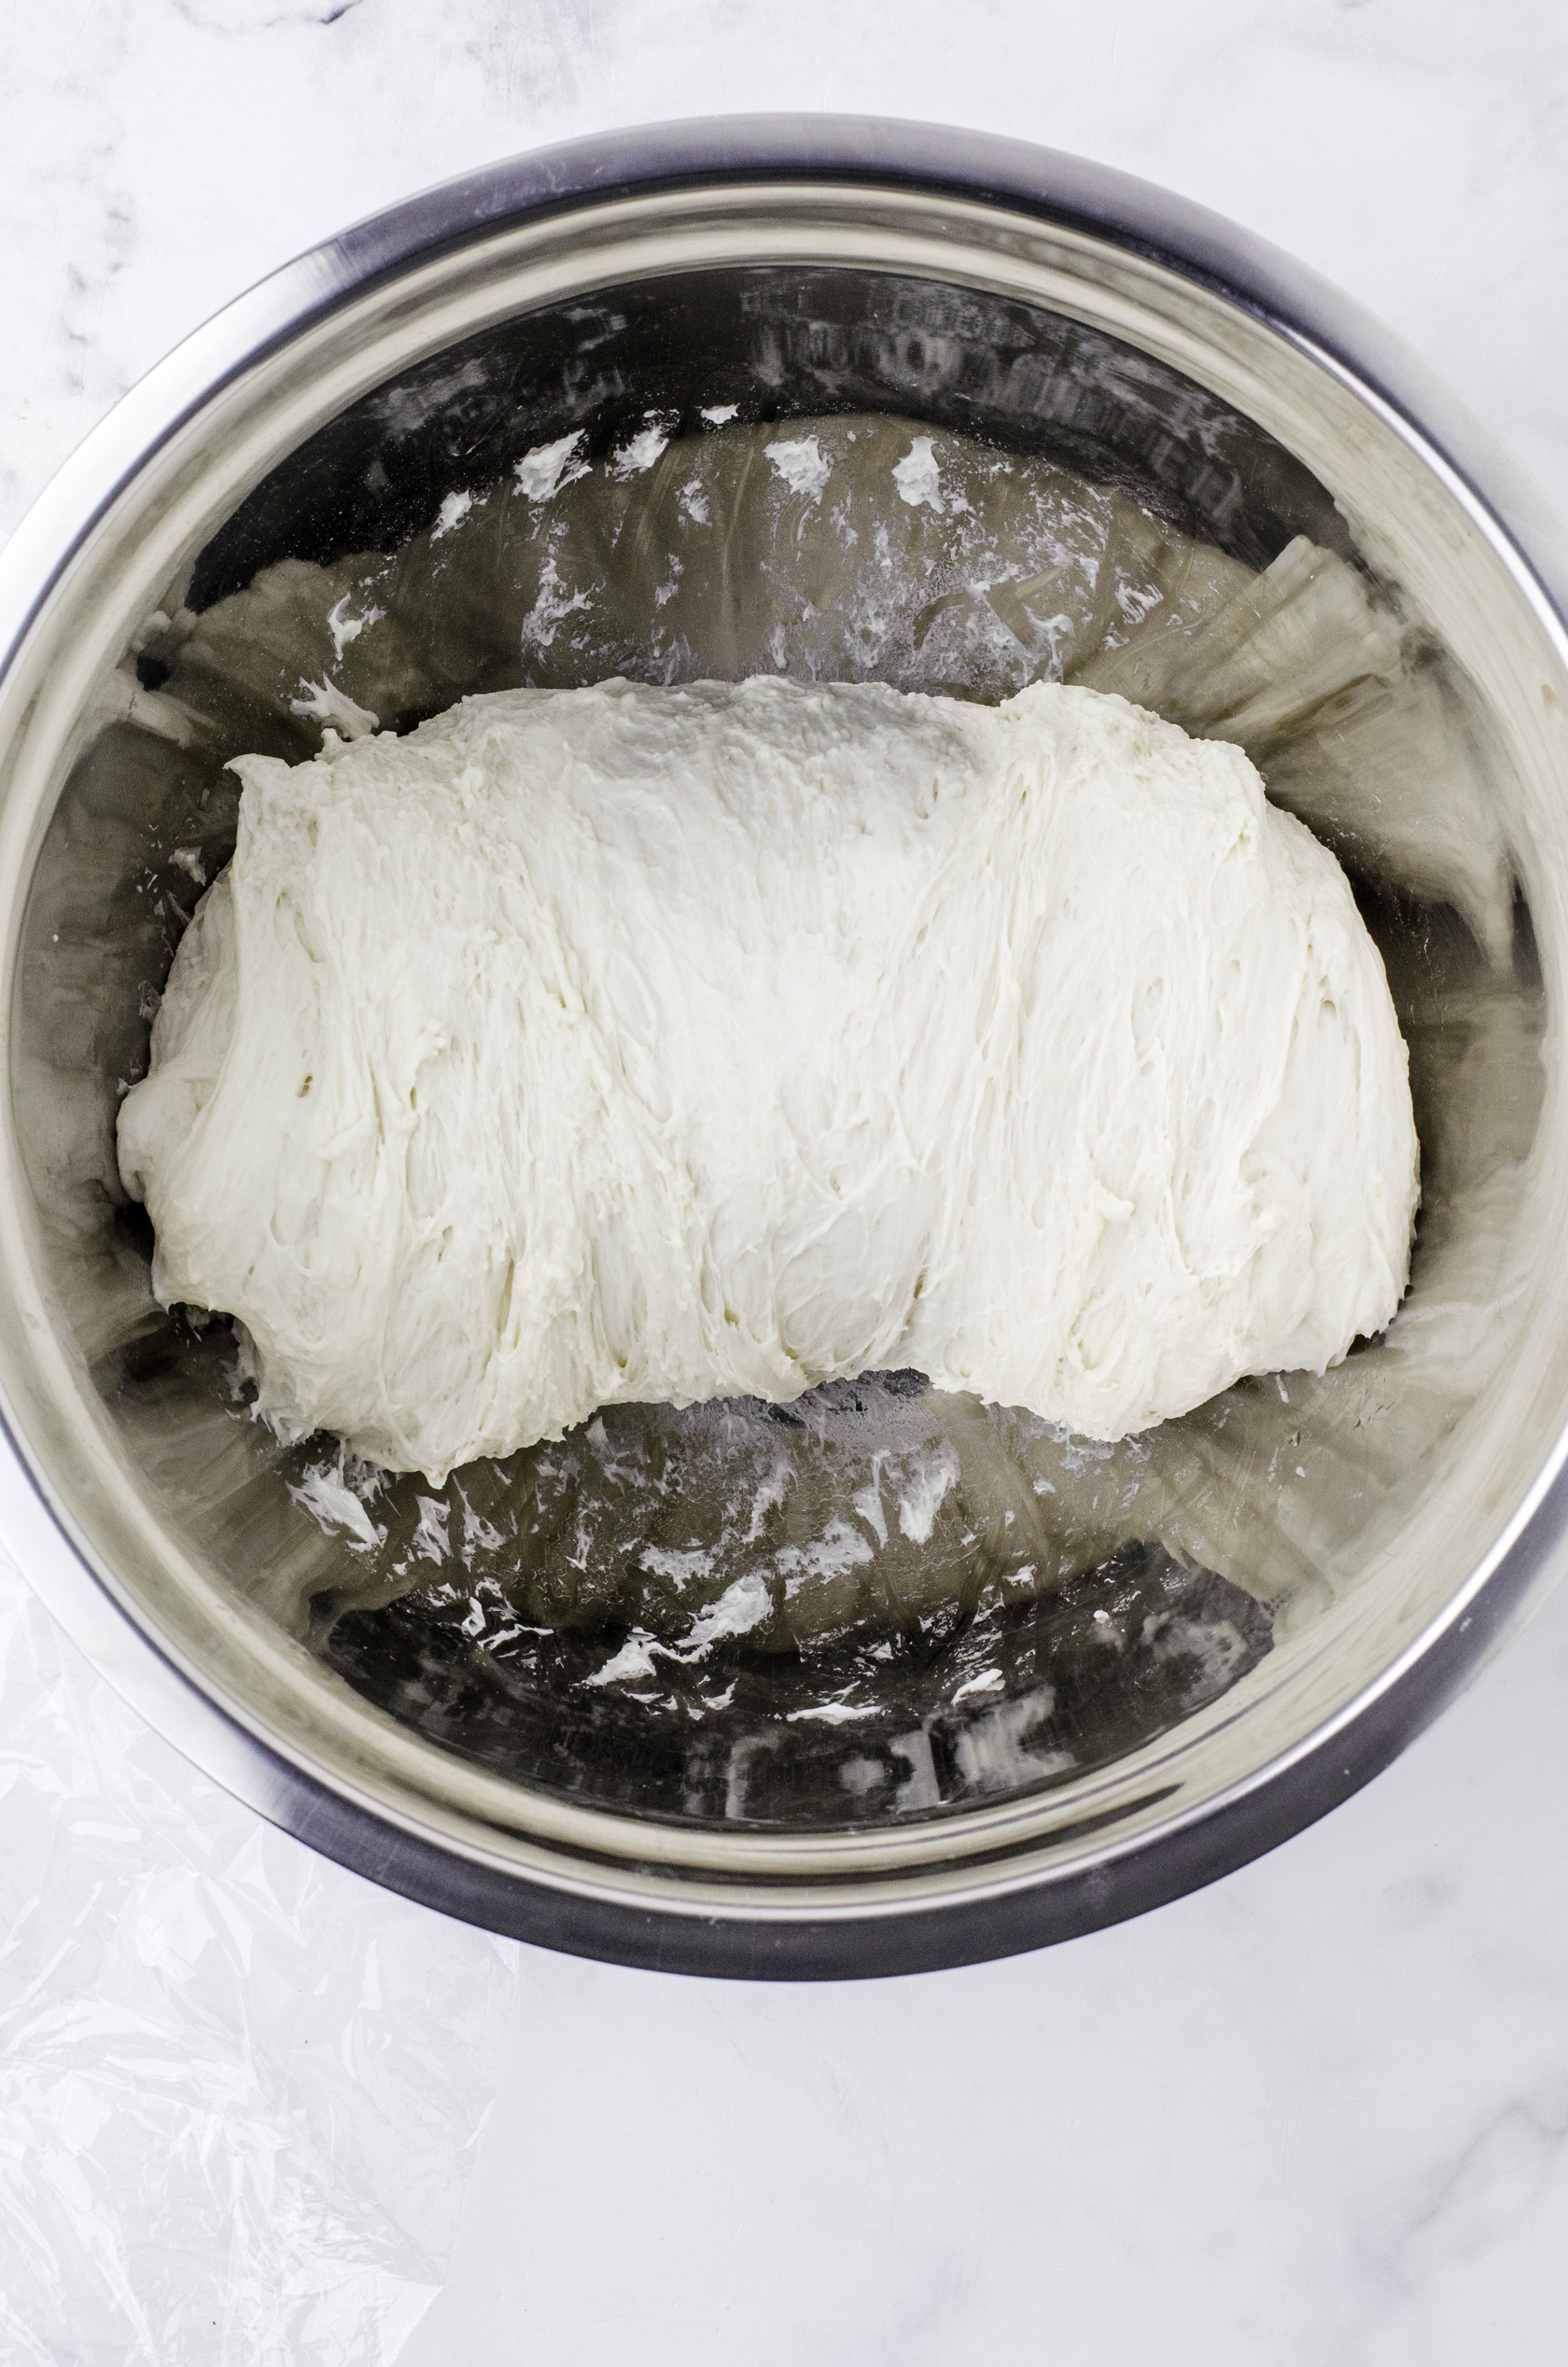 Let the dough rest at least 30 minutes between stretch and folds
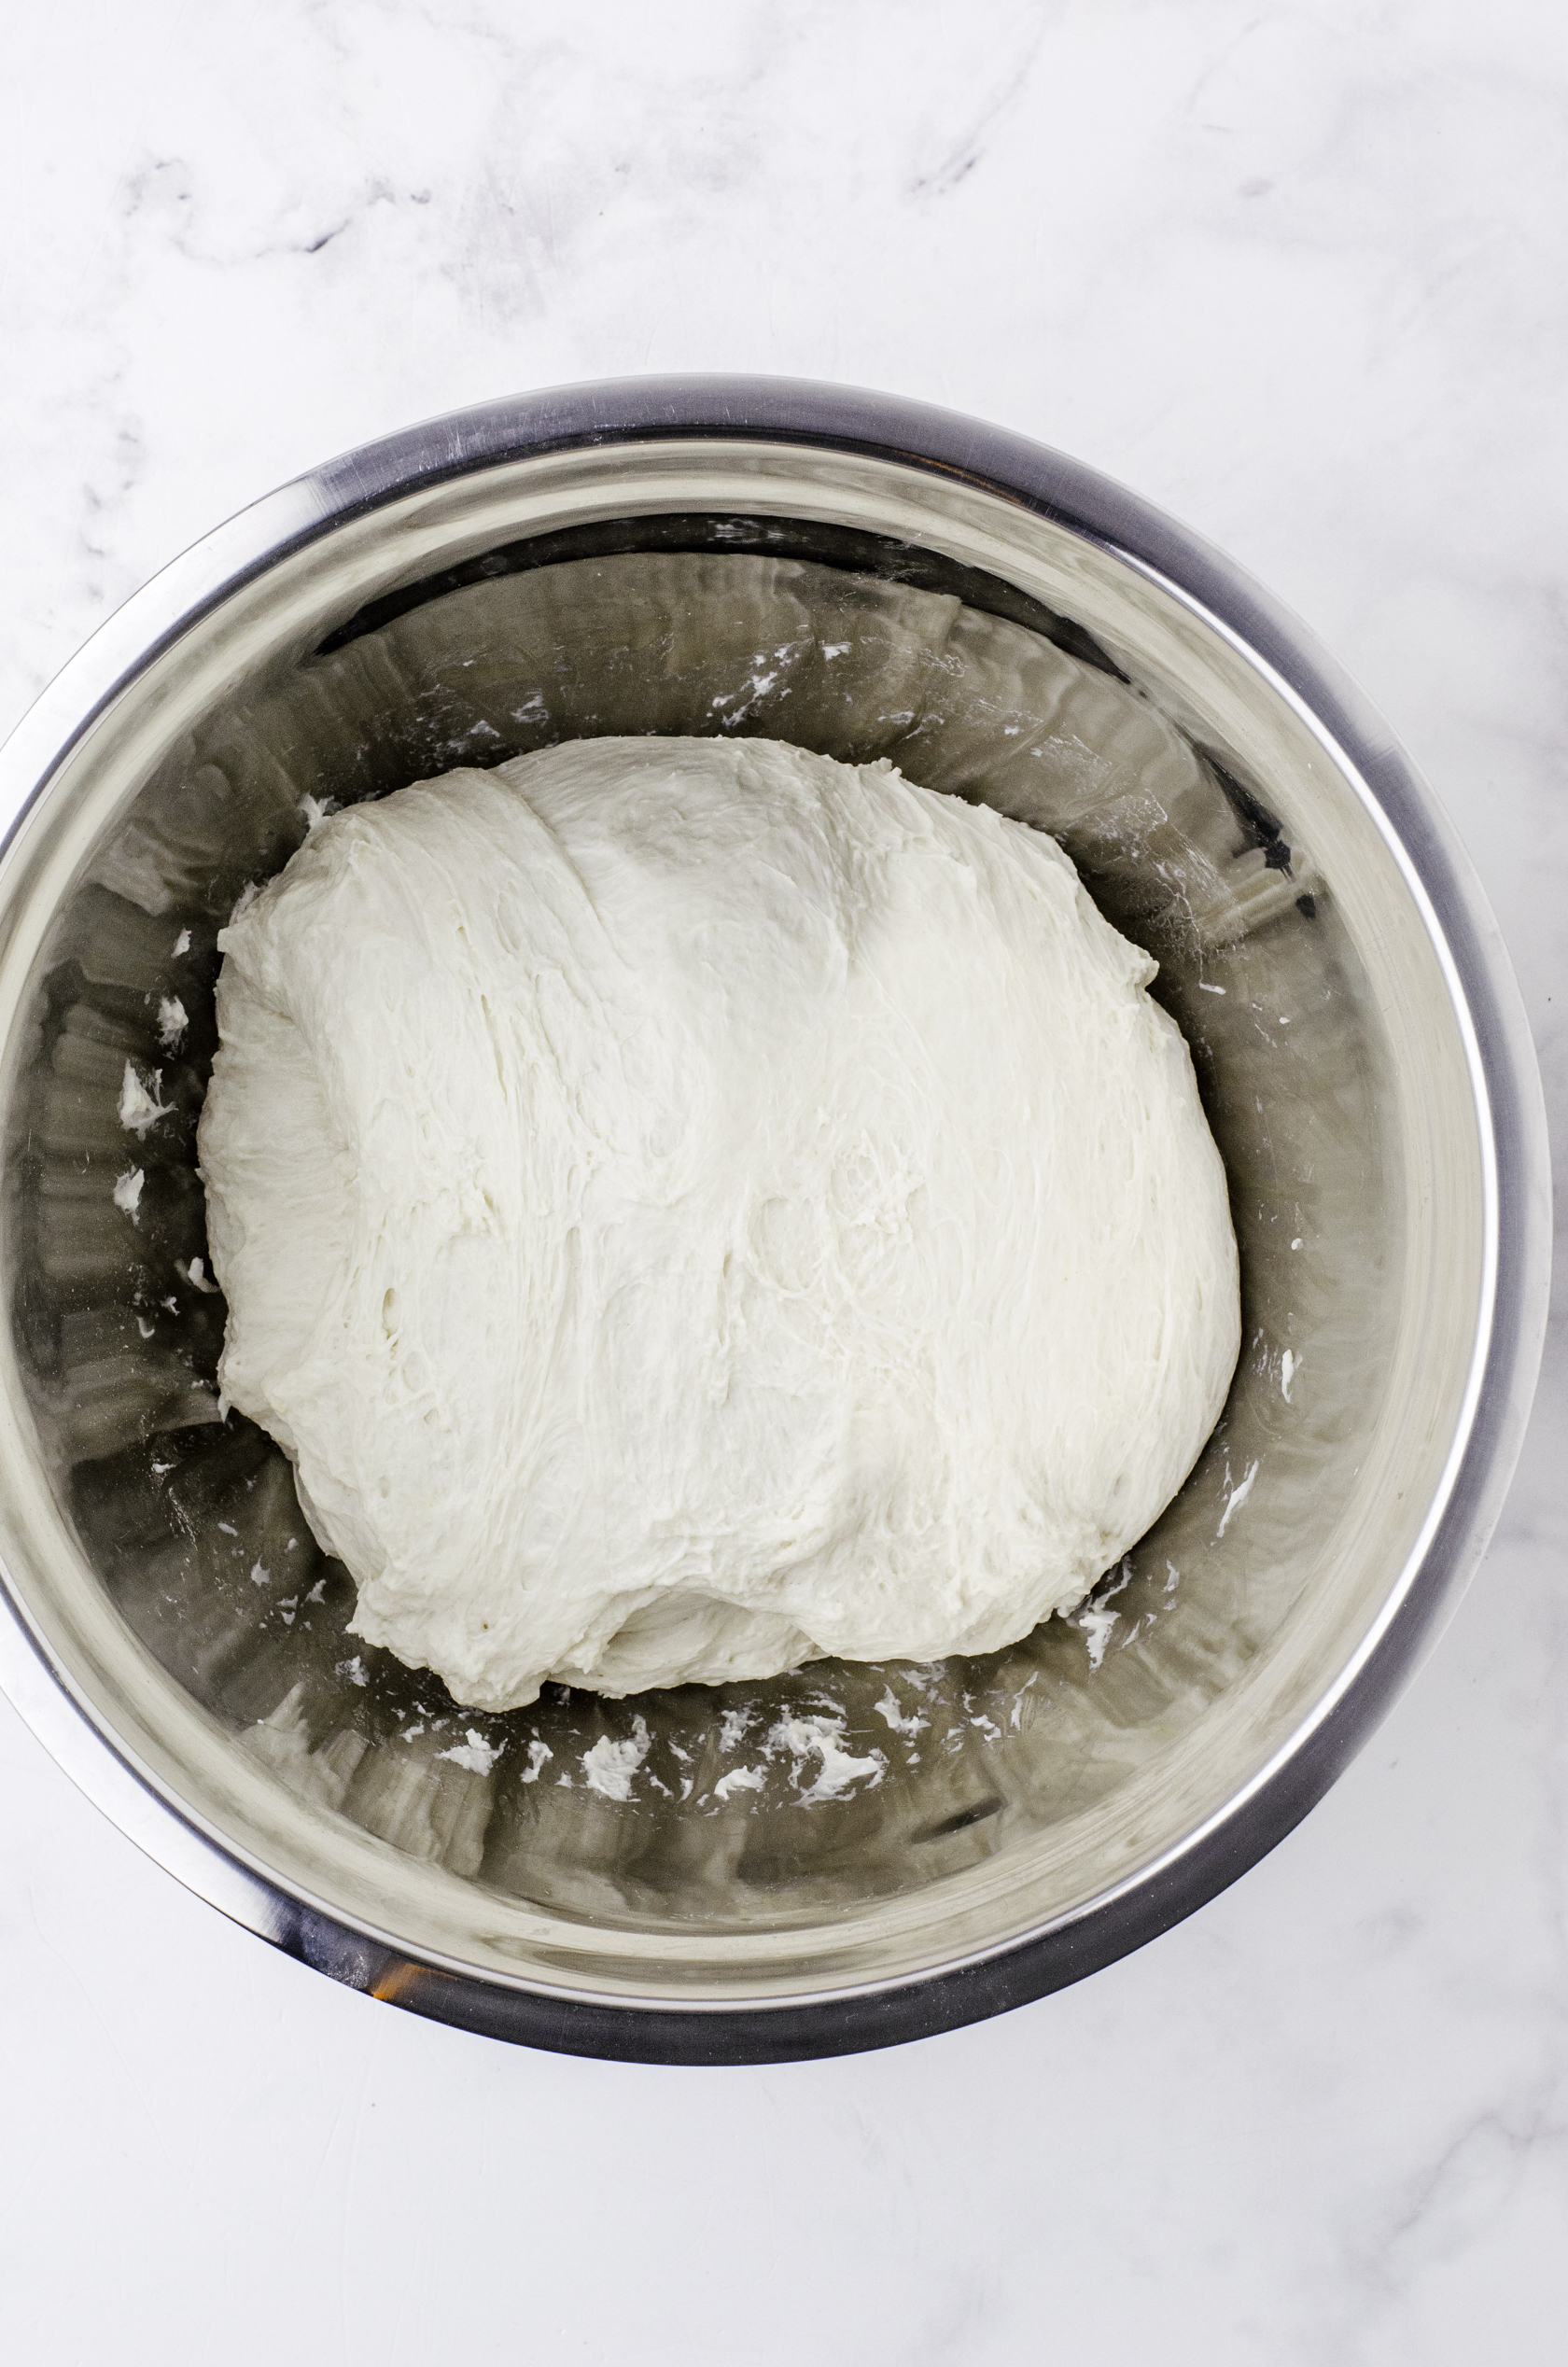 The sourdough rises throughout the stretch and fold process!
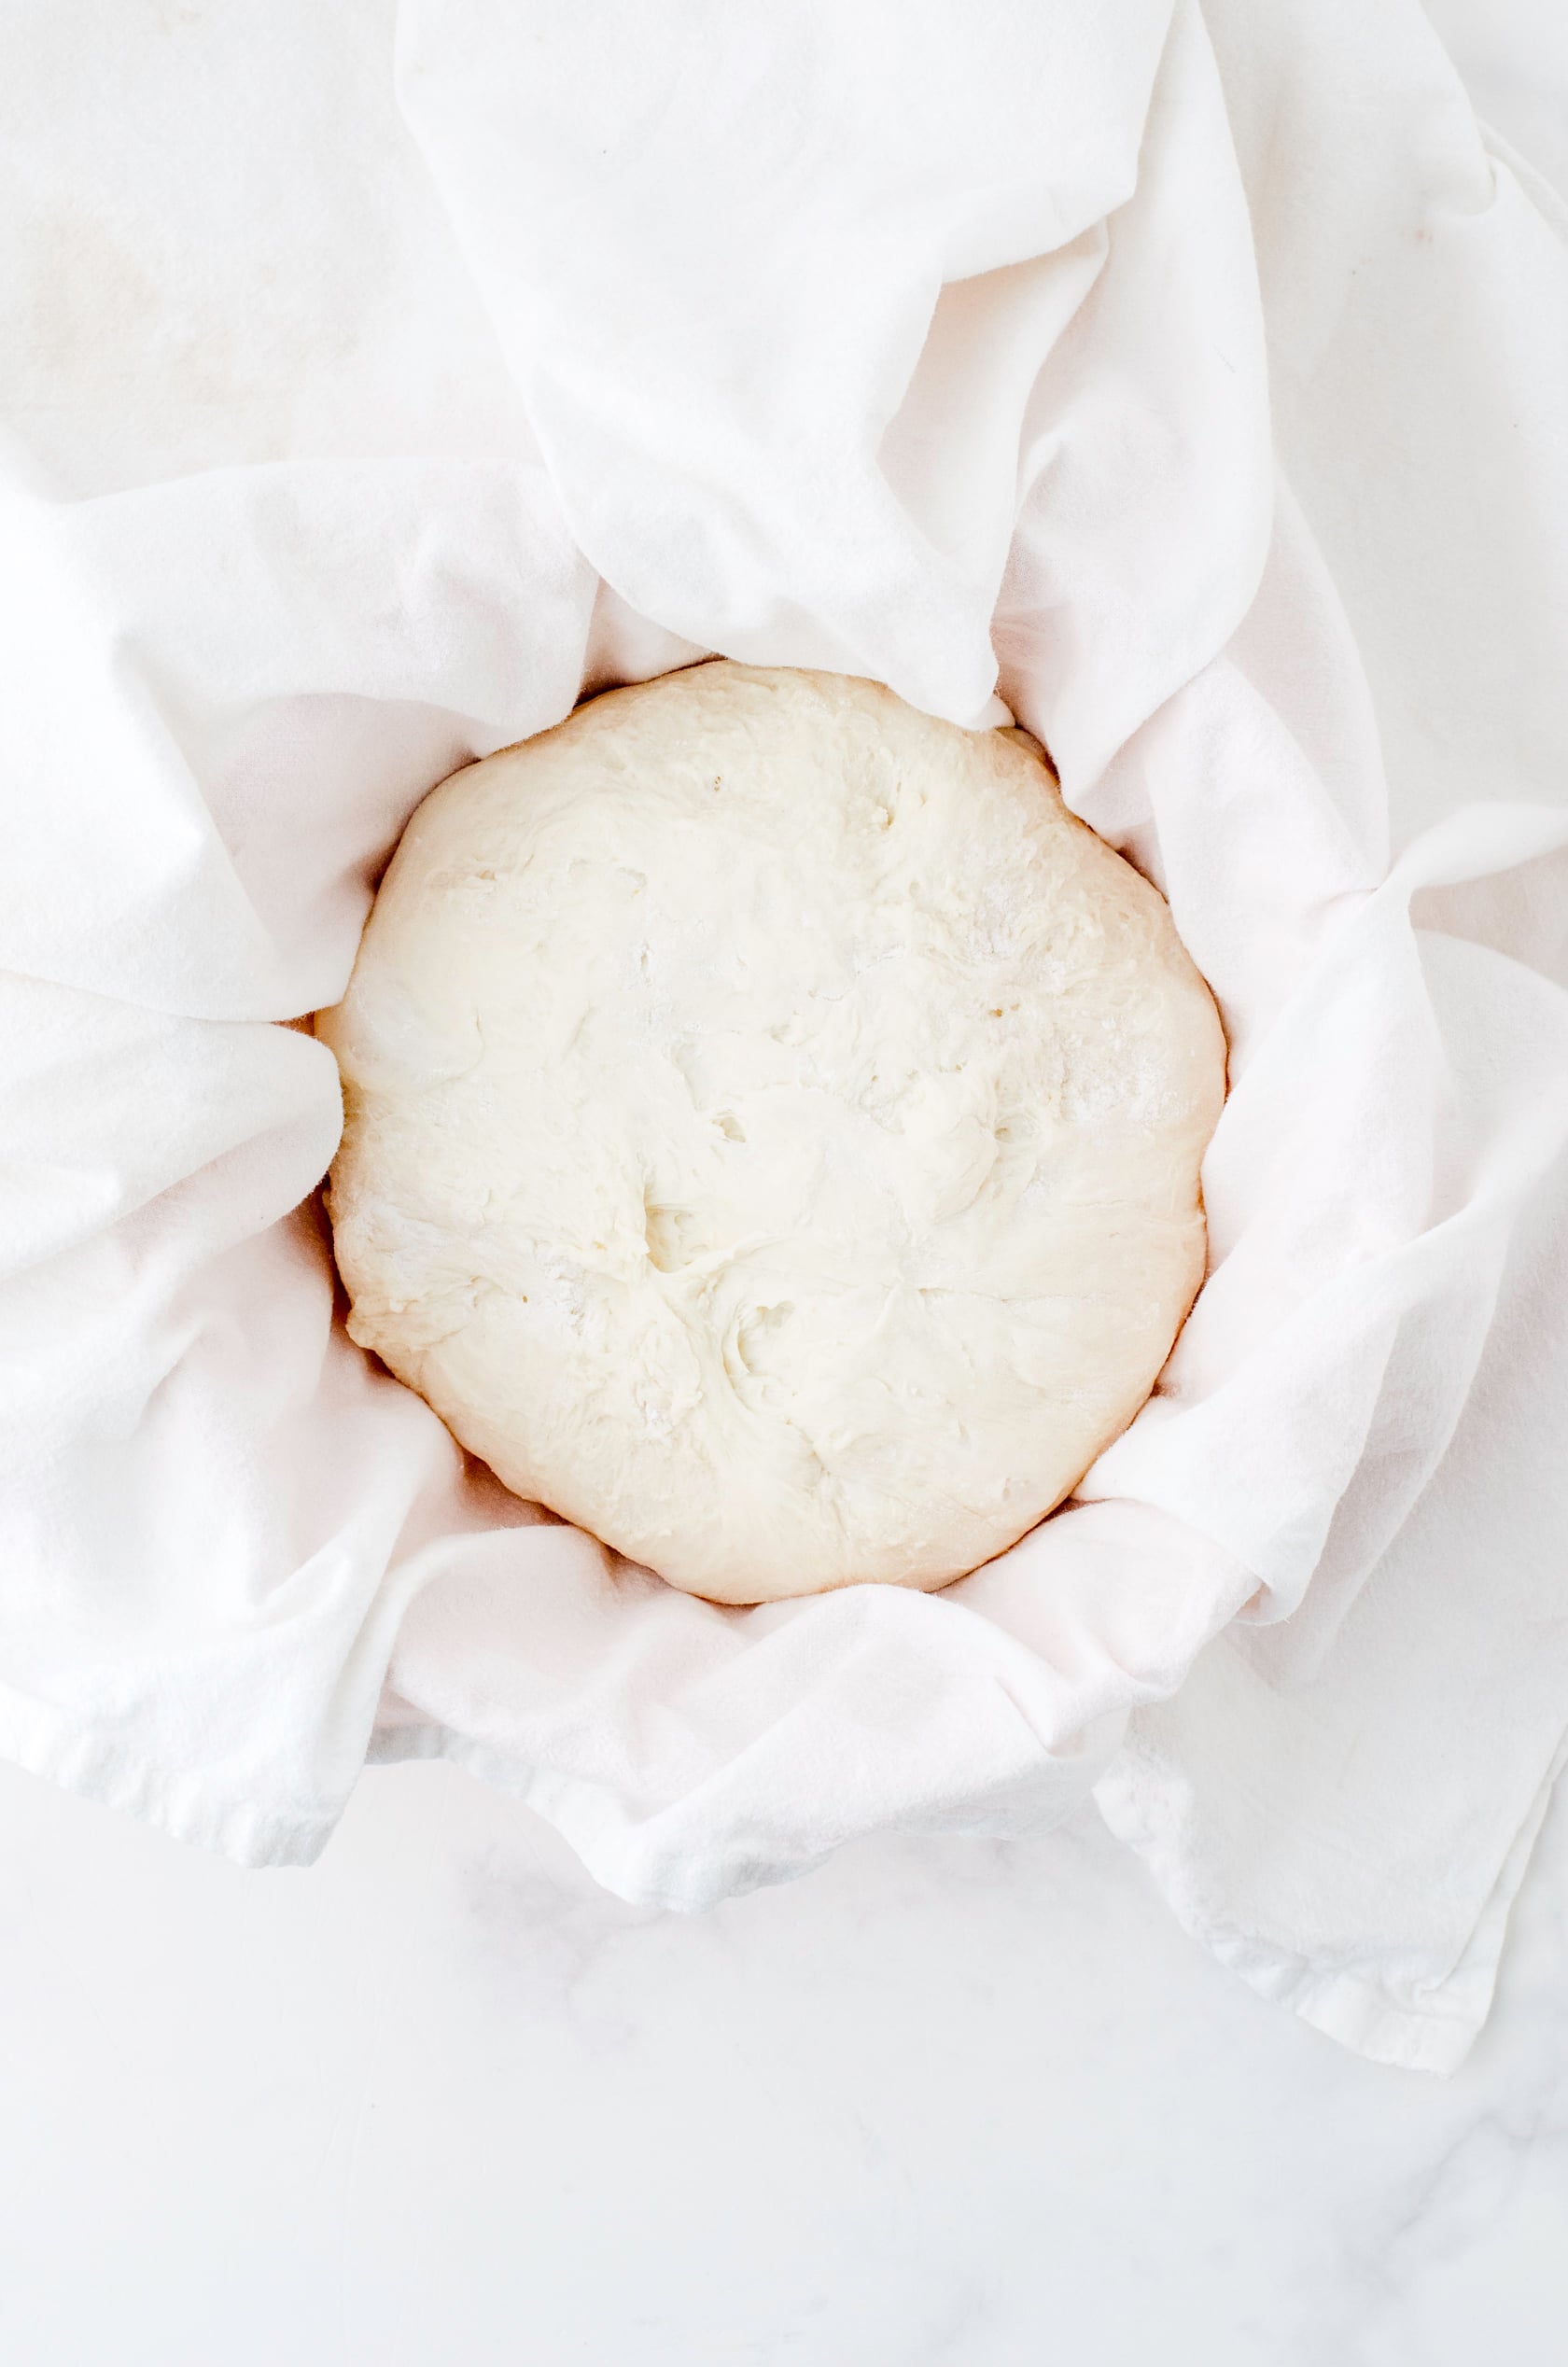 Place the sourdough loaf smooth side down in the proofing container.
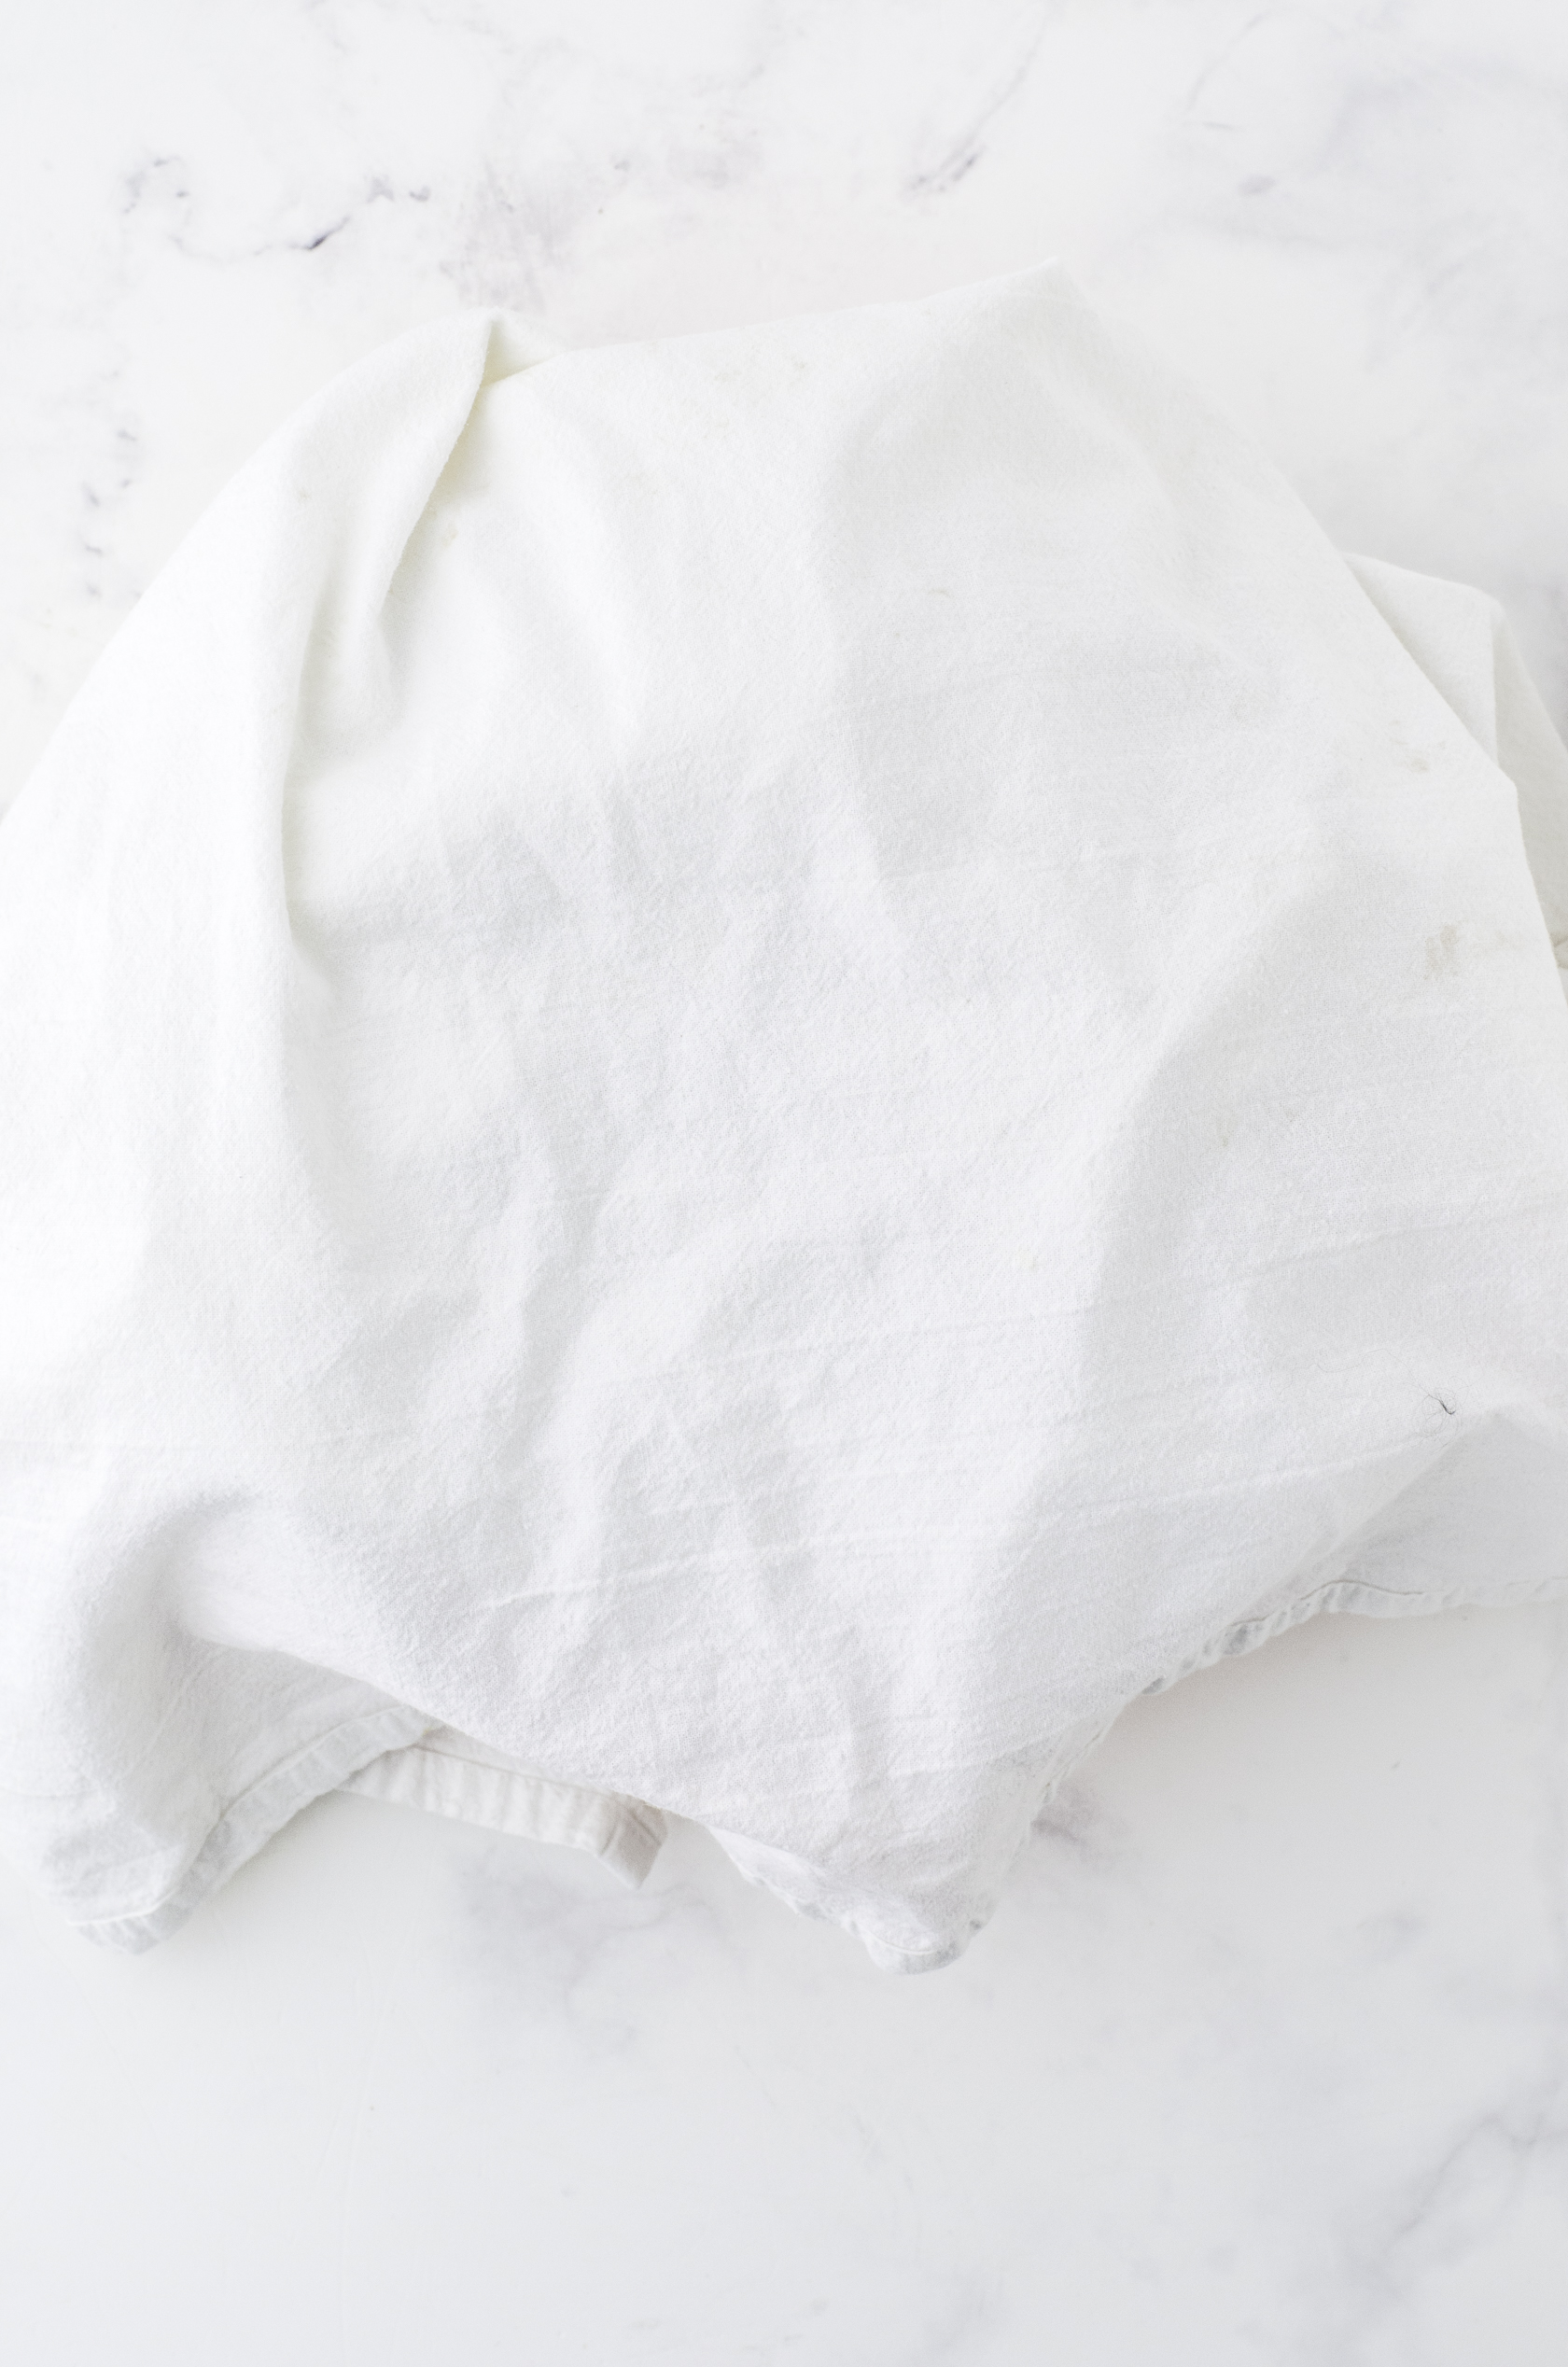 Cover the dough with a dishtowel or shower cap.
Day 3, Morning — Bake!
This is the payoff. Preheat your oven to 500°F with the empty Dutch oven inside for at least 30 minutes, then drop it to 450°F. Flip your chilled dough onto parchment paper, score the top with a sharp blade at a quick 45-degree angle, and carefully lower it into the hot Dutch oven. Bake covered for 20 minutes, then uncovered for another 20, until it’s beautifully golden. Let it cool completely on a wire rack before slicing — I know it’s tempting, but patience here really pays off!
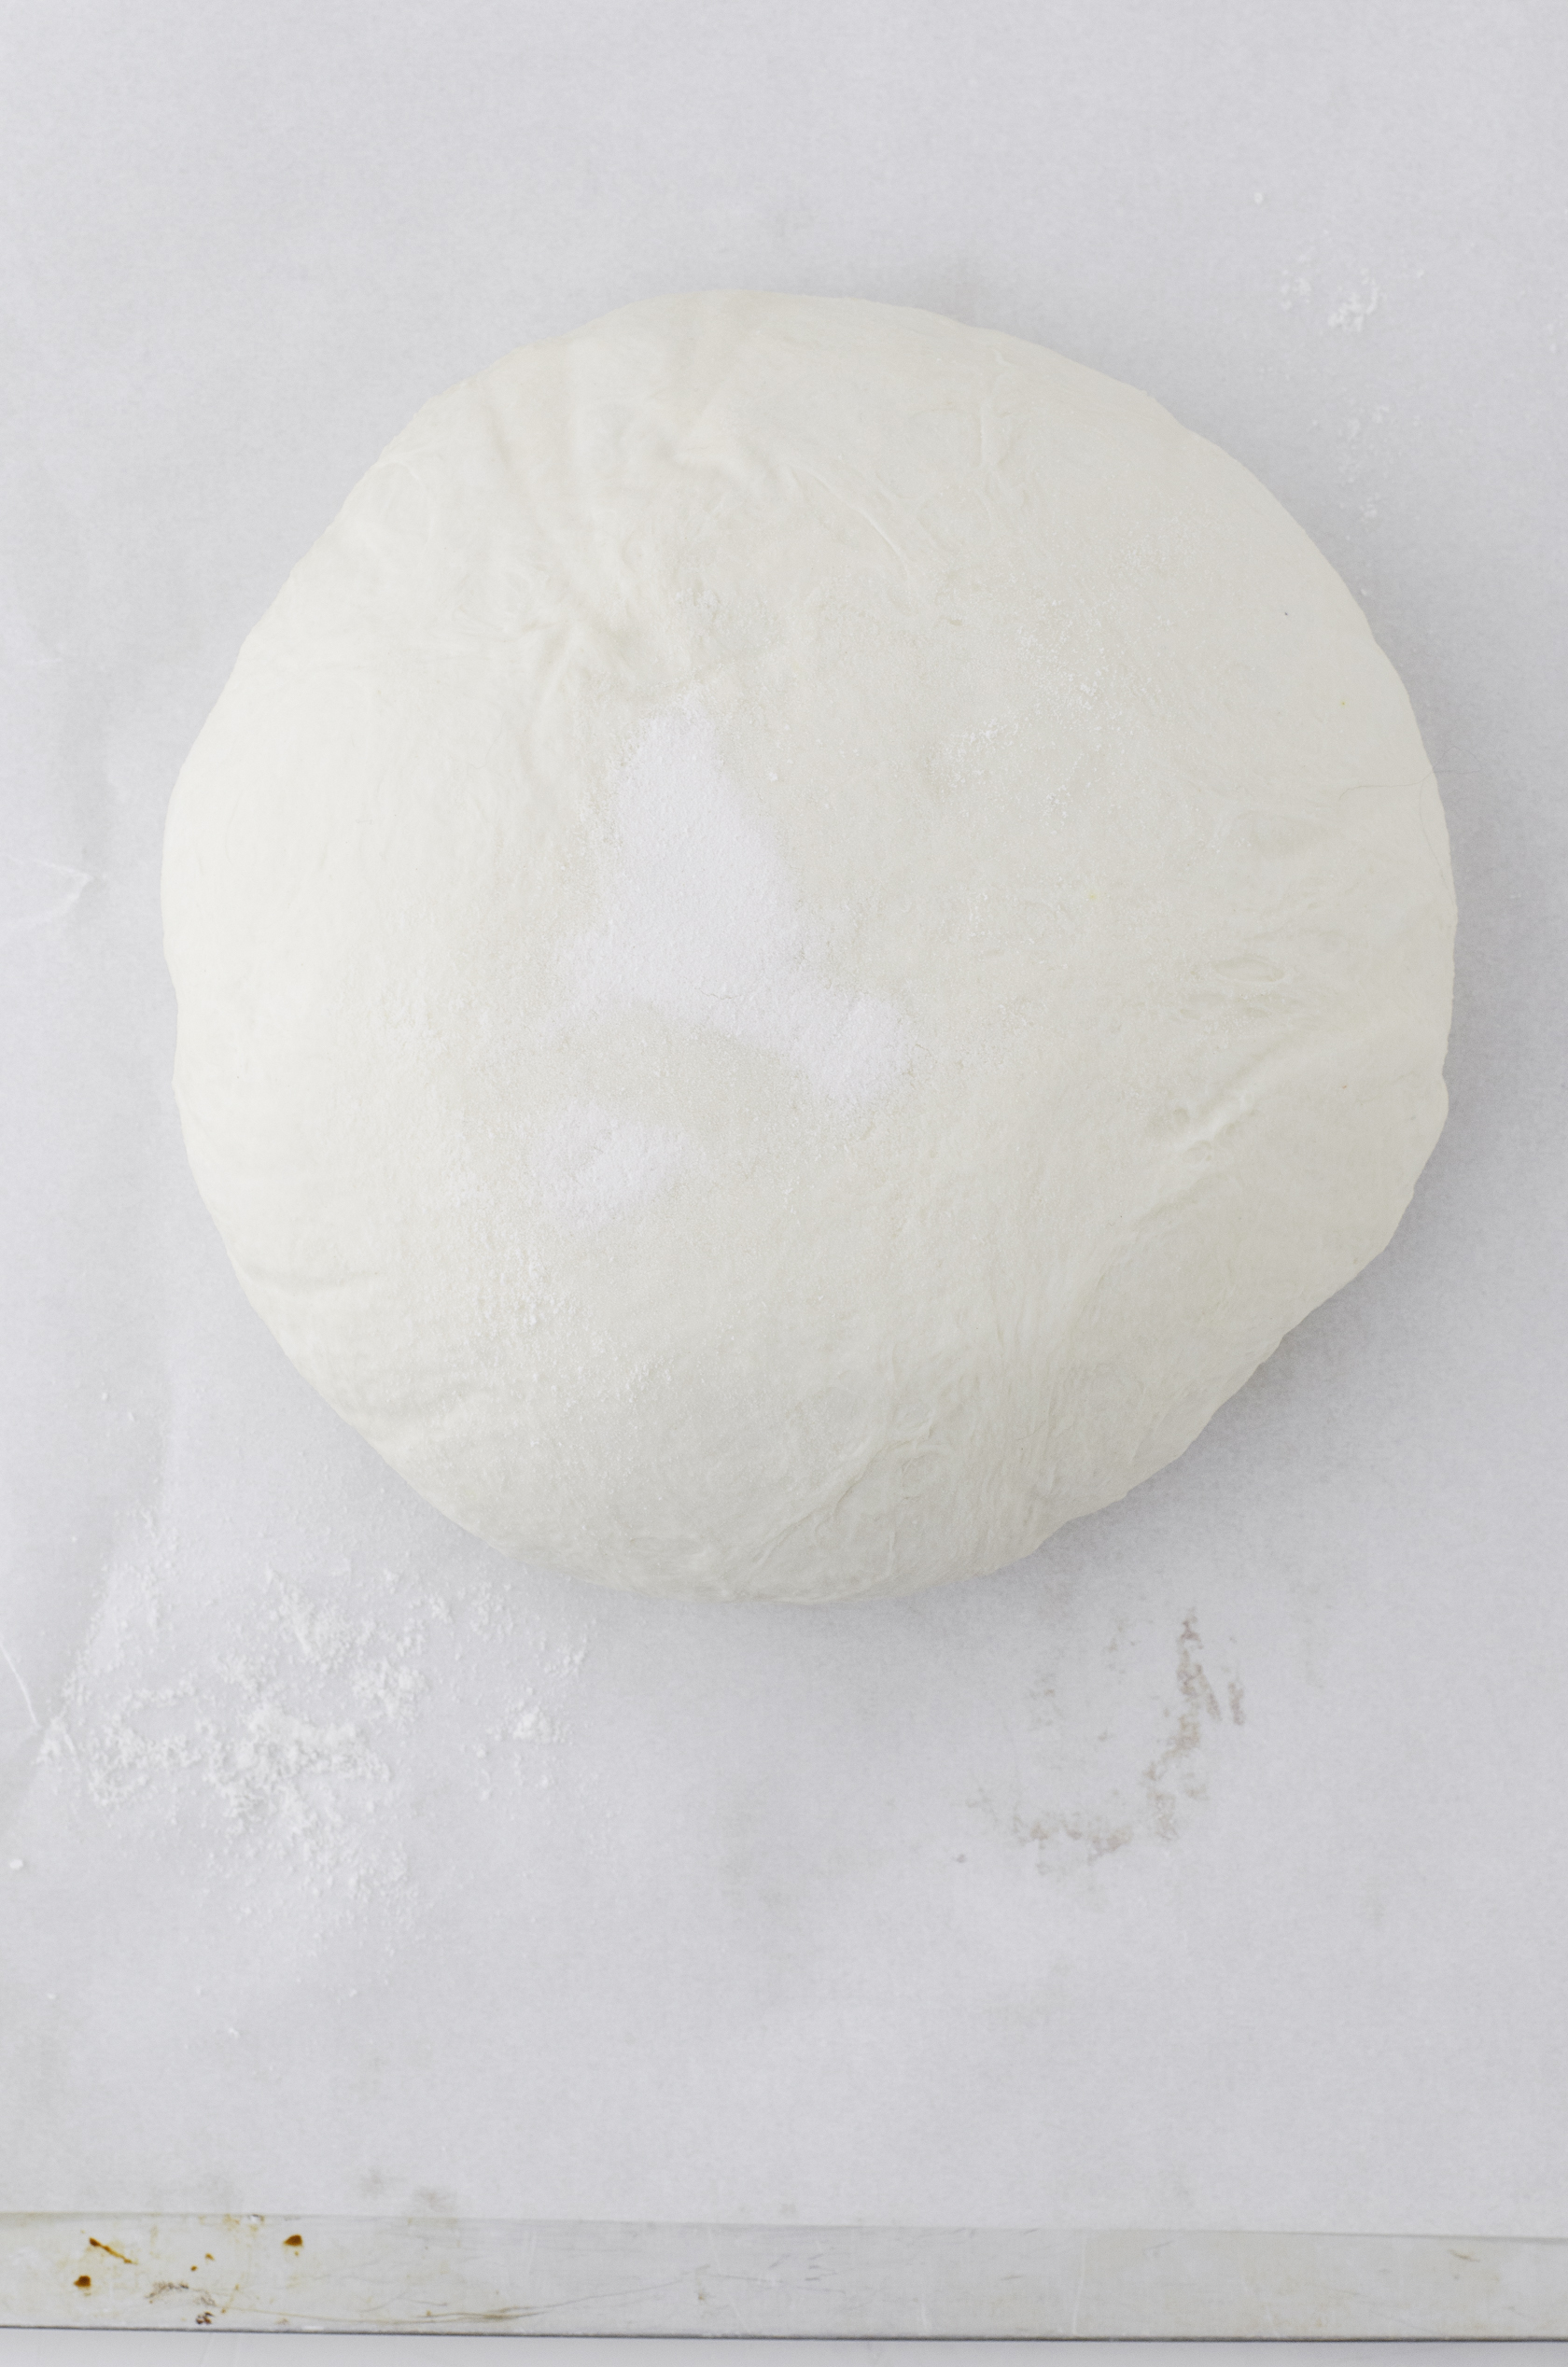 Place the sourdough loaf on a large piece of parchment paper, smooth side up.
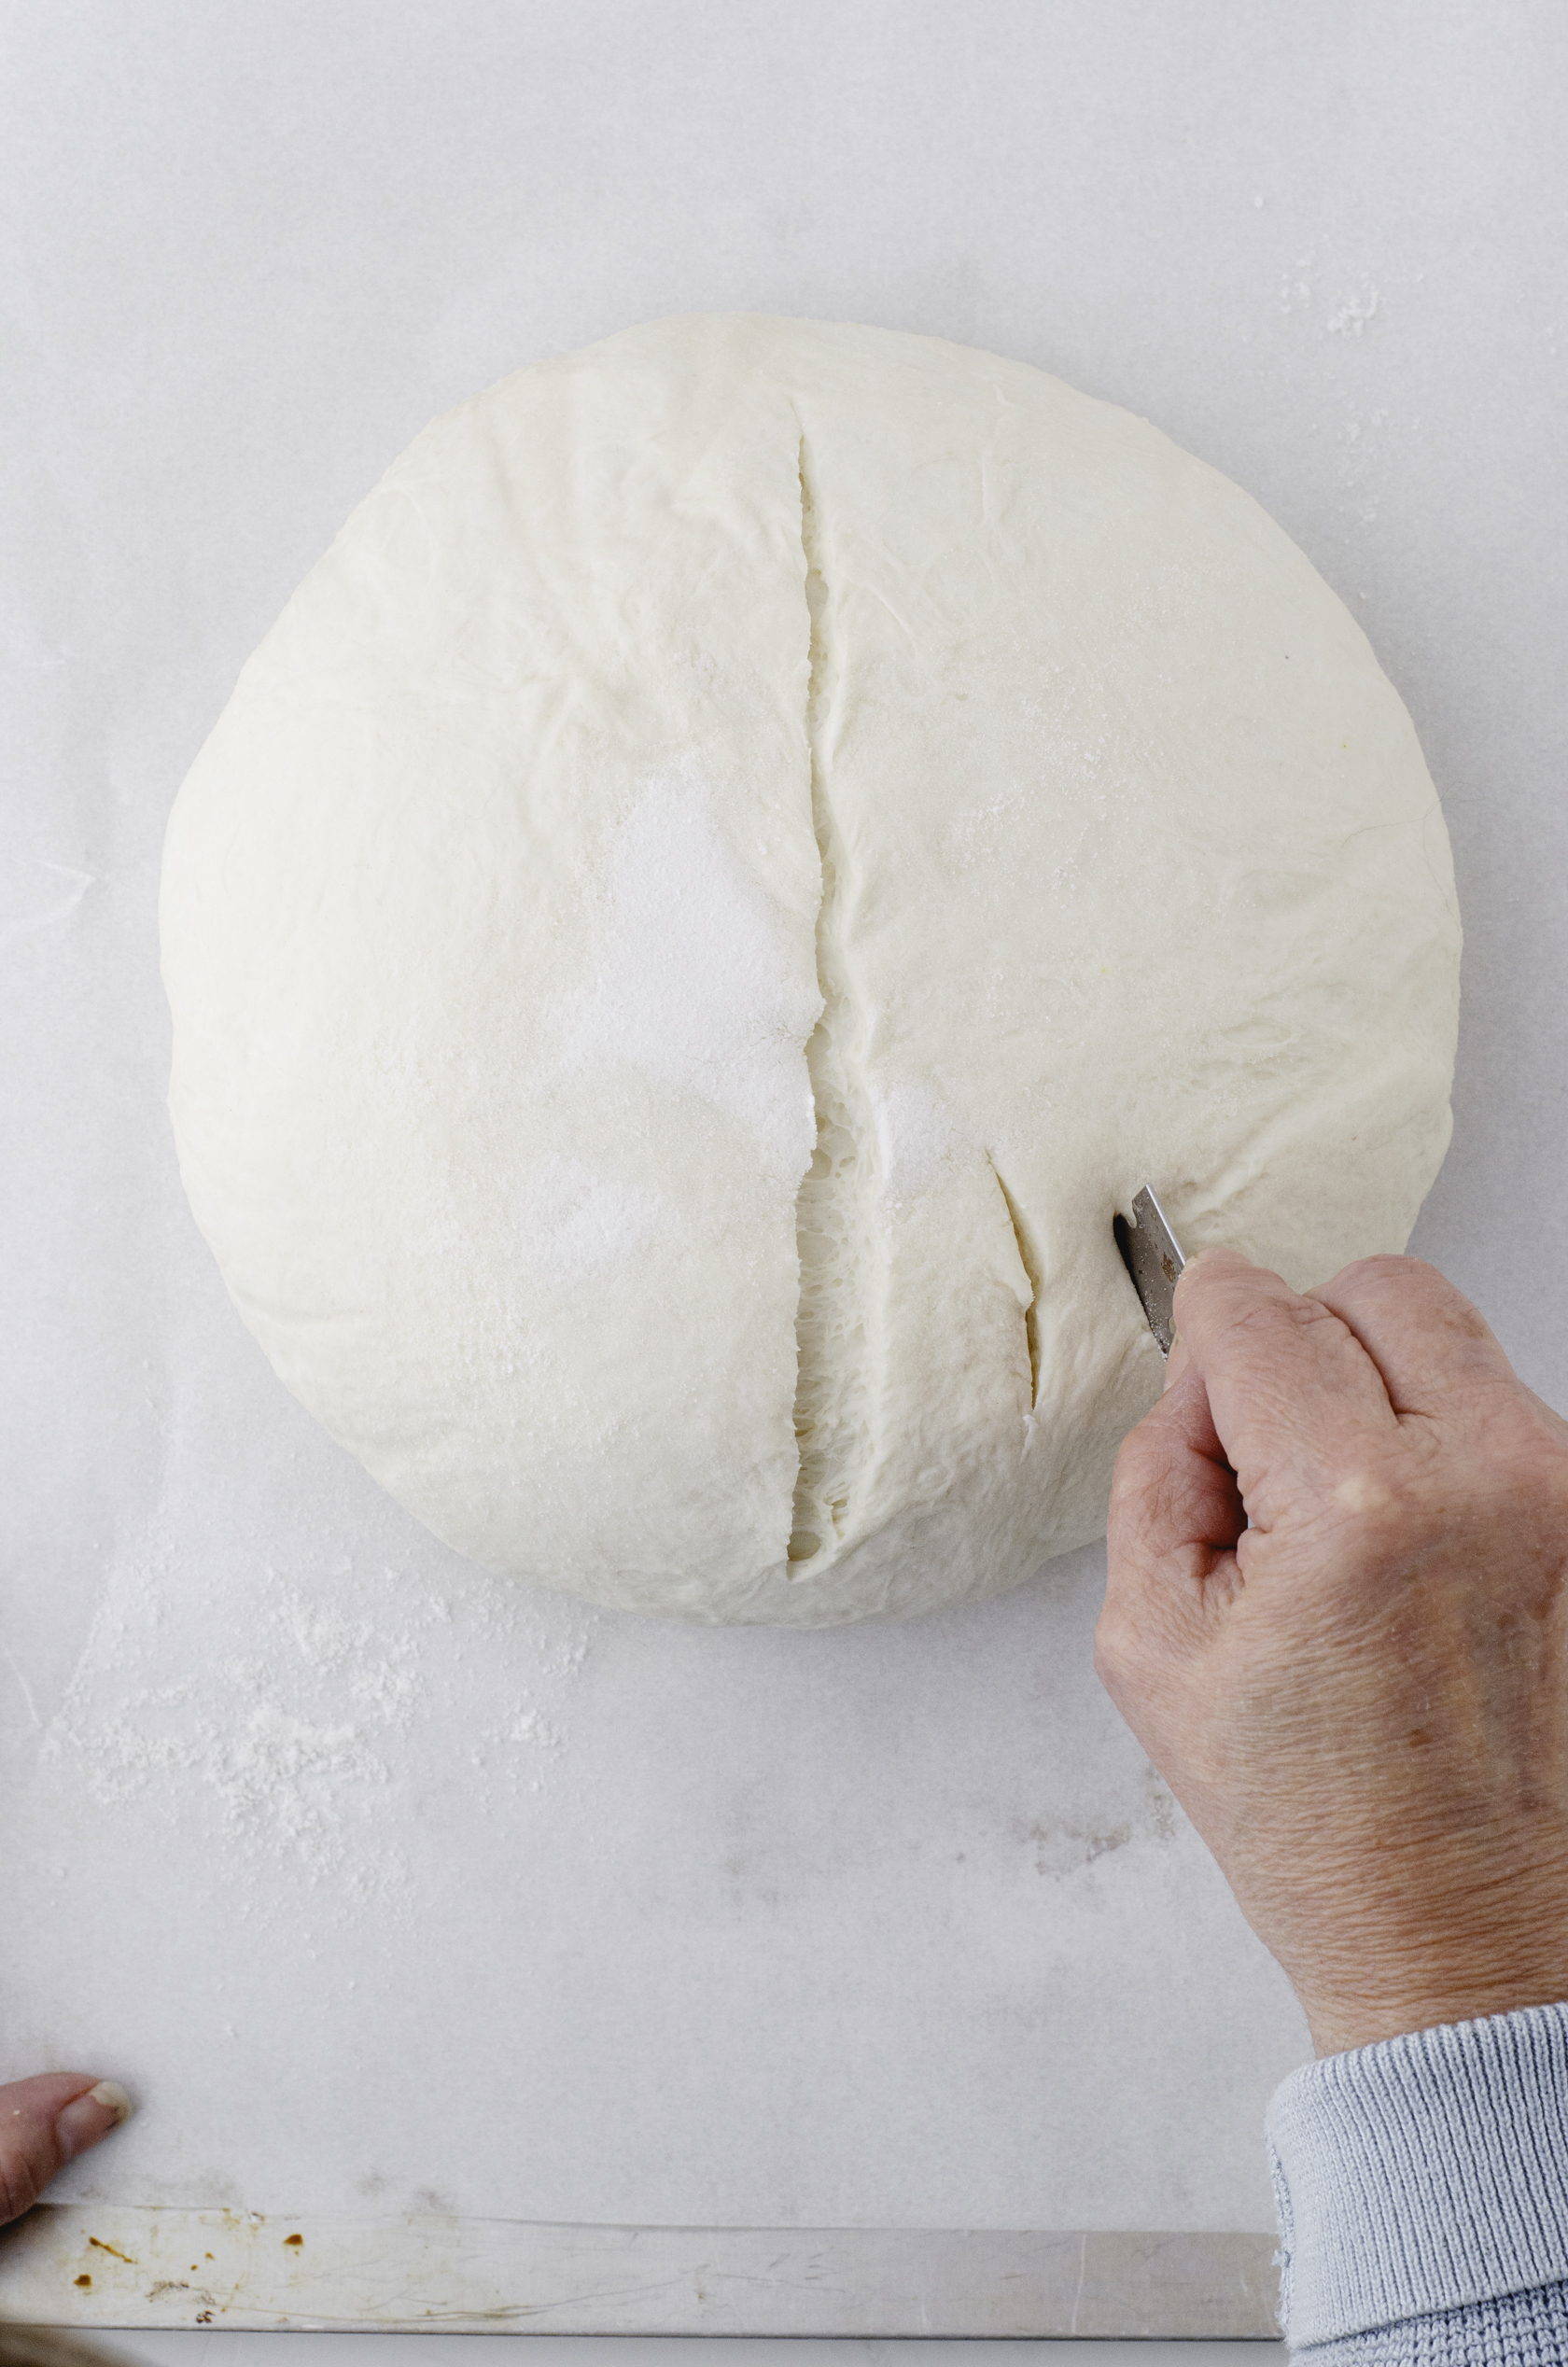 Cut at a 45 degree angle and move quickly as you score the top of the loaf.
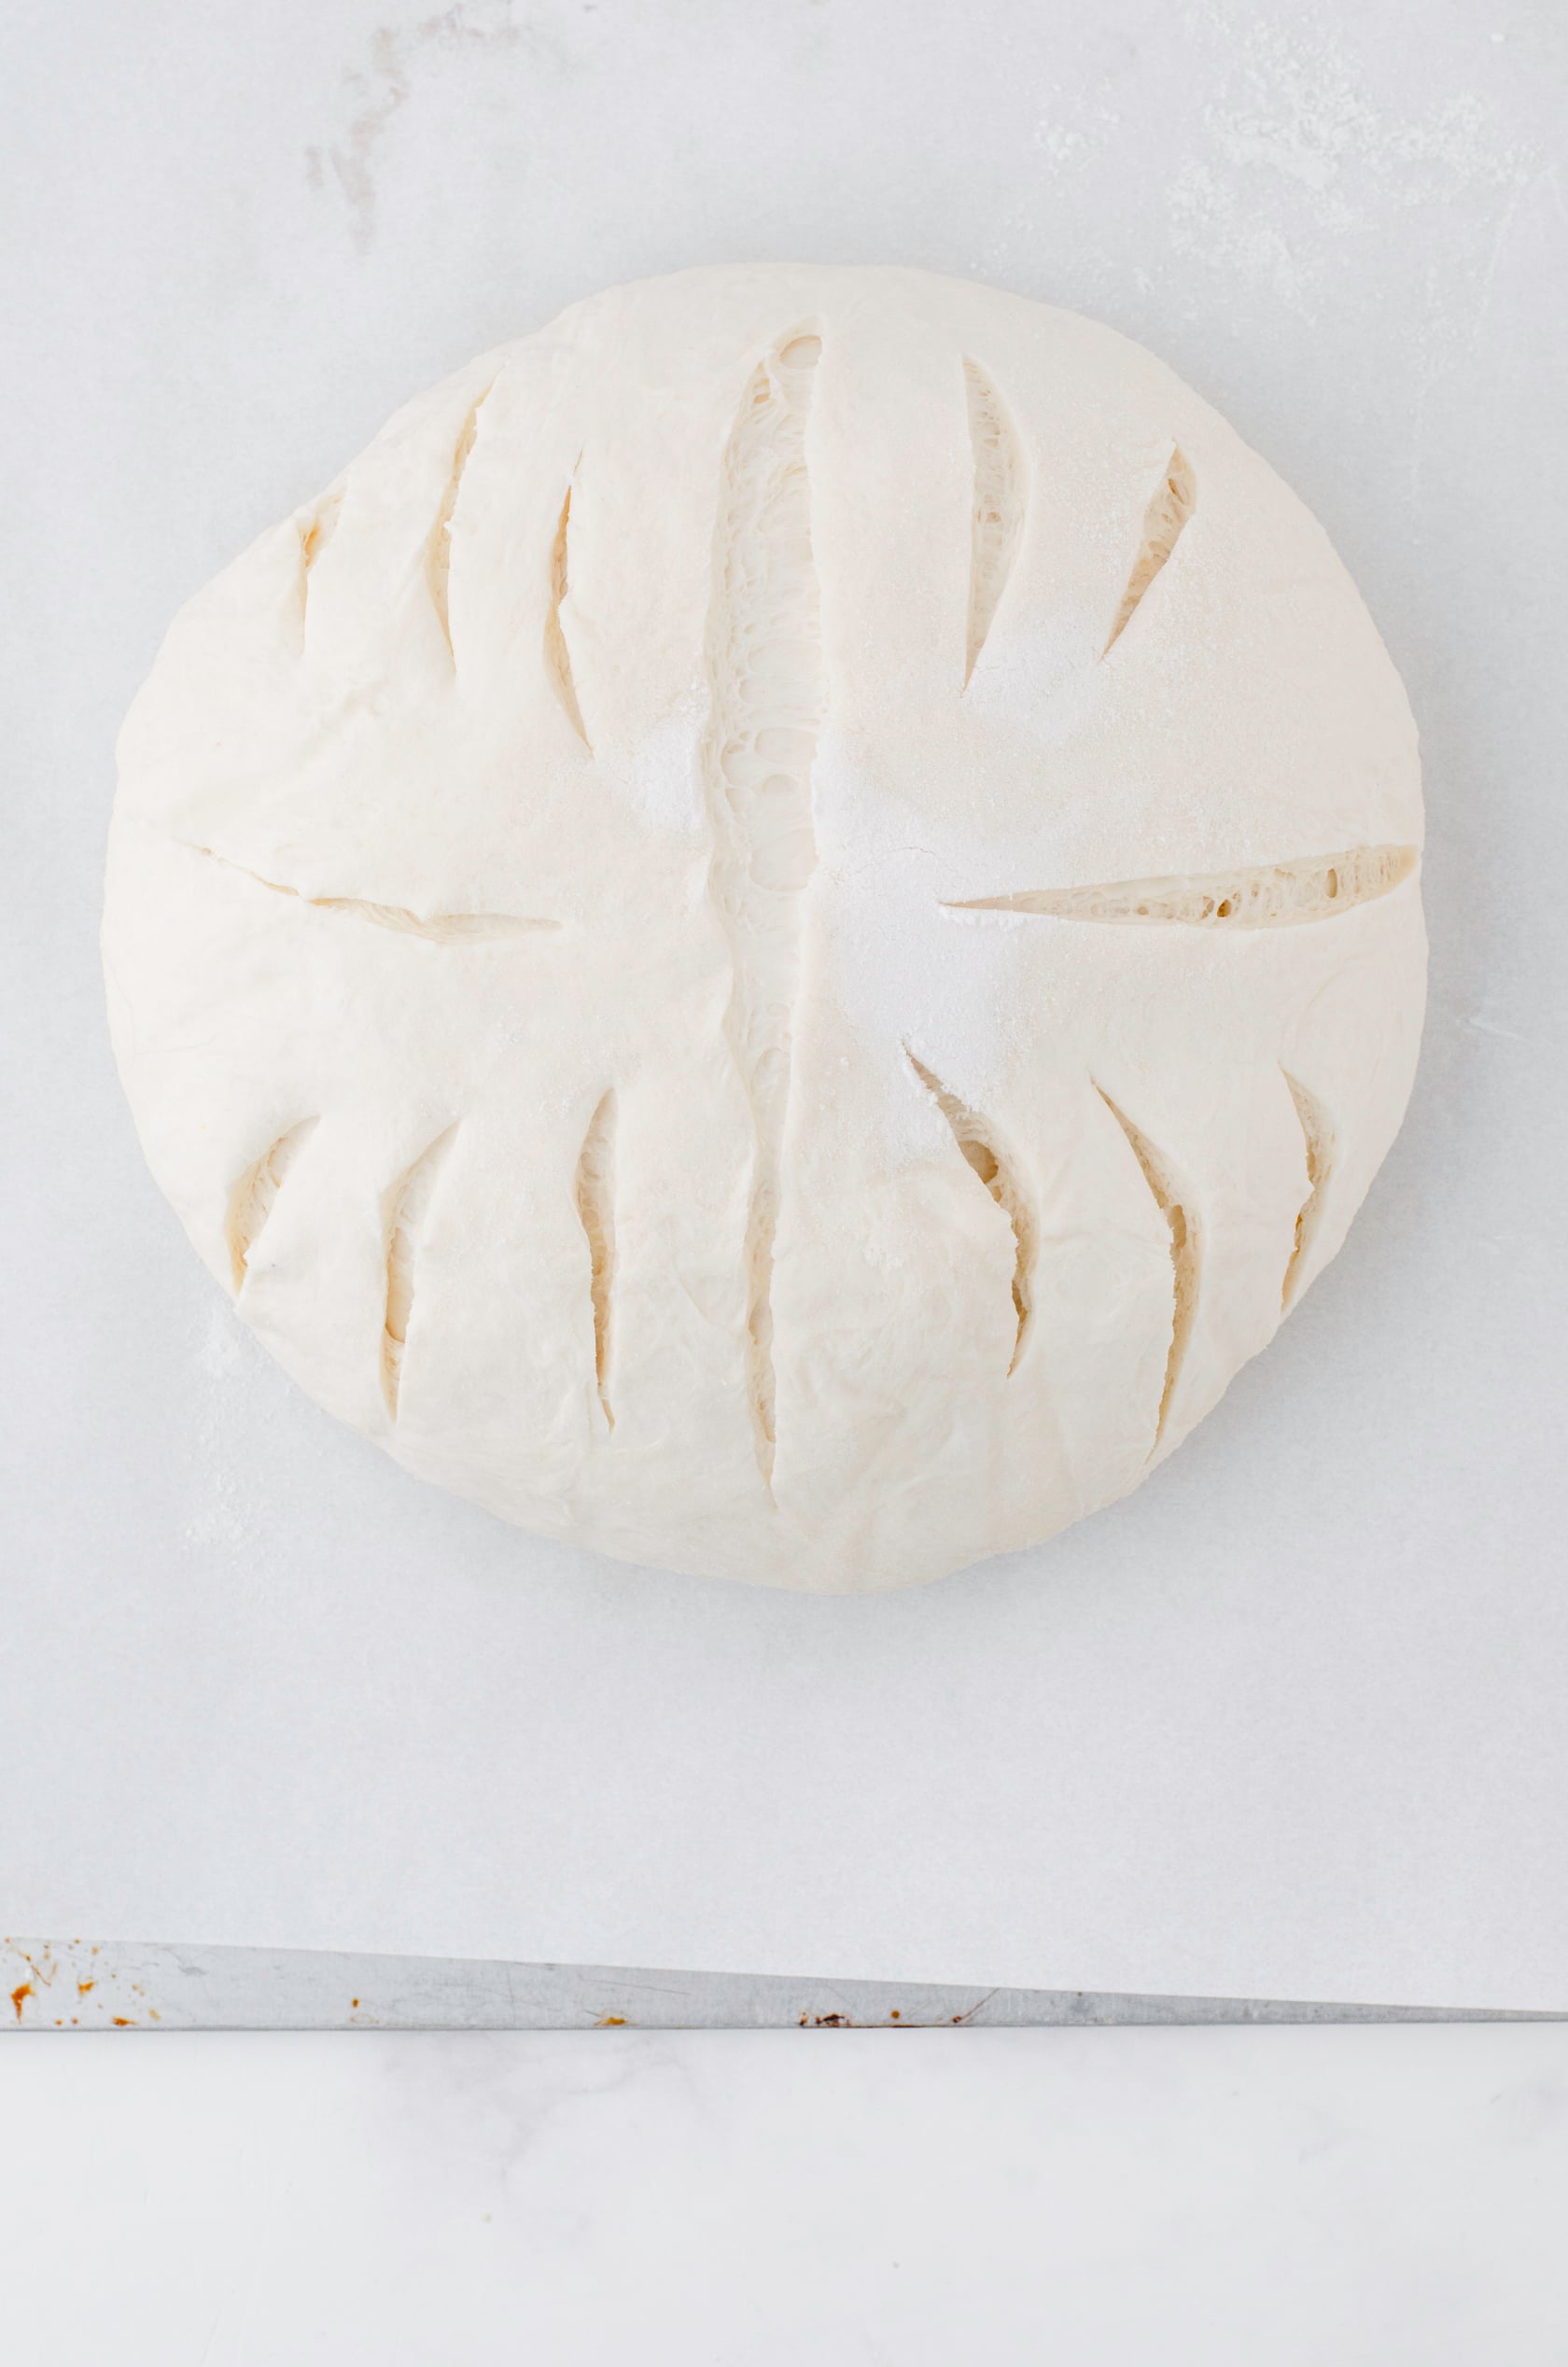 Have fun making sourdough art on your bread loaves!
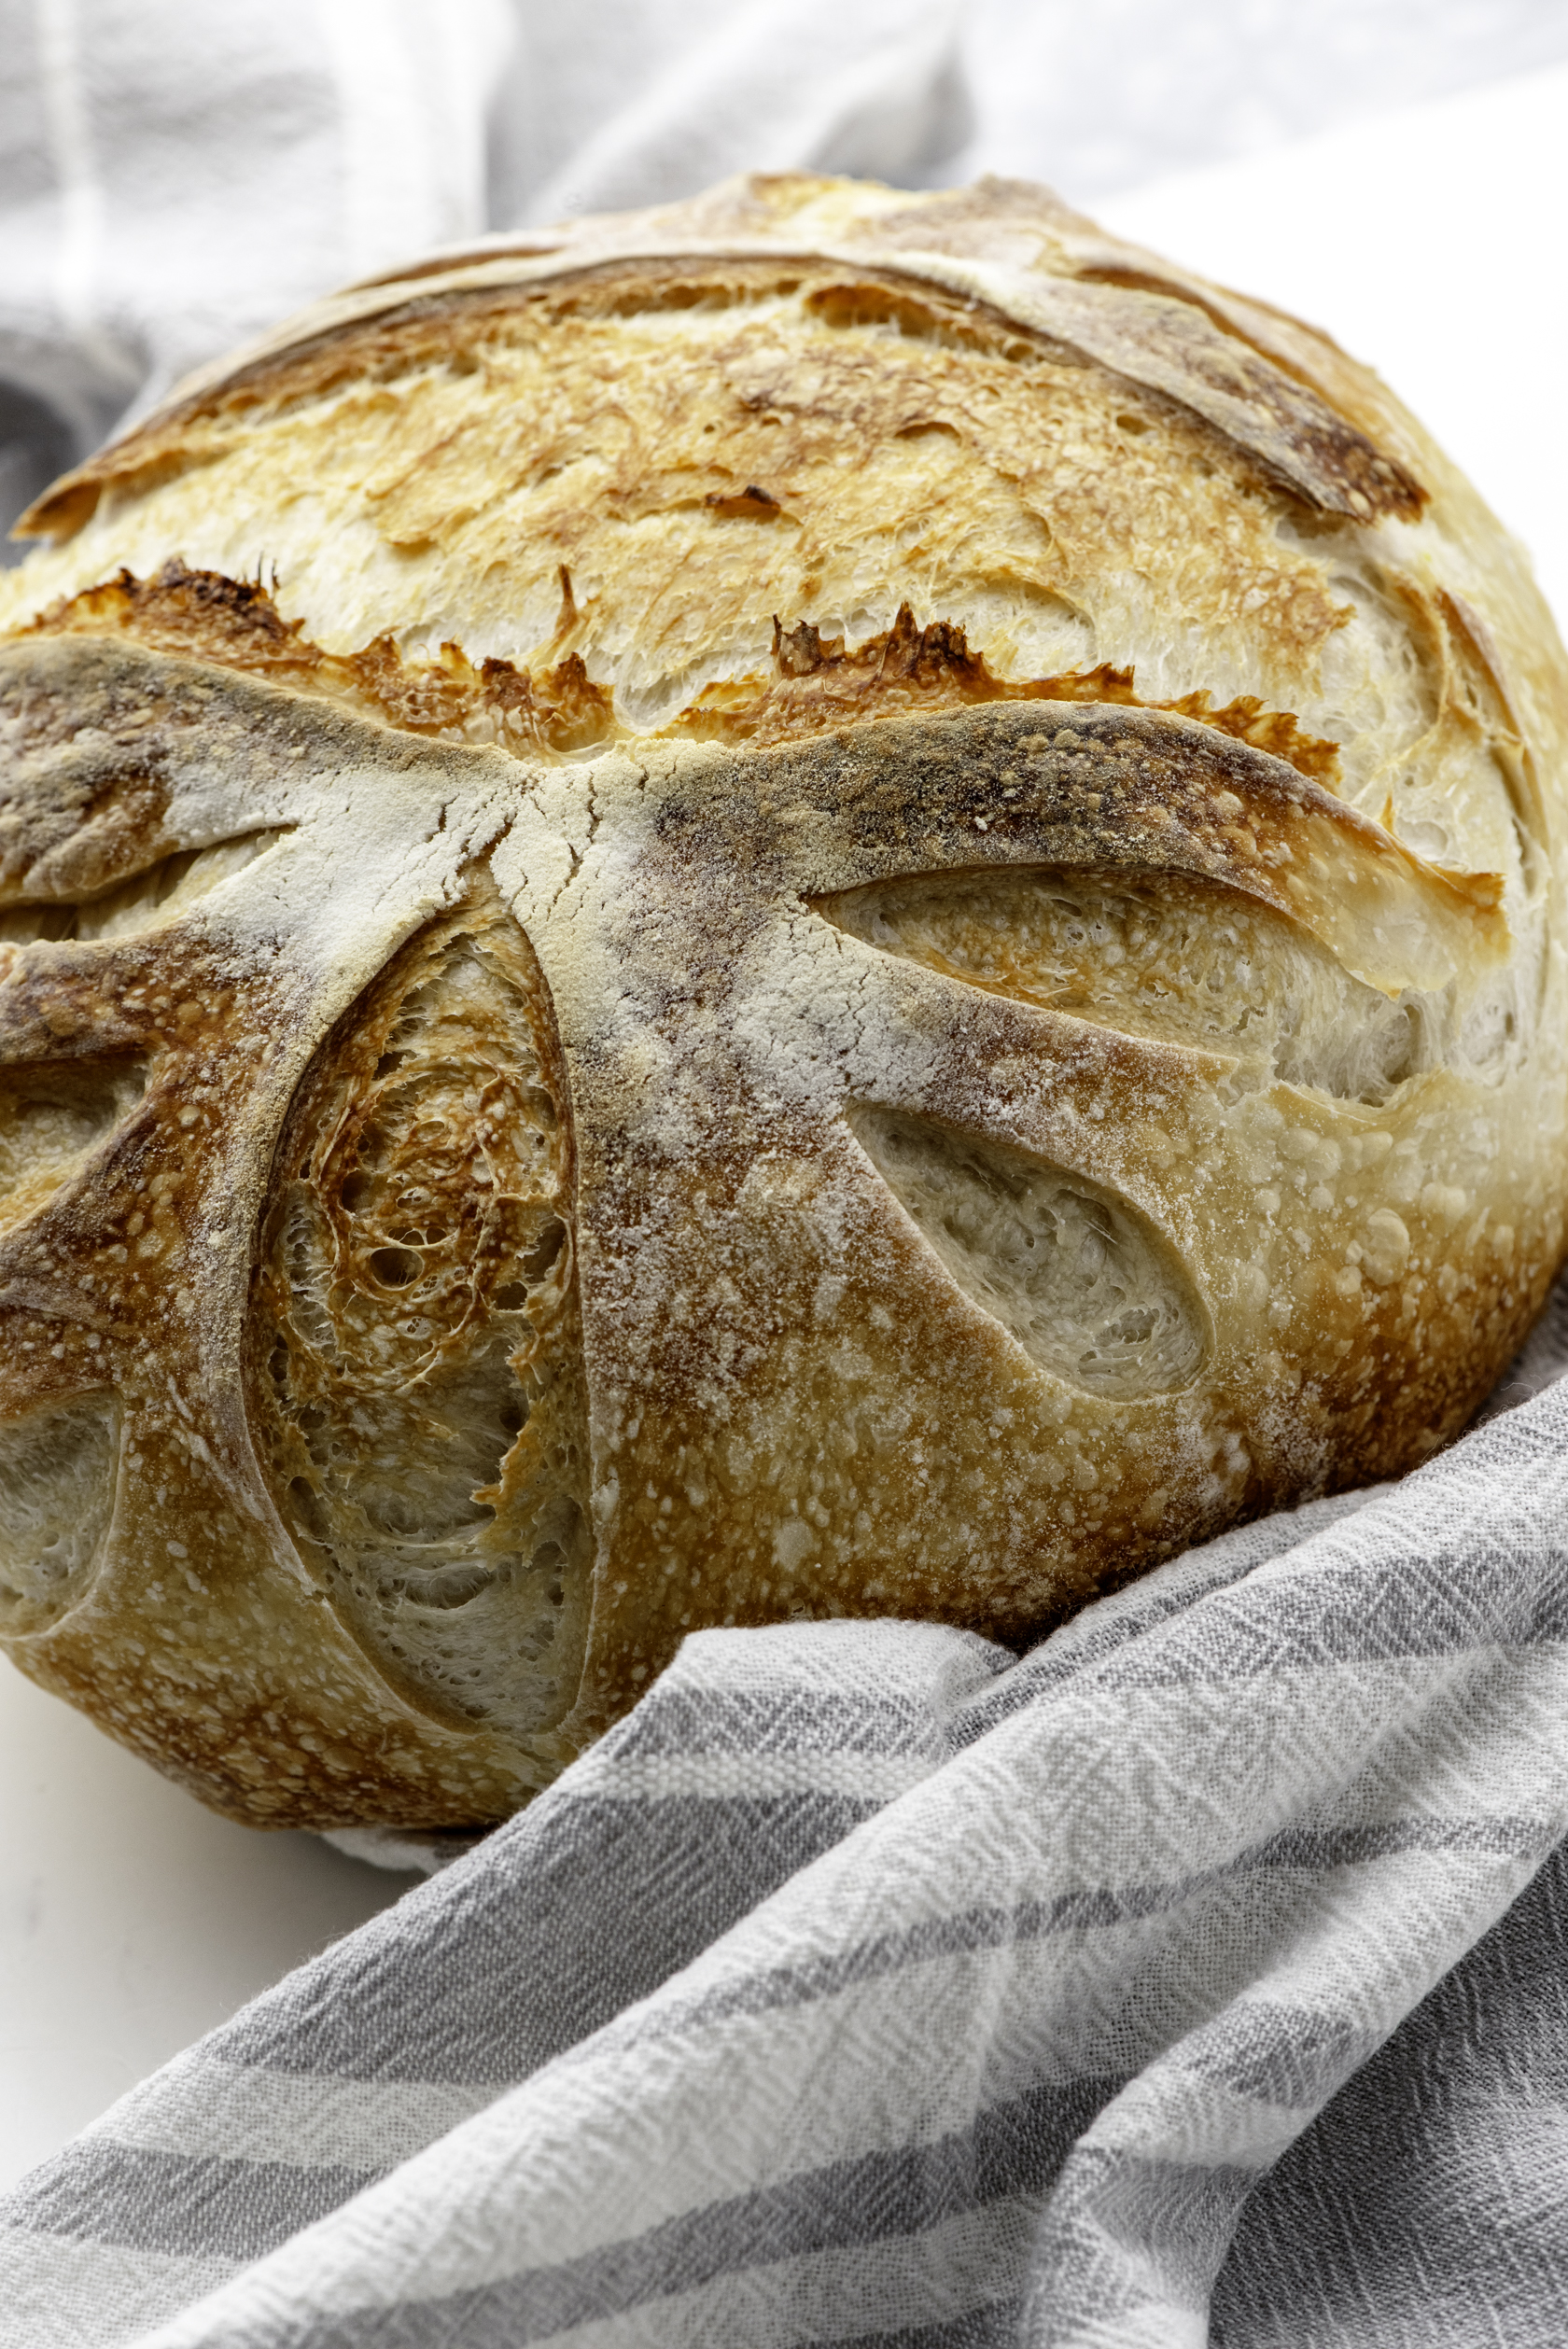
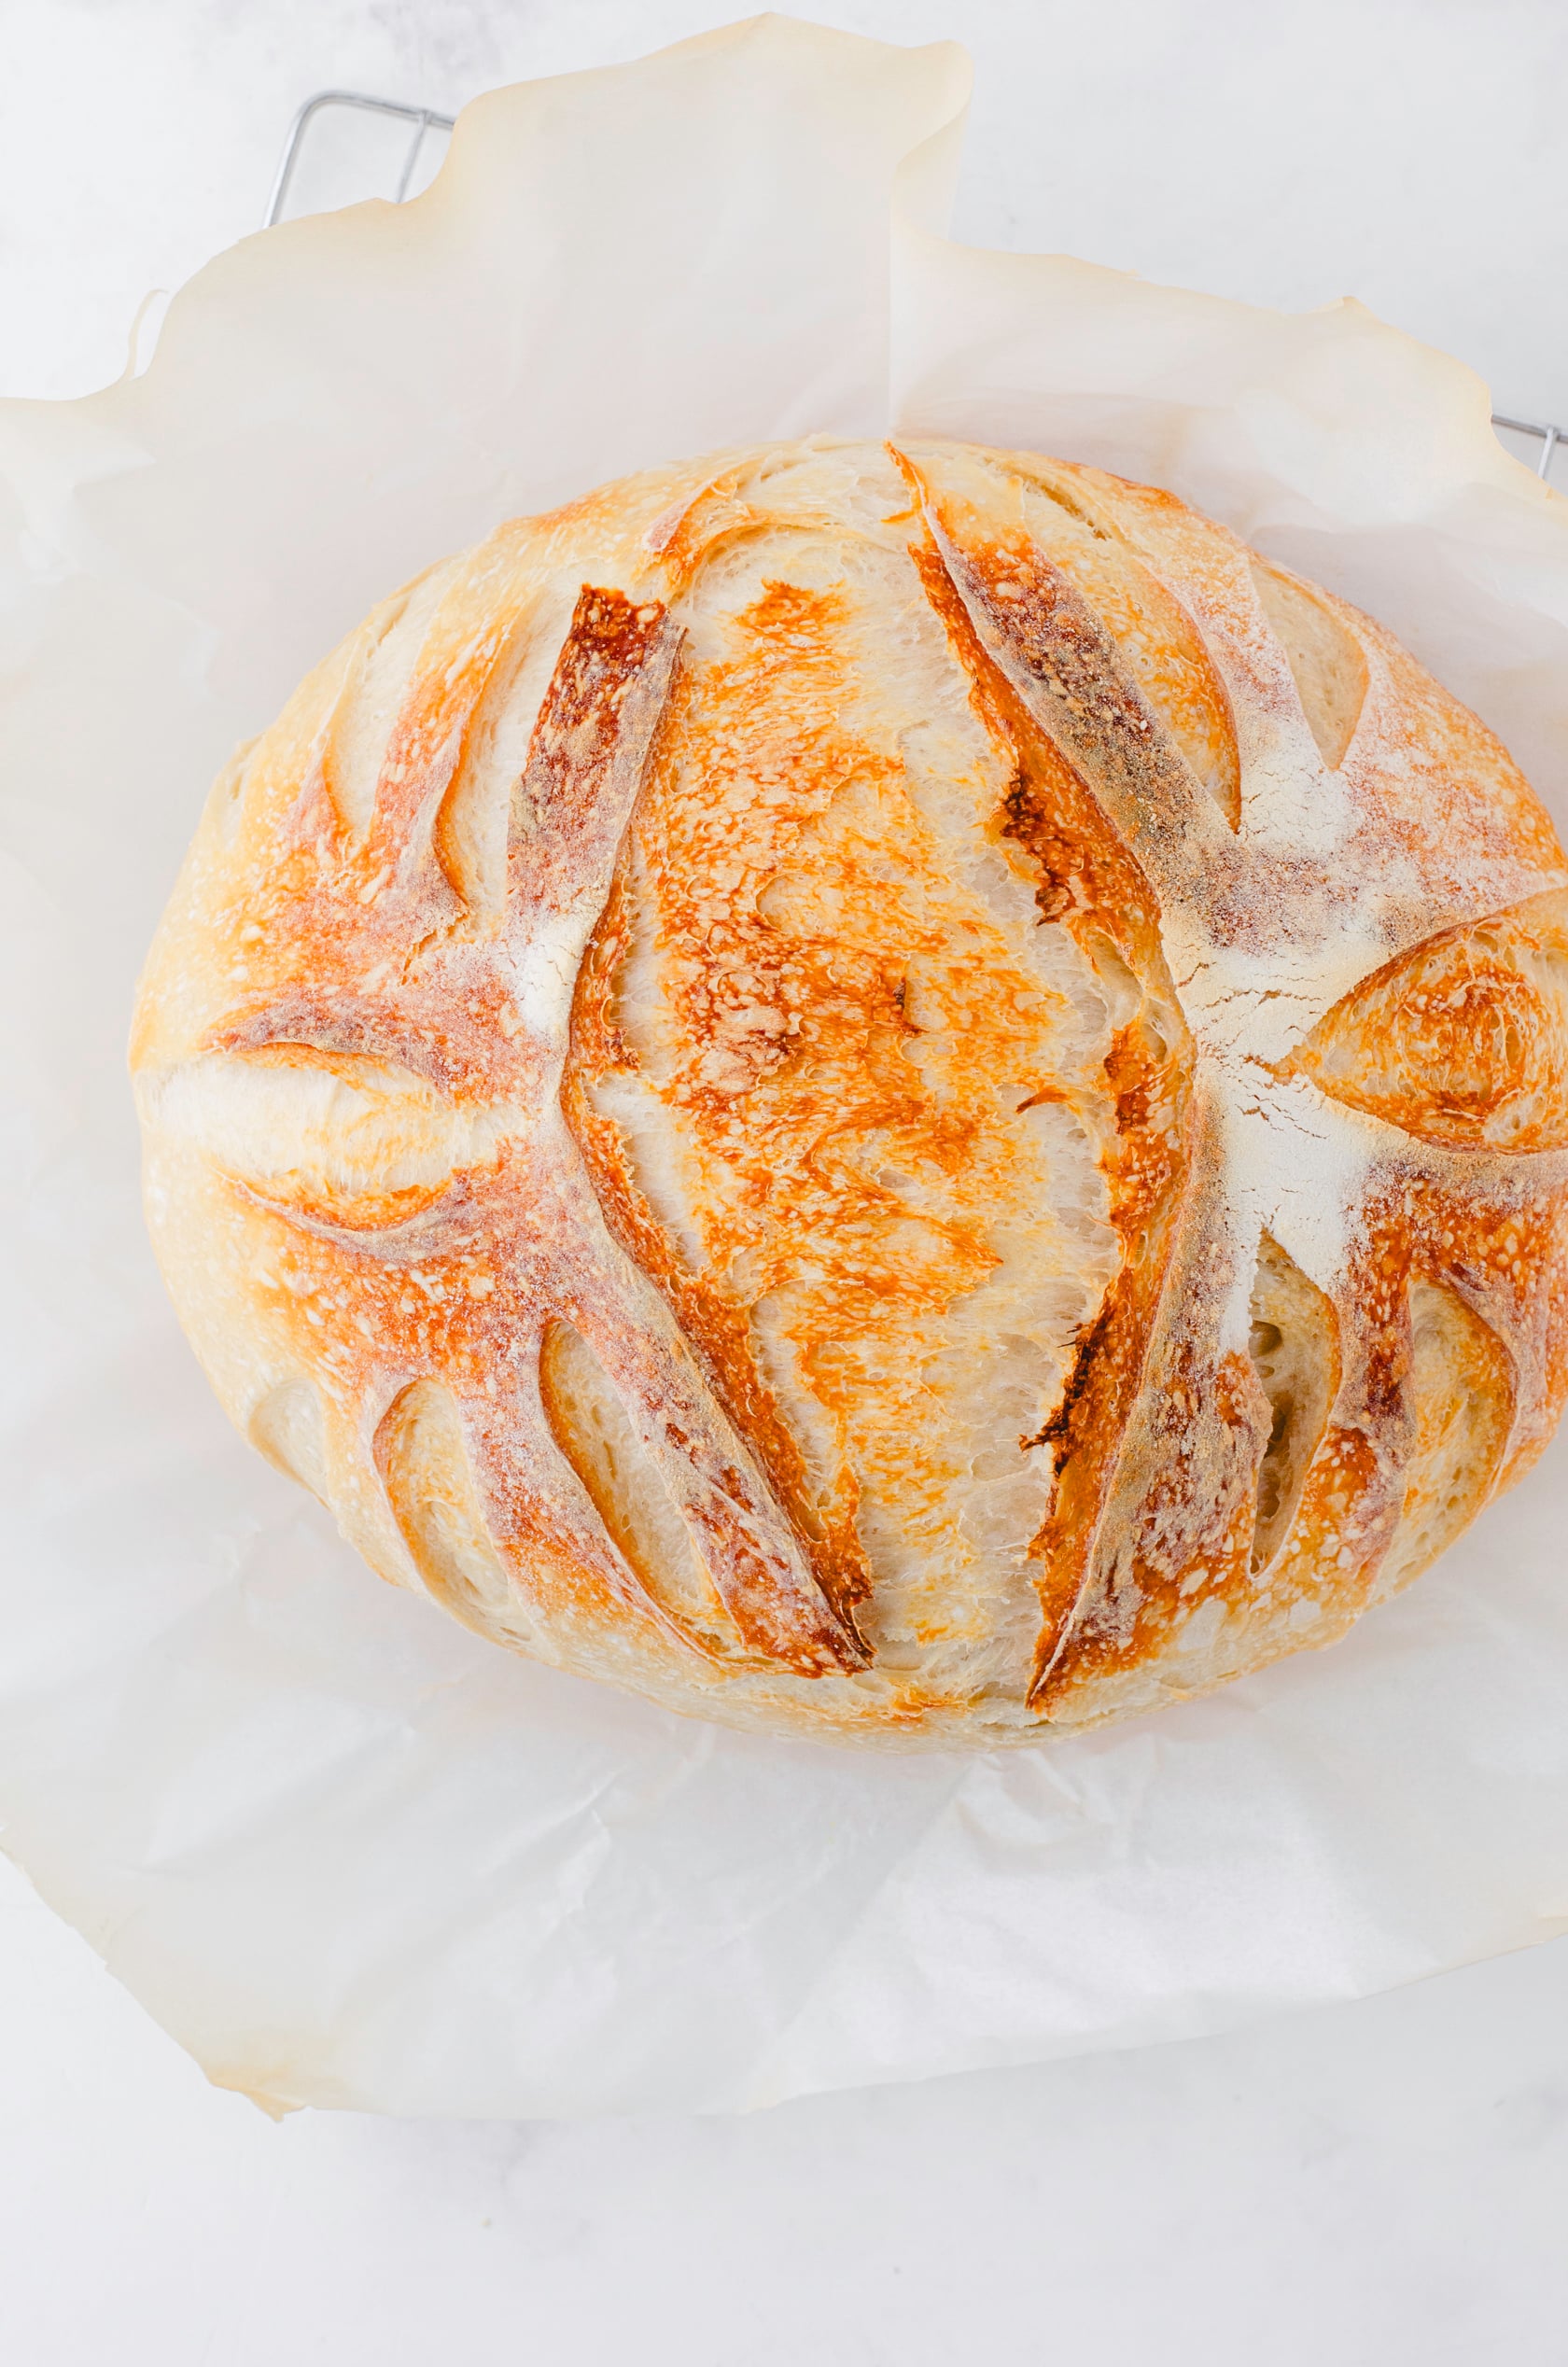 The finished sourdough loaf should be golden and crispy on the outside and tender inside.
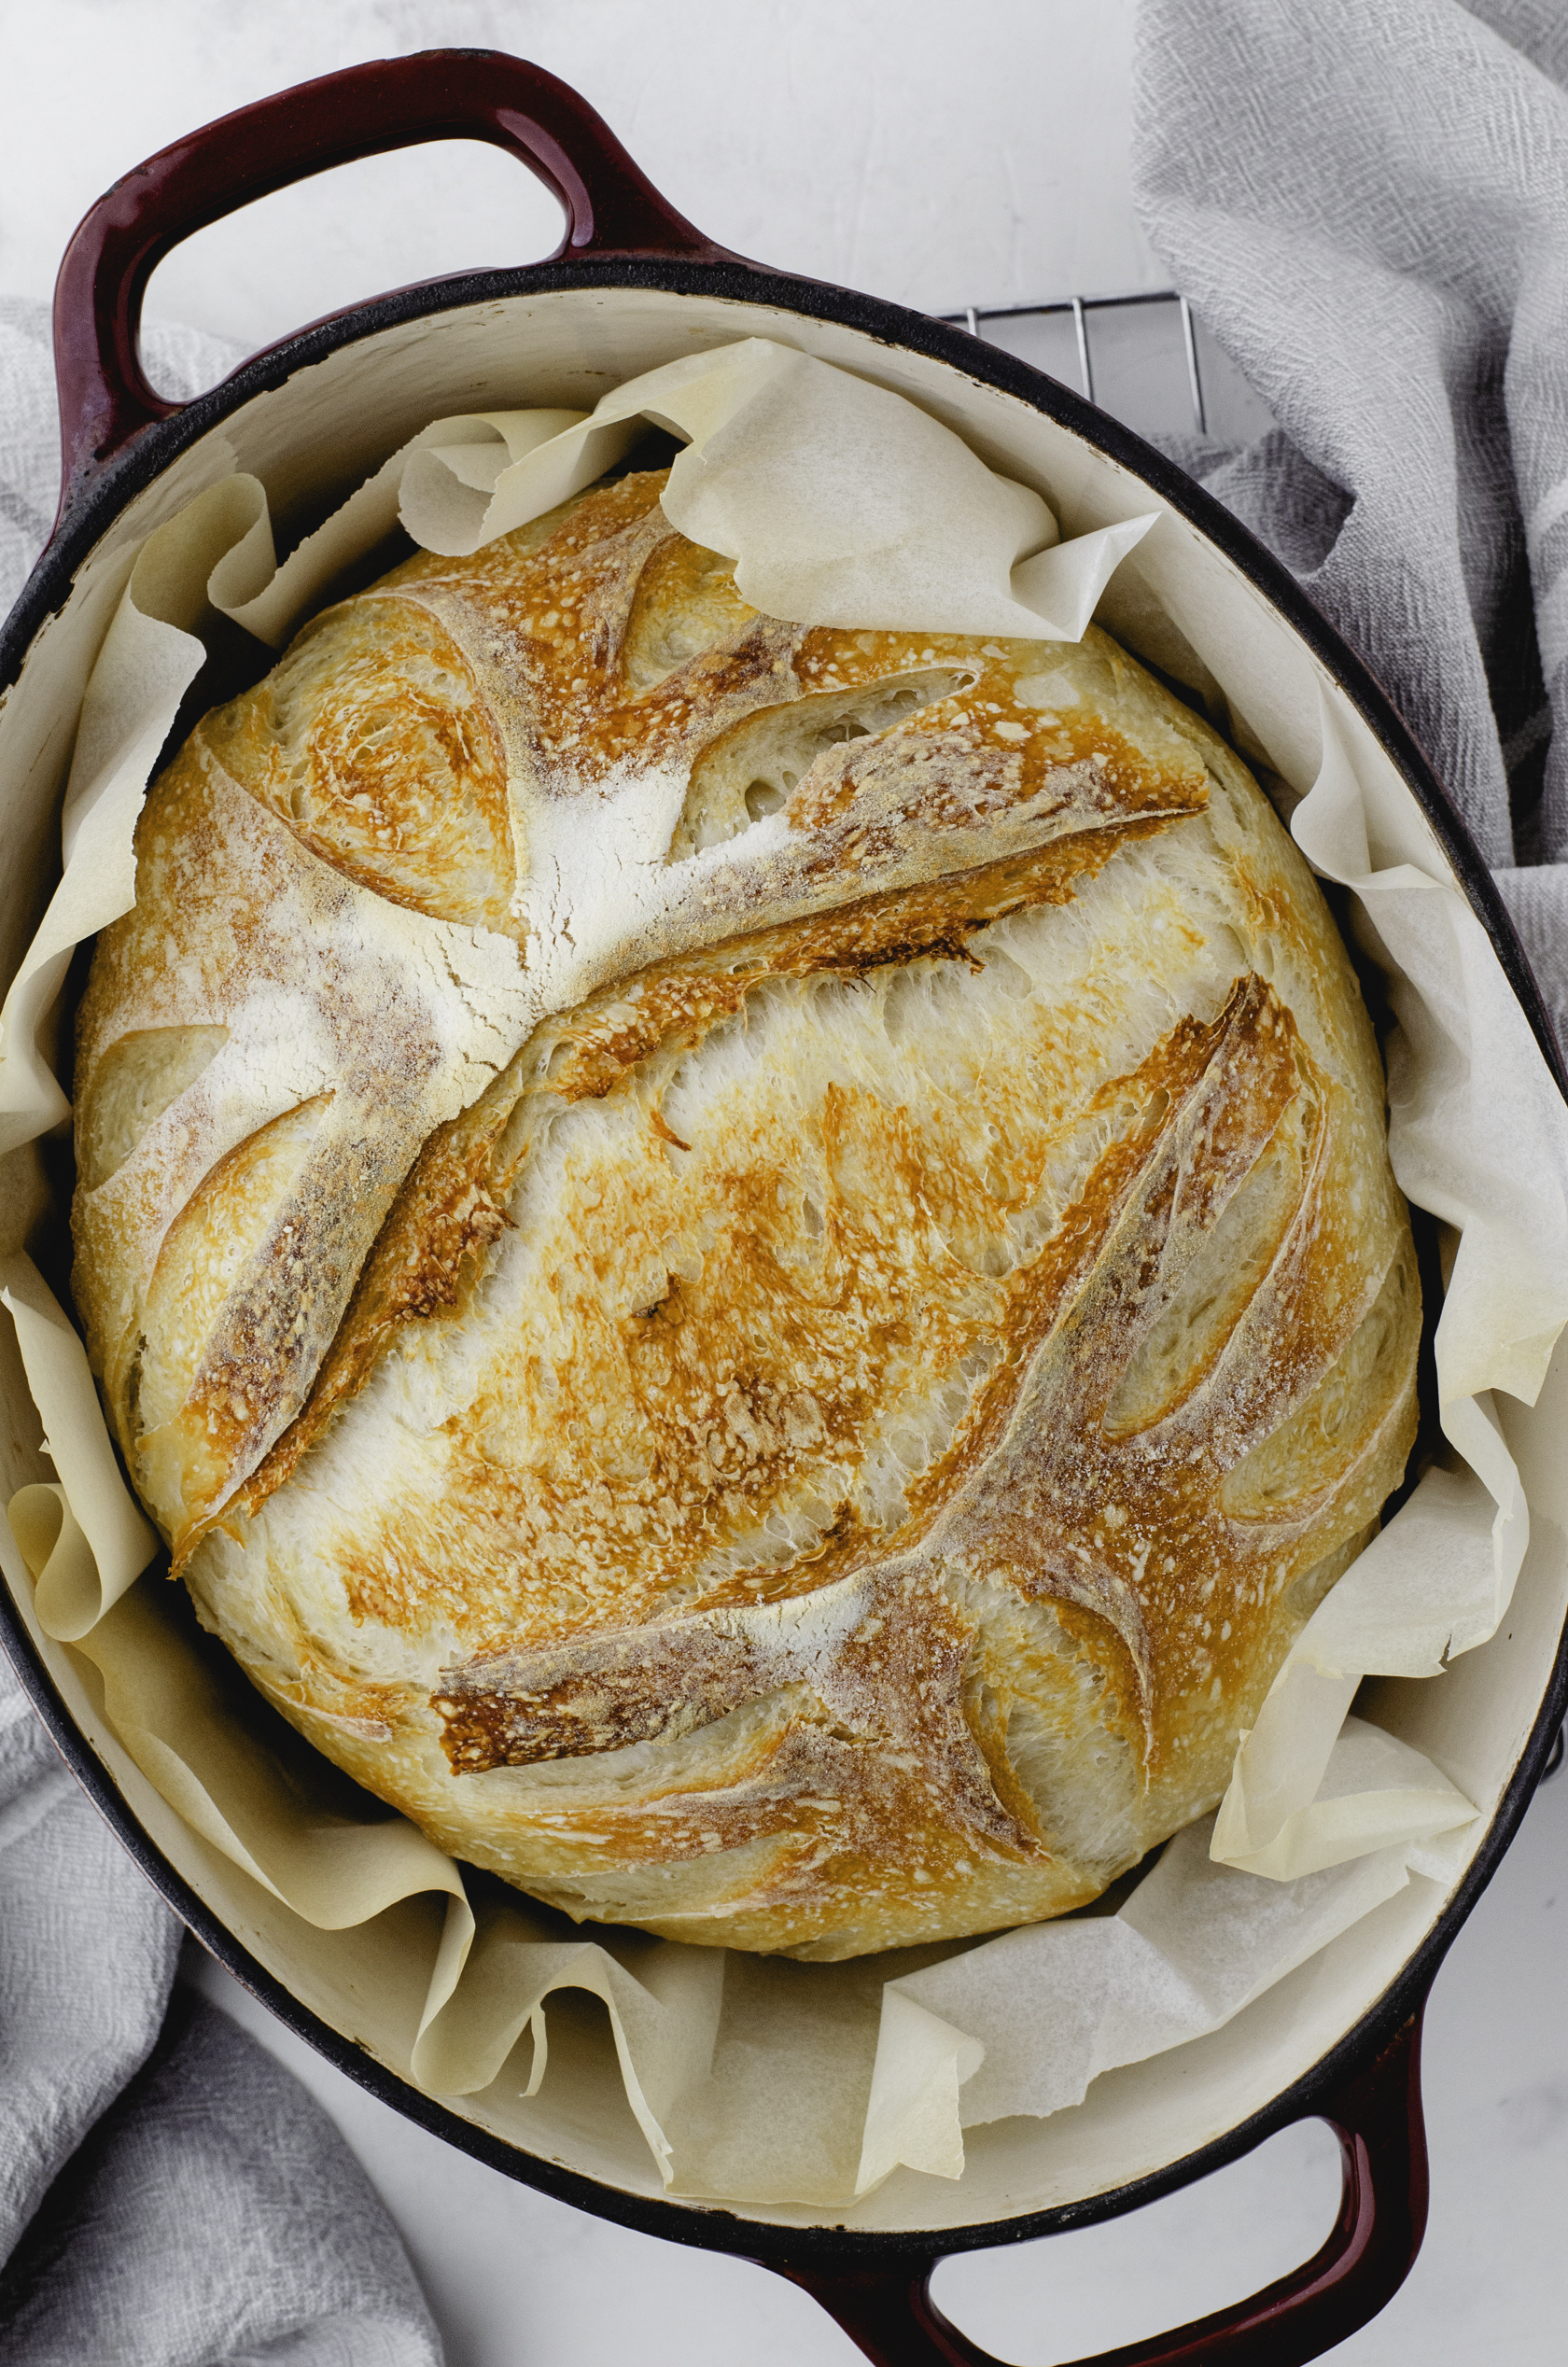
A few tips for baking sourdough bread in a dutch oven.
- Clean up all your sourdough utensils and containers right away. Once the dough dries, it is very difficult to remove it!
- Remember, parchment paper usually only has a temperature rating of 450 degrees, so I trim the edges of it so it doesn’t extend outside of the dutch oven. If it does, it will disintegrate in your hands when you try to pull the parchment out of the pan!
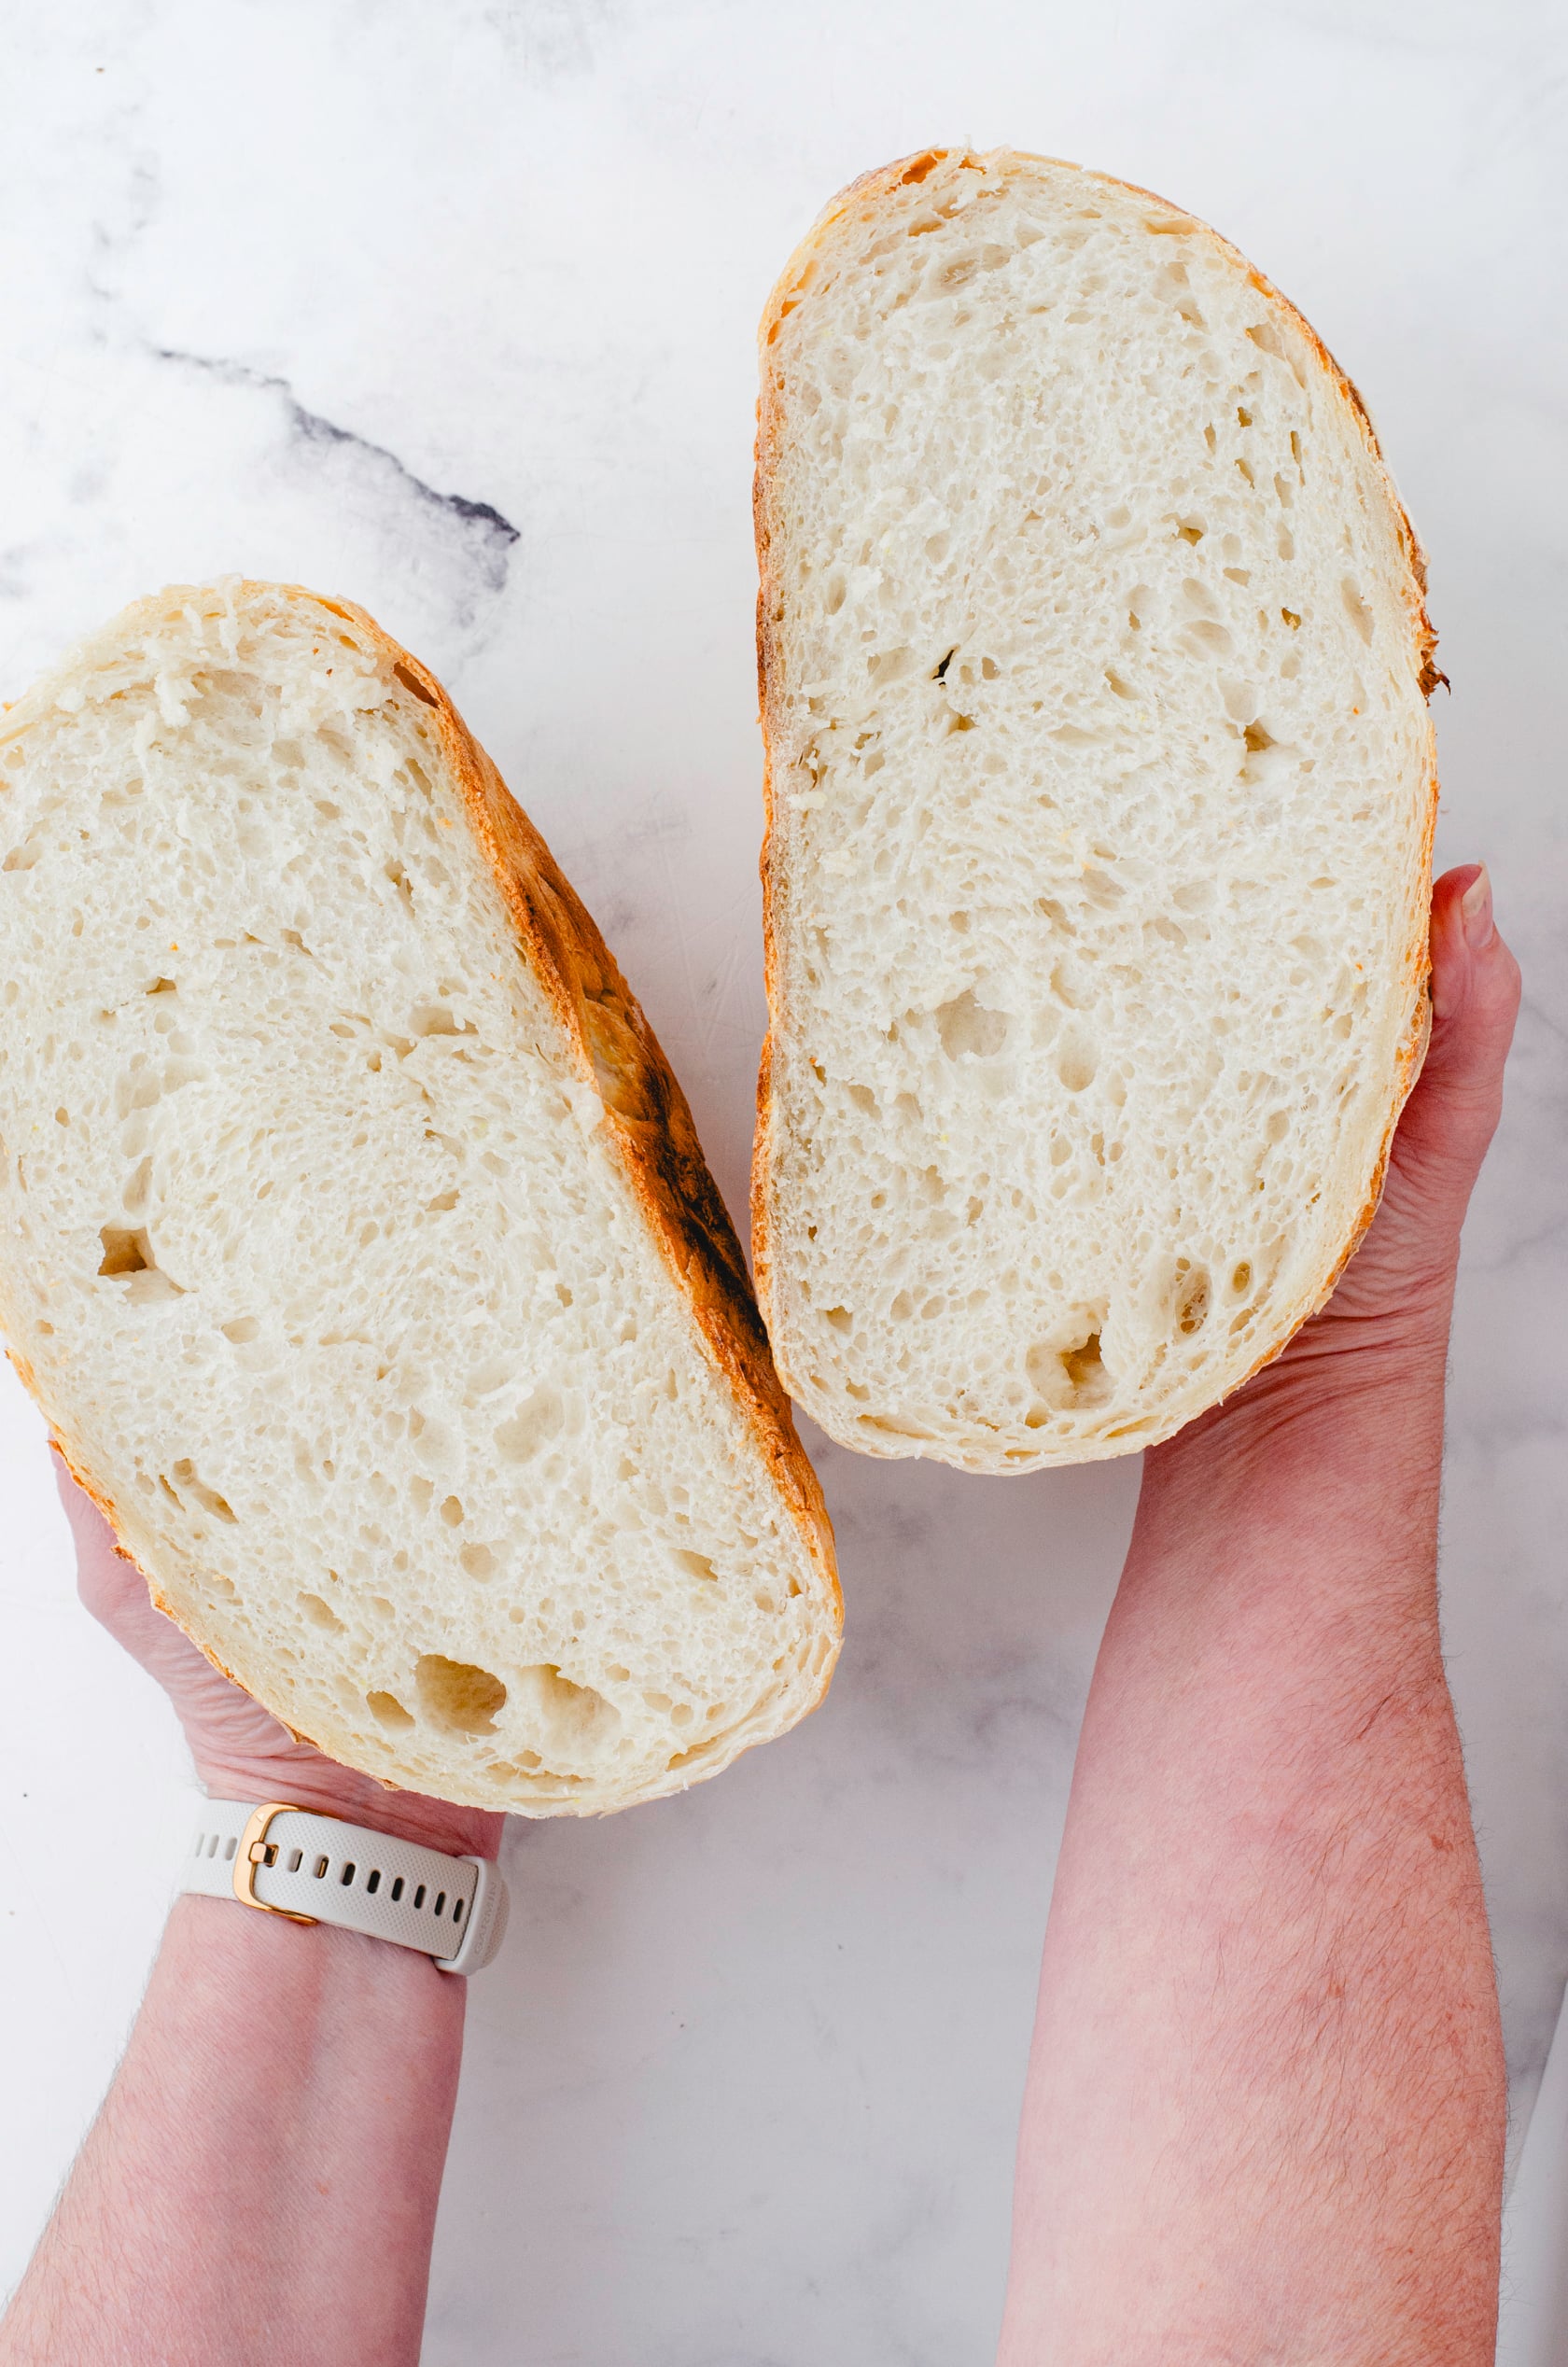
How To Cut This Classic Sour Dough Bread Loaf
- Wait until the bread is fully cool before slicing. Use a sharp sereted edged knife to cut this sourdough loaf.
- Cut the loaf in half first (like pictured above). Then lay the cut side down on your cutting board and slice. I try to slice them thin enough to fit in the toaster.
- I place my cut slices of sourdough bread in zip-loc bags and store them in the freezer. Because this bread doesn’t have any preservates in it, it only lasts about 3 days on the countertop before it starts to spoil – depending on how warm it is in your house and the humidity level. If your family eats a whole loaf fast, you won’t have to worry about it spoiling. But, with the just the two of us at home, we put it in the freezer and toast the slices we want throughout the week.
Other Bread Recipes
Although these aren’t sourdough bread recipes (they use yeast), here are some more popular bread recipes on the blog:
- Buttery bread machine dinner rolls
- We love this Swedish tea ring for Christmas morning!
- The overnight bun recipe with yeast is so very delicious!
- These ham and cheese dinner rolls are made with my Mother-in-Law’s famous bun recipe!
Other Sourdough Recipes:
- Use up sourdough discard with these super easy sourdough chips. They’re crunchy and spiced to perfection!
- Honey Oat Sourdough Sandwich Bread
- Chocolate Fudgey Sourdough Discard Brownies
- Sourdough Oat Rhubarb Muffins
Get More Recipes & Ideas for your Home Delivered Right to Your Inbox!
Join thousands of others on my newsletter list for more ideas & recipes for your home, and get a free printable meal planning set immediately!
Save this to remember it later!
Dutch Oven Sourdough Bread Loaf
Unlock the pleasure of baking homemade sourdough with this straightforward step-by-step guide. Utilizing a starter shared by a friend, this technique produces a stunning round loaf featuring a light, airy crumb and a beautifully browned, crunchy exterior. Though the process involves several resting intervals that test your patience, the result is undeniably rewarding. Welcome the journey and turn basic components into a culinary masterpiece within your own kitchen.
Ingredients
Method
- Tare your kitchen scale with a metal bowl positioned on top. Transfer all the starter into the bowl and record the weight in ounces.
- Incorporate equal portions of chilled tap water and all-purpose flour. As an illustration, if your starter measures 6 ounces, add 6 ounces of water and 6 ounces of flour.
- Blend the ingredients thoroughly with a robust utensil. The resulting mixture will have a bumpy texture rather than being smooth. This is perfectly acceptable.
- Seal the fed sourdough starter with plastic wrap and allow it to sit on the counter throughout the night while you rest.
- Tare the kitchen scale with a stand mixer bowl on top. Introduce 8 ounces of starter. Subsequently, add 14 ounces of cold tap water and 1 tablespoon of salt. Combine everything well by hand using a wooden spoon with perforations, a Danish dough whisk, or another sturdy implement. Return the remaining starter to the mason jar, secure the lid, and refrigerate it for use next week.
- Incorporate 26 ounces of unbleached all-purpose flour into the sourdough and water mixture all at once, then mix using a stand mixer with a dough hook. Begin mixing at a low speed until the dough is mostly combined, then increase the speed to fully integrate. The dough should completely detach from the sides and will have a slight stickiness once fully mixed.
- Transfer the dough onto the countertop and knead a few times with a light dusting of flour to achieve a smoother consistency. Place the dough into a clean metal bowl, cover with plastic wrap, and allow it to rise for roughly 6-8 hours. At this juncture, the dough should have expanded to at least double its original volume.
- When the dough has doubled in size (following roughly 6-8 hours), proceed to the "stretch and fold" stage. This technique is responsible for the dough's excellent rise. To perform the "stretch and fold", lift the dough away from the bowl's sides using your fingers. Grasp one side of the dough with both hands, pull it upward, and then fold it underneath the remaining dough. Re-cover the dough with plastic wrap and allow it to rest on the counter for 30-60 minutes between each session. A 60-minute interval between each stretch and fold is advised. Repeat this sequence four times total, rotating the bowl each time to ensure every side is stretched and folded.