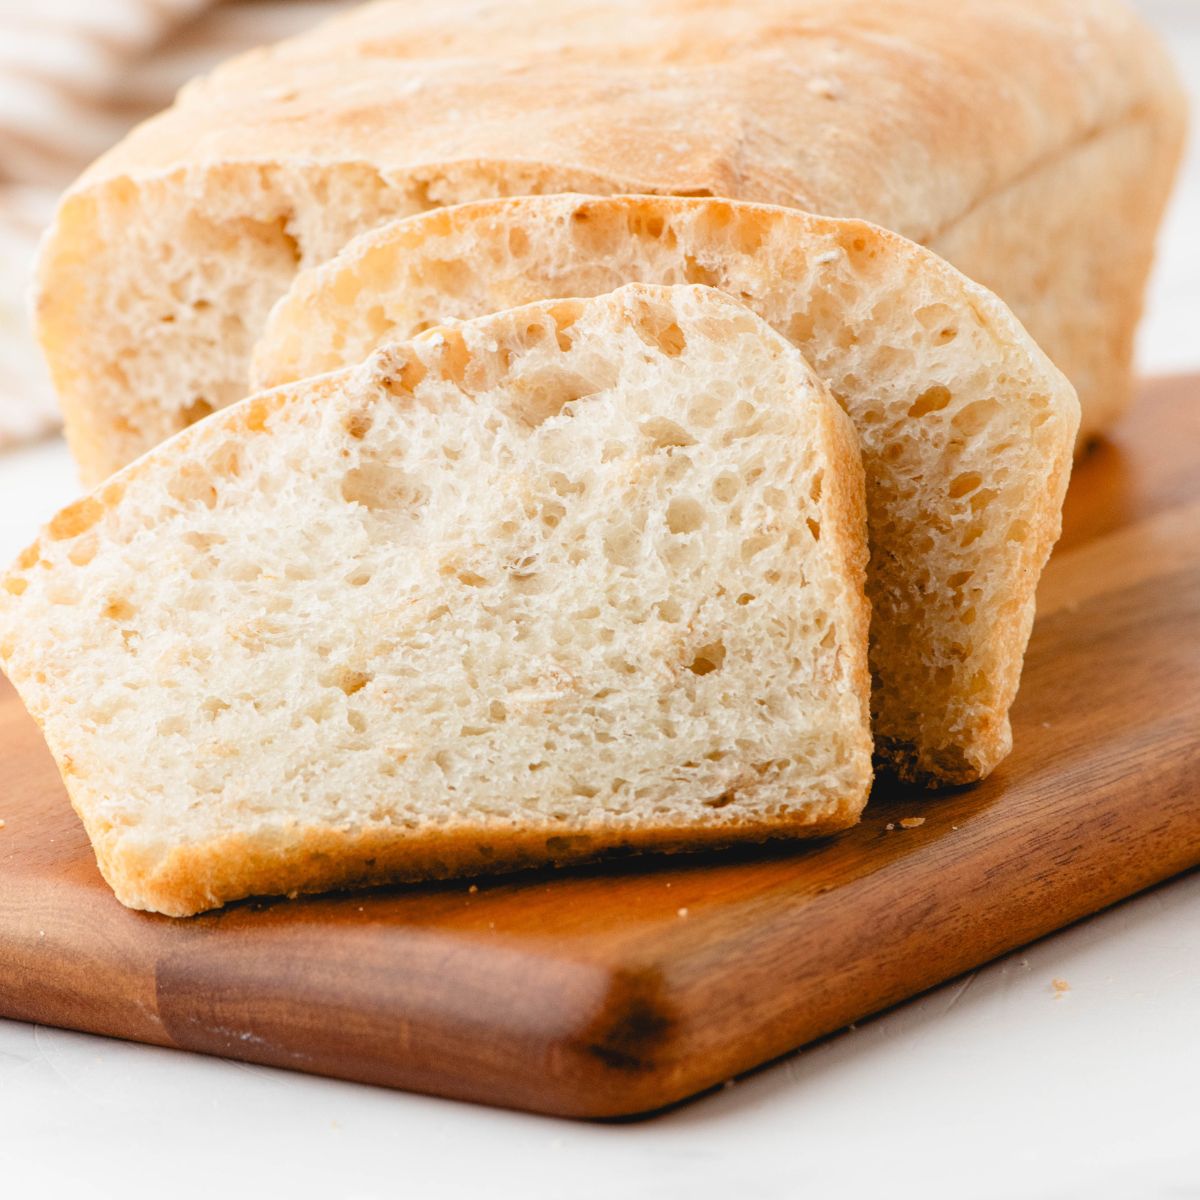
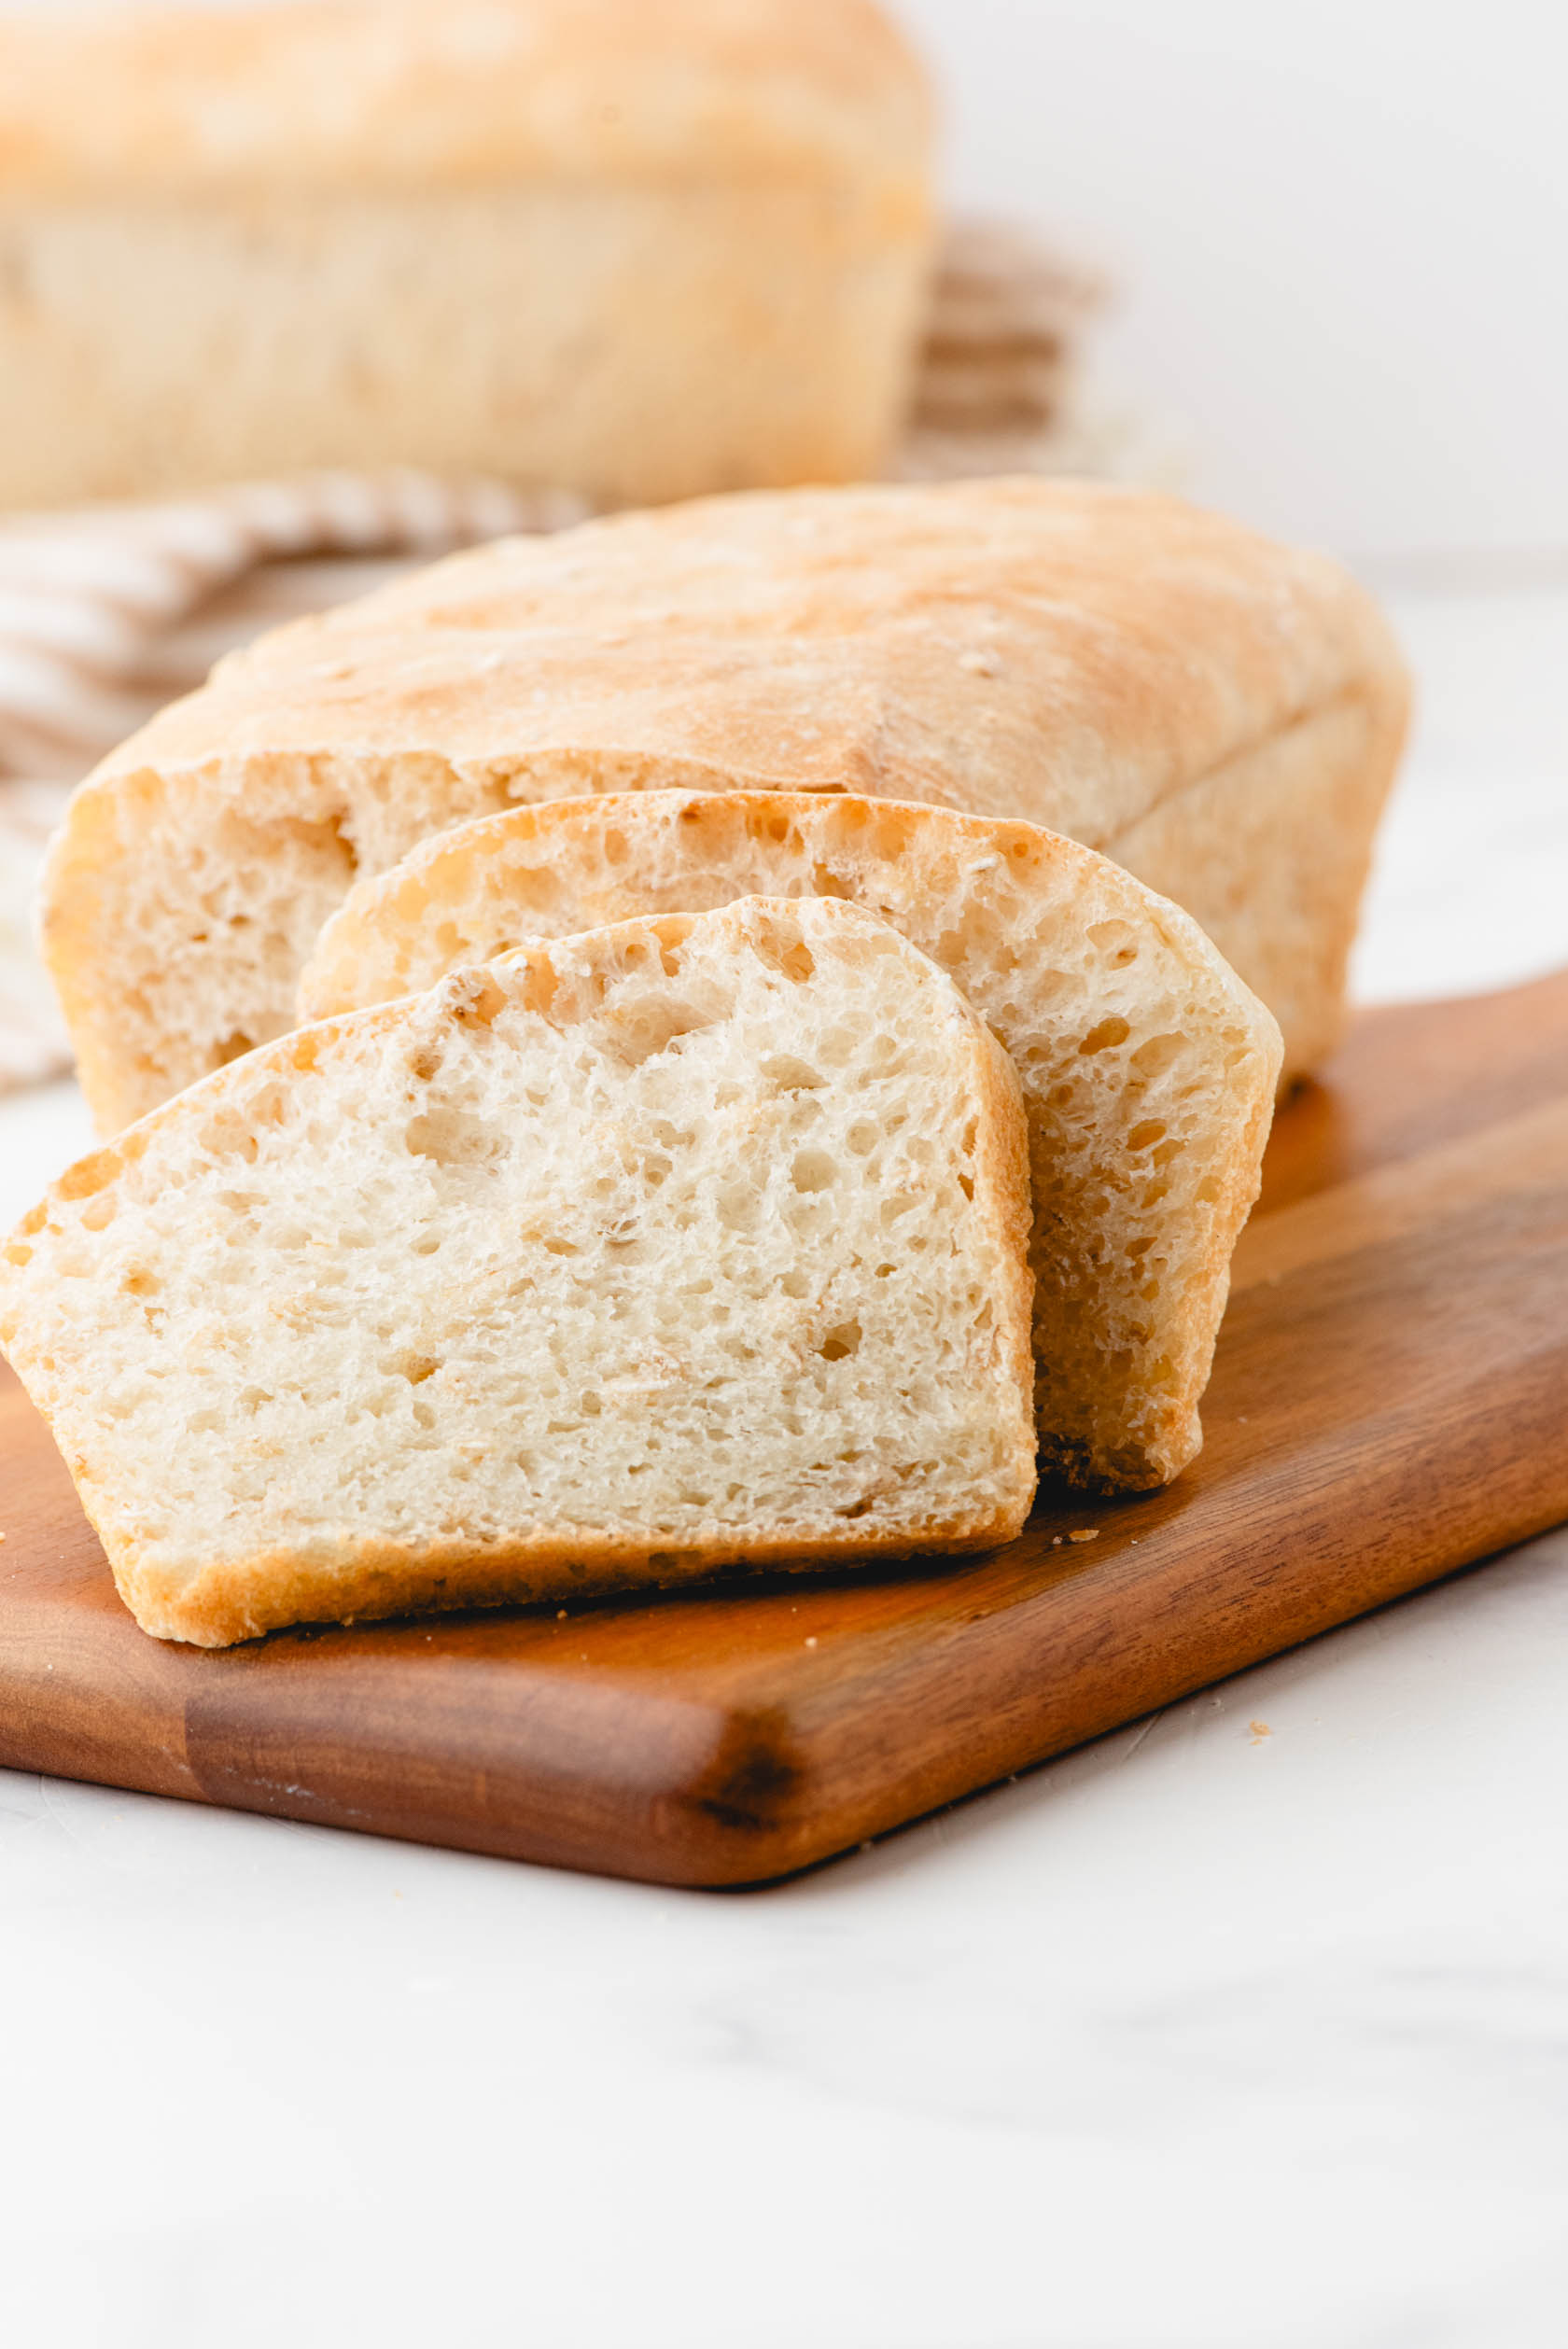
Turn your sourdough discard into a delightful honey oat loaf that’s quick to mix in the morning and ready to enjoy by dinnertime. Golden on the outside and tender on the inside, it’s a great choice for sandwiches or a quick peanut butter and jam snack.
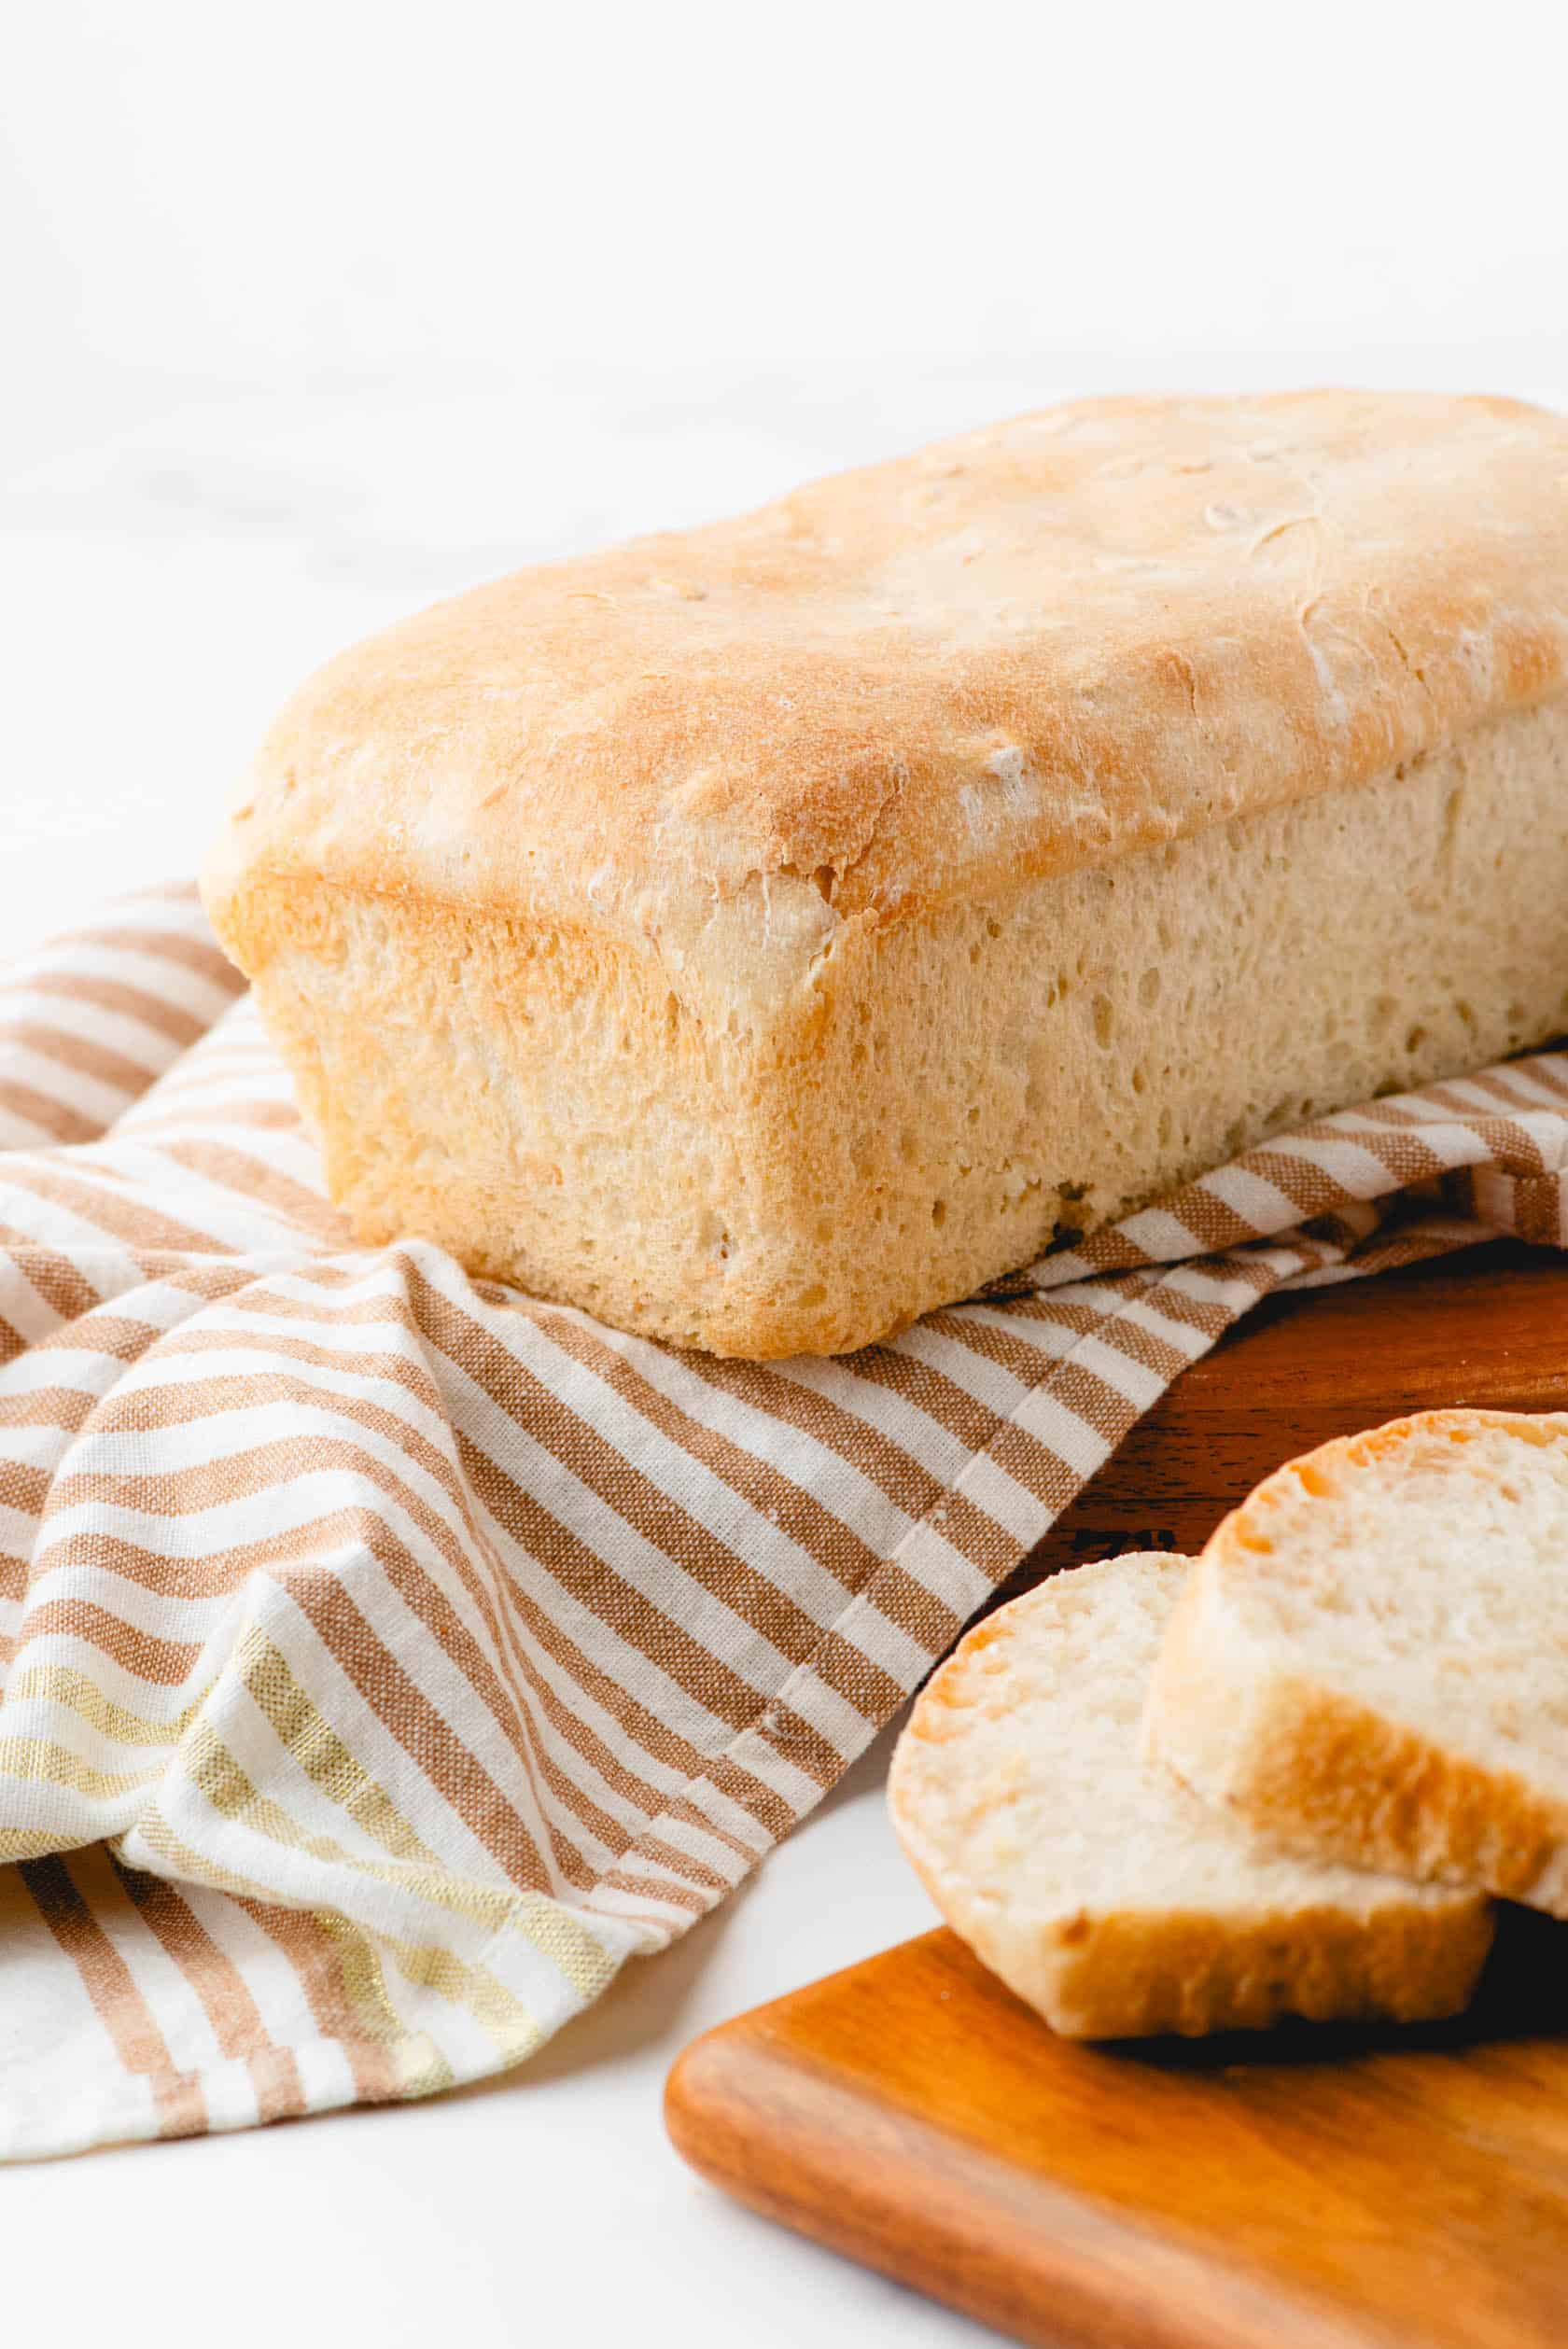
A few months ago I started my sourdough journey. Honestly, I didn’t think I’d last more than a few weeks of baking bread, but I surprised myself and I’m still loving it!!
I bake a batch of Dutch oven sourdough every week, and every other week I bake this sandwich bread. It’s so delicious, and my husband loves to take it in his lunches.
Why You’ll Love This Recipe
It’s quick to mix in the stand mixer in the morning! With a dough hook on an electric mixer, this sandwich bread comes together quickly and easily.
It’s ready to bake the same day! This isn’t a long-ferment sourdough recipe. You mix it in the morning, and it’s risen and ready to bake before dinnertime!
Honey oat sourdough has great texture and tastes amazing! With the honey and oats, this soft, tender sandwich bread is absolutely delicious.
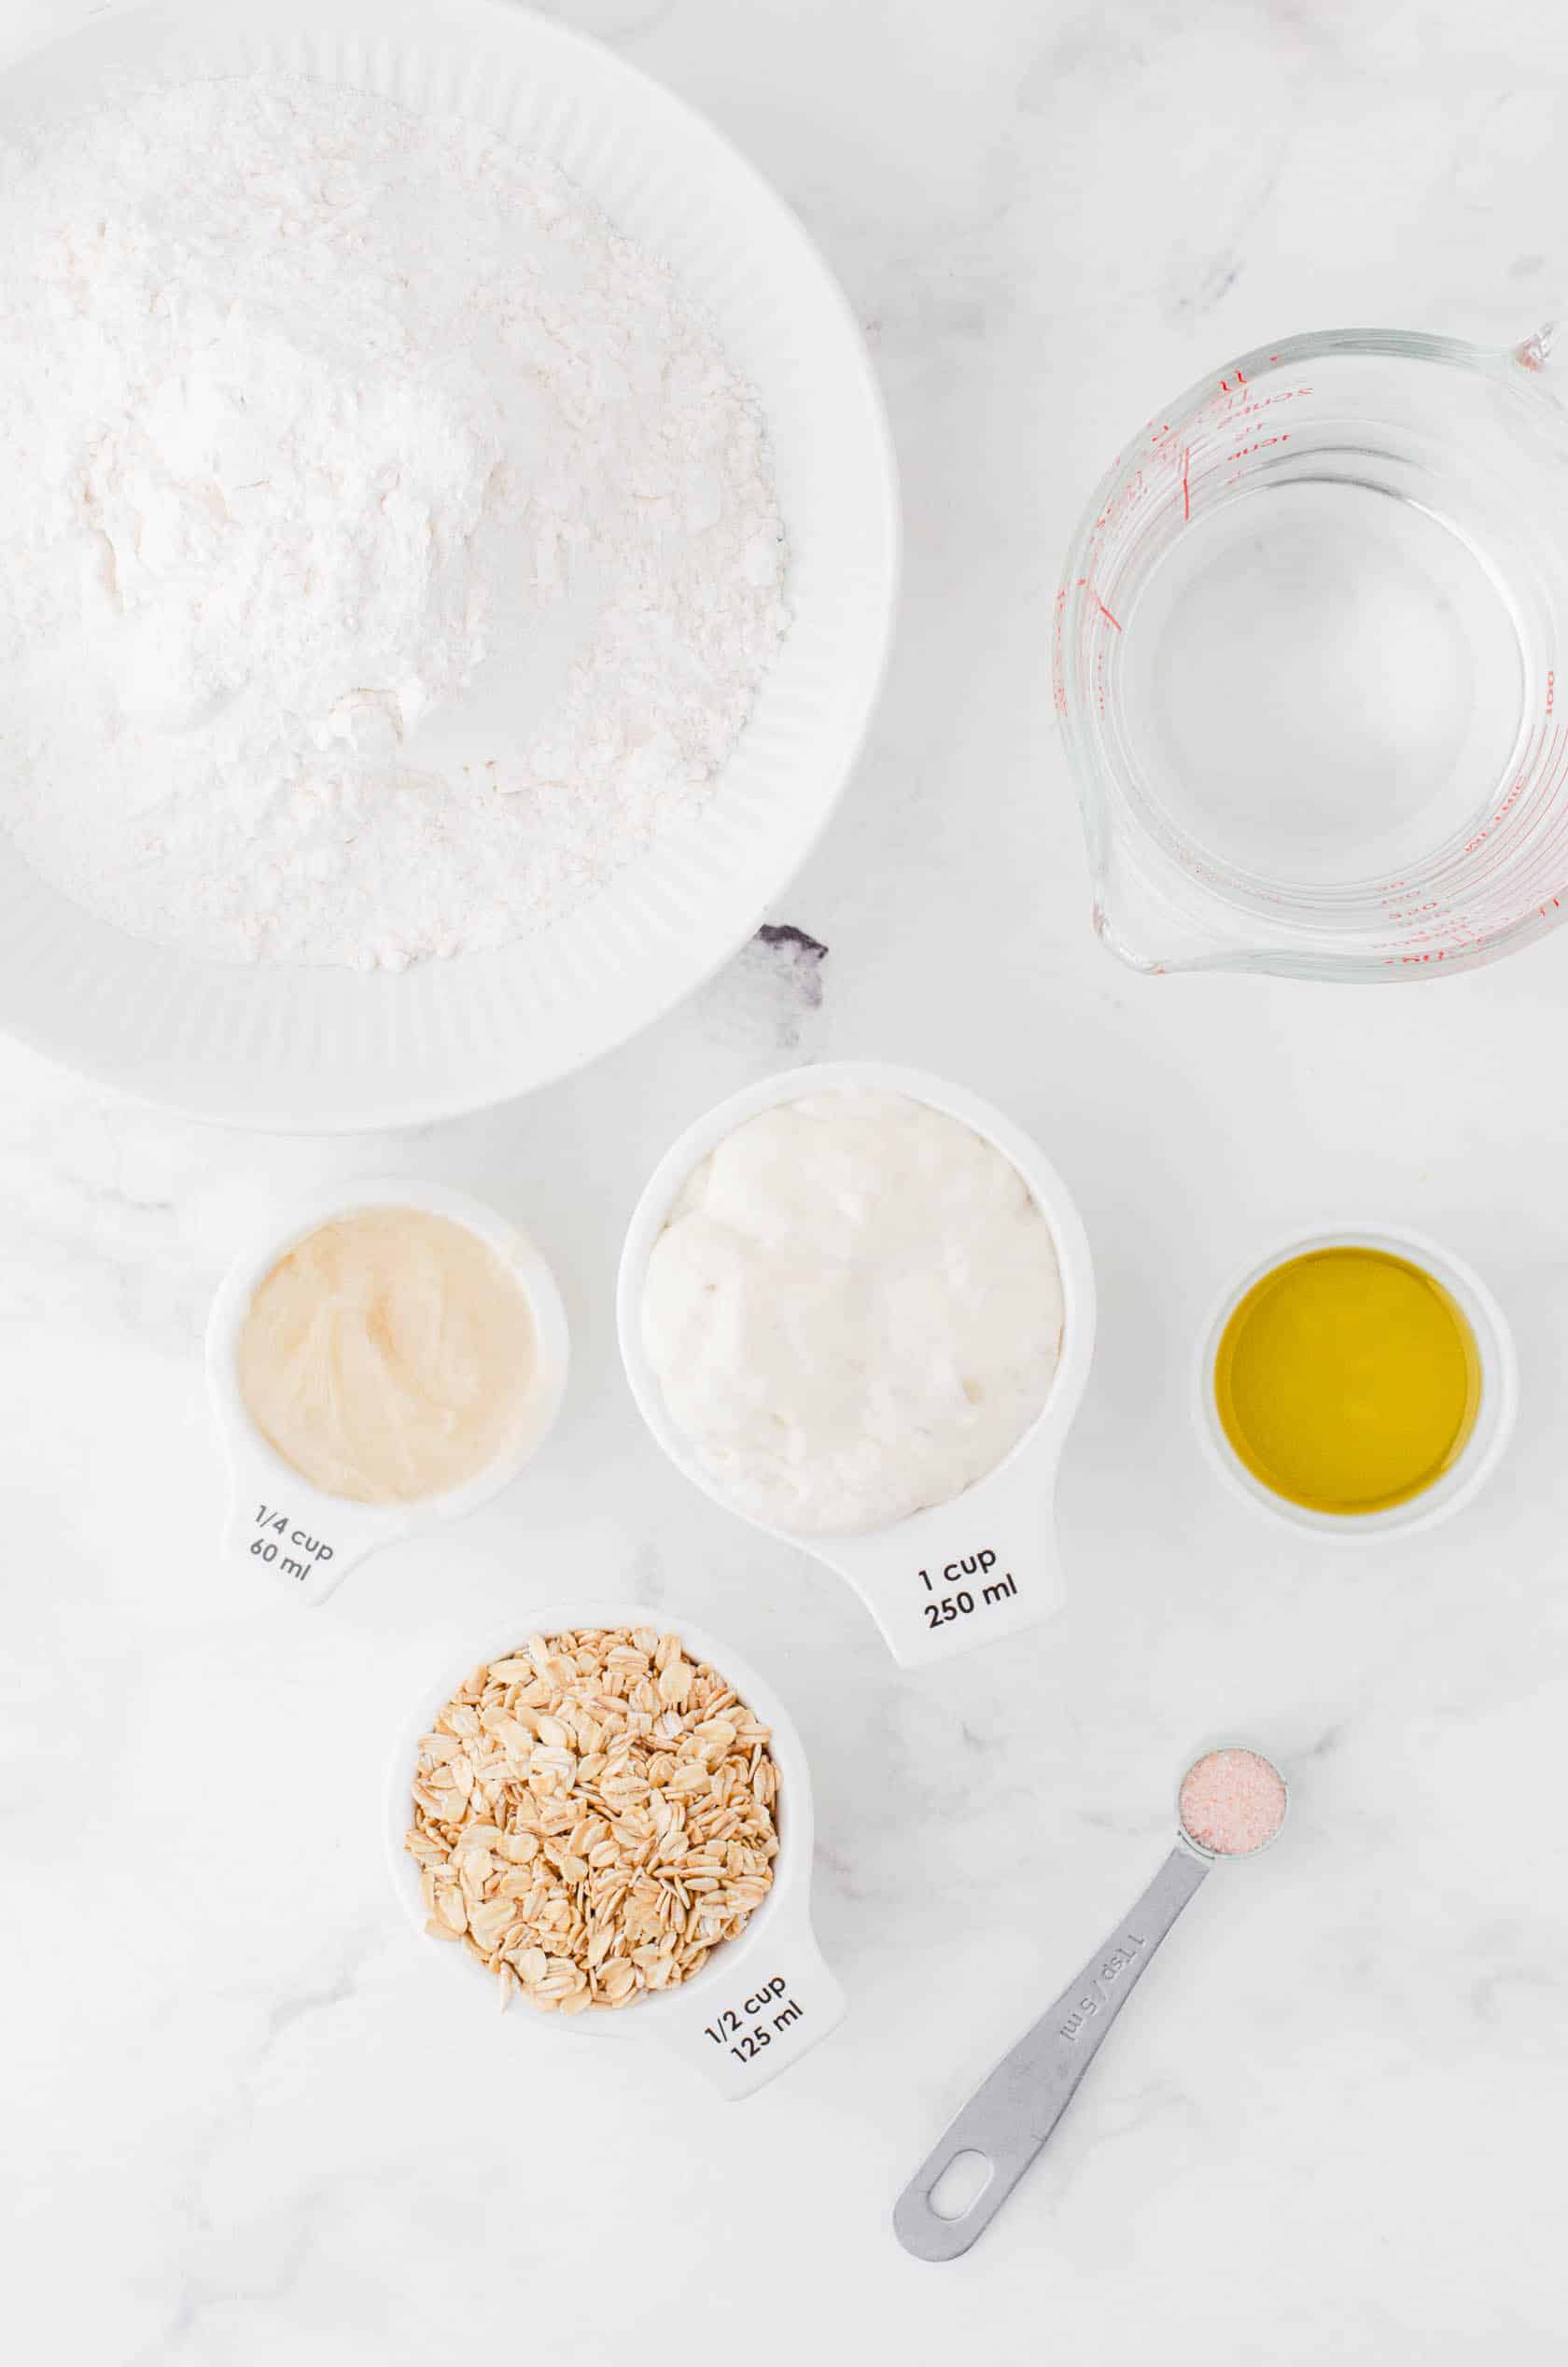
Ingredients for Honey Oat Sourdough Sandwich Bread
(A printable recipe card is included at the bottom of this post for your convenience.)
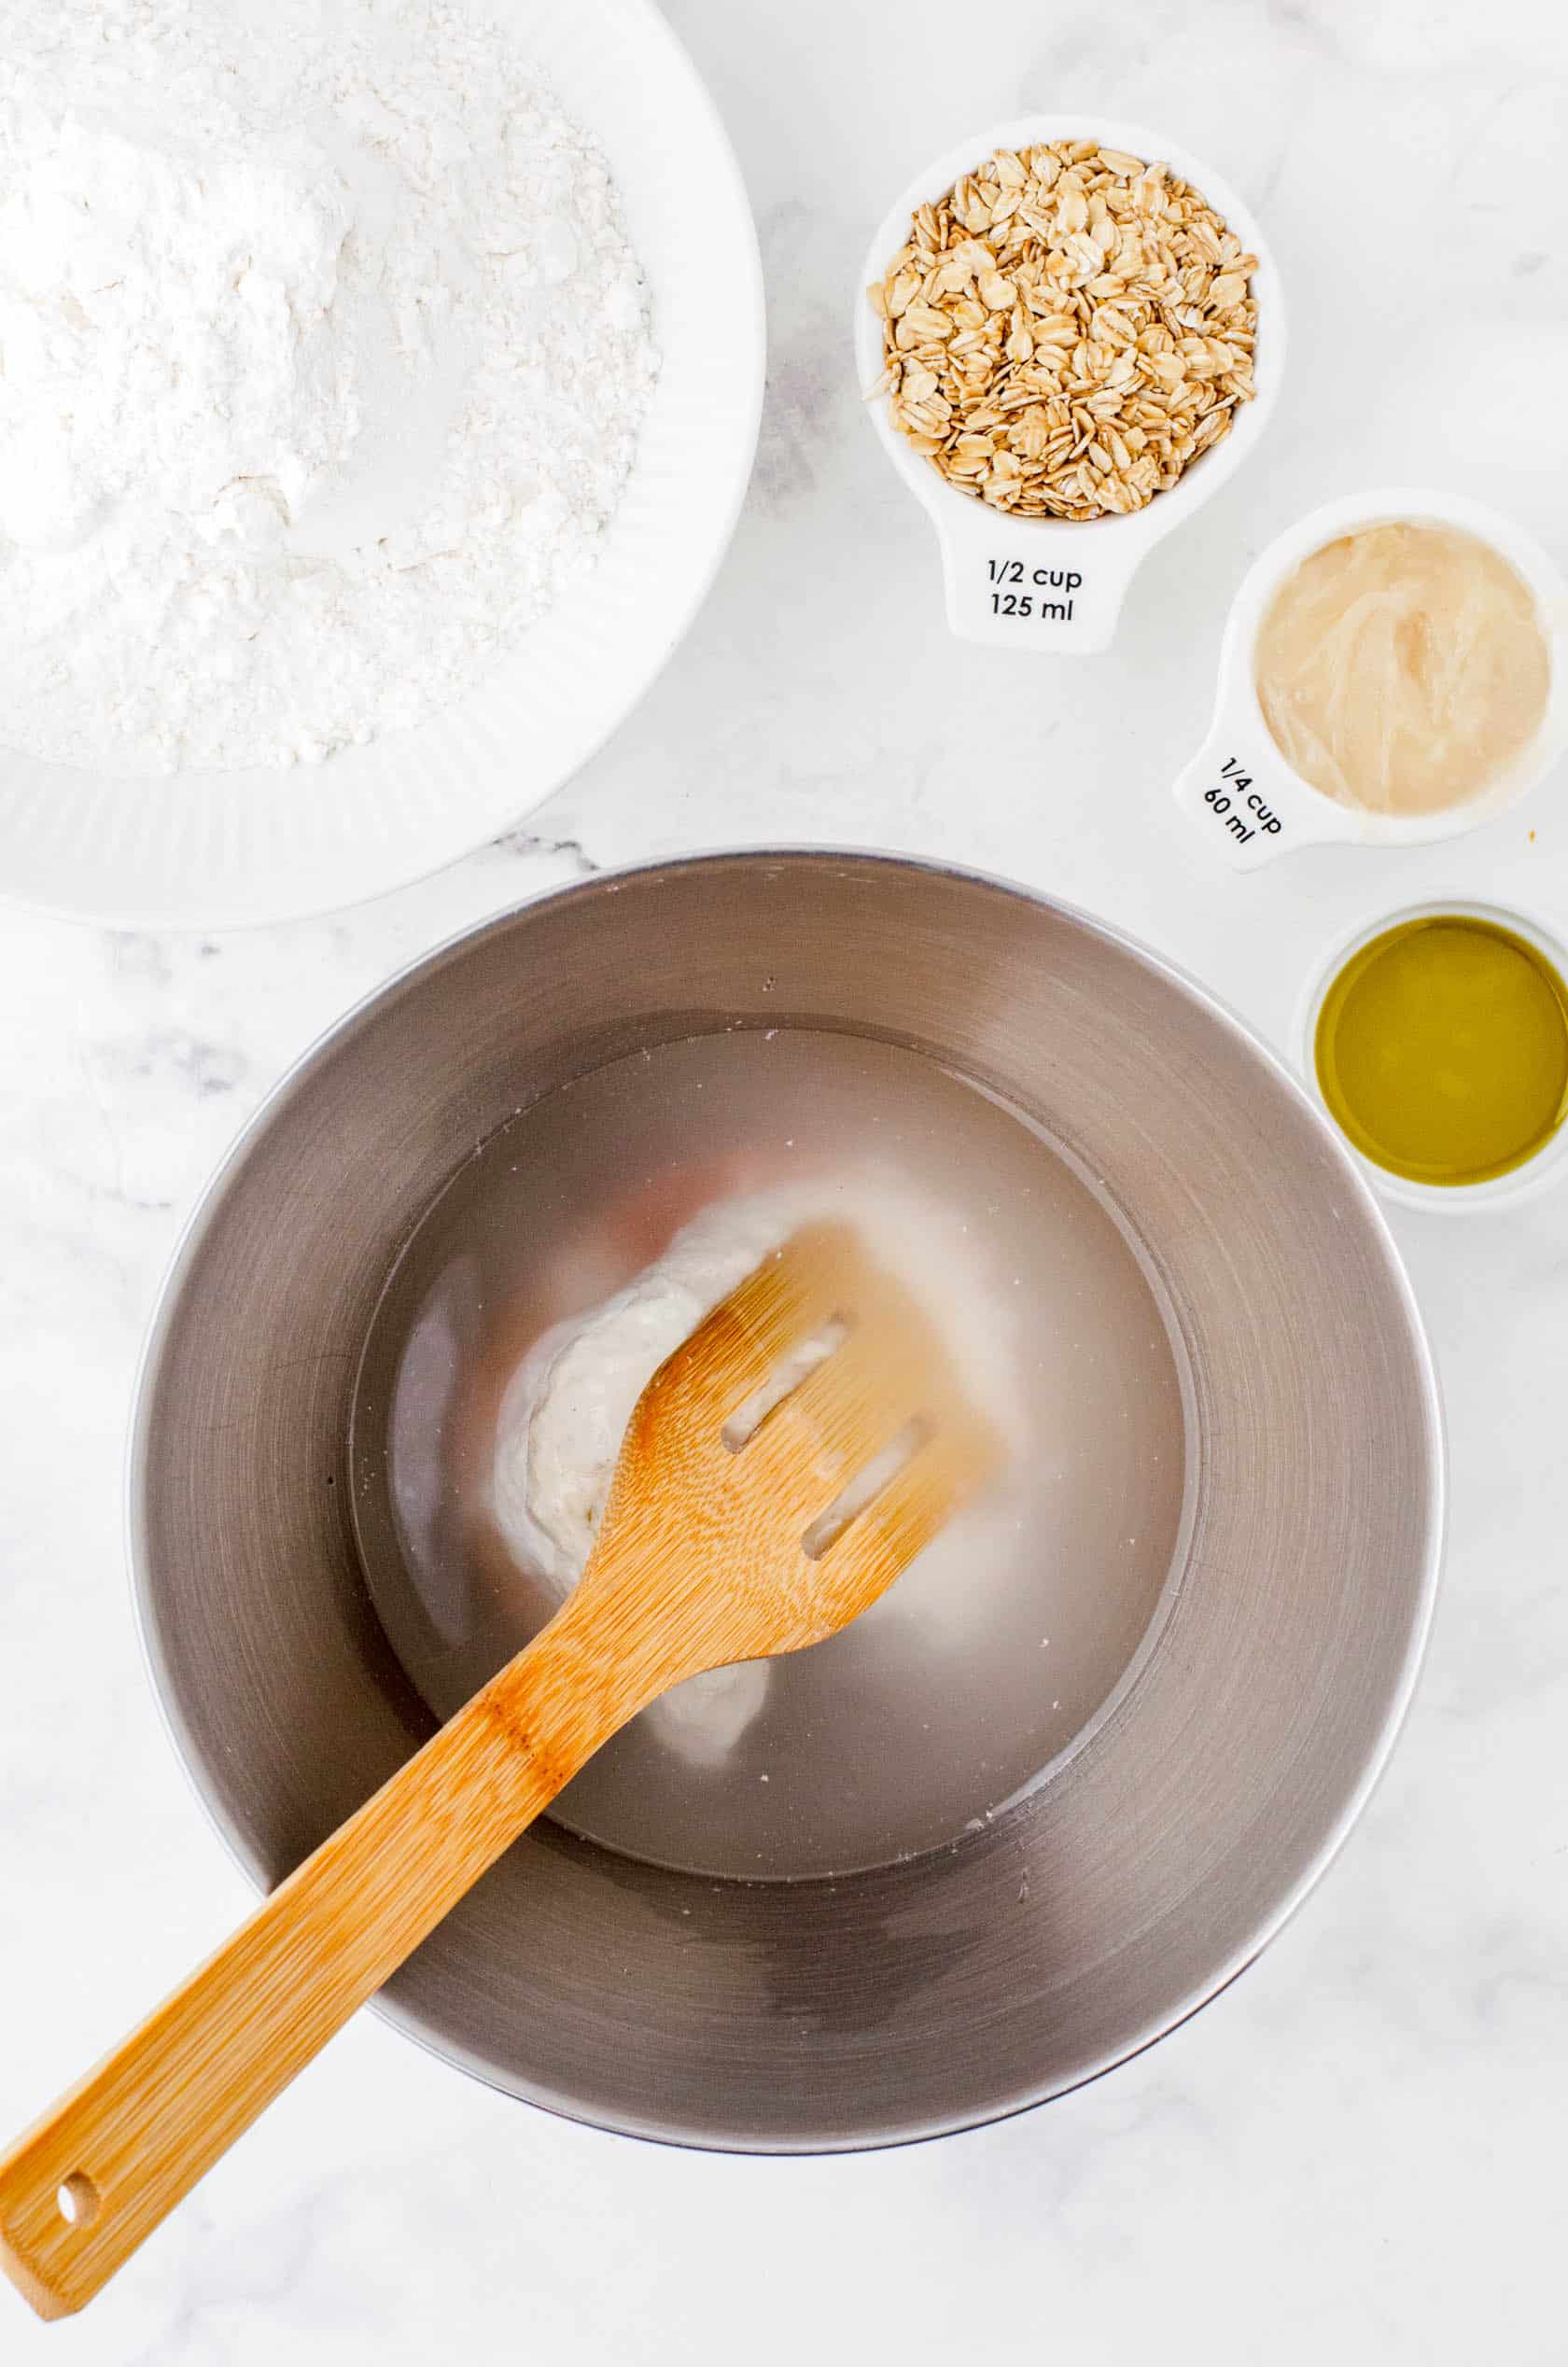
- 1 cup sourdough starter (fed the night before)
- 1 1/2 cups cold water
- 1 teaspoon salt
- 3 1/2 cups flour
- 1/2 cup old-fashioned rolled oats
- 1/4 cup honey
- 2 tablespoons olive oil
Step-by-Step Instructions for Honey Oat Sourdough Bread
- Prepare two bread pans by buttering the insides well.
- In the bowl of your electric mixer, whisk the starter, water, and salt with a sturdy whisk (a Danish whisk works the BEST!) or a spoon until smooth.
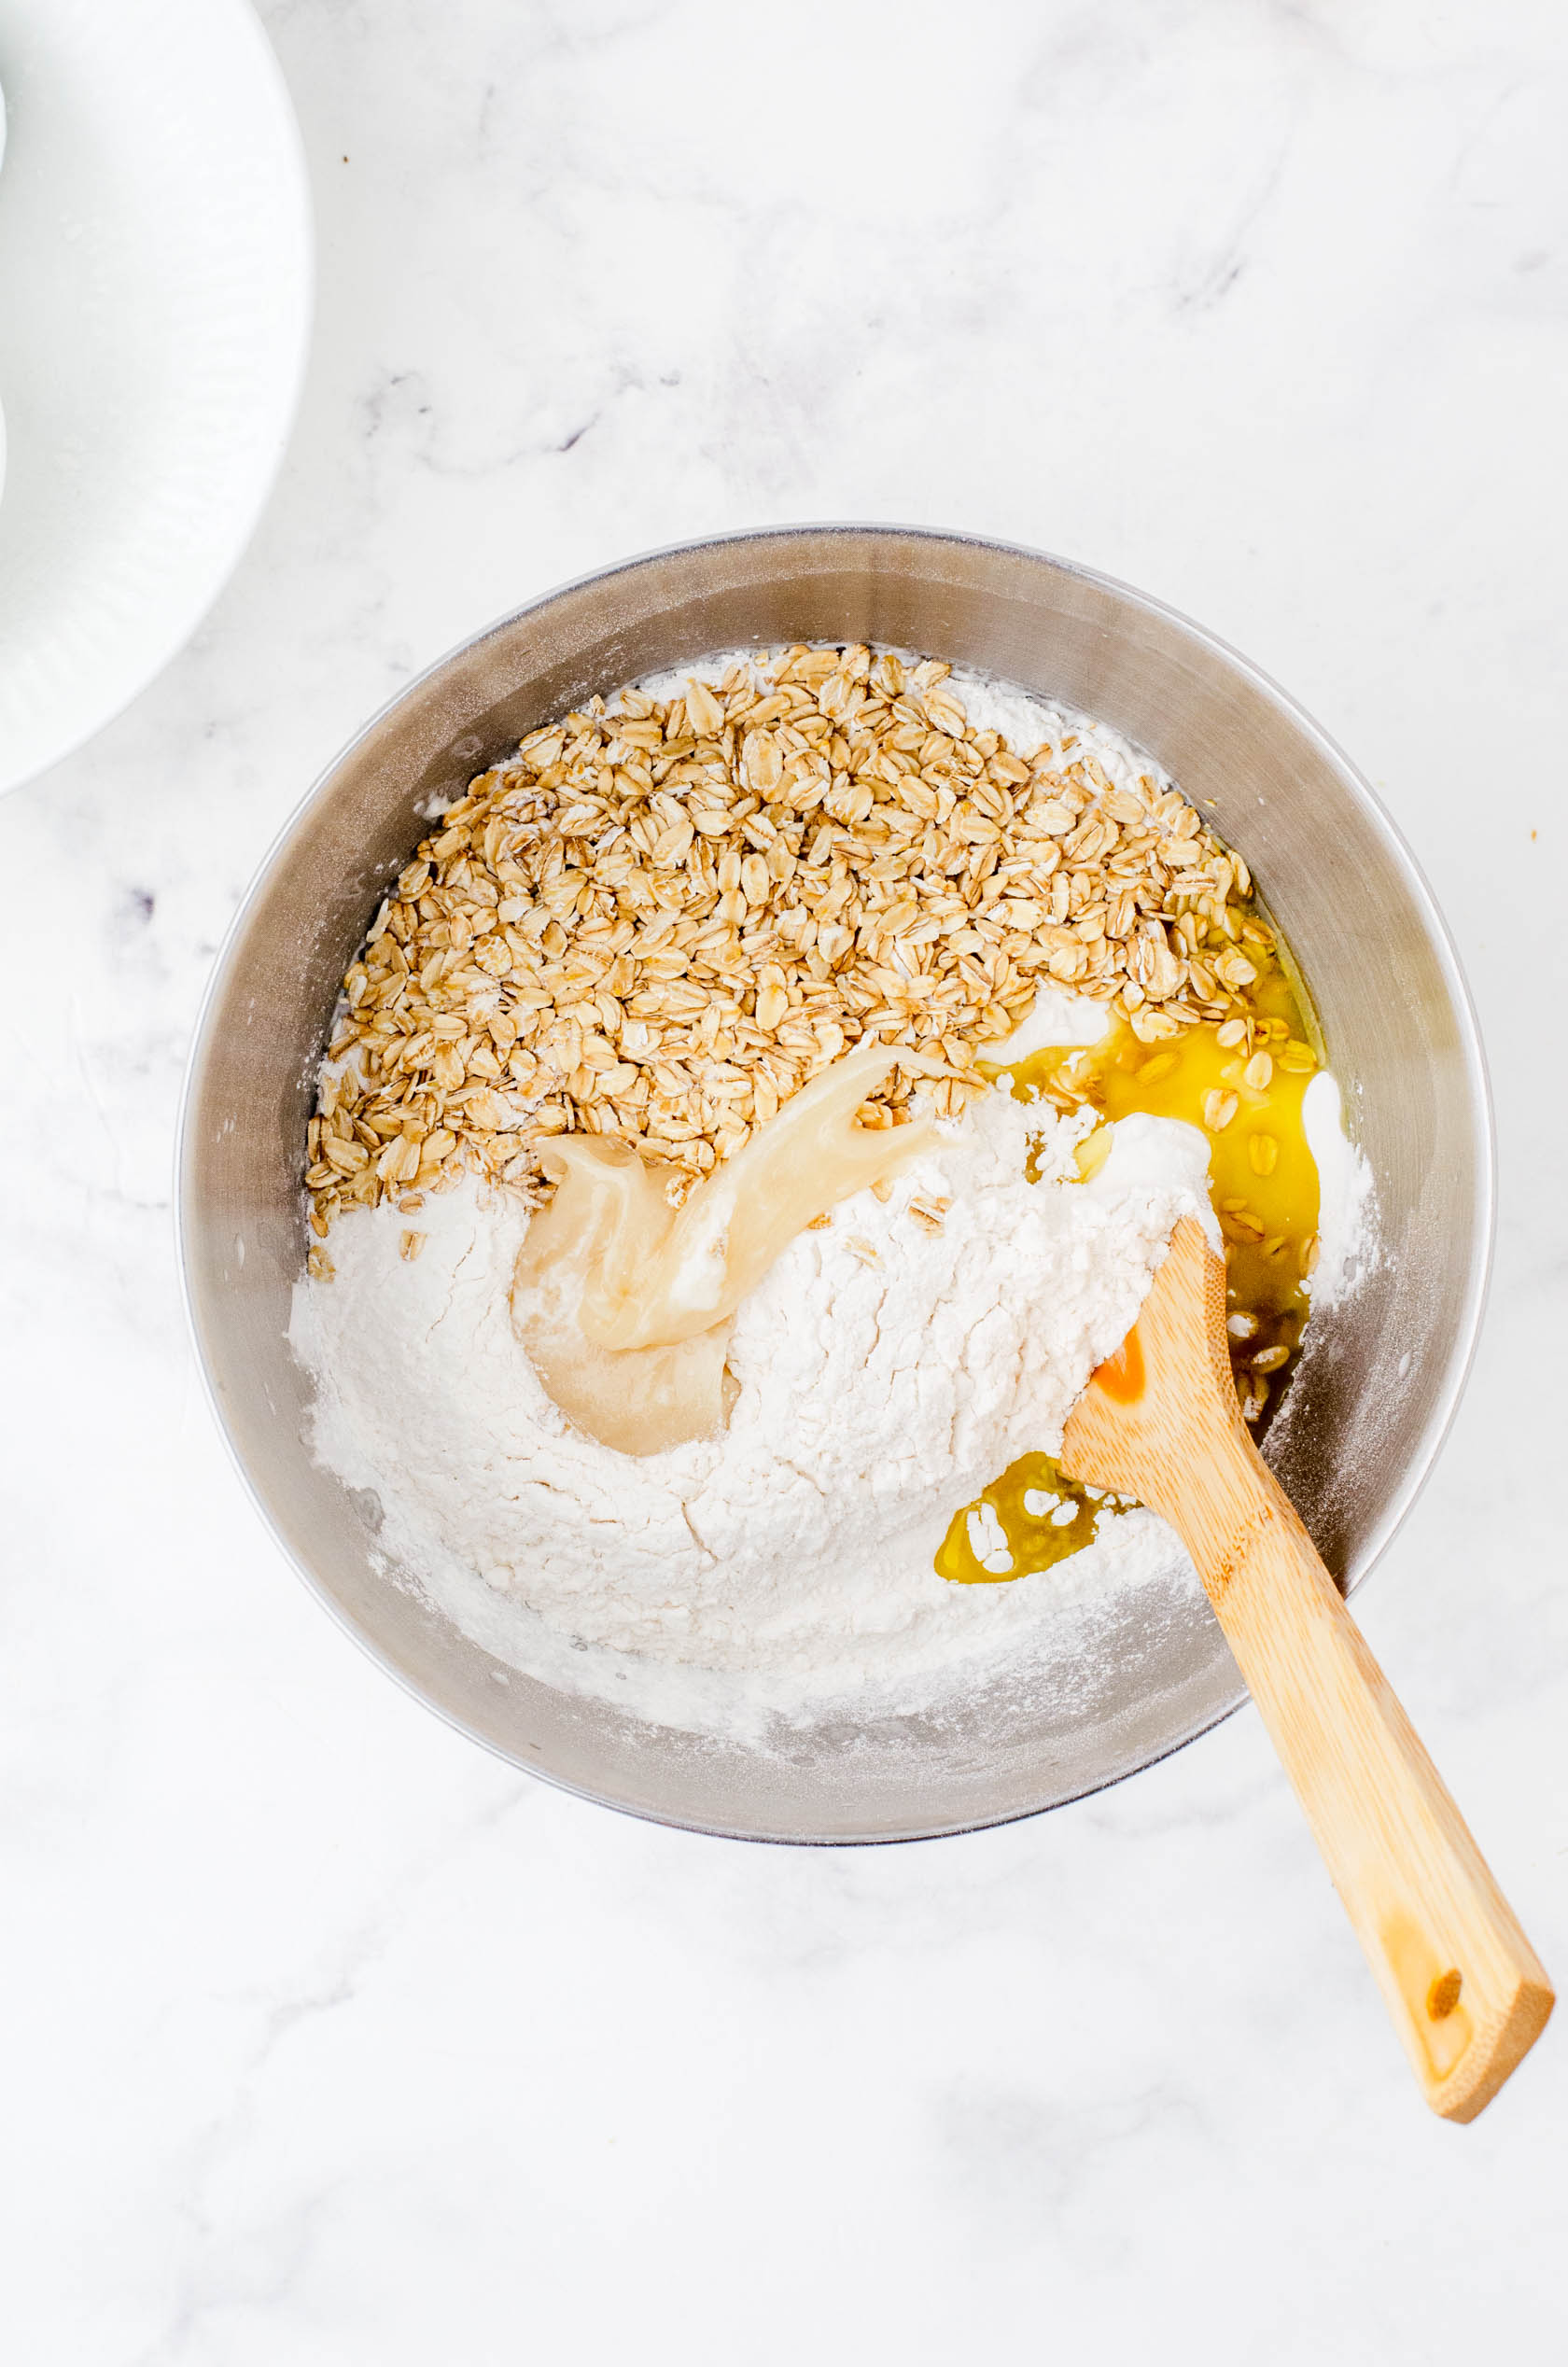
- Add the rest of the ingredients and, using the dough hook of your electric mixer, mix until the dough pulls away from the sides. Keep mixing for a few more minutes.

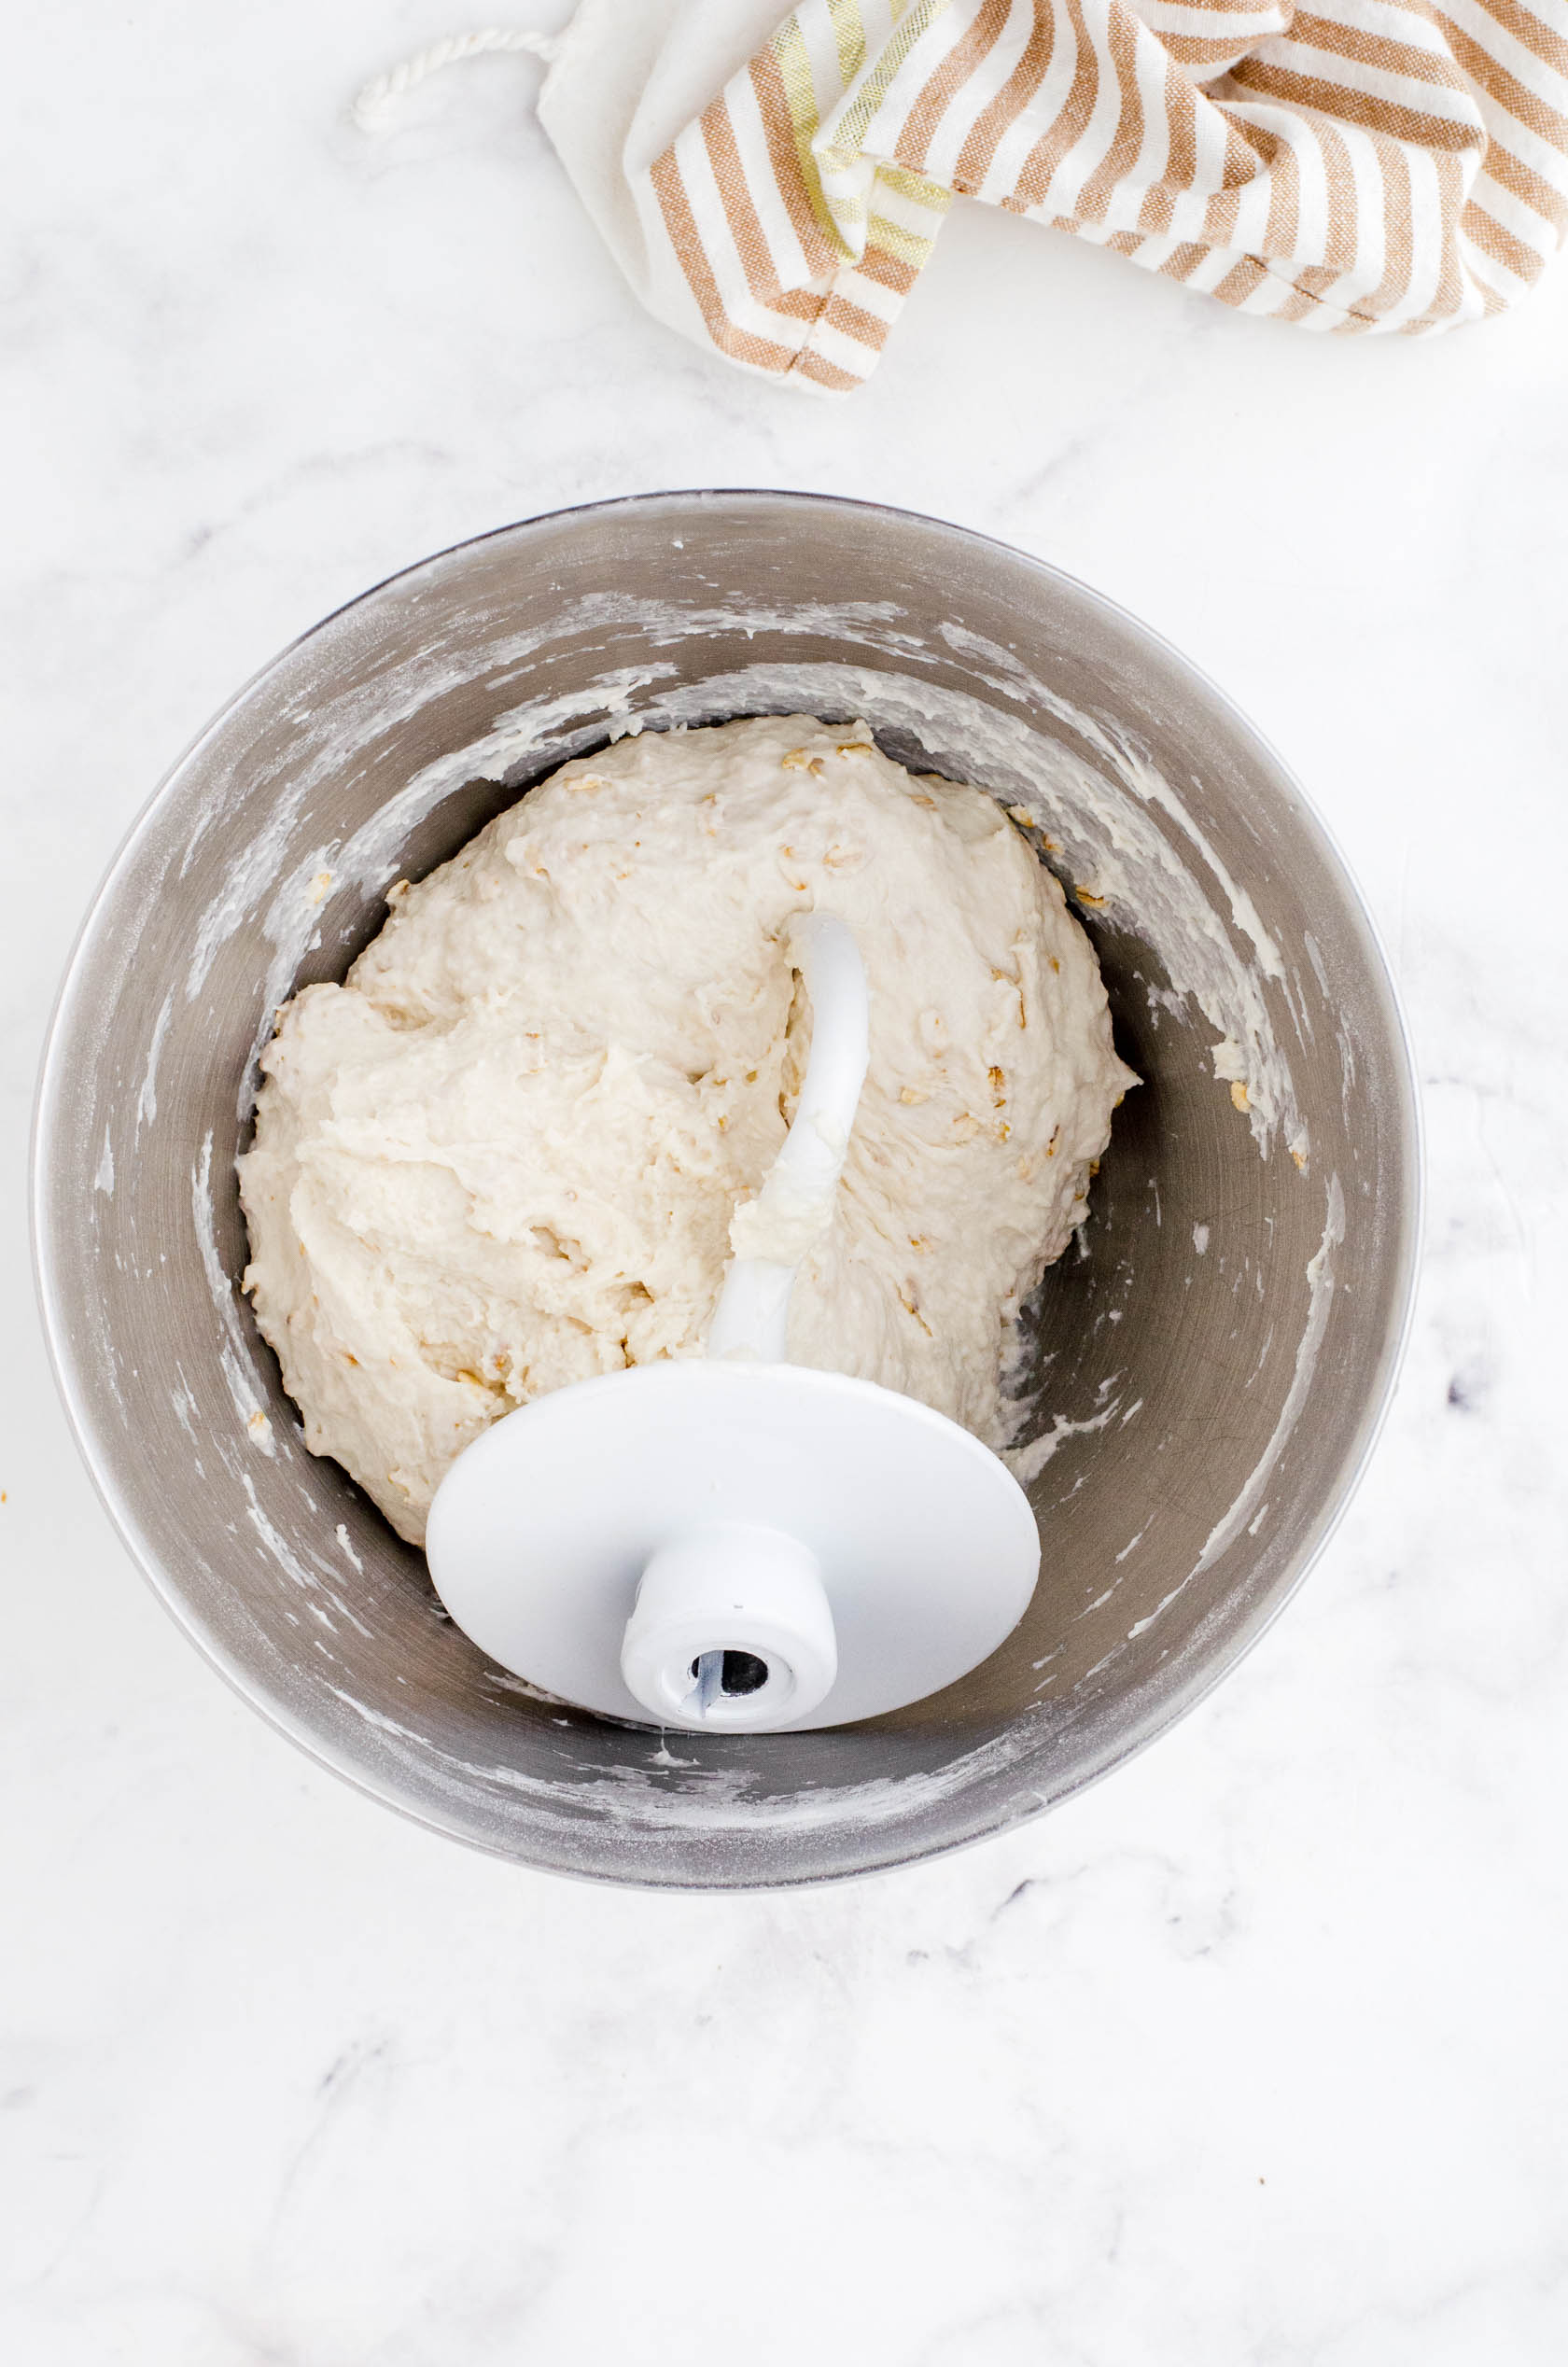
- Lightly flour your counter, turn the dough out, and knead it a few times until it’s smooth and elastic but not overly sticky.
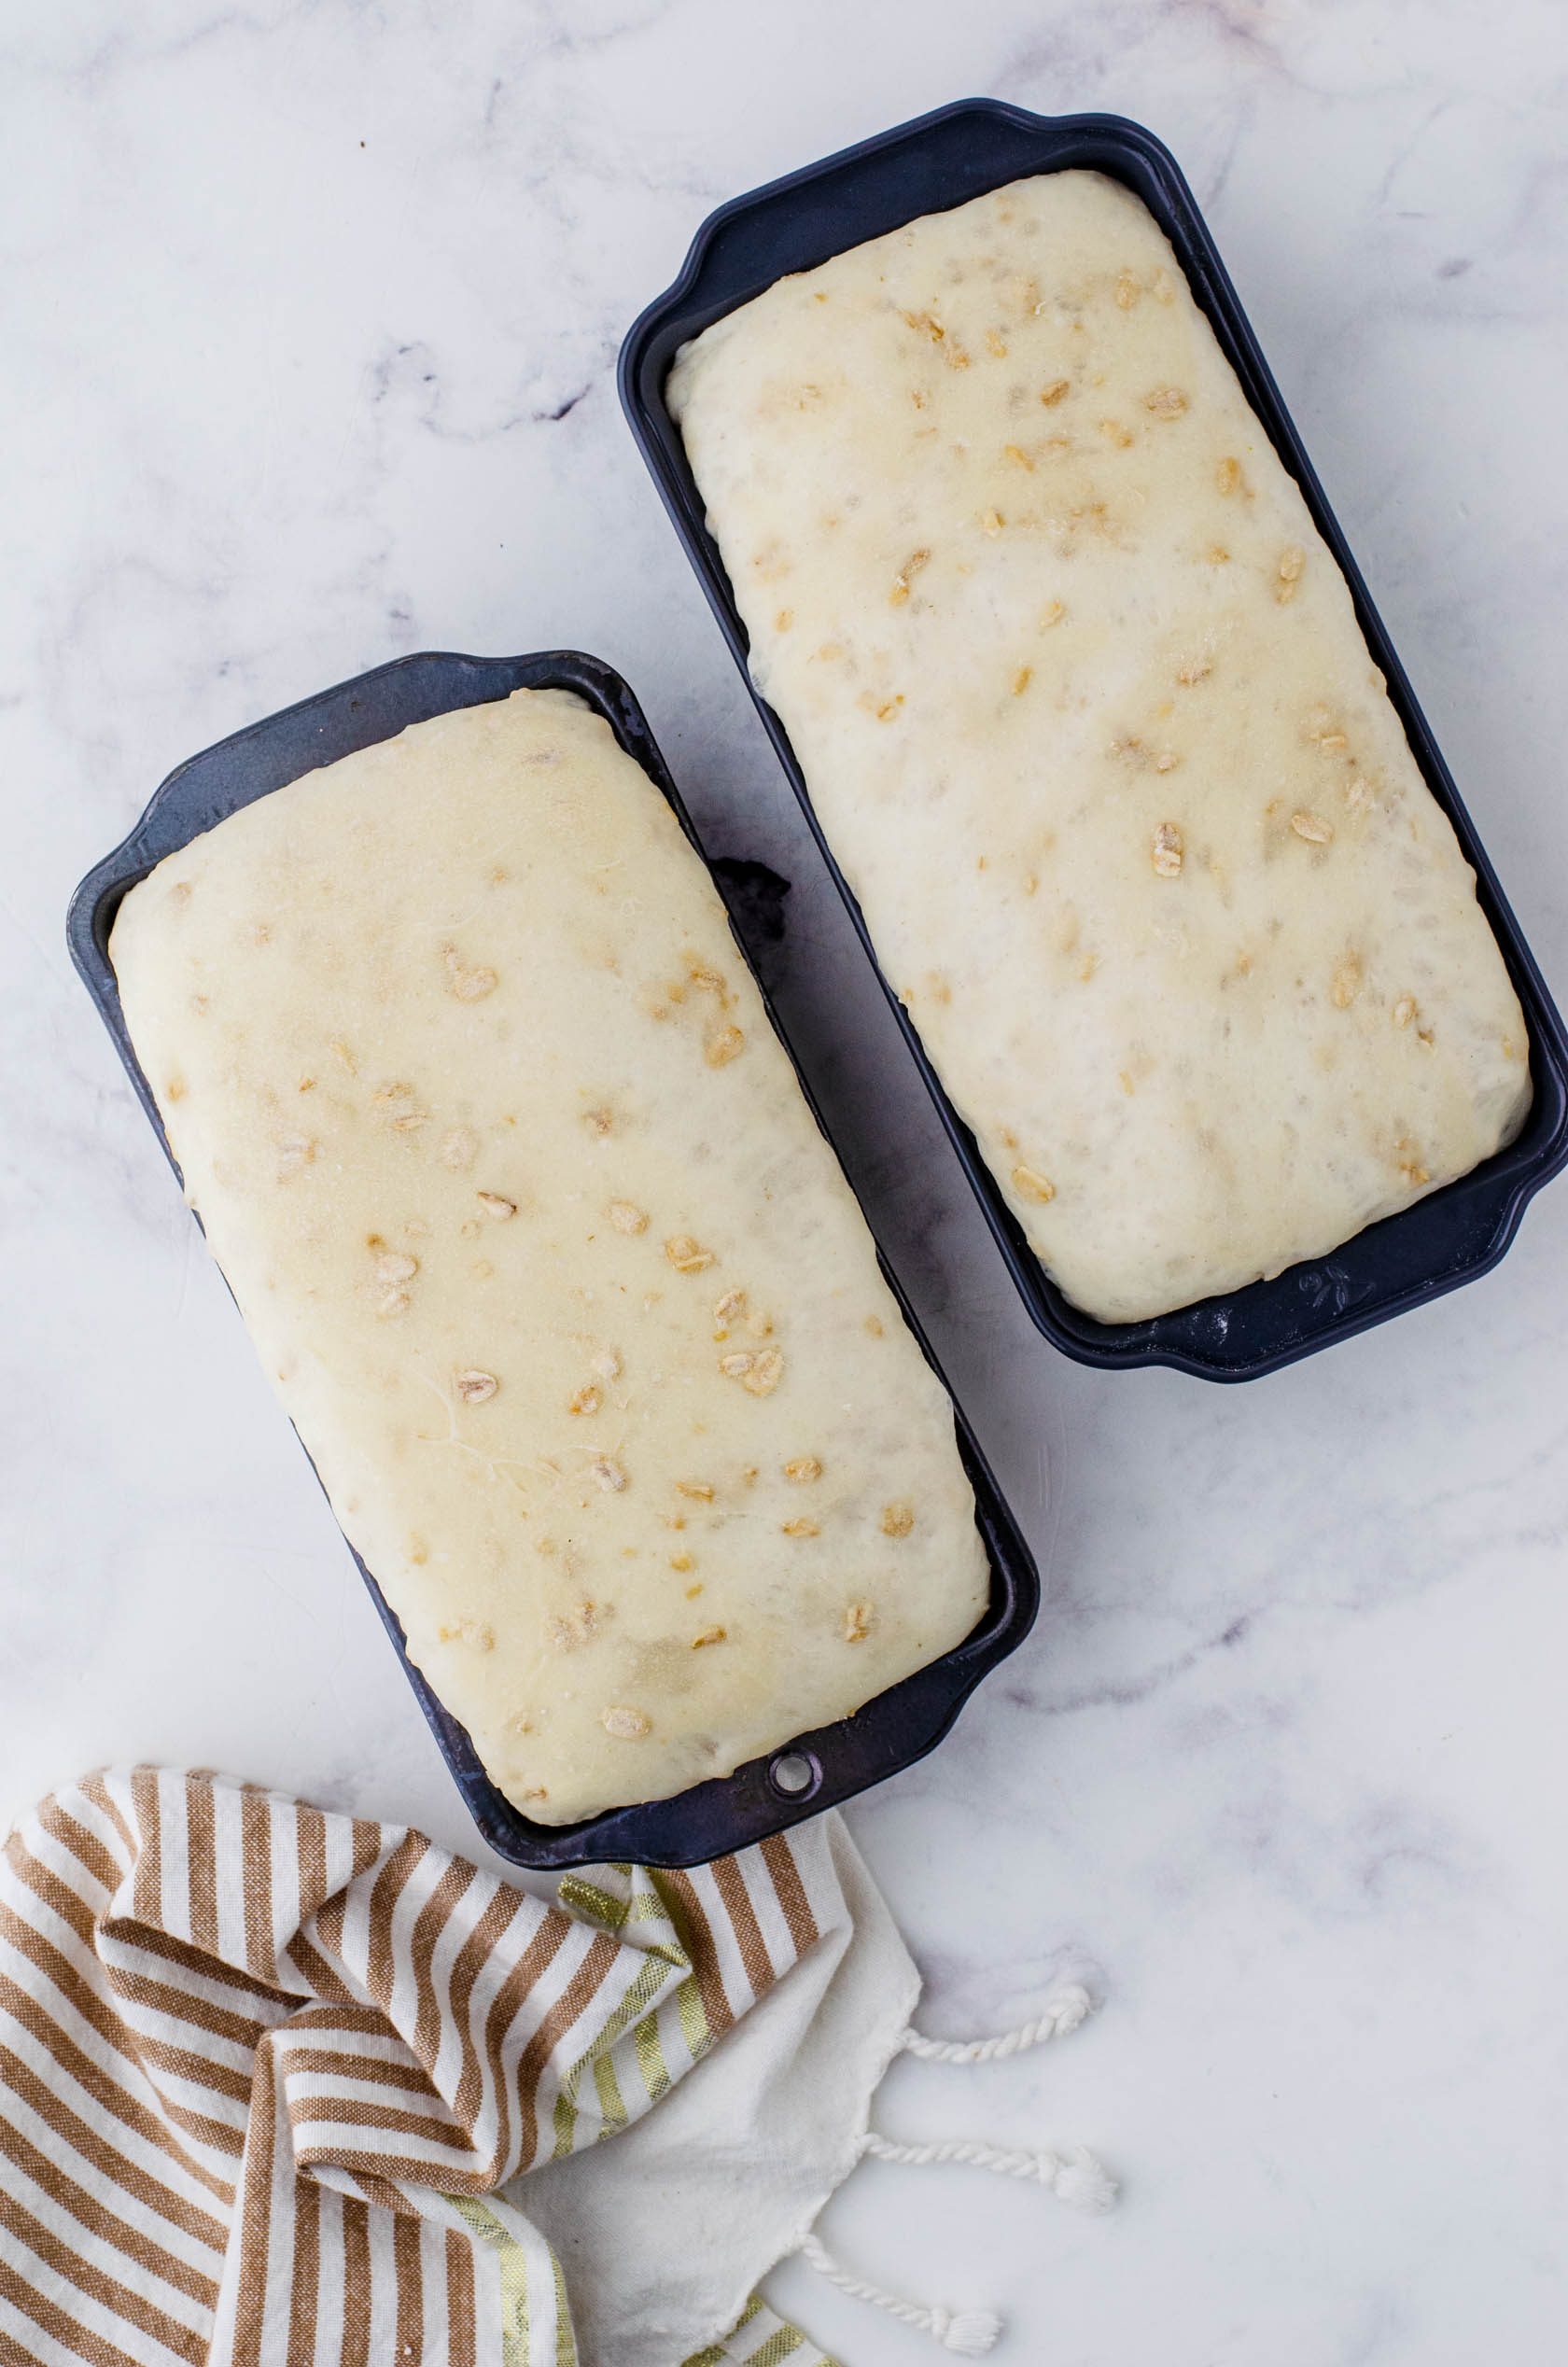
- Divide the dough into 2 portions, shape each into a loaf, and place in the prepared pans. Cover with a tea towel and let rise in a draft-free spot until at least doubled (about 8 hours).
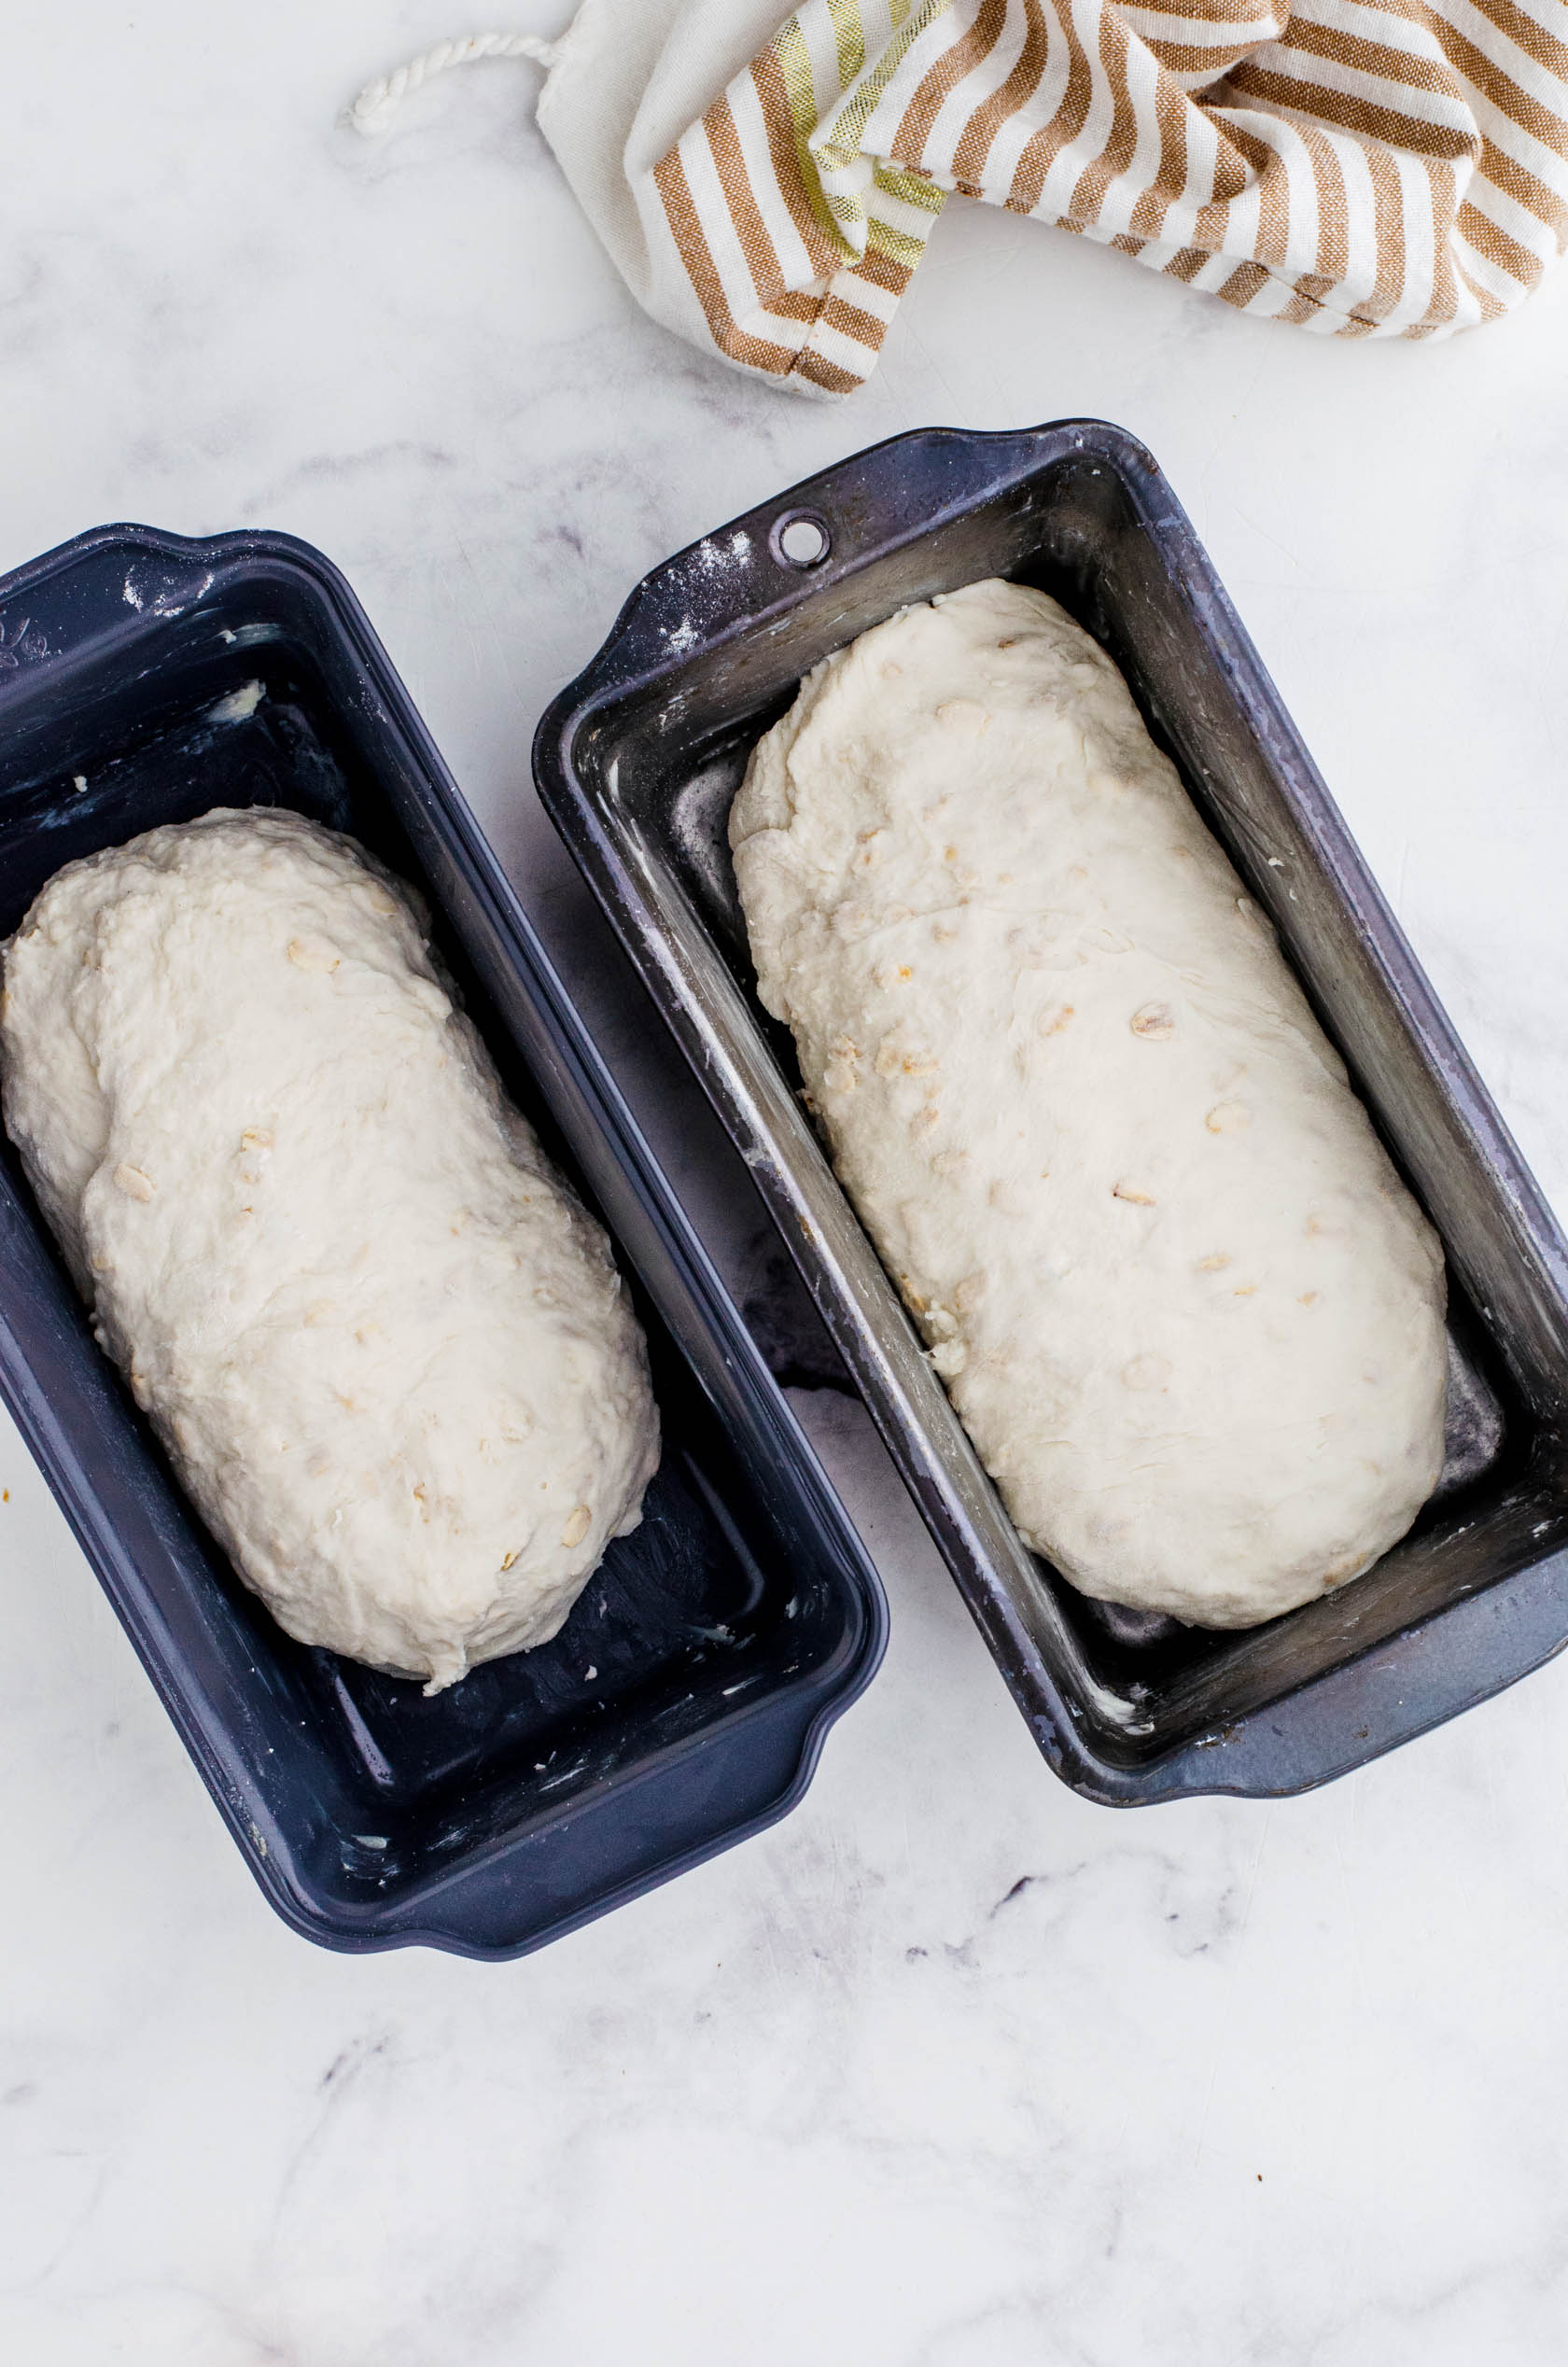
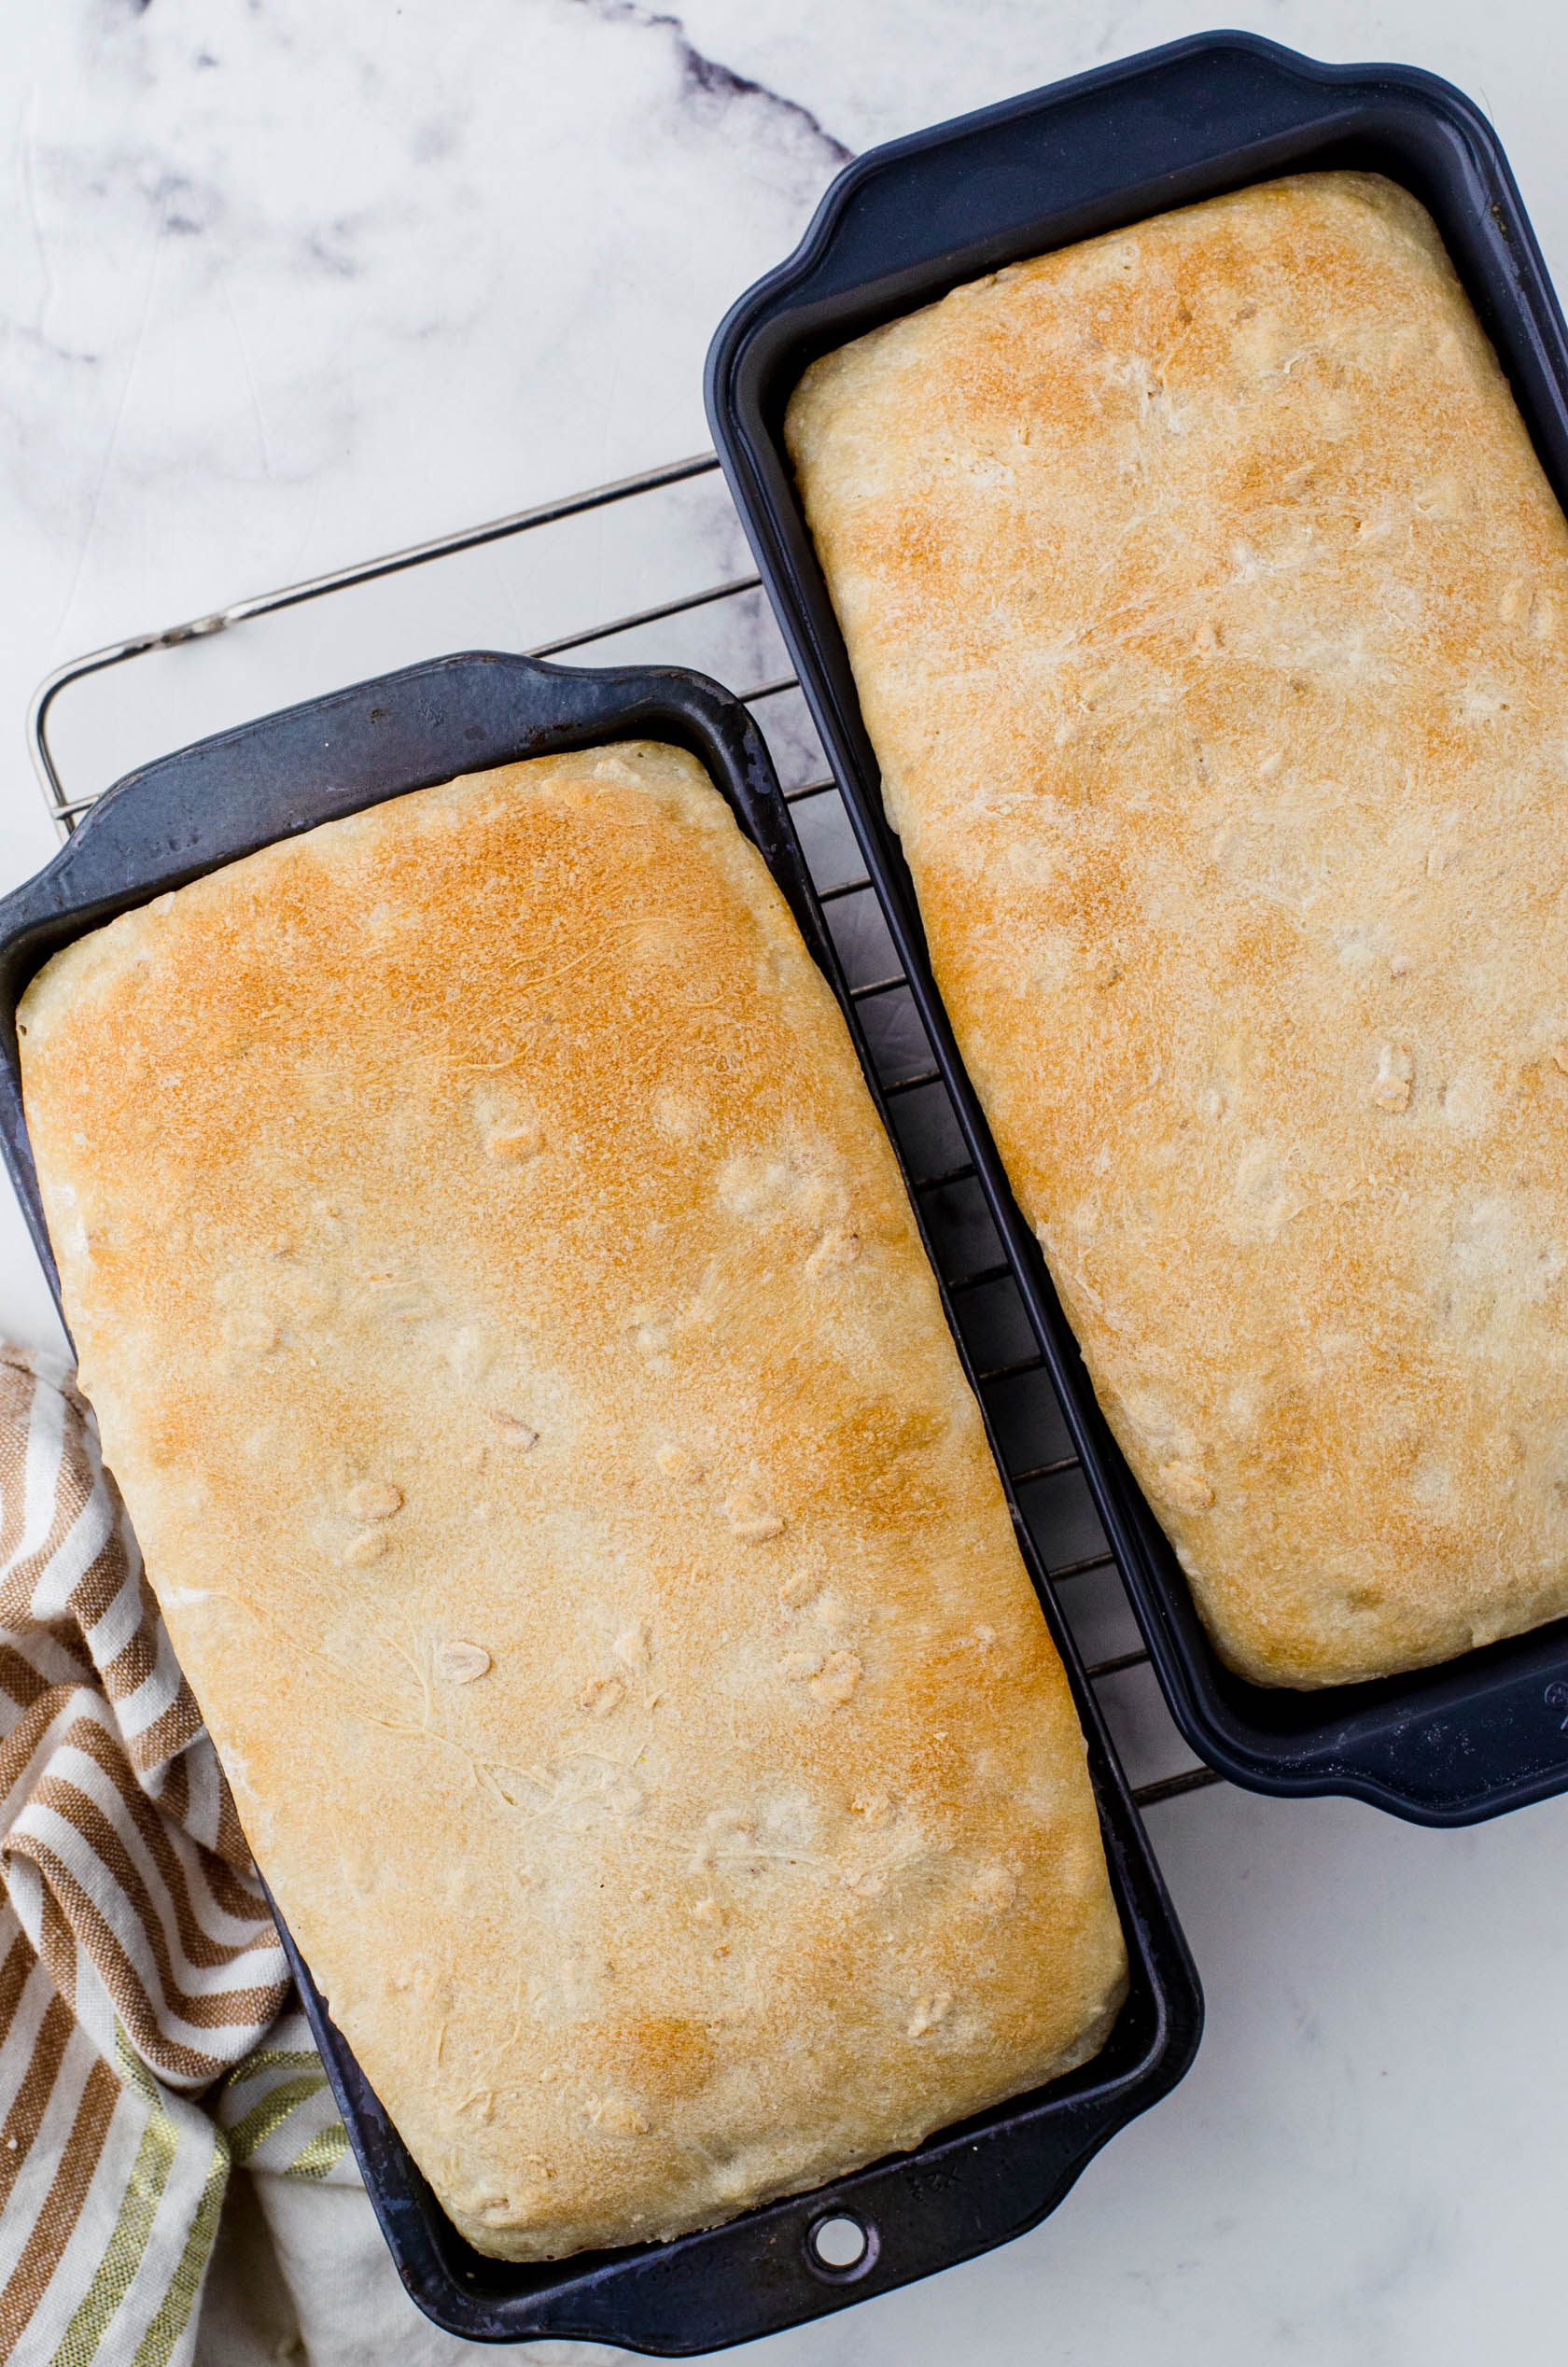
- Bake the risen loaves in a preheated oven at 350 degrees for 20 to 25 minutes, or until golden brown on top. Remove from the pans right away and let cool on a wire rack before slicing.
Other Sourdough Recipes
- Learn the basics of baking sourdough in a Dutch oven
- Yummy sourdough rhubarb muffins (You can substitute any fruit for the rhubarb.)
- Little Spoon Farm discard brownies (These chocolate brownies taste amazing!!)
Tools Used for This Recipe
Disclosure: The following are affiliate links for your shopping convenience.
When I baked and photographed this sourdough bread, I didn’t have a Danish whisk yet. I recently bought one, and IT IS SO WORTH IT!! Get yourself a Danish whisk. Your sourdough baking days will be even more delightful with it.;)
(Don’t forget to check out my Amazon storefront for some of my favorite kitchen tools!)

For more recipes, crafts, and ideas for your home all year round, become a VIP!
Become a VIP newsletter subscriber and get instant access to the library of free printables (including wall art, gift tags, and more!). Click here or the button below to join today.

Honey Oat Sourdough Sandwich Bread Recipe
Turn your sourdough discard into a delightful honey oat loaf that’s quick to mix in the morning and ready to enjoy by dinnertime. Golden on the outside and tender on the inside, it’s a great choice for sandwiches or a quick peanut butter and jam snack.
Ingredients
Method
- Prepare two bread pans by buttering the insides well.
- In the bowl of your electric mixer, whisk the starter, water, and salt with a sturdy whisk (a Danish whisk works the BEST!) or a spoon until smooth.
- Add the rest of the ingredients and, using the dough hook of your electric mixer, mix until the dough pulls away from the sides. Keep mixing for a few more minutes.
- Lightly flour your counter, turn the dough out, and knead it a few times until it’s smooth and elastic but not overly sticky.
- Divide the dough into 2 portions, shape each into a loaf, and place in the prepared pans. Cover with a tea towel and let rise in a draft-free spot until at least doubled (about 8 hours).
- Bake the risen loaves in a preheated oven at 350 degrees for 20 to 25 minutes, or until golden brown on top. Remove from the pans right away and let cool on a wire rack before slicing.