

Add farmhouse charm and a built-in appearance by installing moulding on the Ikea Billy bookcase system.
The Ikea Billy bookshelf “built-in” wall has become my favorite transformation in our small townhouse. It solves our storage needs while providing a beautiful focal point for decor.
We assembled the system over time as the budget allowed and finished it with farmhouse-inspired touches to make it look custom. If you’re looking for a practical, attractive storage solution, this approach might work for your space too. Below are clear, step-by-step instructions to recreate this look.
How to Add Moulding to the Ikea Billy Bookcase System
Disclosure: this post mentions products for your shopping convenience.
Step One: Choose and assemble the Billy/Oxberg units that fit your space.
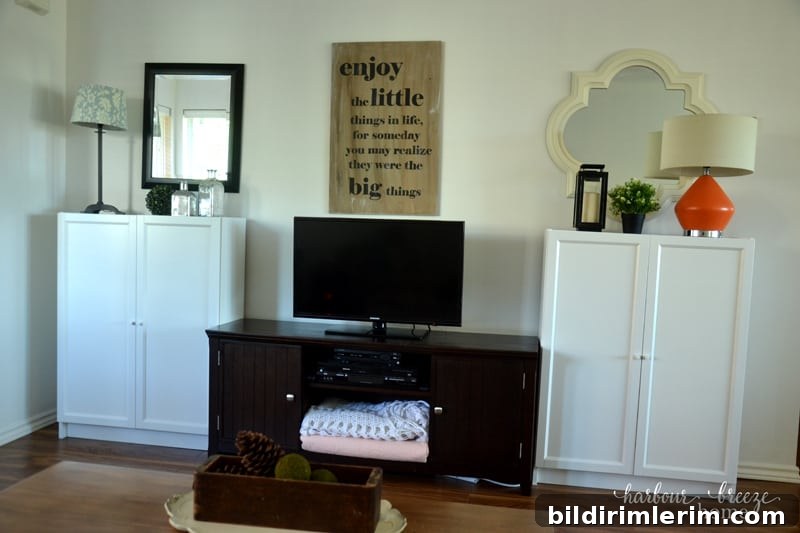
Start by measuring the wall area you want to fill. For our long, empty wall we combined multiple units to create a cohesive built-in look. We began with two low Billy/Oxberg units with doors, which provided concealed storage at the base. Later we added two taller classic Billy bookcases beside the lower units so the arrangement felt balanced.
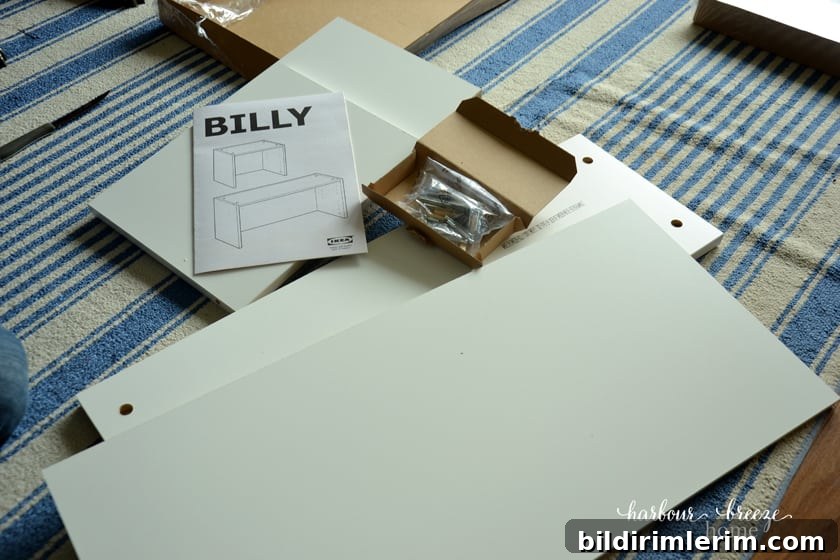
Each unit arrived with the hardware and instructions needed for assembly. By following those instructions I was able to put the pieces together without difficulty.
We added extra Oxberg doors to increase closed storage—those doors are great for hiding everyday items like office supplies, cables, or kids’ things.
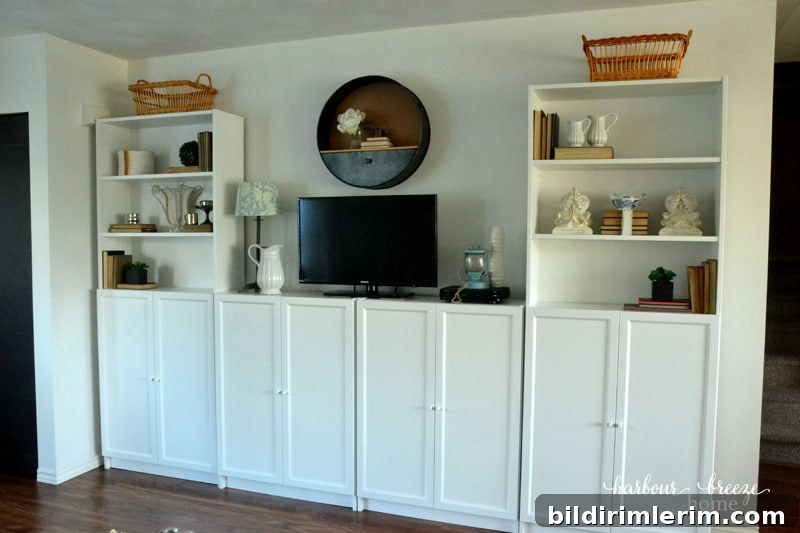
To reach nearly ceiling height and create a seamless look, we used height extension shelves on top of the bookcases. These attach to the top and visually integrate the units into the wall.
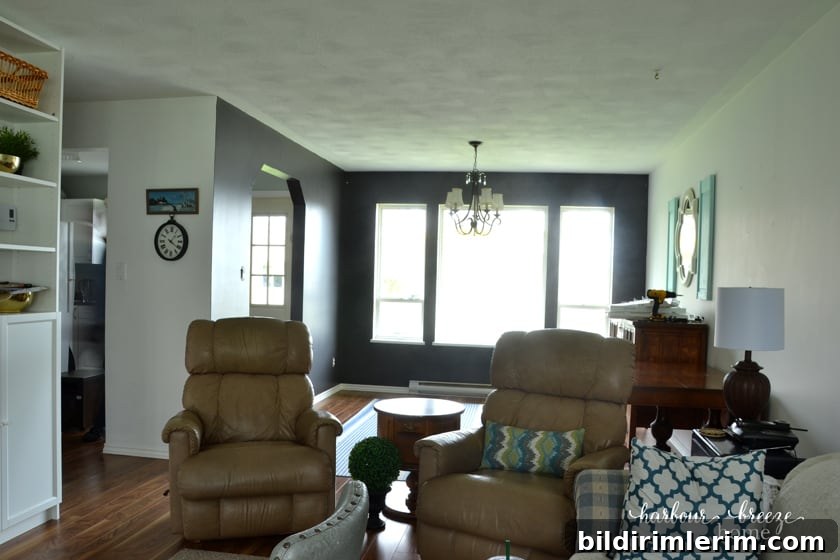
Once the bookcases and extensions were in place, the next step was to add visual interest between the tall units.
Step Two: Install faux shiplap between tall units for a farmhouse feel.
Adding shiplap between the tall bookcases gave the wall texture and character. The vertical shiplap boards provide that farmhouse farmhouse-style backdrop that complements the built-in bookcase look and adds personality to the room.
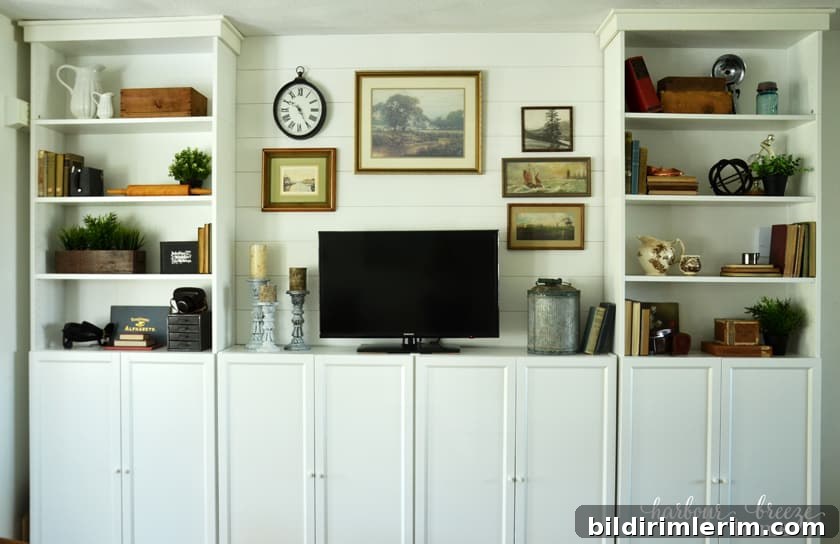
Add DIY craftsman-style trim moulding for a built-in appearance
The craftsman-style trim is what makes the whole project feel finished and custom. My husband did most of the trim work; I documented the steps and the results. Below is a straightforward rundown of the supplies and process so you can replicate it.
Supplies Needed:
- 1×2 lumber
- 1×3 lumber (or 1×4 if you want a wider profile)
- Tape measure
- Chop saw
- Pneumatic nail gun
- Paint to match the bookcases
- Caulking
Step 1: Measure carefully
Measure the height from the top of the bookcase to the ceiling and the depth from the wall to the front edge of the bookcase. You’ll need the same number of 1x2s as 1x3s for the trim pieces; choose wider boards if you want a chunkier look.
Step 2: Cut the side moulding pieces
Use a chop saw to cut each side piece to length. Each side assembly consists of one 1×2 and one 1×3; the 1×2 will sit on top of the 1×3 to create a layered trim profile.
Step 3: Fasten the 1×2 to the 1×3
Attach the 1×2 to the top face of the 1×3 using a pneumatic nail gun so the pieces act as a single trim element. Repeat for the mirrored side piece.
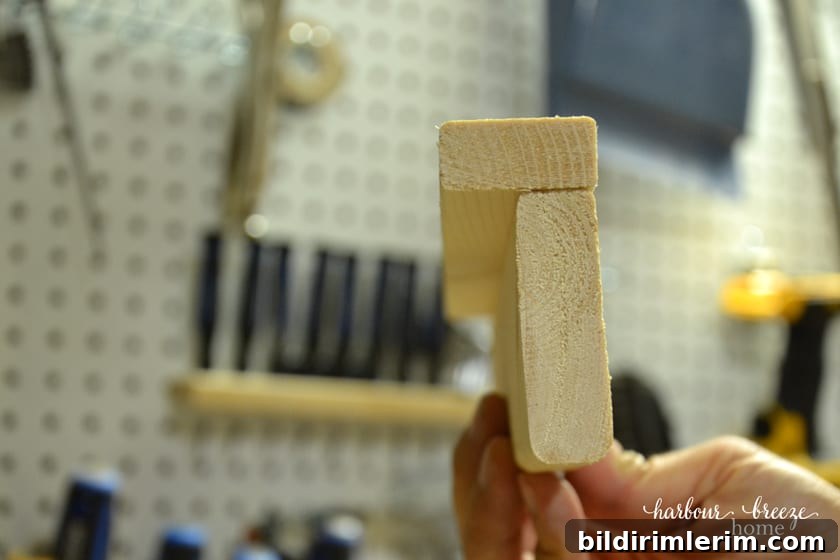
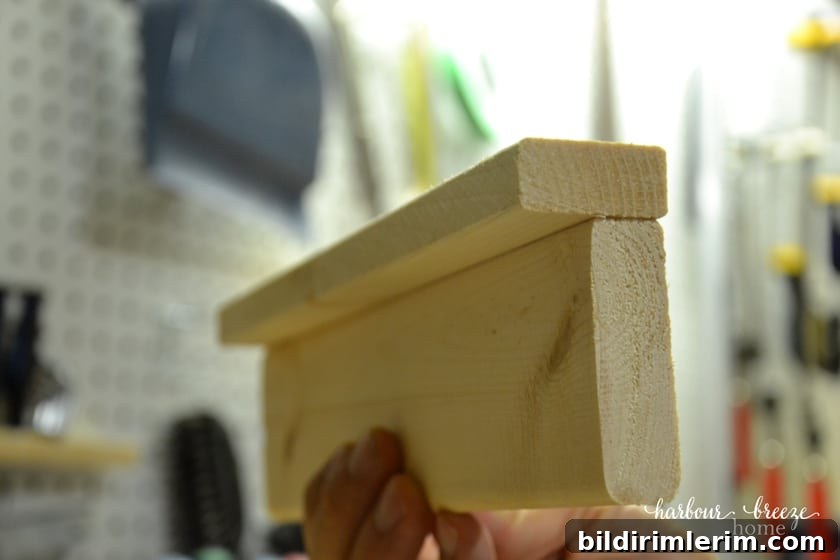
Step 4: Prepare and attach the front trim piece
Measure across the assembled bookcase and include the width of both side trim assemblies. The front piece should have the 1×2 overhanging the 1×3 at each end to create a clean intersection where the front meets the sides. Cut and dry-fit before fastening.
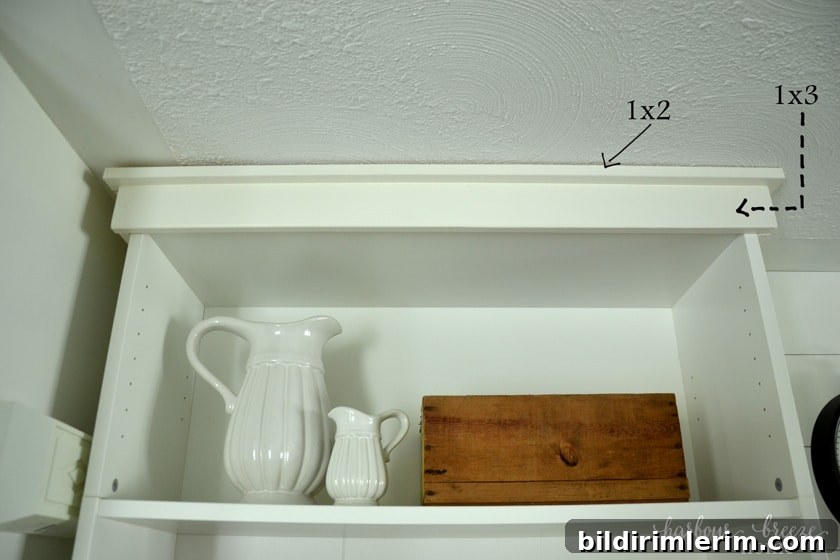
Step 5: Paint the trim to match the bookcases
Match the paint as closely as possible to the Ikea finish. In our case the first mixed formula wasn’t quite right, so we adjusted and used a custom blend to reduce yellow tones. If your first attempt doesn’t match, test small sections and retint as needed.
Step 6: Attach side trim to the bookcases
With the bookcases installed and secure, fasten the side trim assemblies so the top of the trim meets the ceiling. Use the nail gun and make sure the pieces sit flush against the bookcase face.
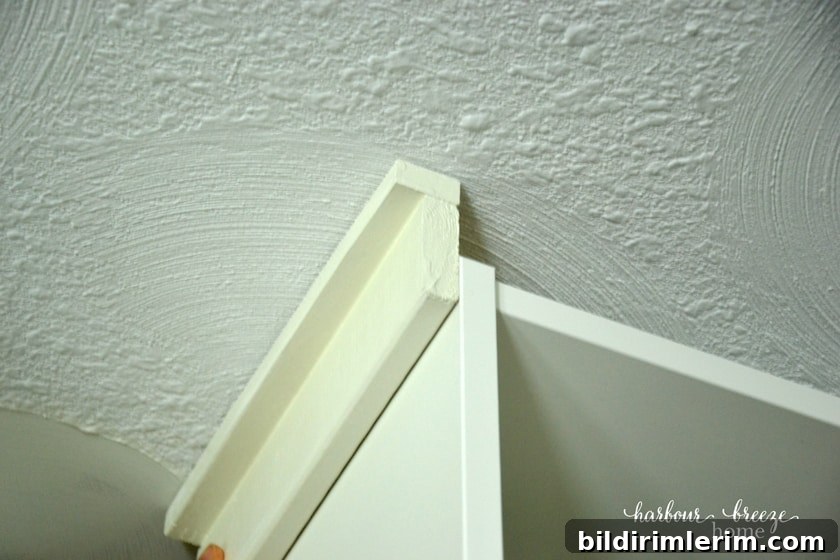
Step 7: Attach the front trim and ensure seams align
Fasten the front trim and check all joints for proper alignment. Make small adjustments before finishing the fasteners permanently.
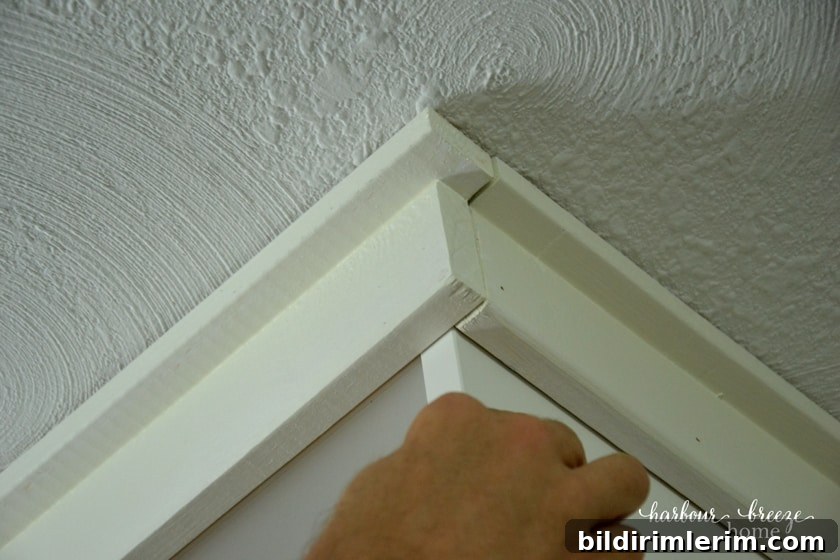
Step 8: Fill nail holes and gaps with caulk
Run caulk into seams and over nail heads, then smooth with a finger or tool while it’s wet. This hides gaps and creates a seamless built-in appearance once painted.
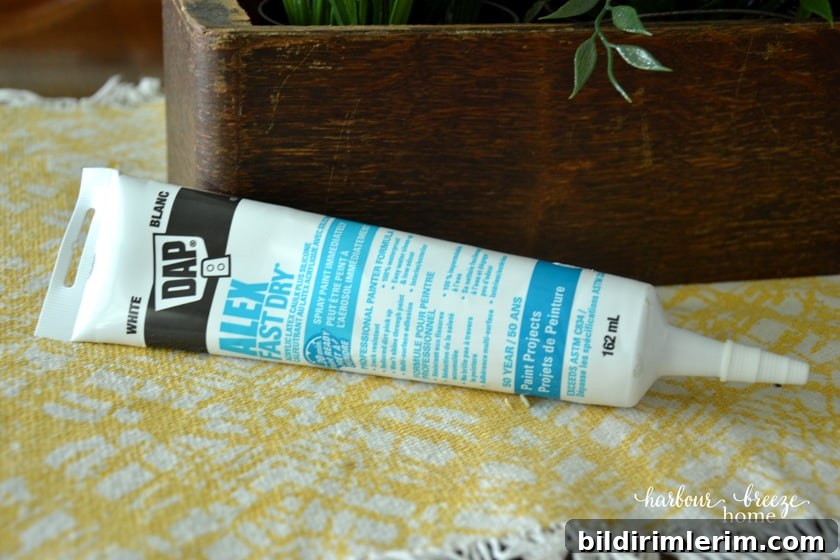
We used an acrylic-latex caulk designed for trim; applied by hand, it filled the gaps effectively and required minimal tooling.
Step 9: Paint touch-ups
Once the caulk and any filler are fully dry, apply a final coat of paint to the trim and any patched areas. Those final touches give a polished, cohesive finish that really elevates the entire wall.
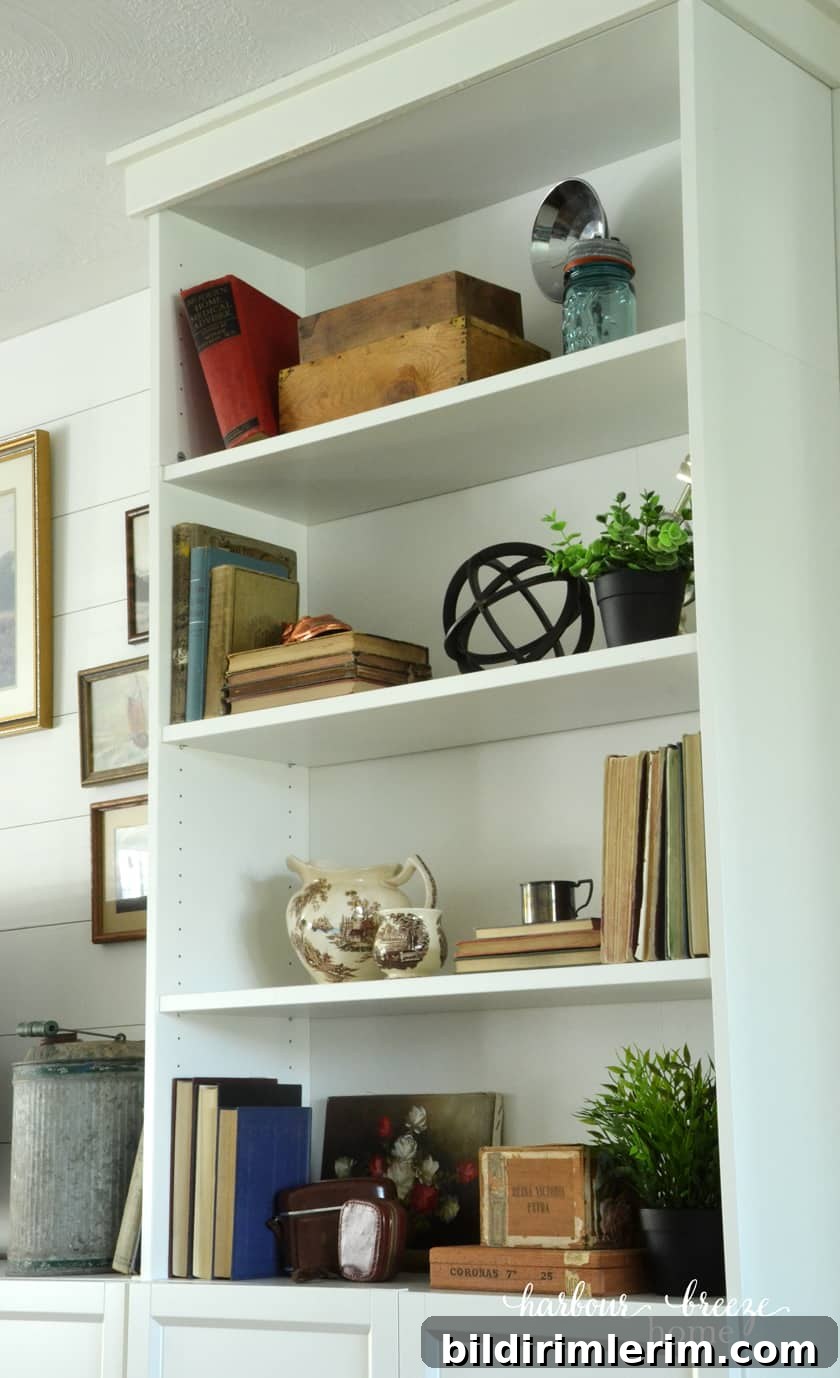
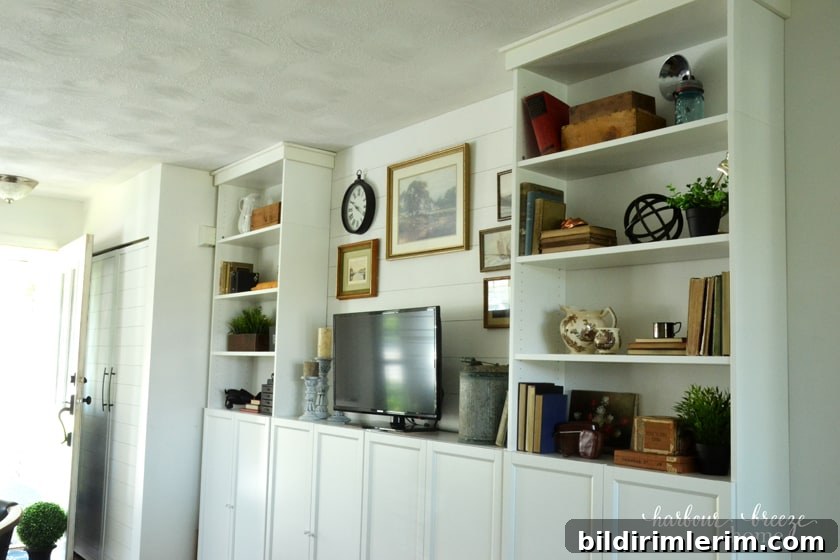
The result is a modern farmhouse built-in that looks custom and adds real functionality to our living space. Small finishing details—accurate measuring, careful cuts, and neat caulking and paint—make a big difference.

Related Articles:
- How to Style Billy Bookcases for a Modern Farmhouse Look
- How to Add a DIY Shiplap Wall
- How to Make Fixer Upper–Style Farmhouse Shelves
- DIY Turnbuckle Shelves