Follow this step-by-step guide to build simple DIY floating bedside tables. These wall-mounted nightstands free up floor space in a small bedroom while delivering a clean, modern look.
For our Modern Farmhouse Boho bedroom makeover, one of the first problems we wanted to solve was the end table situation. Our room was small, and mismatched bedside furniture made the space feel cluttered and visually busy.
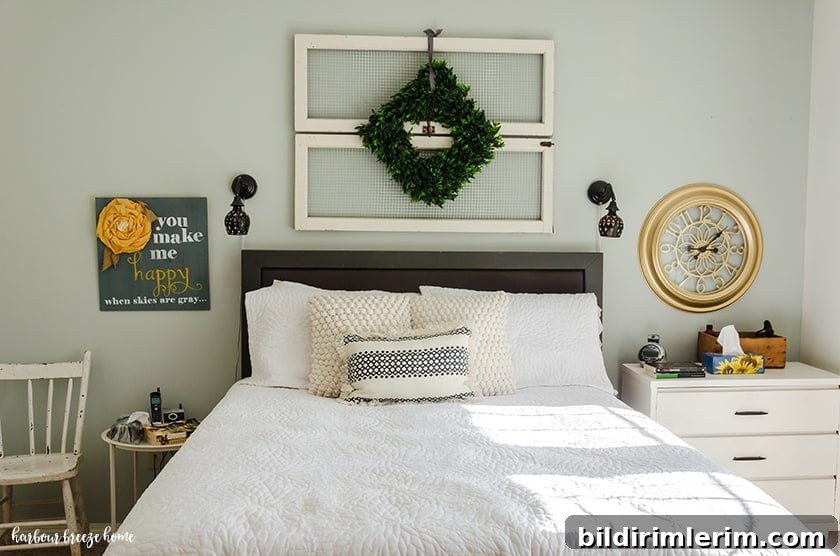
After organizing the closet and painting a dark feature wall, we made two floating bedside tables that are inexpensive, simple to build, and stylish. My husband assembled them while I finished the rest of the room, and the final result is both functional and attractive.

How to Make DIY Floating Bedside Tables
Disclosure: This post contains affiliate links for convenience.
Materials and Tools
- 2 pieces of 1×6 inch tongue-and-groove pine, 8 feet long (enough to make two nightstands)
- Wood glue
- Brad nail gun
- Compound miter saw
- MDF sheet for the backing
- Clamps
- Screws and screwdriver or drill
- Stud finder
- Wall anchors
Preparing and Cutting the Boards
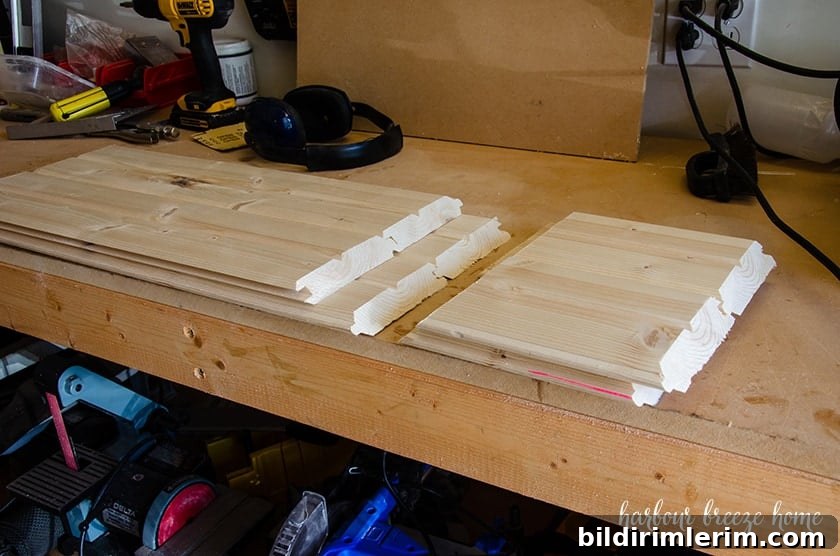
Each nightstand box is made from tongue-and-groove boards cut to size:
- 4 pieces at 22 inches with 45-degree mitered ends
- 4 pieces at 8 inches with 45-degree mitered ends
Step 1: Assemble the side panels and bottom
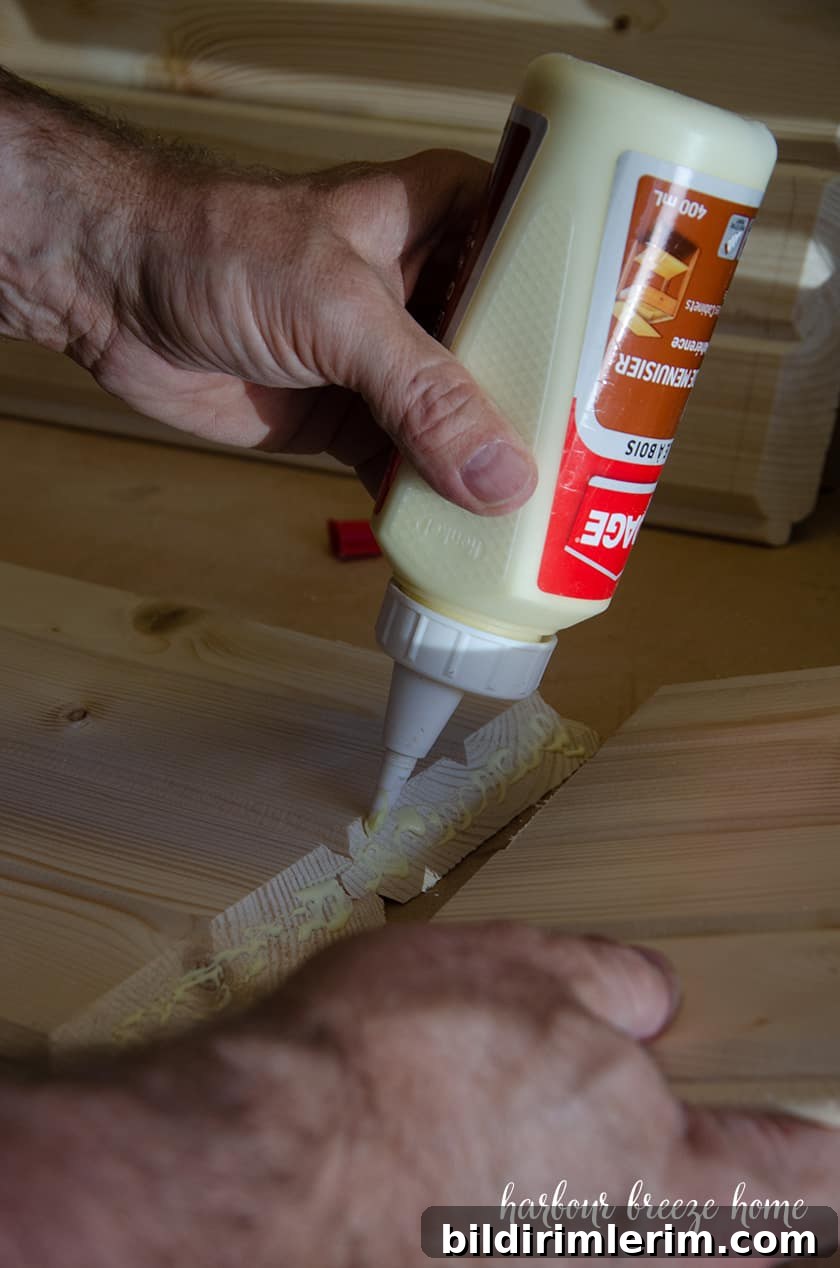
Apply wood glue to the mating edges, clamp the pieces, and reinforce each joint with brad nails from your nail gun. Assemble both side panels the same way and make sure the corners align squarely.
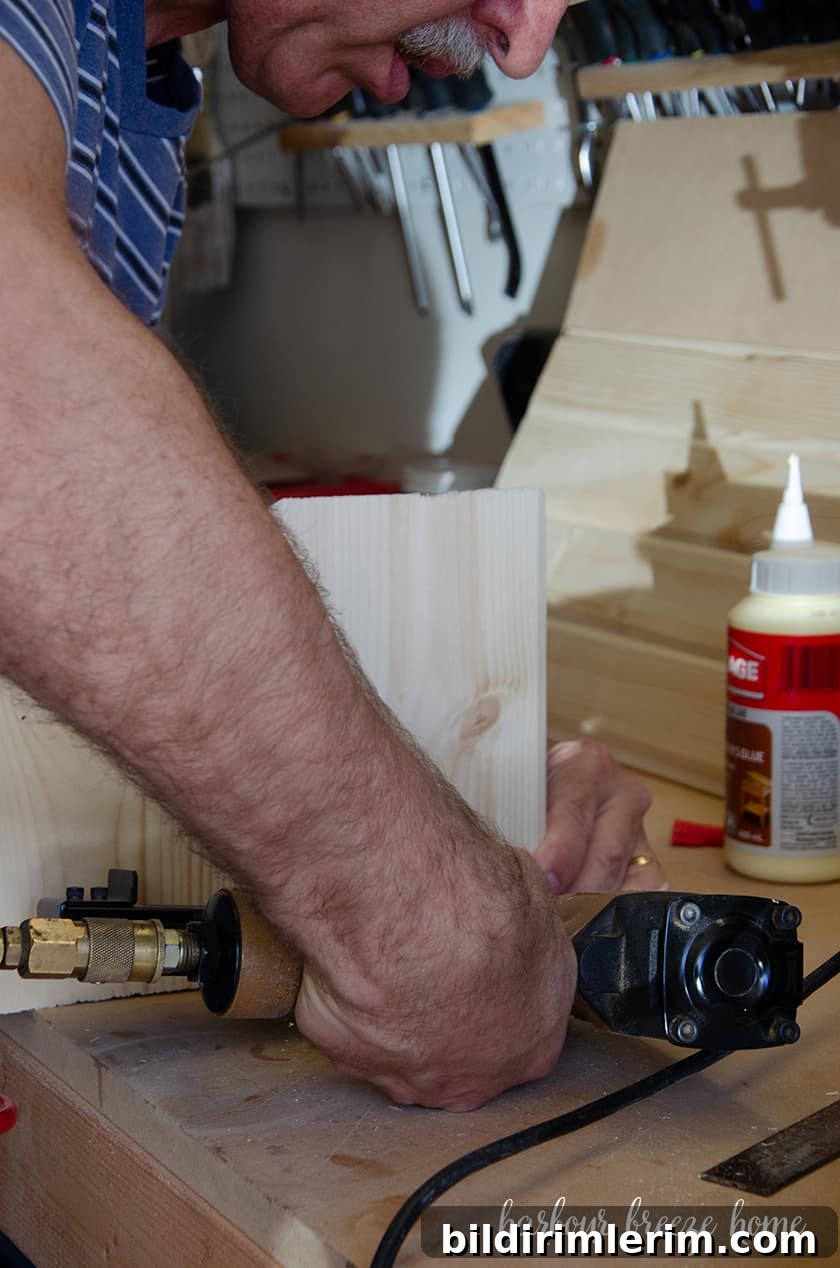
Step 2: Attach the top
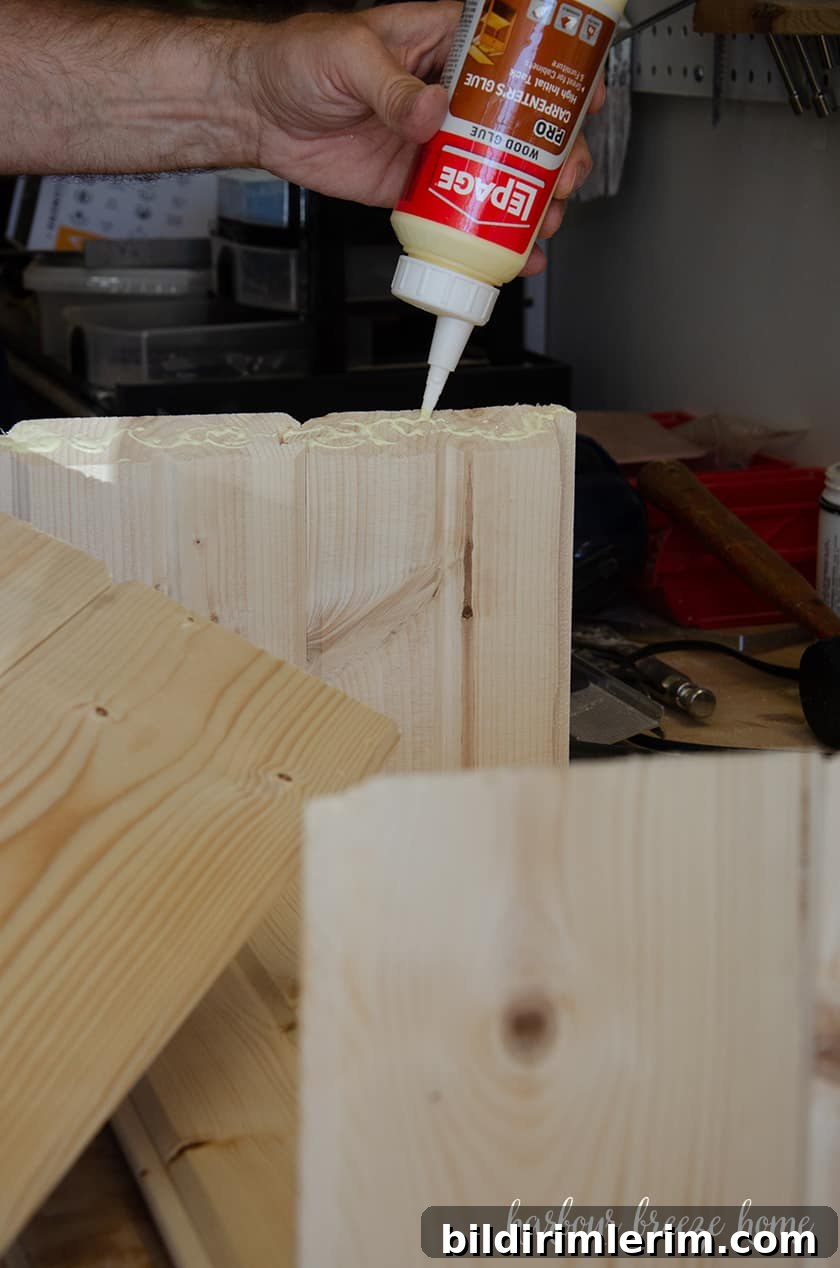
Glue and nail the top piece to the assembled sides and bottom. Use clamps to hold everything steady while the glue cures, and check that the edges remain flush.
Step 3: Attach the MDF back
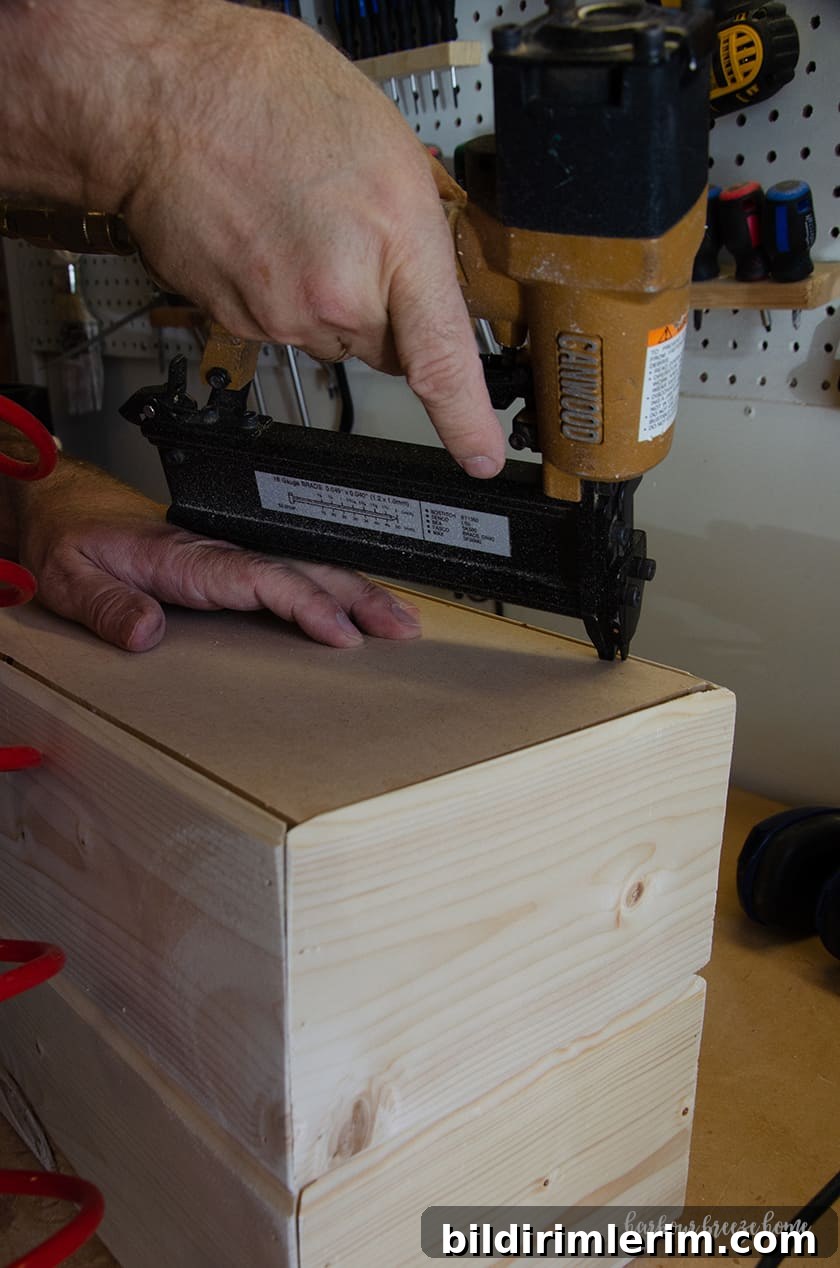
Cut the MDF to fit the back of the nightstand, glue it in place, and secure it with brad nails. The MDF provides a clean flat surface that hides the internal rail and creates a finished look.
Step 4: Sand and finish
Sand the entire unit smooth and apply your chosen finish. We used Minwax Early American stain for a warm, natural tone. Note that MDF absorbs stain differently than pine, which can create a soft, suede-like contrast on the back. Alternatively, you can paint or wallpaper the back panel for a contrasting accent.
Step 5: Mounting the floating nightstand
Hanging the finished nightstand is straightforward when you plan carefully:
- Use a stud finder to locate studs and mark them lightly. Ideally, at least one mounting point should be screwed into a stud for maximum strength.
- Decide the height of the nightstand—most people align the top with the mattress surface.
- If you can’t hit two studs, plan where the second set of fasteners will go and prepare to use drywall anchors.
- Level the nightstand and mark pilot holes through the back panel where screws will enter studs.
- Remove the unit, install drywall anchors where needed, then screw the nightstand back into the studs and anchors securely.

You can fill and conceal screw heads with wooden plugs or wood filler if you prefer a seamless finish, but this is optional depending on how visible the fasteners will be.

These floating bedside tables are lightweight, practical, and perfect for small bedrooms. They provide surface space for a lamp or plant and a recessed shelf for books or bedside essentials.

Cost
- Two 1×6 tongue-and-groove pine boards (8 feet each) — approximately $20 total.
All other tools and supplies were items we already had on hand.
Related Project Updates
This project was part of our larger bedroom refresh. Previous updates in the series include a painted black accent wall and a small closet organization reveal that helped streamline the room before adding the floating nightstands.

If you’re updating a small bedroom and want a low-cost, high-impact change, these DIY floating bedside tables are an easy project that improves both function and style while reclaiming floor space.