In this article: A clear, step-by-step guide showing how to choose artwork from Minted and preview it in your room using Photoshop.
Shopping for art online can be both exciting and a little nerve-wracking. The selection is enormous, but it’s hard to know exactly how a piece will look in your home until it arrives. Questions often include:
- Will the artwork suit the room?
- Are the colors on screen close to the real print?
- Will the size fit the wall and surrounding furniture?
I faced those same questions when I began choosing a print from Minted. Their gallery is full of beautiful options—abstract pieces, black-and-white photography, moody works, and joyful, colorful prints. I quickly found myself overwhelmed with favorites and wanted a reliable way to visualize each option before buying.
Photoshop turned out to be a simple, effective solution. Below is a step-by-step method to place Minted art into a photo of your room so you can preview scale, placement, and general color harmony before committing.
How to Choose Art from Minted Using Photoshop
Disclosure: This post was sponsored by Minted and contains affiliate links. All opinions are my own.
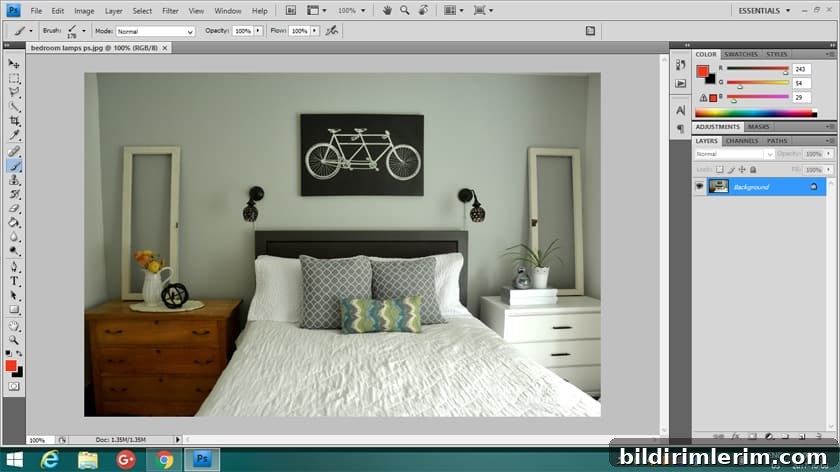
1. Open a photo of the room in Photoshop
Start by opening a clear, straight-on photograph of the wall where you plan to hang art. In Photoshop, go to File → Open and select your room photo.
2. Browse Minted’s art collection
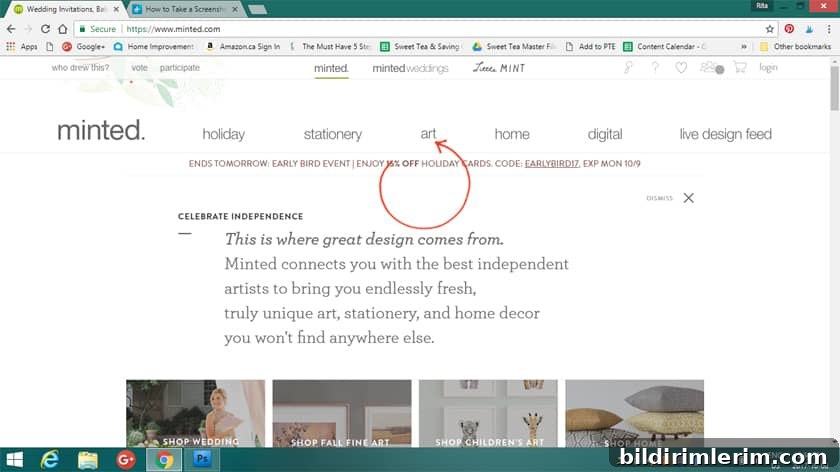
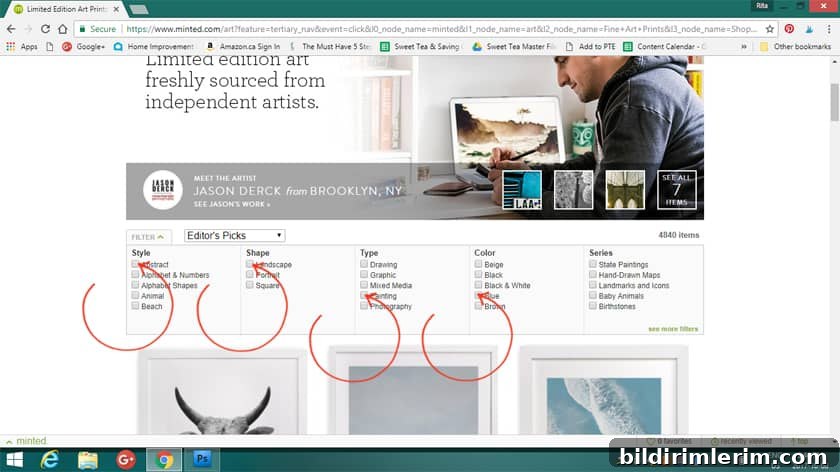
On the Minted site, navigate to the Art section and choose Shop Fine Art. Take your time filtering by style, color, or size until you find pieces you like.
Tip: Use the site’s filters to narrow results—this speeds up the process and helps you compare similar works.
3. Save images of the prints you want to try
Open an artwork’s detail view, right-click the displayed image, and choose “Save image as” to download a JPEG to a folder you can find later. Repeat for any additional prints you want to test in your room photo.
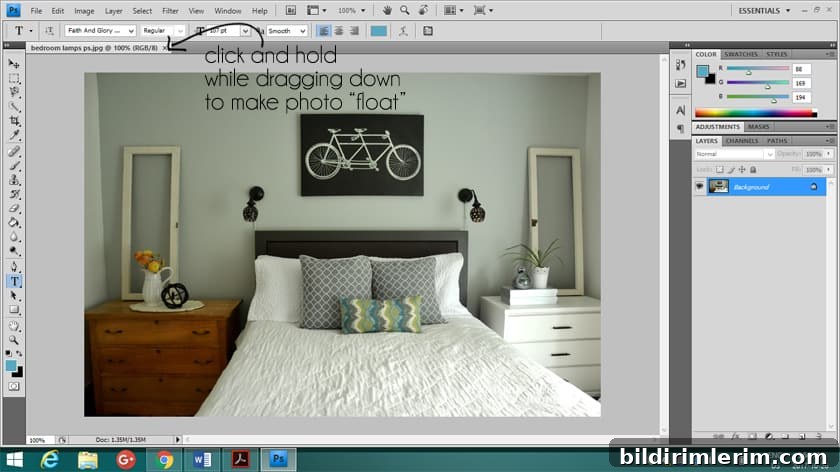
4. Prepare both images in Photoshop
Back in Photoshop, float the room photo and each artwork image as separate windows so you can drag layers between them. Click the document tab for each image and drag it down to detach it—this makes the image float in its own window.
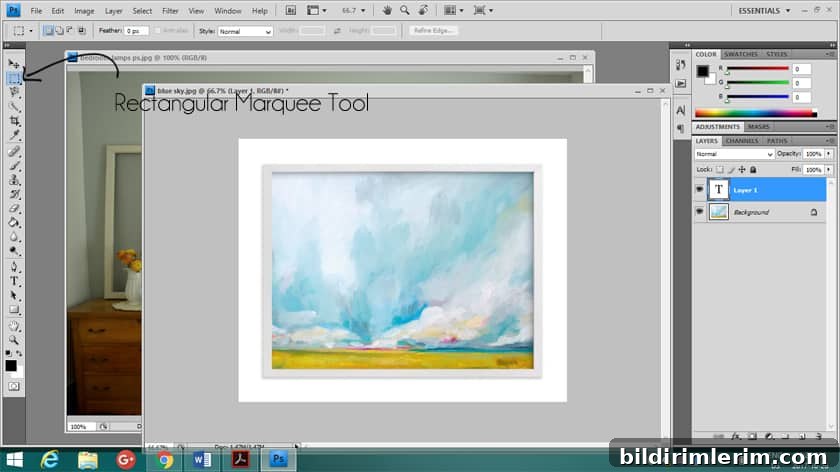
5. Select and copy the artwork
Open one of the saved artwork images, choose the Rectangular Marquee Tool (the dashed rectangle), click and drag to select the entire art image until you see the moving dashed outline. Then switch to the Move Tool and drag the selected artwork into the room photo window.
6. Resize the artwork to scale
The artwork will likely appear very large at first. With the artwork layer active, go to Edit → Free Transform (or press Ctrl/Cmd + T). Hold Shift as you drag a corner handle to scale the image proportionally until it matches a realistic size for that wall.
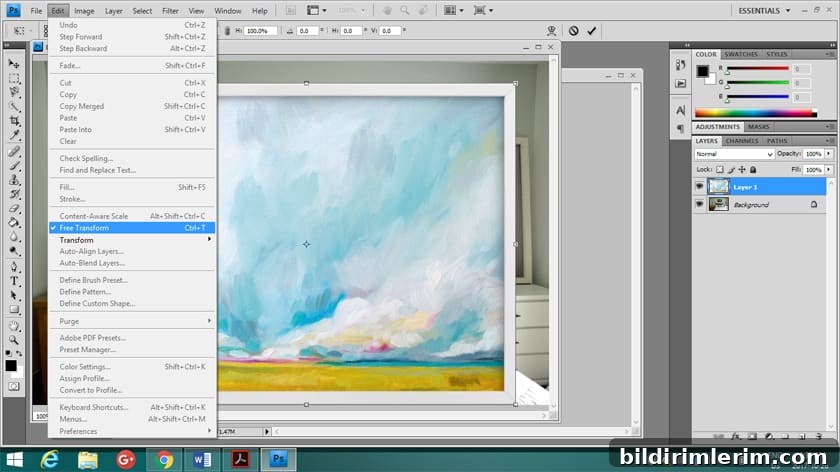
7. Position and finalize
Move the scaled artwork to the intended hanging spot on the wall. When satisfied, press Enter or click the checkmark to commit the transform. If needed, use Layer Opacity to preview color blending or add a subtle shadow behind the print to simulate depth.
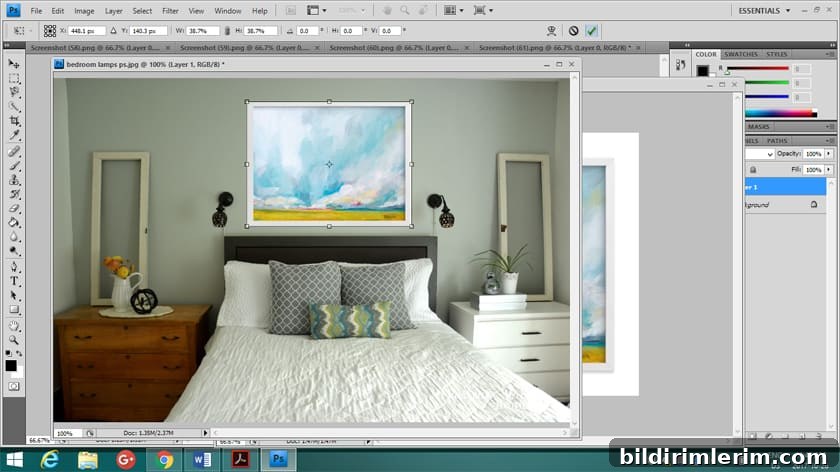
This method gives you a practical visual of how different pieces will read in your space—scale, placement, and general color relationship—so you can narrow down favorites before purchasing.
Color and display note: Screen colors and print colors may differ slightly due to monitor settings and print processes. This technique is best for evaluating scale, composition, and overall color harmony rather than guaranteeing exact color match.
Examples I tried
I tested several prints in my room before deciding. Below are the three I previewed:
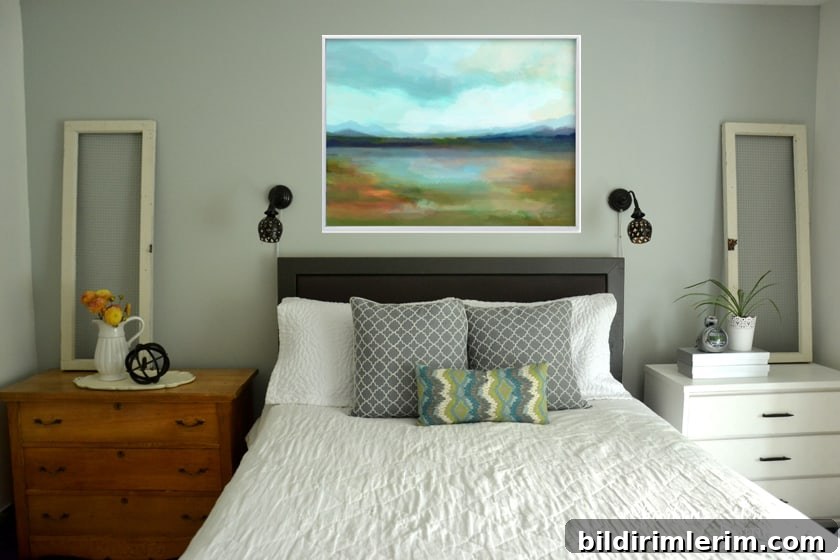
Days of Blue
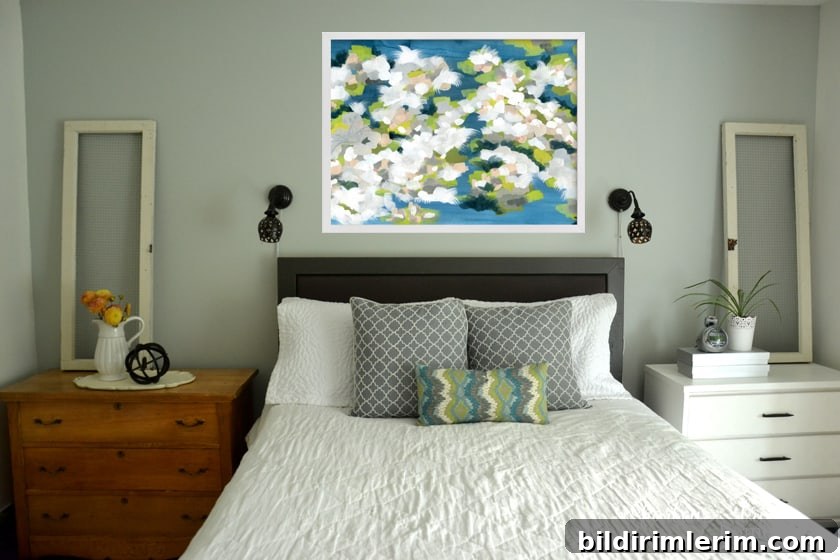
Verdant
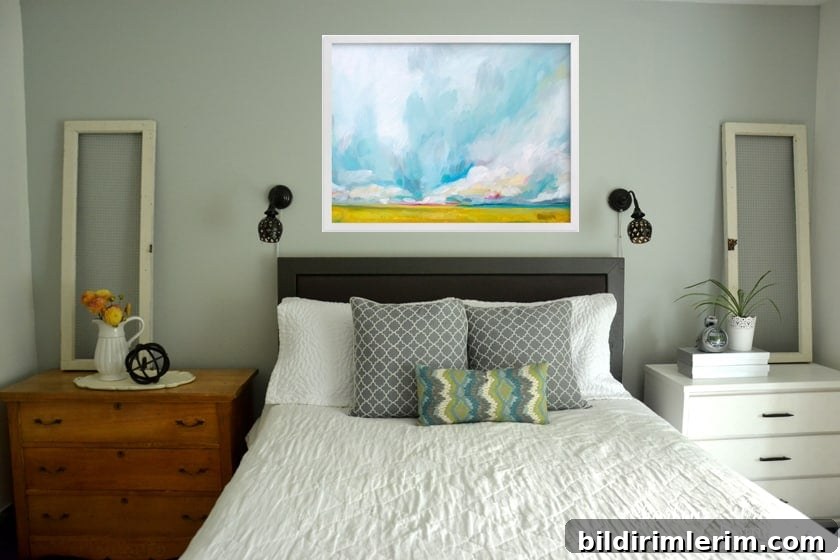
Savannah Lands
My final pick
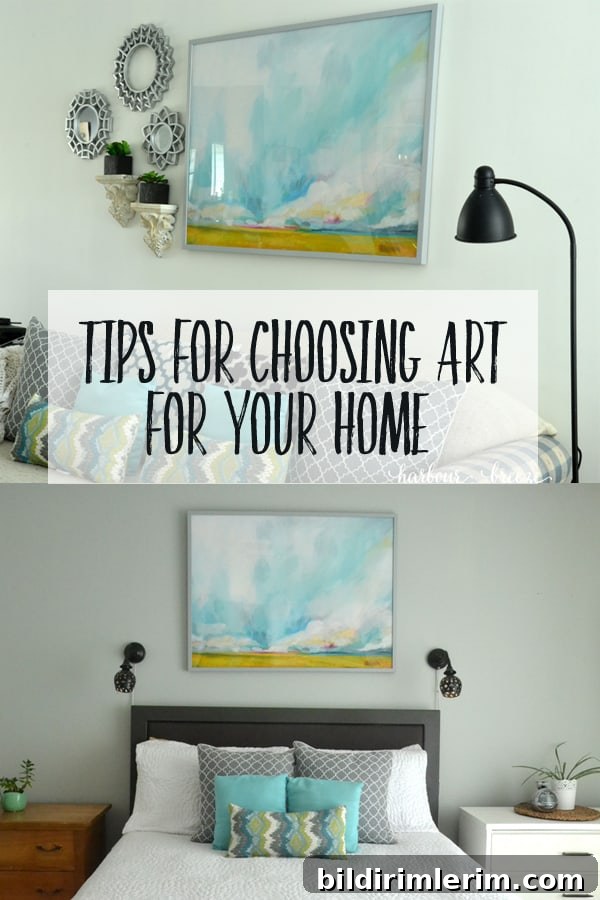
After previewing, I chose Savannah Lands. We wanted something fresh and vibrant, and the colors felt right for our space. I selected a light gray frame, but Minted offers several framing and matting options so you can refine the finished look.
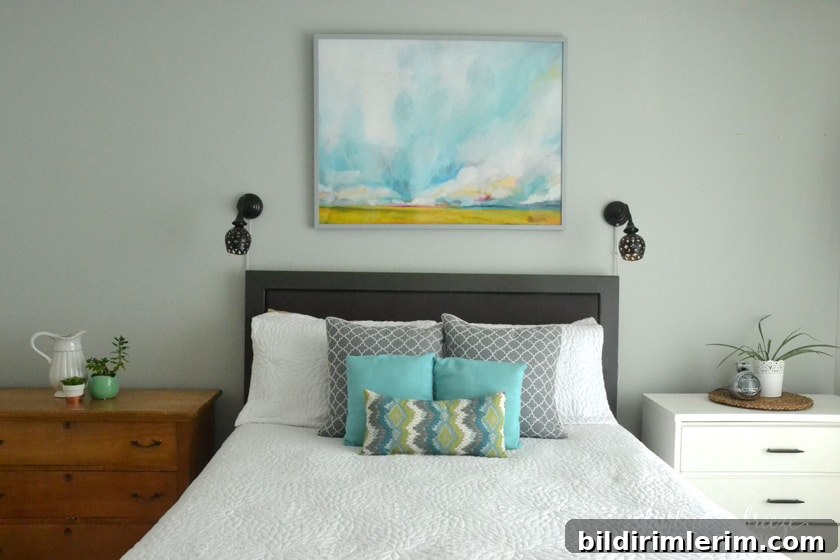
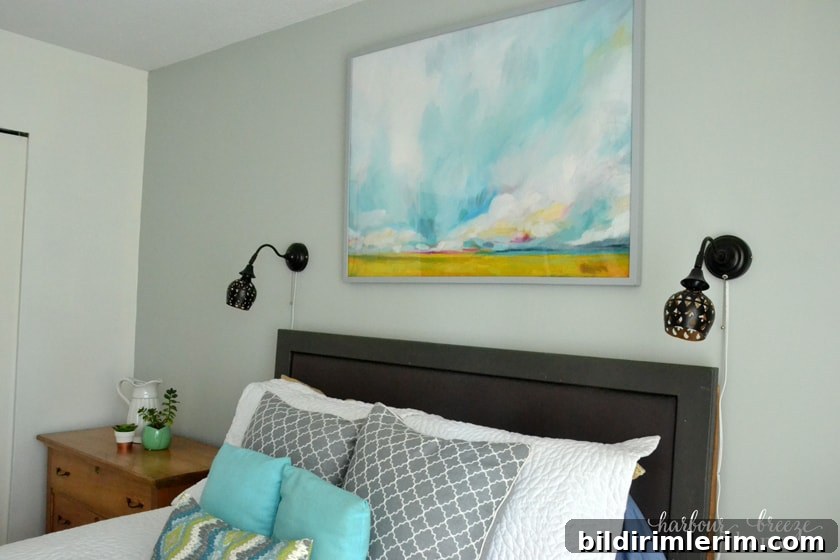
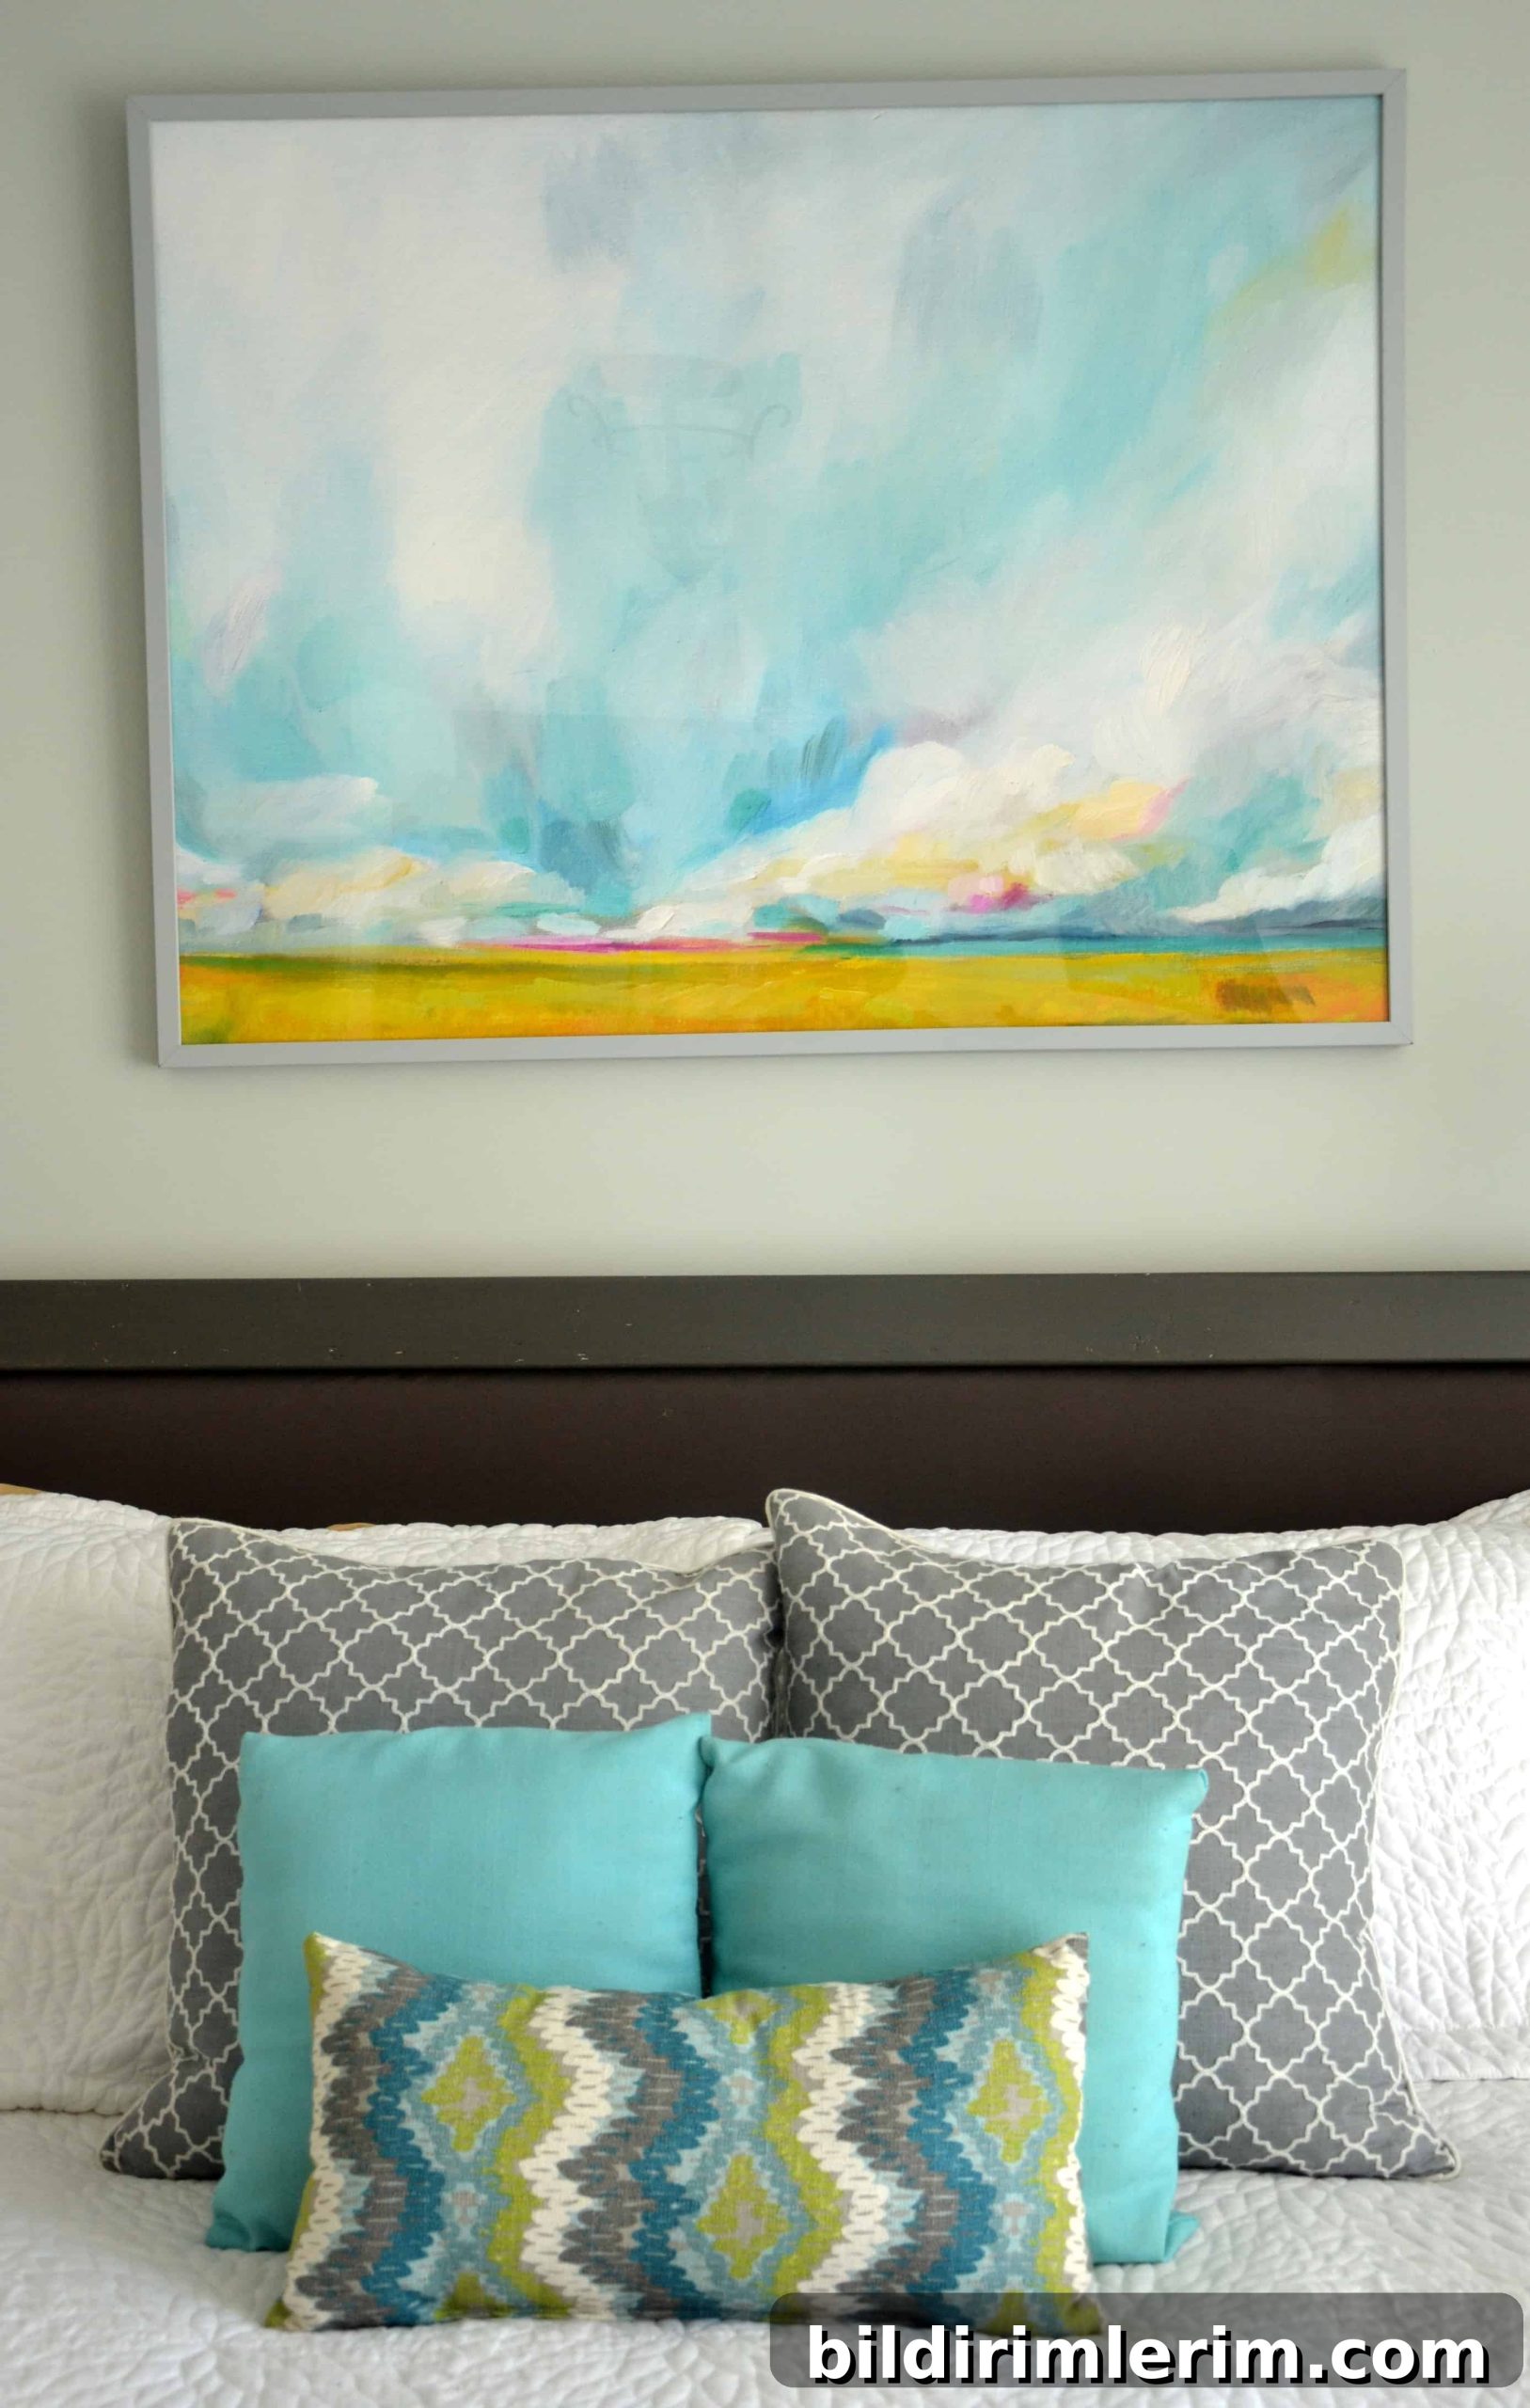
Because the color palette was the main draw, I may move this piece between rooms to see where it looks best. If you shop online for wall art, try this simple Photoshop technique to reduce guesswork and shop with confidence.
Have you tried Minted or a similar site? Using a visual mock-up like this makes choosing much easier and helps you enjoy your purchase from the moment it’s hung.