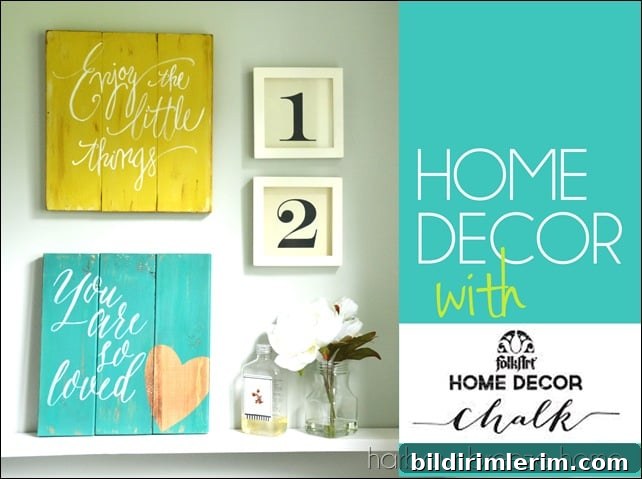
These DIY painted wood signs made with Folkart Home Decor Chalk are a bright, cheerful, and budget-friendly way to fill empty wall space.
Paint is one of the most economical and dramatic ways to refresh a room. Used on the wall it can transform a space; applied to a piece of wood it becomes original artwork. For this project I used Folkart Home Decor Chalk paint to create simple, rustic signs for a bathroom wall that needed some personality.
Disclaimer: I was compensated with product from Folkart for this post. All opinions and reviews are honest, and I truly enjoy using these products.
DIY Painted Signs Using Folkart Home Decor Chalk
Supplies Needed:
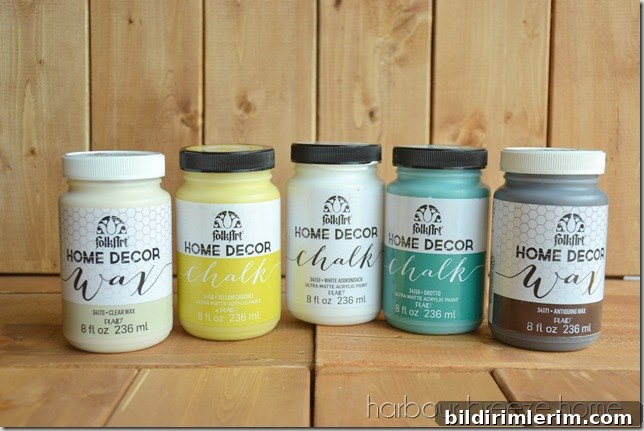
- Folkart Home Decor Chalk (colors used: Yellow Crochet, White Adirondack, and Grotto)
- Folkart Home Decor Wax (clear wax and antiquing wax)
- Wood pallet bases or rustic boards
- Wood stain
- Assorted paintbrushes and a cloth for buffing
- Graphite transfer paper and a stylus or pencil for transferring lettering
To begin, I pulled a stack of prepped boards from the basement that had been stained, glued together, and fitted with backing straps. These rough, rustic panels are perfect for painted signs and give a handmade look that’s ideal for casual spaces like bathrooms.
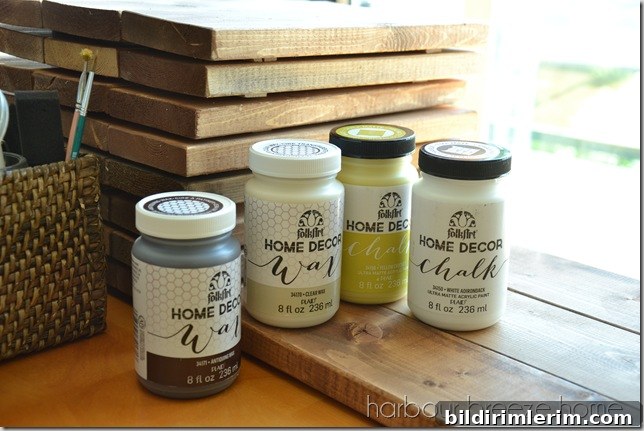
Because the bathroom wall was painted a soft Seasalt blue, I chose Yellow Crochet as an accent color. Folkart’s chalk-style paint stirred smoothly and applied like butter, with a thick consistency that covered evenly in a single coat or two depending on the wood.
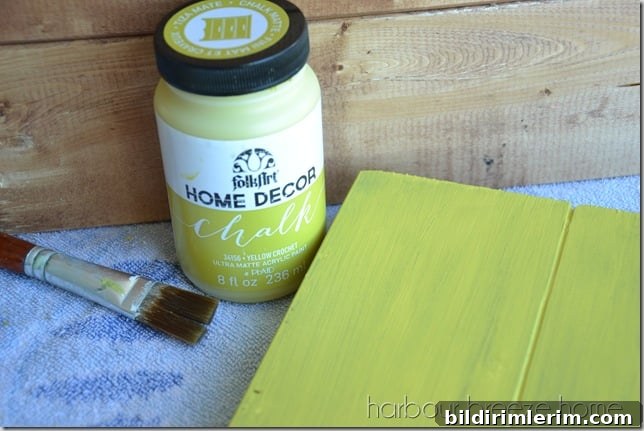
After stirring, I brushed the paint on in even strokes and let it dry. To add wording, I transferred a favorite phrase using graphite transfer paper and a wooden stylus, which produces crisp guide lines for painting.
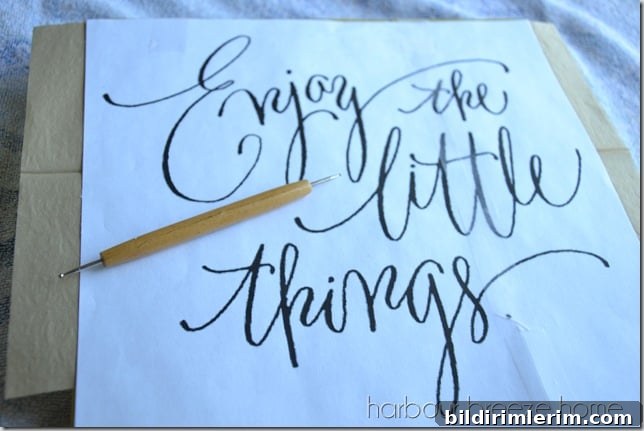
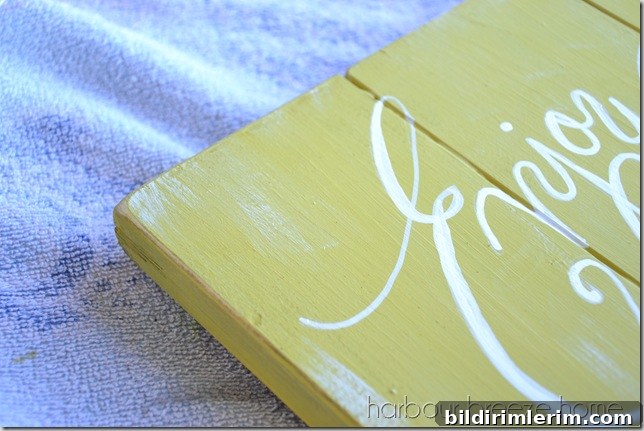
I painted the letters with thinned white acrylic and a fine brush, then used a dry brush technique to add soft white accents across the board for a slightly worn, layered finish. One of the things I found delightful about the chalk-style base is how easily acrylic paint glides over it, which makes hand-lettering simpler and more forgiving.
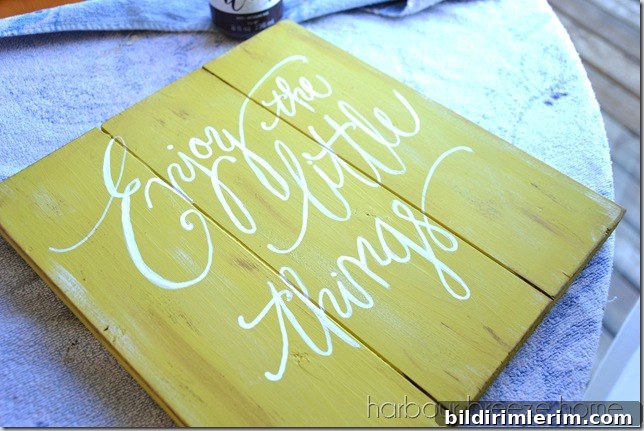
For protection and a finished look I used Folkart Home Decor Wax. The liquid wax is easy to apply with a cloth or brush; allow it to set briefly and then buff off the excess to reveal a soft, sealed finish. I applied antiquing wax sparingly along the edges and in the seams between boards to emphasize the rustic texture, then coated the entire surface with clear wax to seal the paint and enrich the color.
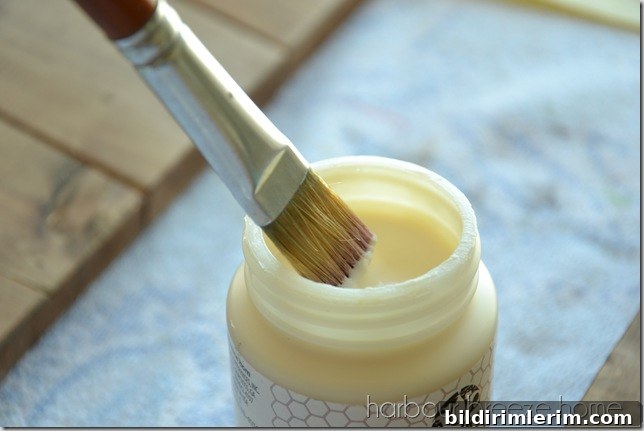
Using wax was new to me, and the liquid formula made the process straightforward. After buffing, the surface didn’t become glossy but did gain a smooth, slightly enhanced color and a protective layer that helps the sign stand up to bathroom humidity.
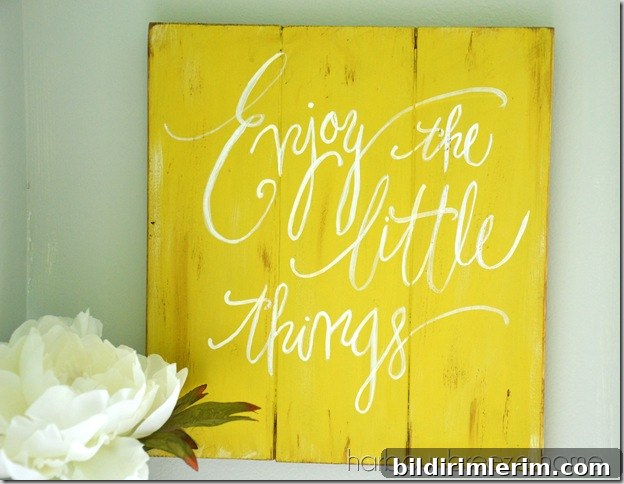
Here’s the finished yellow sign. I was very pleased with the depth of color and the soft vintage feel achieved with just a few simple steps.
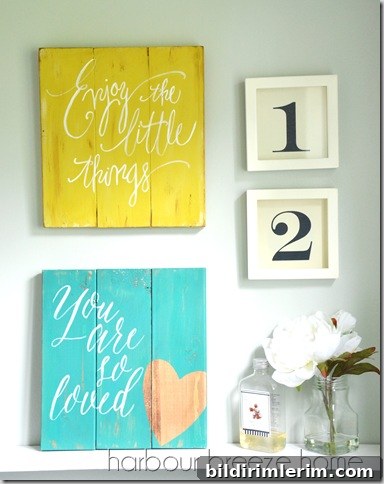
Because the process was enjoyable and quick, I painted a second sign in Grotto and sealed it with clear wax to create a coordinating pair. Together, the yellow and deep blue-green provide a cheerful contrast against the bathroom wall.
If you like making rustic painted signs, try experimenting with different chalk paint colors, hand-lettering techniques, and waxing options to create pieces that suit your decor. For a more detailed step-by-step tutorial including video demonstrations, I have a full how-to guide available on my blog that covers board prep, lettering transfer, painting tips, and finishing techniques.
Linking up with: Be Awesome Link Party