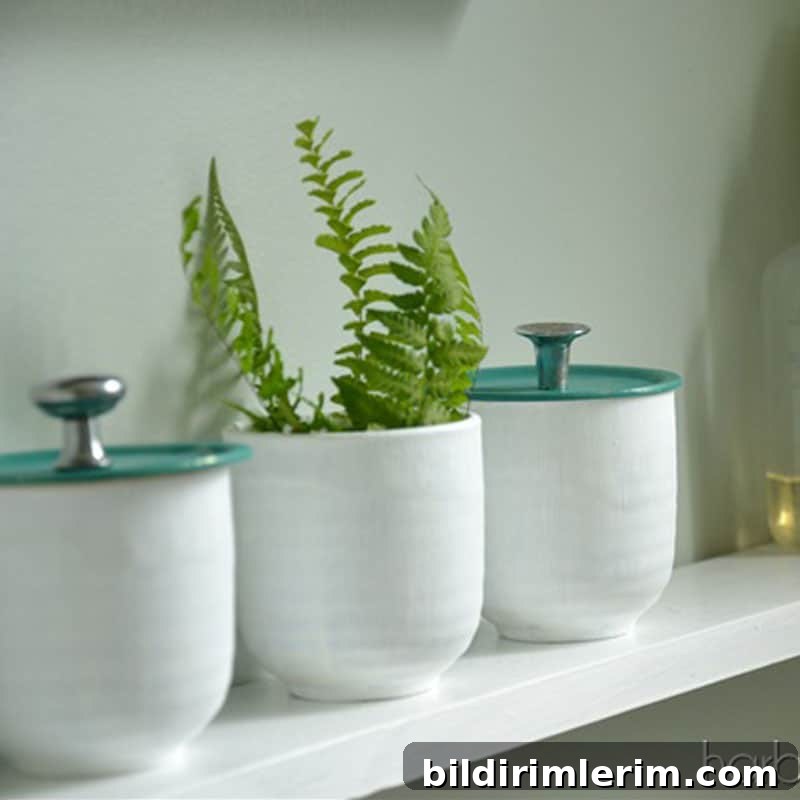
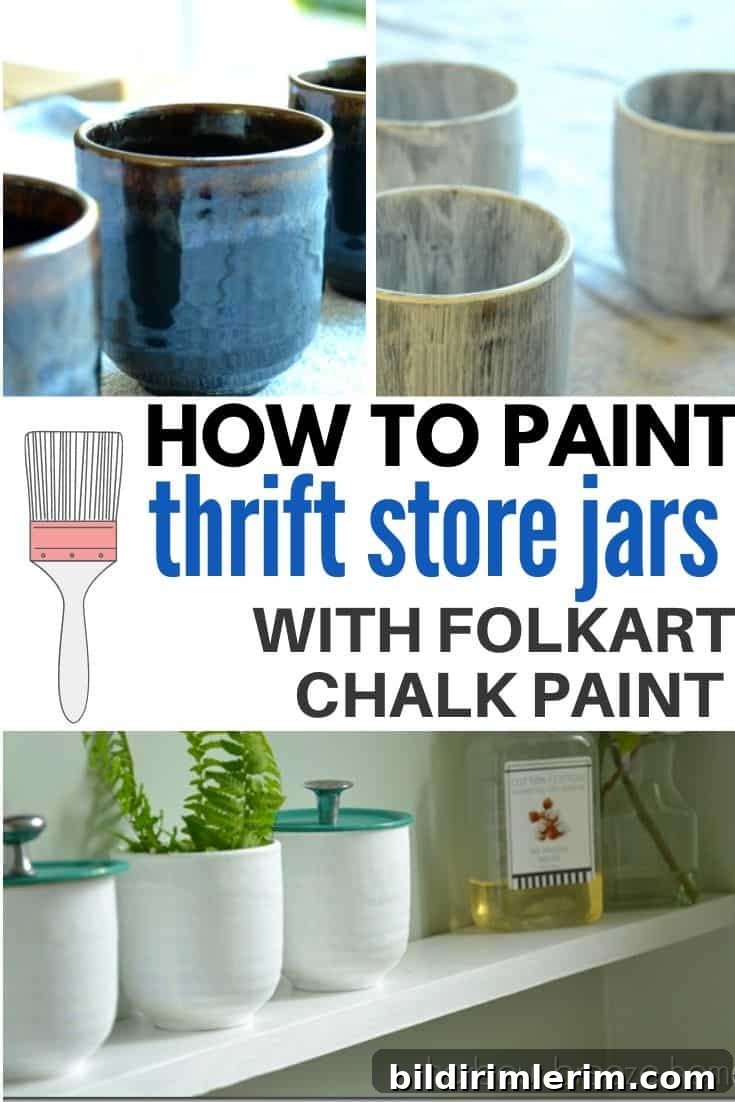
Turn thrifted finds into practical bathroom storage. This simple project uses FolkArt Chalk to transform glazed pottery mugs and jars into attractive, functional containers.
When your main bathroom is tiny, creative storage solutions become essential. We live with a very small bathroom and have been steadily improving storage and styling through practical DIY projects. One easy and inexpensive idea is to upcycle thrifted containers into coordinated storage jars that suit your bathroom’s color palette.
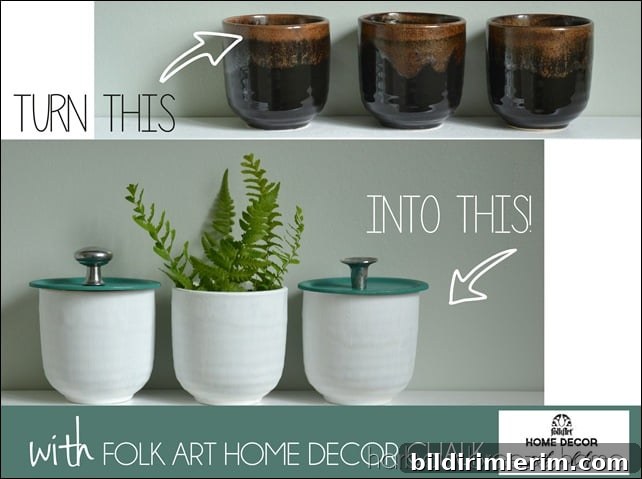
While browsing a local thrift store, I found a set of glazed pottery mugs and decided to convert them into painted jars to match the beachy tones in our bathroom. With a bit of chalk paint, mason jar lids, and a few small knobs, these thrifted pieces became attractive holders for cotton balls, q-tips, and small toiletries.
Disclosure: This post contains affiliate links for your shopping convenience.
How to Use FolkArt Chalk for DIY Painted Jars
Supplies you’ll need
- Thrift-store glass or glazed ceramic containers (mugs, jars, or small crocks)
- FolkArt Chalk paint in colors such as Adirondack and Grotto
- Mason jar lids (or other flat lids that fit your containers)
- Small drawer knobs or handle-style knobs for lids
- Craft paintbrush for smooth application
- Hot glue and a hot glue gun
- Soap, water, and a scrubbing pad for cleaning; optional fine sandpaper for scuffing glazed surfaces
Step-by-step process
1. Clean the containers thoroughly
Paint won’t adhere reliably to dirt, grease, or soap residue. Wash each piece in warm, soapy water and scrub away any buildup, then rinse and dry completely. For glazed pottery, lightly scuffing the surface with fine-grit sandpaper can help promote better adhesion, though FolkArt Chalk often bonds well to many surfaces without heavy sanding.
2. Apply the first coat of paint with consistent strokes
Use a quality craft brush and paint in one direction with long, even strokes. Try to keep the brushwork smooth and avoid overworking the paint while it’s wet. A thin first coat helps establish a uniform base for further coats.
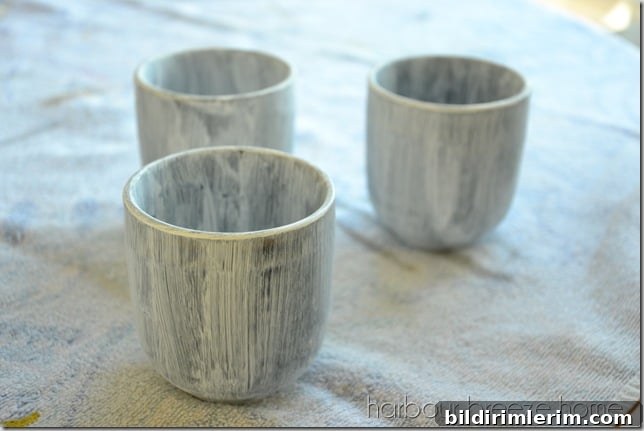
3. Observe recommended dry times and add additional coats
Follow the manufacturer’s recommended drying times between coats—this helps avoid lifting or uneven texture. In my case, the directions advised waiting two hours between coats. The paint can look dry on the surface quickly, but allowing proper cure time reduced the number of coats needed for full coverage. Depending on color contrast and surface, two to three coats are often sufficient; I applied additional coats to reach the desired opacity.
4. Paint the lids and finish with sealer
Paint your mason jar lids the coordinating color (I used Grotto for lids). Chalk paint often covers metal lids well with just one coat. After all painted surfaces are fully dry, apply a clear sealer formulated for chalk paint. The sealer brushes on like paint and dries to a smooth, protective finish that makes the jars more durable for everyday bathroom use.
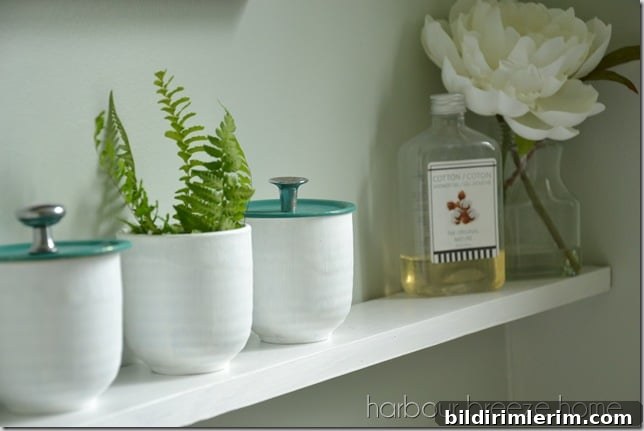
5. Attach knobs to lids
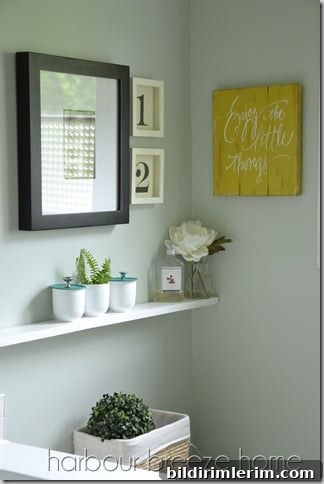
Once the sealer is dry, attach small drawer knobs to the center of each lid using hot glue. Press firmly until set. These knobbed lids are easy to lift and add a charming finishing touch. The completed jars fit nicely on a narrow shelf above a sink or toilet and make attractive storage for cotton balls, q-tips, hair ties, or makeup pads.
Tips and variations
- If you prefer a smoother finish, sand lightly between coats with very fine sandpaper and wipe clean.
- For glass jars, remove labels and adhesive residue with a soaking and gentle scraping before painting.
- Instead of commercial knobs, you can use decorative buttons, small ceramic pulls, or even knotted twine loops for a different look.
- These painted jars also work well on a vanity, inside a linen closet, or on a vanity tray for a coordinated display.
- To extend durability, choose a sealer rated for the type of traffic (light daily use in a bathroom is typical).
More small bathroom storage ideas
- How to Organize a Bathroom Vanity
- 7 Clever & Creative Ideas for Small Bathroom Storage
For details about the yellow “Enjoy the Little Things” sign mentioned in this project, look for the blog post titled “Bathroom Decor Using FolkArt Chalk.”
{Disclosure: I was compensated for this post with product from FolkArt. However, all opinions are my own.}