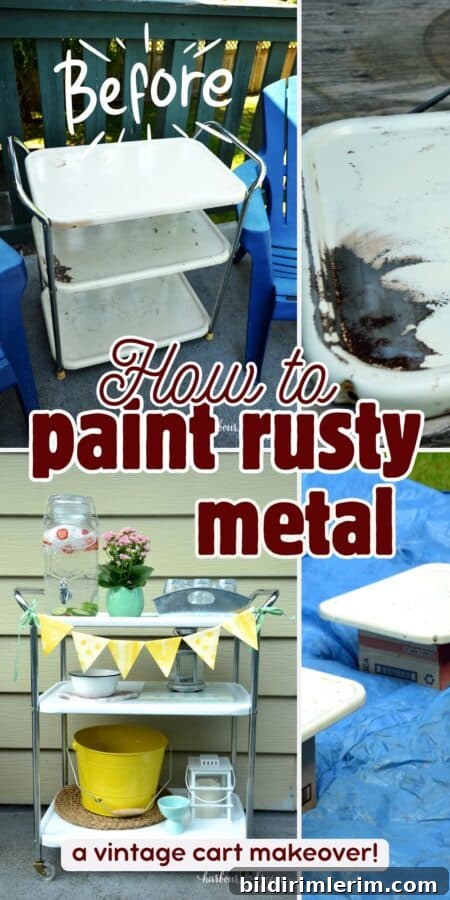
Learn how to paint on rusty metal with this clear step-by-step guide. Follow along as a vintage 3-tier metal cart is transformed using basic tools, rust-inhibiting primer, and spray paint.
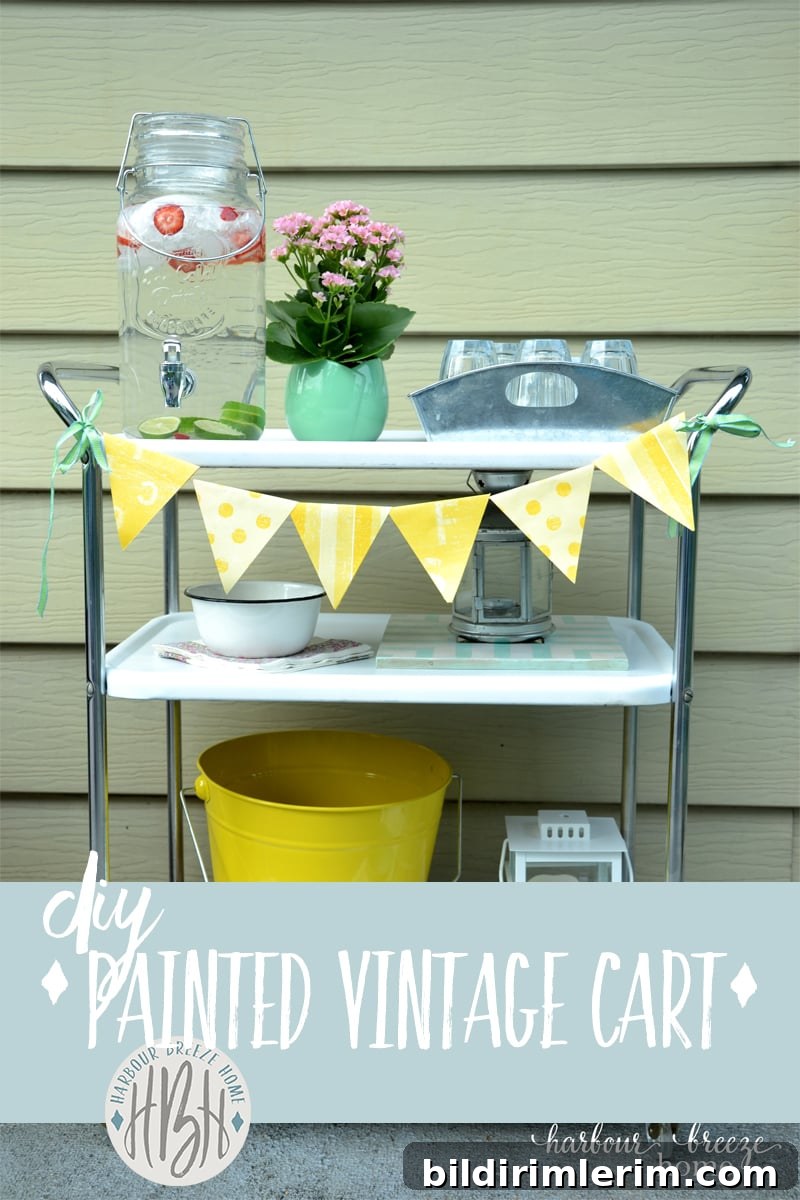
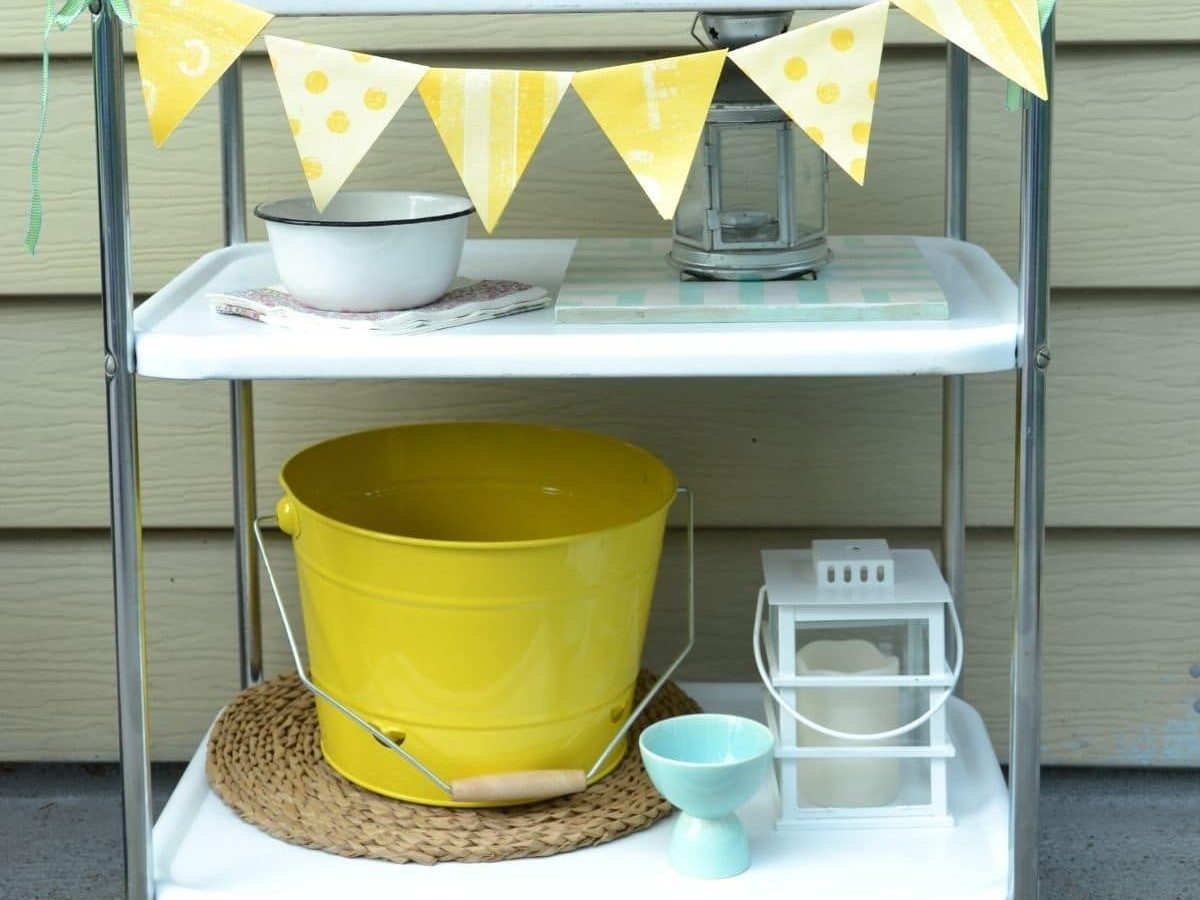
Hidden in the corner of a storage space was a dusty, rusty 3-tier rolling cart. Many would have thrown it out, but this one had sentimental value—it belonged to my mom. She kept it under the dining room window filled with plants and lined with cheerful contact paper. I finally gave it the makeover I’d imagined for years: a refreshed, functional party cart.
If you’ve ever found an old, rusted piece of metal furniture and asked yourself, “Can I actually paint on rusty metal?”—the short answer is yes. With the right preparation and materials you can remove rust, prime, and paint metal so the finish lasts and looks great.
Why You’ll Love This Rusty Metal Cart Makeover
- Budget-friendly: just sandpaper, primer, spray paint, and elbow grease
- Can be completed over a weekend
- Turns an eyesore into a charming, usable piece
- Preserves sentimental items and reduces waste
- Works for indoor or covered outdoor use when properly prepared
What You’ll Need to Paint on Rusty Metal
Gather these basic tools and supplies before you start. You don’t need professional gear—just the right basics to get a durable finish.
- Random orbital sander or sanding block
- Medium to coarse grit sandpaper (for removing rust and rough spots)
- Safety goggles and a dust mask
- Rust-inhibiting spray primer formulated for metal
- Spray paint formulated for metal in your chosen color (satin finishes work well)
- Screwdriver to disassemble parts if possible
- Drop cloth, tarp, or cardboard to protect surrounding surfaces
Step-by-Step Guide: How to Paint on Rusty Metal Furniture
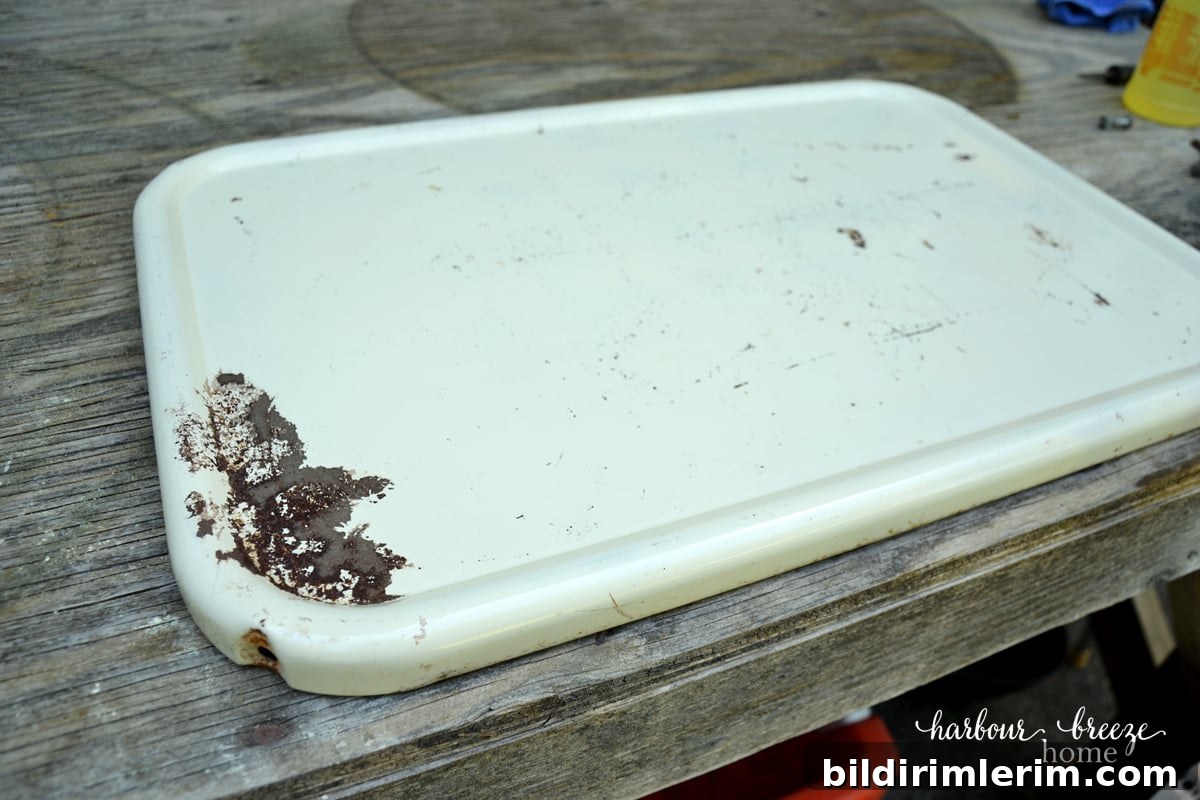
- Disassemble the cart if possible. Remove trays from the chrome handles and lay all parts flat on a workbench or sturdy surface. Disassembly makes sanding and painting easier and more even.
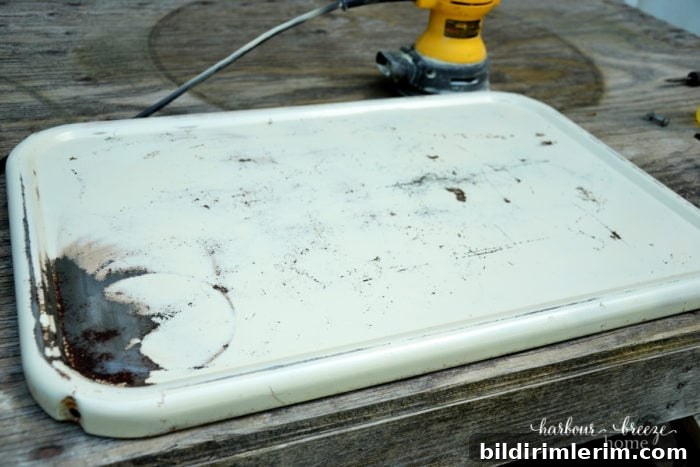
2. Remove the rust completely. This is the most important step. If rust remains, paint is likely to peel later.
- Use a random orbital sander or sanding block to remove visible rust, flaking paint, and rough spots.
- Pay special attention to corners, seams, and edges where rust is most stubborn.
- You don’t need to sand to bare metal everywhere—just remove loose material and create a smooth, stable surface.
Tip: Always wear eye protection and a dust mask while sanding rusted metal.
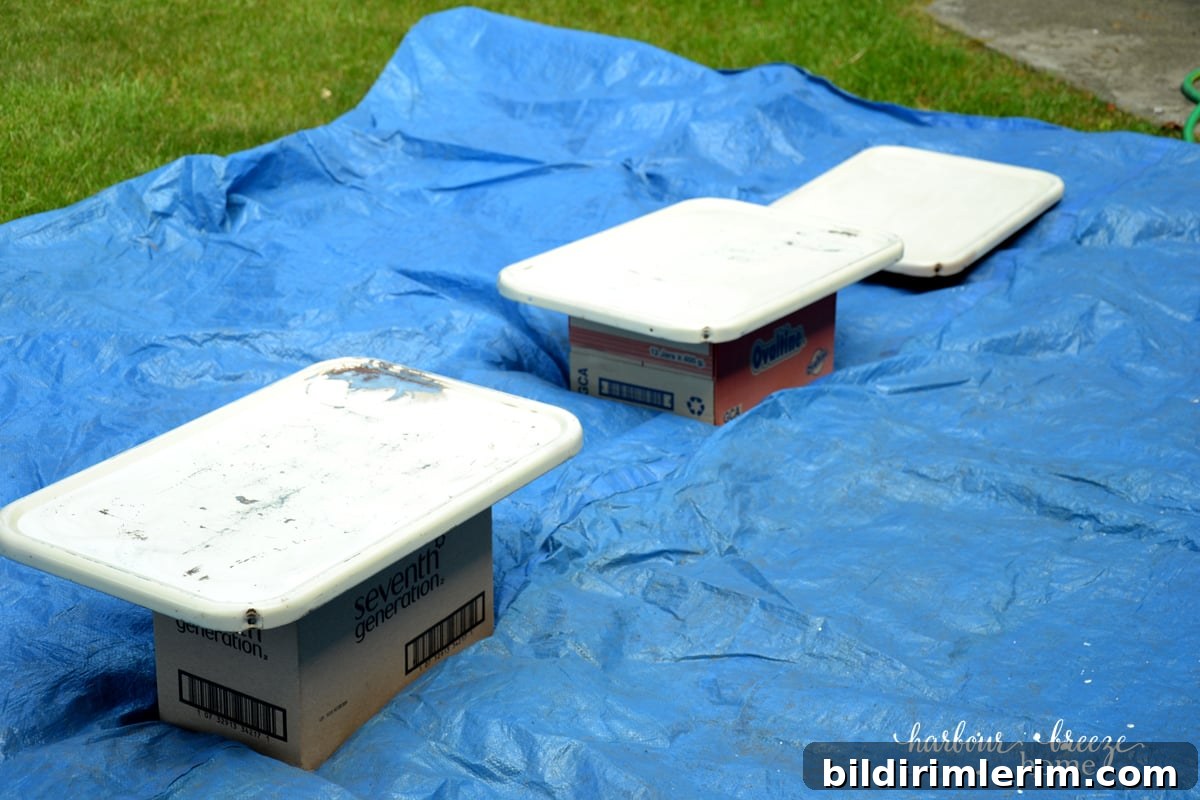
3. Wipe clean and prep your painting area. Remove dust and sanding debris with a damp cloth and let the pieces dry completely. Set up in a well-ventilated area or outdoors and lay down a tarp or cardboard to protect against overspray.
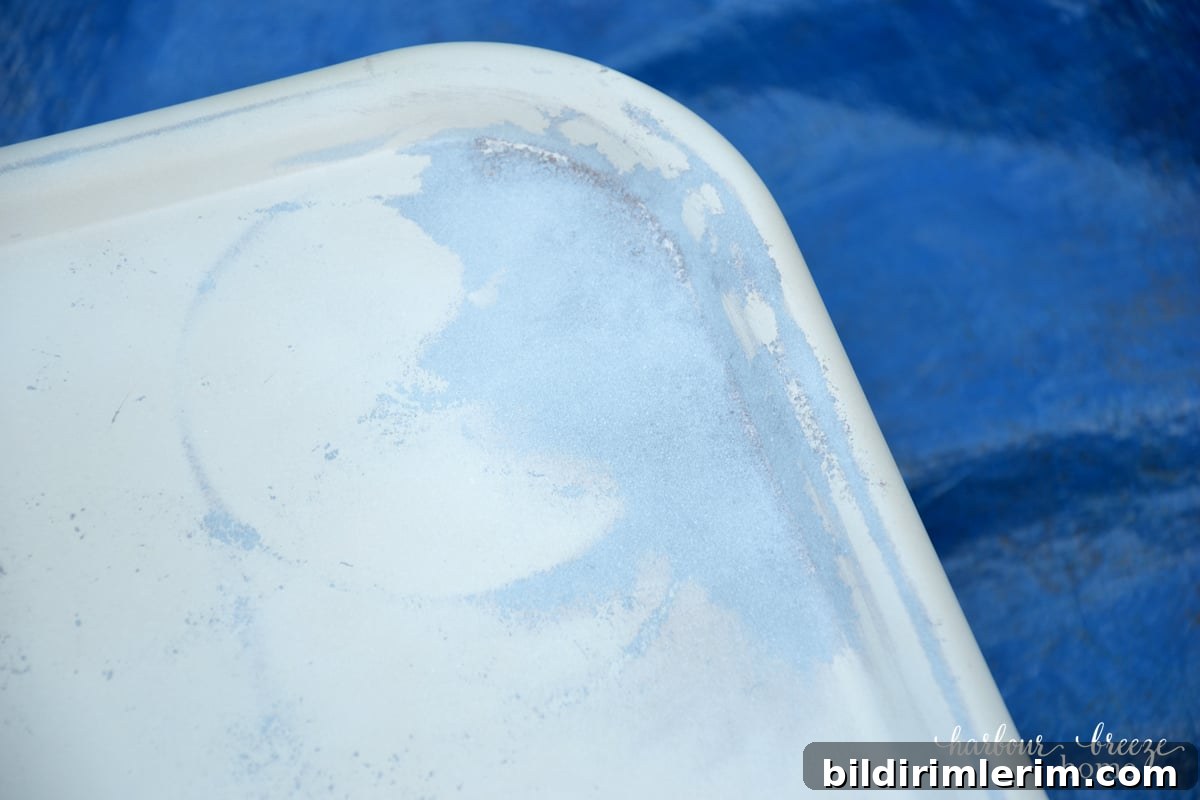
4. Apply a rust-inhibiting spray primer. Primer is essential when painting previously rusted metal. It bonds to the surface and helps prevent future corrosion.
- Shake the primer can thoroughly before use.
- Apply thin, even coats—avoid heavy globs or drips.
- Hold the can 10–12 inches from the surface and use smooth, sweeping motions.
- Allow each coat to dry according to the manufacturer’s instructions before applying the next.
Note: If some sanded areas peek through the primer, that’s normal—primer is working to stabilize the surface underneath.
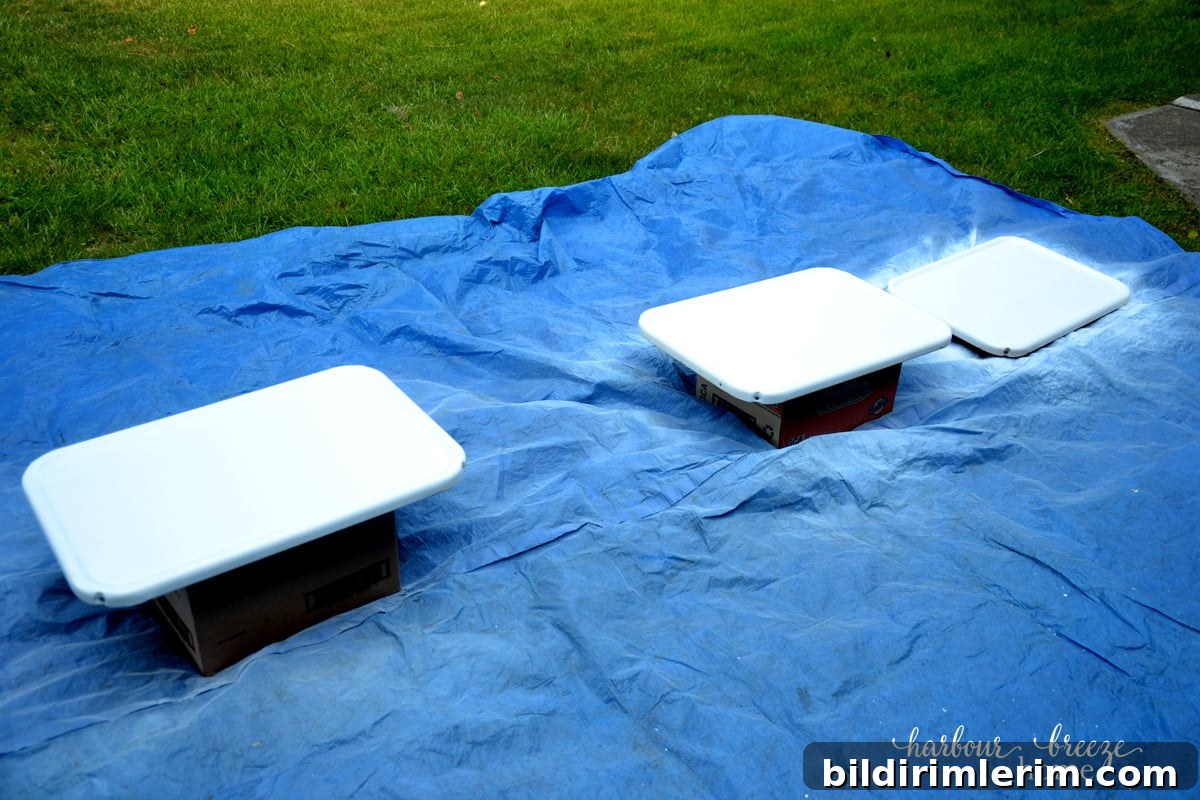
5. Spray paint with thin coats. After the primer dries, apply your chosen spray paint in the same thin, even layers. Wait the recommended drying time between coats. Two to three thin coats usually provide full coverage and a smooth finish. I used satin white for a bright, fresh look.
6. Clean chrome and reassemble. While paint cures, refresh any chrome hardware. A paste of baking soda and vinegar gently removes grime and light tarnish—rub, rinse, and dry thoroughly. When every piece is fully dry, reassemble the cart and enjoy the finished result.
Ways to Use Your Refreshed Rolling Cart
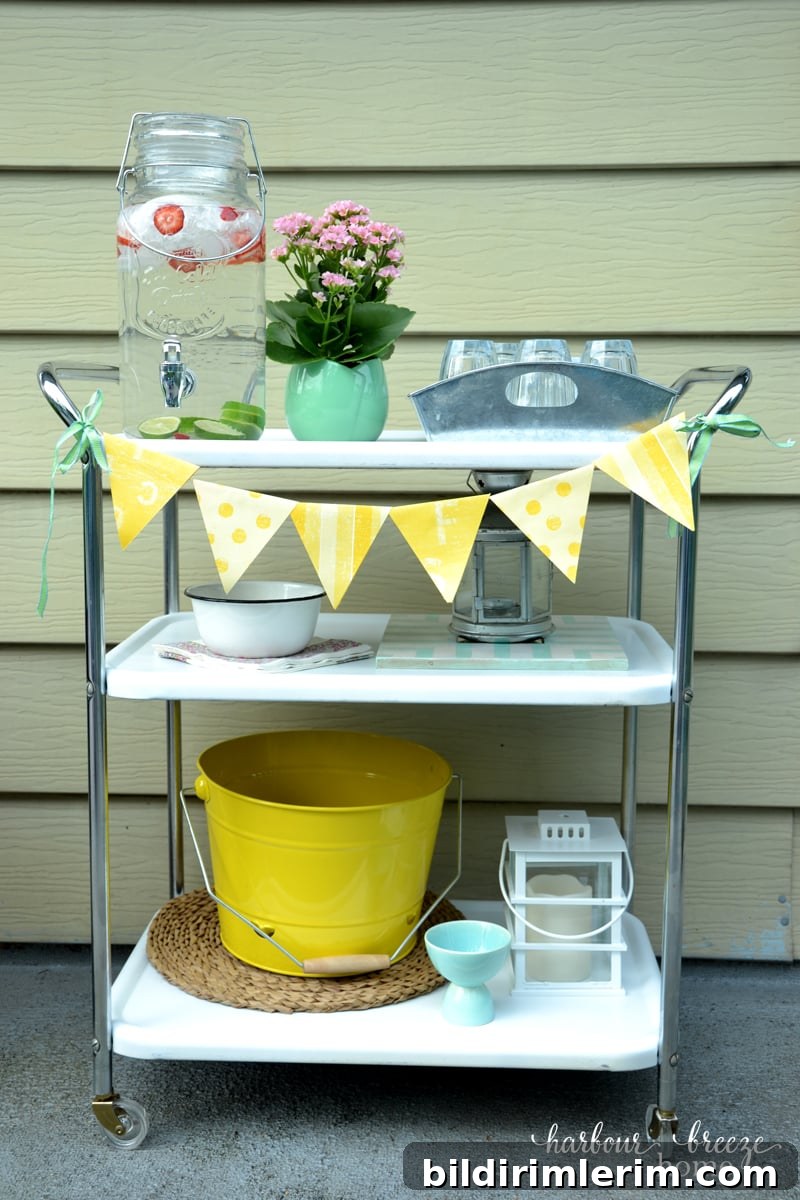
A restored 3-tier cart is incredibly versatile. Use it as an outdoor drink station for summer gatherings, a plant cart for herbs and houseplants, a mobile hot drink bar in winter, or a side table and snack station for game nights. Add seasonal decor or practical supplies—wheels and three tiers make it useful anywhere in the home.
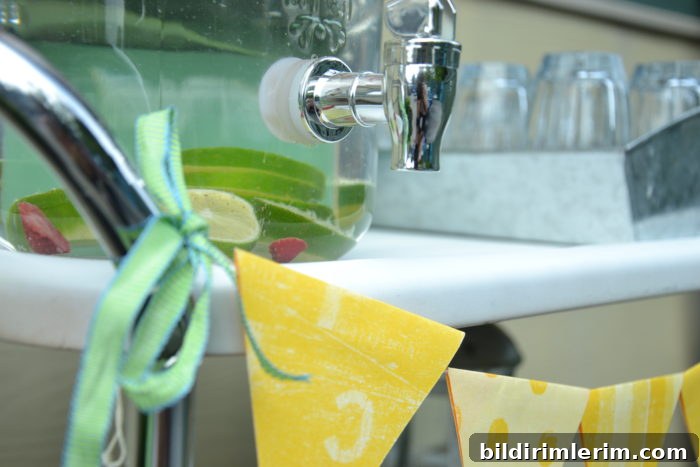
With a little time and care, you can turn a rusty, sentimental piece into something beautiful and functional. The key is careful rust removal, a quality rust-inhibiting primer, and thin, even coats of spray paint.
More Spray Paint Project Ideas
- Spray-painted pendant lights for an updated look
- Industrial wire baskets refreshed with spray paint and a fabric liner
- Painted lamp makeovers to match your decor
If you enjoyed this makeover, consider subscribing to your favorite DIY blog or newsletter for more home projects, printables, and seasonal decorating ideas.
Pin This Project for Later!
Save this spray painting on metal tutorial so you can revisit the steps when you find your next rusty treasure. With proper prep and the right supplies, you’ll be surprised how often a little paint can revive an old piece.