The Ultimate Guide to Using Painter’s Tape Like a Pro – Clever Uses Around the House
Have you ever started a painting project thinking it would be quick and easy, only to peel off the tape and discover a jagged, messy edge? It’s a frustrating experience many of us share. The good news: creating crisp, professional-looking paint lines with painter’s tape is simple once you know the right steps.
This guide covers what painter’s tape is, which types work best for different surfaces, step-by-step instructions to apply tape and get clean lines, and creative everyday uses around the house. Follow these tips and your next paint job will look much more polished.
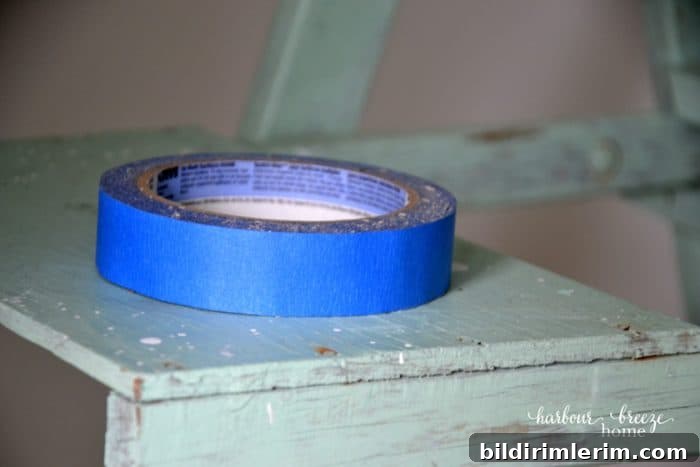
What Is Painter’s Tape and Why It Matters
Note: some links or product names may be mentioned for clarity.
Painter’s tape is designed to create sharp paint edges while protecting adjacent surfaces. Compared with standard masking tape, painter’s tape is formulated to resist paint seepage and to remove cleanly without damaging the underlying finish. Choosing the right tape can be the difference between a professional result and a frustrating redo.
Common uses include:
- Painting stripes or geometric patterns on walls
- Masking trim, baseboards, and ceilings
- Craft projects, including fabric and paper art
- Protecting delicate finishes on windows, hardware, and furniture
When selecting tape, look for one that prevents seepage while still removing without peeling the finish off the surface.
What Can Go Wrong if Tape Is Used Incorrectly
If tape isn’t applied properly, paint can bleed underneath, leaving a jagged, splotchy edge. Conversely, using a tape that’s too aggressive can pull off existing paint or damage delicate surfaces. Both scenarios are avoidable with correct surface prep, proper tape choice, and the right removal timing.
Choosing the Best Painter’s Tape for Your Project
There are several common tape types to consider:
- Blue painter’s tape: Good for indoor trim and delicate surfaces. It has moderate tack and releases easily after short-term use.
- Green painter’s tape: Often used for craft projects and general-purpose masking.
- Specialty tapes: Some tapes, such as those treated to create a paint-blocking seal, are excellent when you need razor-sharp lines, especially for two-tone walls or stripes.
Pro tip: Always test a small piece on an inconspicuous area to confirm adhesion and compatibility with the surface.
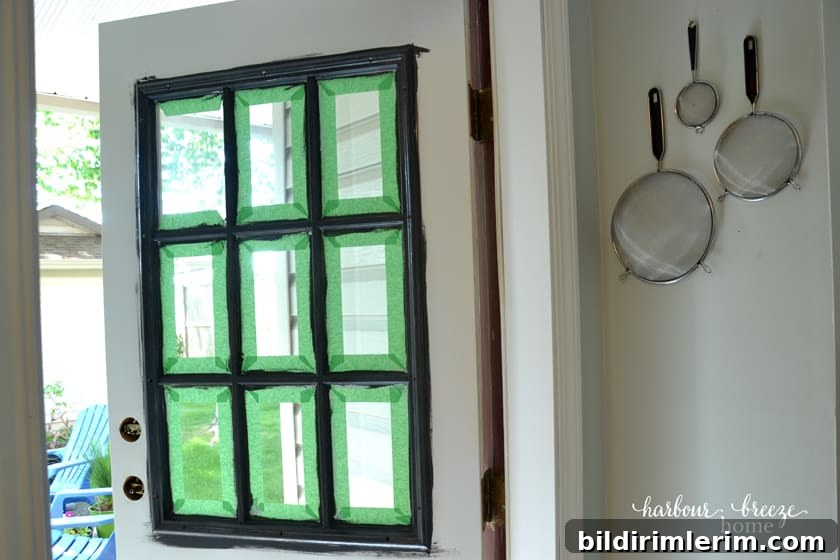
How to Apply Tape for Perfect Paint Lines
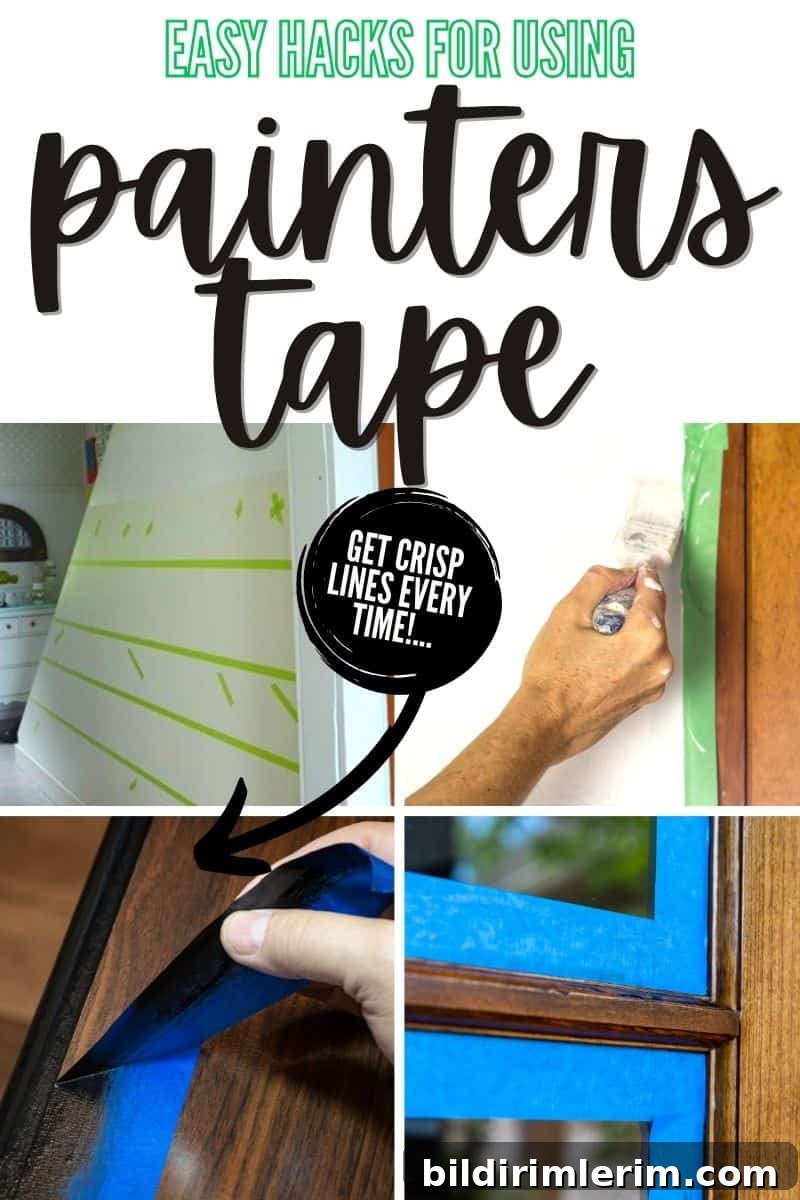
Follow these steps to get clean, professional edges every time:
- Start with a clean, dry surface. Remove dust, dirt, and grease so the tape can adhere correctly.
- Measure and mark carefully. Use a light pencil line, level, or laser to map out stripes or borders before applying tape.
- Apply tape and press the edges down firmly. Smooth the tape with your hand, a credit card, or a plastic scraper to seal the edge where paint will meet the tape.
- Seal the tape edge with the base color (optional but effective). Paint a thin layer of the existing wall color along the tape edge and allow it to dry. This seals minor gaps so any bleed will match the base coat.
- Try the paintable caulk trick. For the cleanest lines, run a very thin bead of paintable caulk along the tape edge, smooth it with a finger, let it dry, then paint. The caulk seals gaps and prevents seepage.
- Paint with restraint. Don’t overload brushes or rollers—excess paint increases pressure and forces paint under the tape.
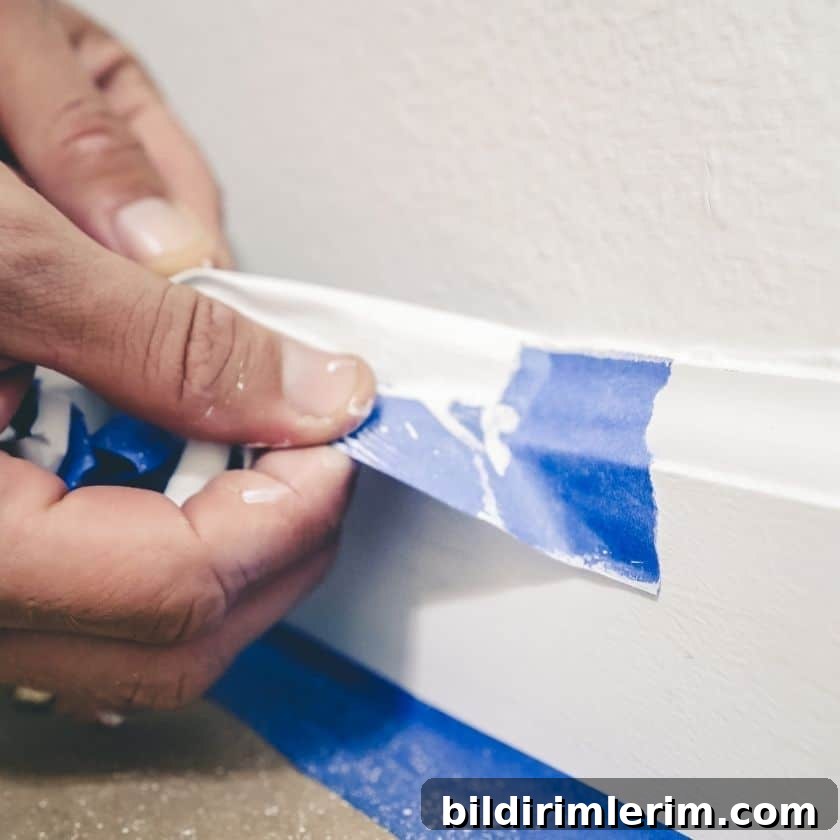
- Remove the tape while paint is still slightly tacky. Peel at a 45-degree angle while the paint is not fully dry. If the paint has formed a skin, lightly score the edge with a craft knife before removing the tape.
Real-Life Projects Where Painter’s Tape Shines
Painter’s tape is incredibly versatile. Here are practical examples where it makes a big difference:
Watercolor Wall Art
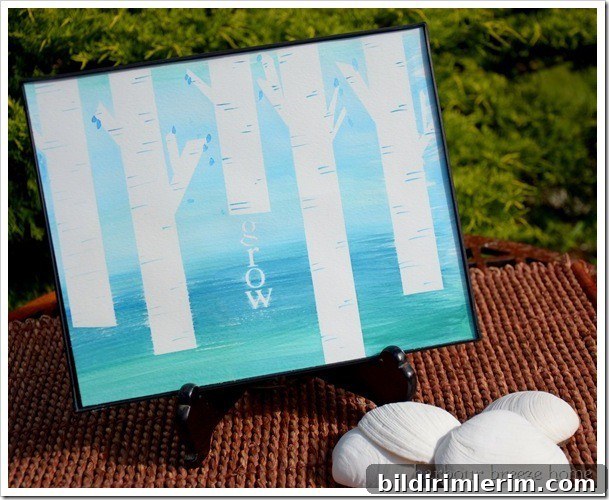
Use tape to mask shapes and lines on watercolor paper. Paint over the exposed areas, let them dry, and peel the tape away to reveal crisp unpainted lines—great for both kids’ crafts and gallery-style art.
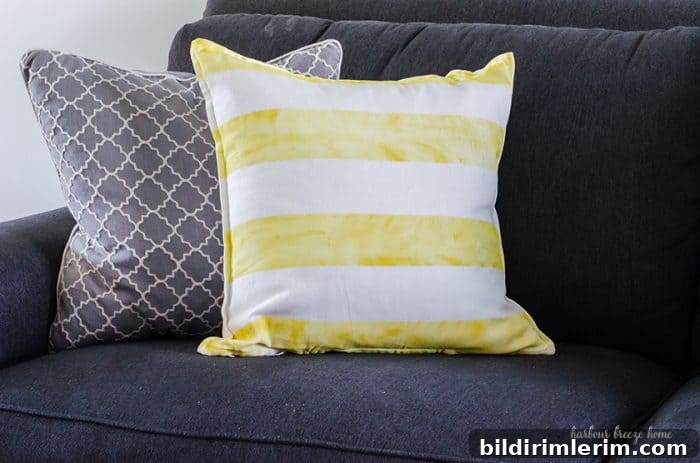
Painted Fabric Pillows
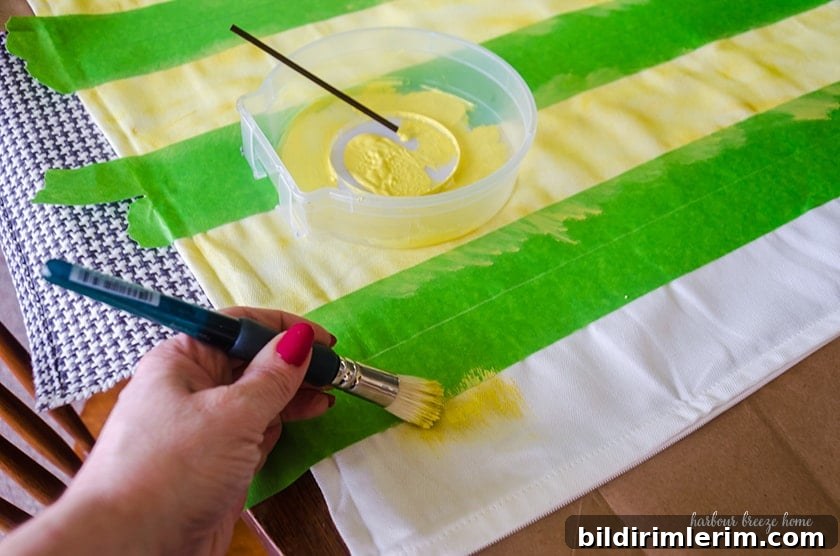
Apply tape to a plain fabric cover and paint with fabric-safe paint between the lines. When removed, the tape yields crisp, even stripes—no bleed-through when done correctly.
Striped Wall Treatments
A hallway or feature wall can be transformed with stripes. Careful layout, solid adhesion, and the sealing techniques above will give you clean, consistent bands of color.
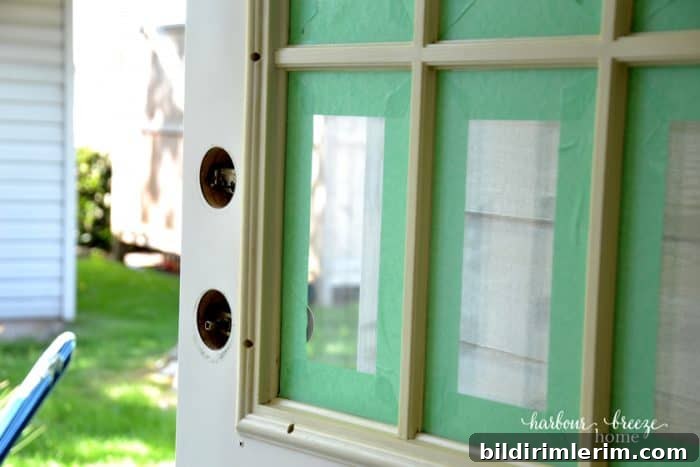
Plastic Window Trim on Metal Doors
When painting metal doors with plastic trim, tape protects edges and ensures a neat separation between materials. Choose a tape compatible with metal and plastic and remove it carefully to avoid lifting finishes.
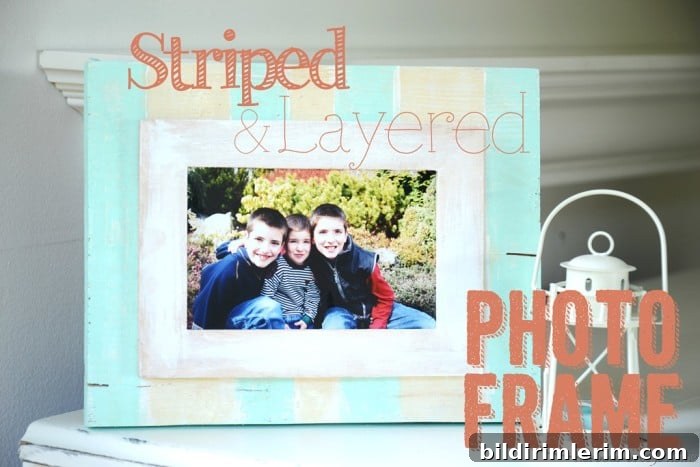
Striped Photo Frames and Small Crafts
Small home decor pieces like frames or shelf fronts are perfect for practicing tape techniques. They’re quick projects that reward careful taping and clean removal.
Creative Everyday Uses for Painter’s Tape
Beyond painting, painter’s tape is handy around the house:
- Freezer labels: Write on tape with a marker to label containers; it removes cleanly without residue.
- Temporary labels: Use for sorting boxes during decluttering, moving, or yard sales.
- Kids’ crafts and homemade games: Create temporary play areas like hopscotch, tic-tac-toe, or resist-painted art.
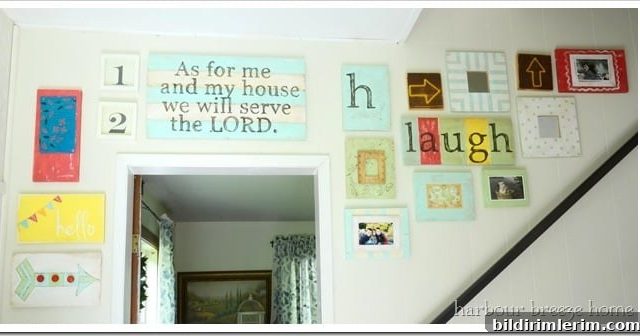
- Guidelines for hanging art: Lay out frames and mark nail or hook placement with tape before making holes in the wall.
More Painting Tips
- Test tape on a hidden area before committing to long-term use.
- Avoid leaving tape in place for extended periods; remove it within the manufacturer’s recommended timeframe to prevent residue or paint lifting.
- When painting high-contrast colors, use the sealing techniques described above for the sharpest lines.
Join the Community
If you enjoy home projects and practical tips, consider subscribing to newsletters or following project blogs for new ideas and printable guides. Share your tape-based projects and learn from others’ techniques to refine your results.