
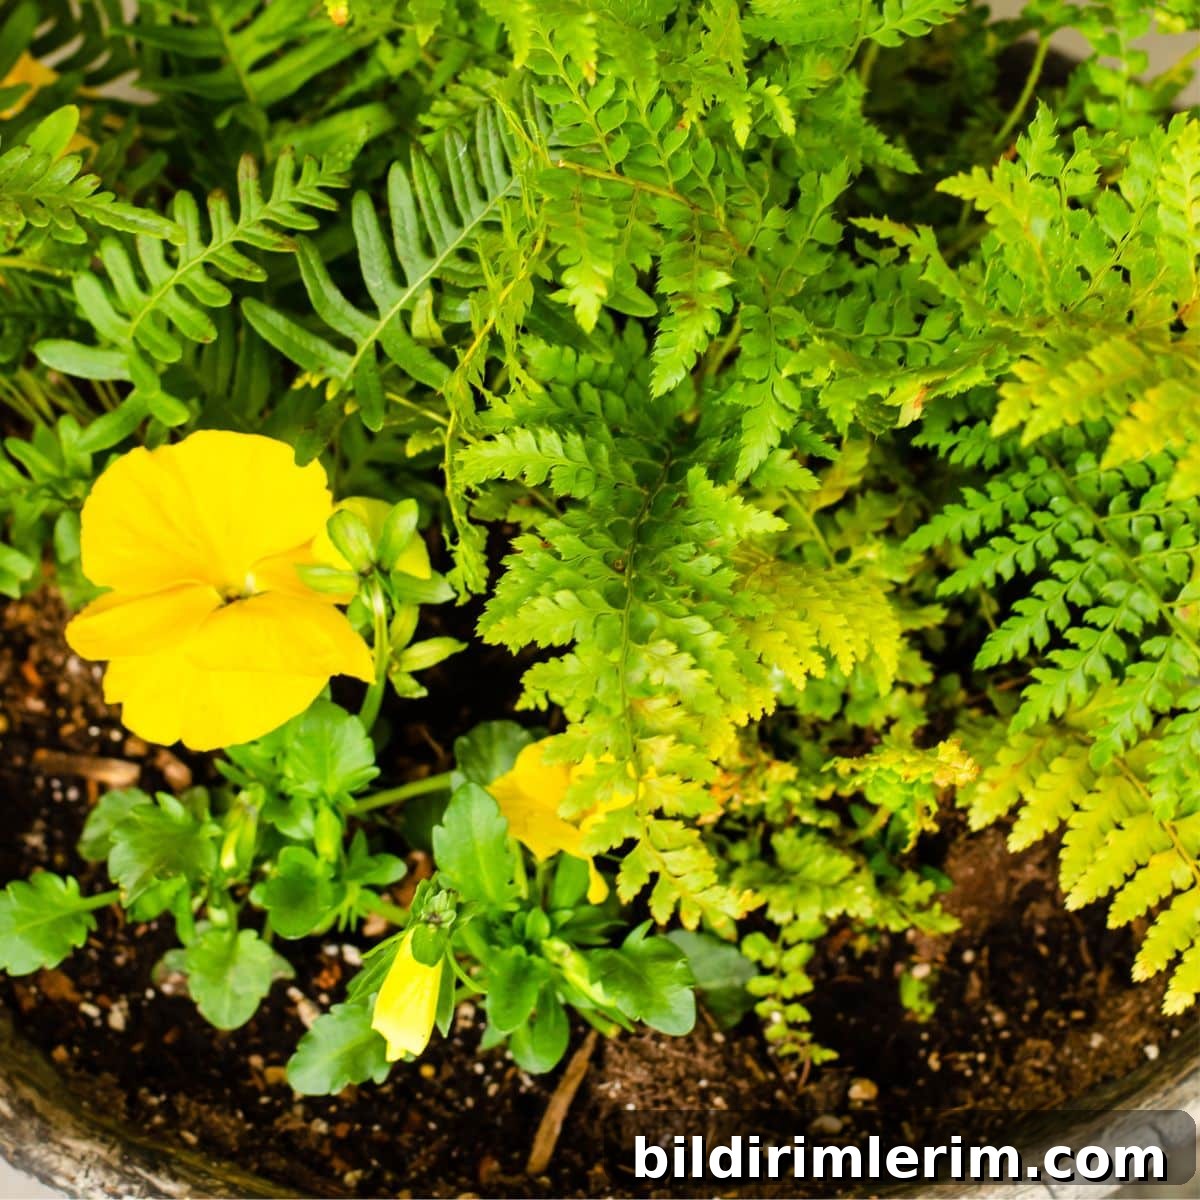
The sun came out yesterday and it felt glorious. Warm light and clear skies brought the yard to life: the grass looked greener, birds filled the air, and small blooms seemed to appear overnight. That sudden burst of spring energy had me itching to get my hands in the soil and refresh our outdoor containers.
Because spring plant sales often mean great bargains on young bedding plants, we stopped by our local Canadian Tire after church to see what they had in stock. The nursery section was full of healthy little starts, affordable and ready to be arranged into containers. I grabbed a cart and selected a mix of colors and textures for two outdoor planters. Between choosing color combinations and experimenting with layouts, time slipped by—enough to enjoy a quick coffee and muffin while we waited for the next ferry.
Back home, I headed straight to the greenhouse to plant. Below are the easy, practical steps I follow when creating container gardens—ideas that work whether you’re starting with tiny plants or refreshing older containers.
Simple Tips & Tricks for Planting Container Gardens
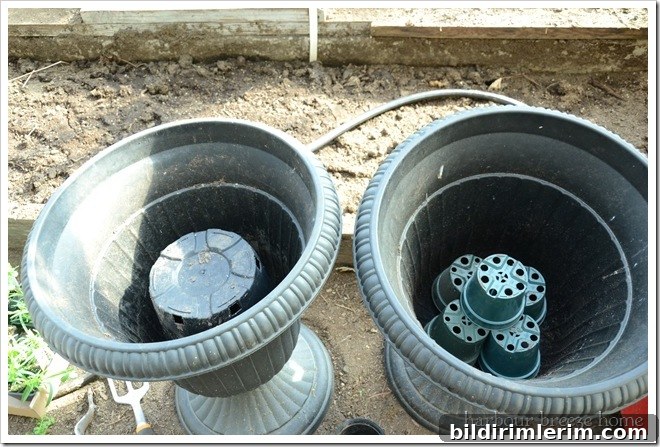
1. Reduce the volume in large pots by placing an inverted pot inside. If your container is deep, set an upside-down clay or plastic pot (with drainage holes) at the bottom. This fills unused space, improves drainage, saves potting mix, and makes the container lighter and easier to move.
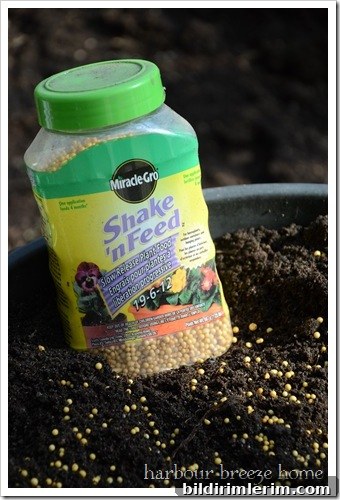
2. Use a quality potting mix and add slow-release fertilizer. Pour in fresh potting soil and sprinkle a balanced slow-release plant food over the surface. Gently mix it into the top layer so nutrients are available as plants establish. A product like Miracle-Gro Shake ’n Feed is popular for flowering containers, but any balanced slow-release fertilizer will help keep blooms producing.
3. Arrange plants before planting to finalize the design. Lay out pots or packs in the container first and experiment with placement. Taller plants generally go toward the back or center, with medium-height plants around them and trailing varieties at the edges to soften the rim. This helps you visualize balance and color flow before disturbing roots.
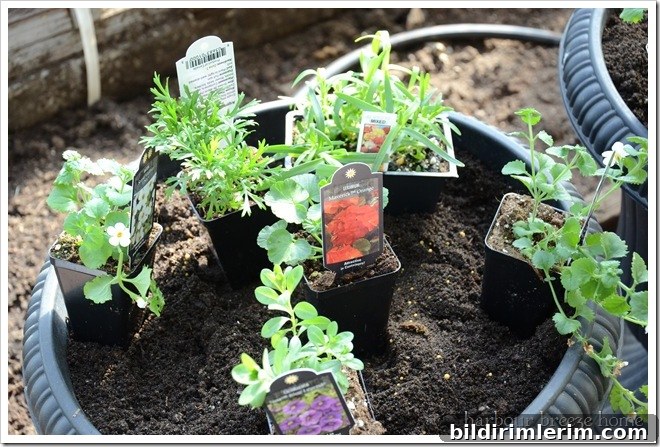
4. Plant gently but firmly. Use a trowel to dig a hole slightly larger than the root ball. Remove the plant from its nursery container, loosen the roots with your fingers if they’re compacted, and place it in the hole. Backfill with potting mix and press the soil down lightly to eliminate air pockets. Water thoroughly after planting to settle the soil around the roots.
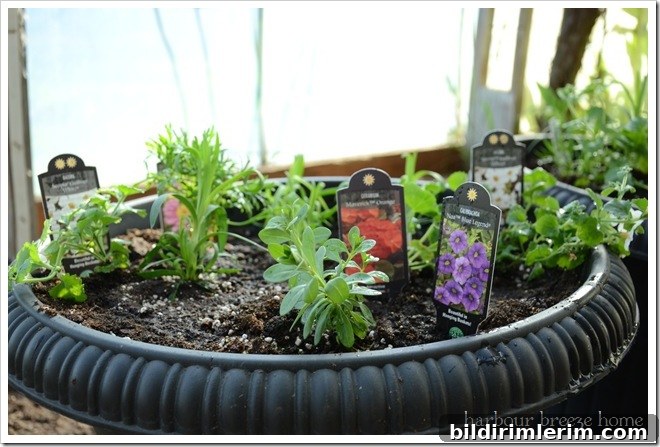
5. Protect tender plants from late frost. If nights still dip below freezing in your area, keep newly planted containers in a protected spot or a greenhouse until the danger of frost passes. Check your local planting calendar for recommended safe planting dates based on your growing zone.
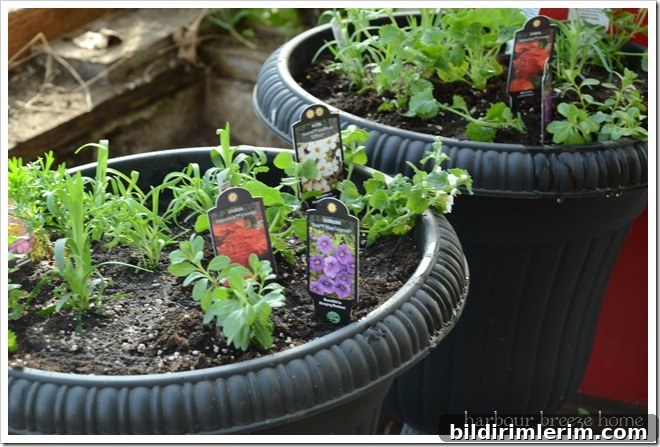
6. Establish a simple care routine. Water consistently—containers dry out faster than garden beds. Depending on sun exposure and temperature, daily watering may be necessary in hot weather, while cooler conditions require less. Feed weekly or according to your fertilizer’s directions to support continuous flowering. Deadhead spent blooms to encourage more blossoms, and trim back plants that outgrow the space to maintain a tidy look.
7. Choose plants for your light conditions. For sunny spots, select heat- and sun-tolerant bedding plants; for shaded areas, pick varieties that thrive without direct sun. Mixing foliage textures and flower shapes creates visual interest and helps containers look full even when individual plants are still small.
Although newly planted containers can look sparse at first, they fill out quickly. With consistent watering, occasional feeding, and light maintenance like deadheading, your spring containers will become vibrant focal points on porches, patios, or balconies.
Other Gardening Posts
- Simple tips for hydrangea care in pots
- Top gardening tips to save time, energy, and guilt
- Cut flowers perfect for sunny flower beds