
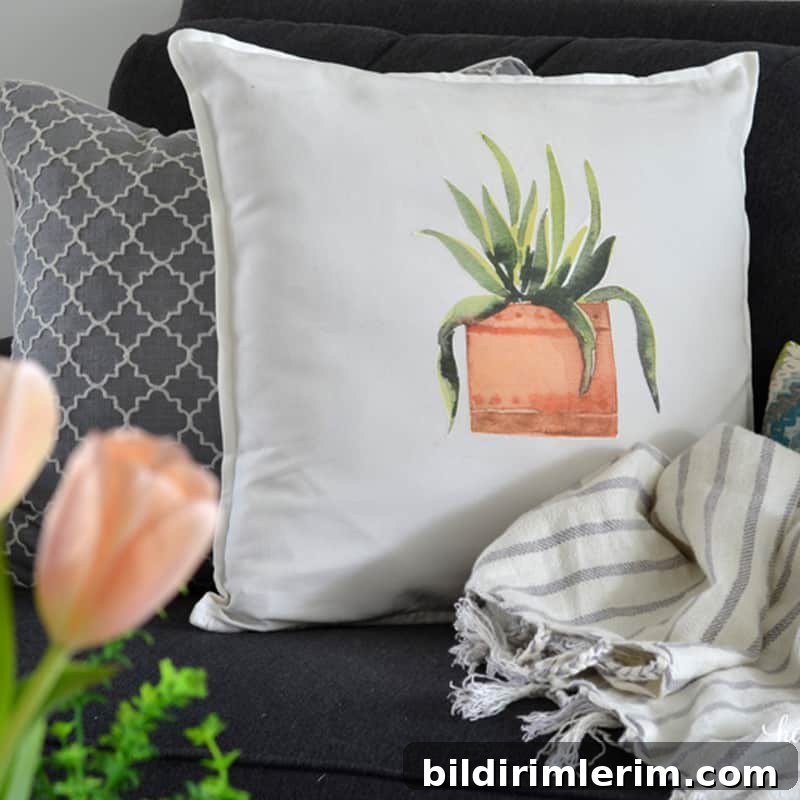
Learn how to create fresh Spring throw pillow covers in minutes using free printables and iron-on transfer paper. This quick, affordable DIY refreshes any room.
A bout of spring cleaning left me wanting a small, fresh update for the couch—just a simple way to brighten the room without storing seasonal decor. I decided to make pillow covers instead of full pillows so they’re easy to swap and take up less storage. The solution I landed on uses free printable designs and iron-on transfer paper. It’s fast, low-cost, and doesn’t require a cutting machine.

How to Make Spring Throw Pillows in Under 10 Minutes Using Free Printables
This method works well for simple watercolor florals, botanical sketches, typography prints, or any printable artwork sized for a 20″ pillow cover. All you need is an inkjet printer, iron-on transfer sheets suited for your fabric color, plain pillow covers, and a printed design.
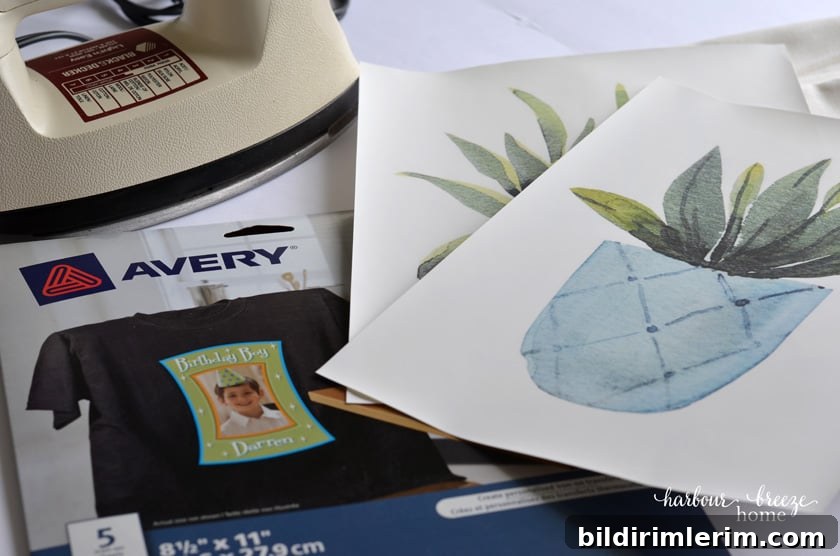
Supplies Needed for Iron-On Transfer Pillows
- Avery-style iron-on transfer paper (choose the type for dark or light fabric depending on your pillow cover).
- Inkjet printer.
- White or light-colored pillow covers (for example, 20″ x 20″ covers are a popular size).
- An iron with a solid soleplate; steam should be turned off when applying transfers.
- Free printables or your own printable files sized to fit your pillow.
Step-by-Step Instructions for Spring Pillow Covers Using Transfer Paper
- Choose and print your design. Use an inkjet printer and print the artwork onto the iron-on transfer paper following the transfer manufacturer’s print settings. Mirror the image if required by your transfer paper instructions.
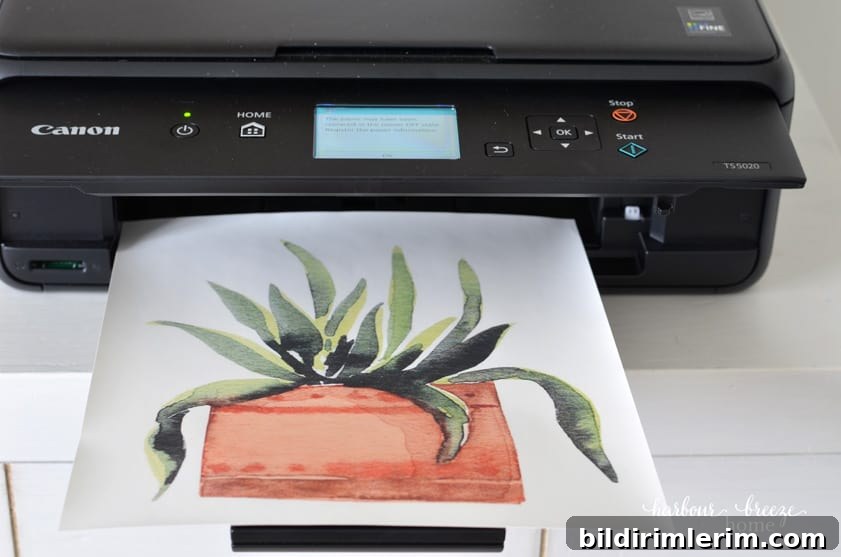
You don’t need a cutting machine for this technique—just a home printer will do. I printed a set of small potted plant graphics I had created for this purpose. Many blogs and printable libraries offer free spring designs you can use.
- Trim and remove the backing. Cut closely around the design so there is minimal white border, which helps the print blend into the fabric. Then peel off the backing paper carefully—starting a small tear at an edge makes peeling easier.
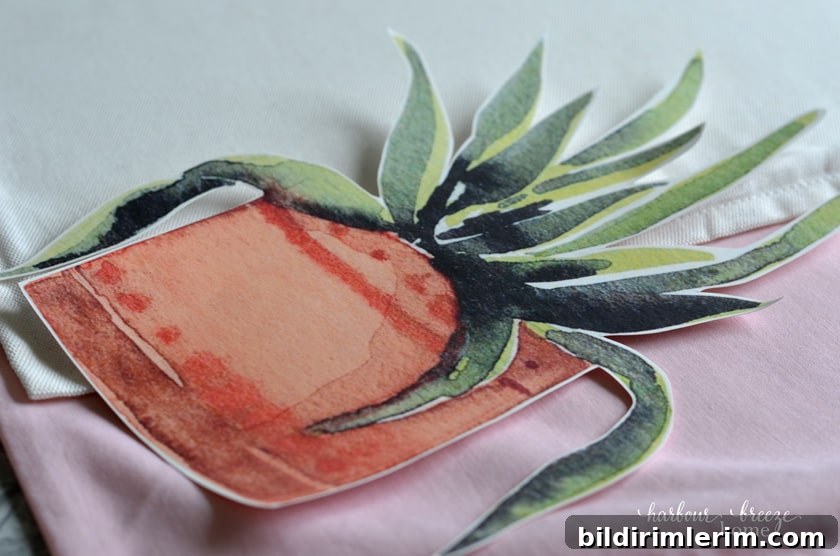
- Heat-set the transfer with an iron. Place the pillow cover on a hard, heat-safe surface (a pillowcase over a table works well). Remove wrinkles from the fabric with the iron, then center the transfer. Place the protective transfer sheet (if provided) over the image and press with a hot, dry iron. Move the iron slowly and apply firm pressure for the time recommended by the transfer paper manufacturer.
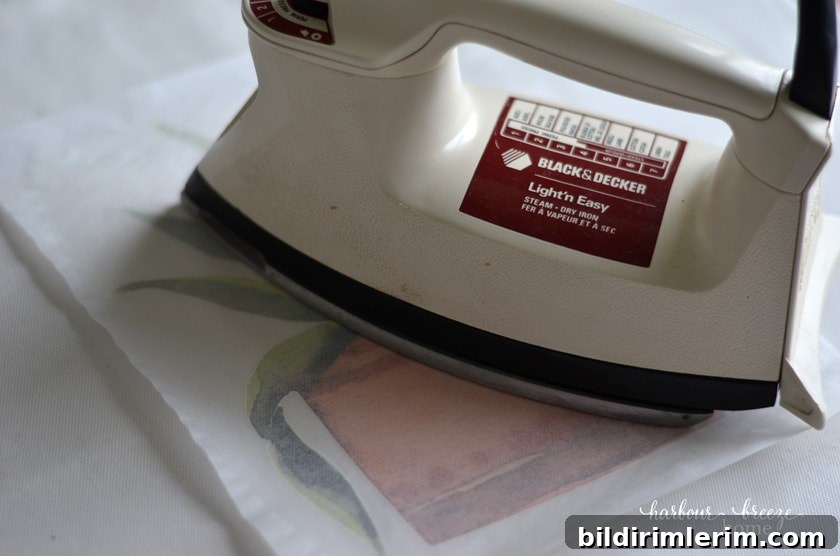
- Let the design cool. After pressing, lift the iron and allow the covered design to cool for a couple of minutes so the adhesive sets.
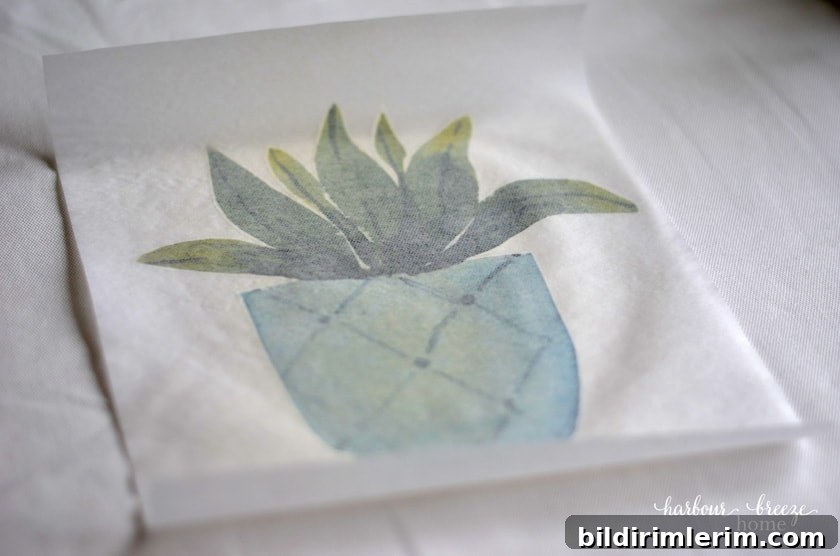
- Remove the top sheet and admire your finished pillow cover. Carefully peel off the protective top sheet to reveal the transferred image. Let the cover rest if needed before inserting a pillow form.
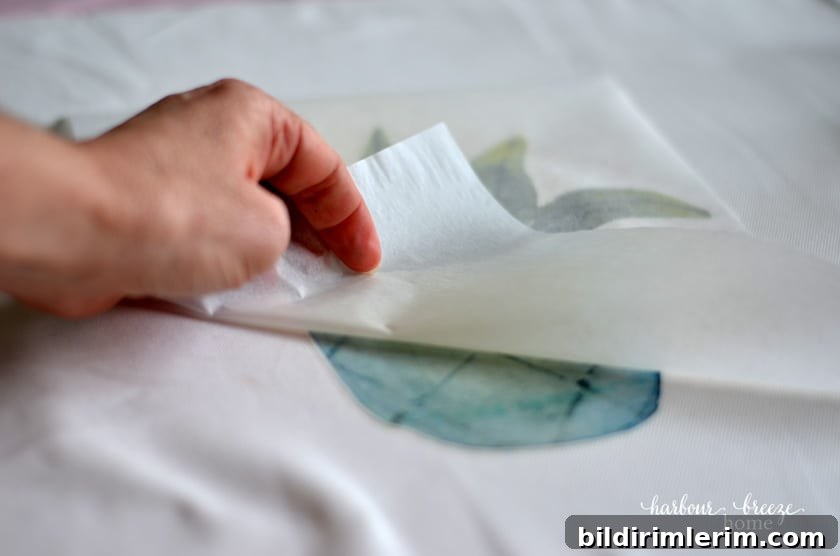
This process is quick and forgiving. With a few practice transfers you’ll get consistent results and learn the best pressure, heat, and timing for your materials.

Ideas, Tips, and Alternatives
You can use any printable artwork that fits your pillow dimensions. For a cohesive look, print a set of coordinating images in the same color palette. Trim transfers closely so the design appears integrated with the fabric. Test one transfer on scrap fabric first if you’re unsure about heat settings or color outcome.
- Try botanical or watercolor plant printables for a light, spring look.
- Use darker transfer sheets when applying to dark fabrics; use light-fabric transfer paper for white or pale covers.
- Wash covers inside out on a gentle cycle to preserve the transferred design.

Other Projects to Try with Iron-On Transfers
- Custom canvas tote bags
- Table runners for seasonal decor
- Personalized T-shirts
- Decorative dish towels
More Pillow Projects to Explore
- DIY seasonal pillows that don’t require sewing, such as a simple tree motif for holidays.
- Faux leather pillow covers with zipper closures for a modern farmhouse or boho look.
- Hand-painted fabric pillows featuring quotes or custom lettering.
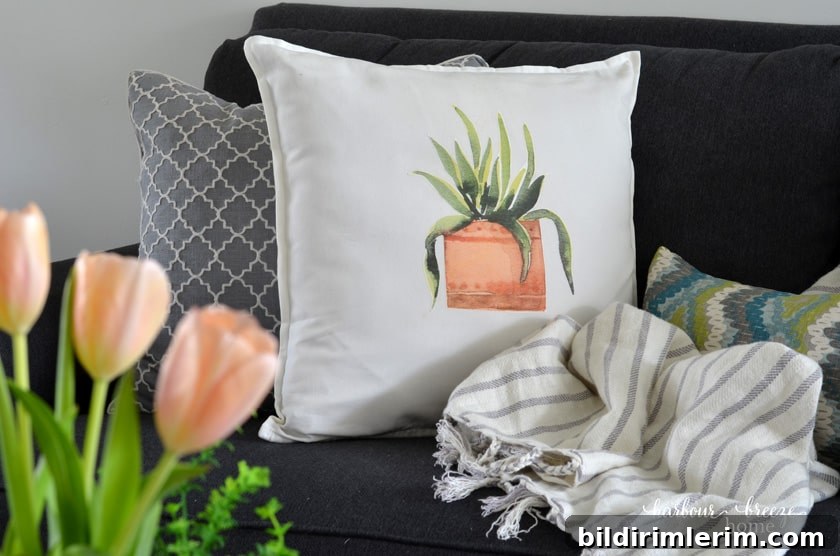
Project details: Prep time about 5 minutes, active time around 15 minutes, total time roughly 20 minutes. Difficulty: Easy. This technique is an excellent way to refresh your living room for spring without a big investment or storage burden.
If you enjoy printable artwork, consider assembling a small digital library of seasonal designs so you can quickly swap pillow covers whenever you want a new look. Have fun creating—this is an easy, inexpensive way to bring fresh color and pattern into your home.