
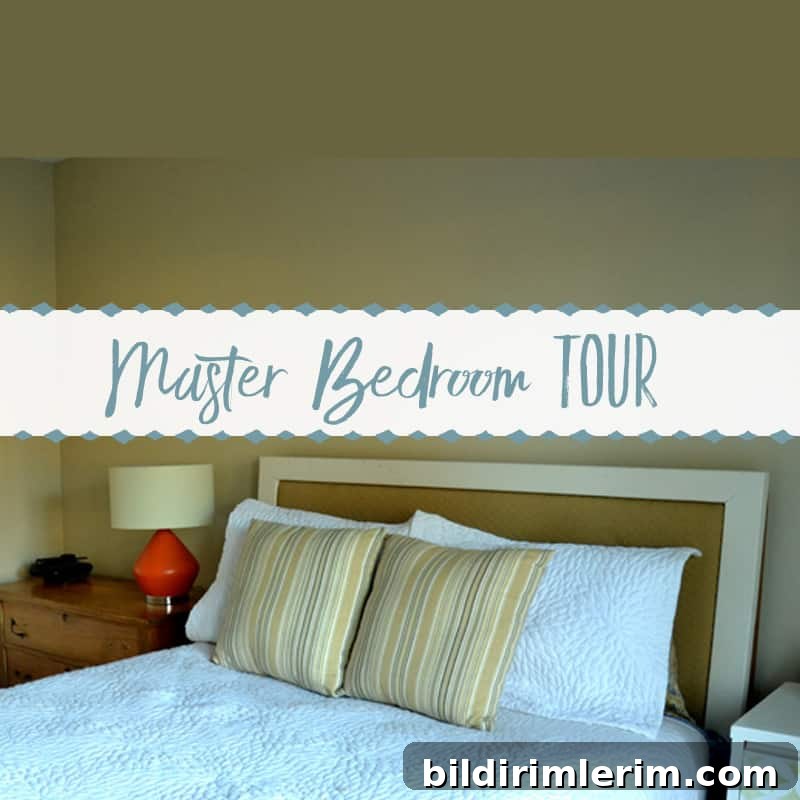
Master Bedroom Before Tour — Our Townhouse Renovation
We’ve been living in our townhouse for about five months now, and slowly but surely we’re settling in. It’s taken some time to learn the flow of the space and figure out—through trial and error—what works and what doesn’t. The good news is we aren’t in a rush; we can tackle the house room by room, at our own pace, until it truly feels like home.

So far, most of our attention has been on the main floor. We’ve finished projects in the Living & Dining Room, refreshed and painted the kitchen while adding a small coffee station, and completed a tidy Laundry Room makeover. Those changes made a big difference to how the main level functions and feels, and now I’ve been focusing on the upstairs spaces.
Upstairs I’m juggling several projects at once. Some are quick updates, others will take time and thought. Looking back over photos I took a few weeks ago gives me perspective — we’ve already made visible progress even if a few rooms still feel like works in progress.
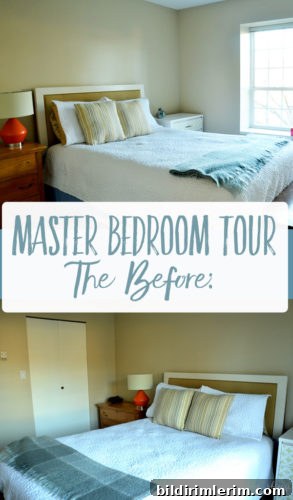
Before I dive into the details of the updates, I wanted to share a “before” tour of our Master Bedroom. Come on up our little townhouse staircase and walk down the hallway with me to see the room as it was when we first started planning its makeover.
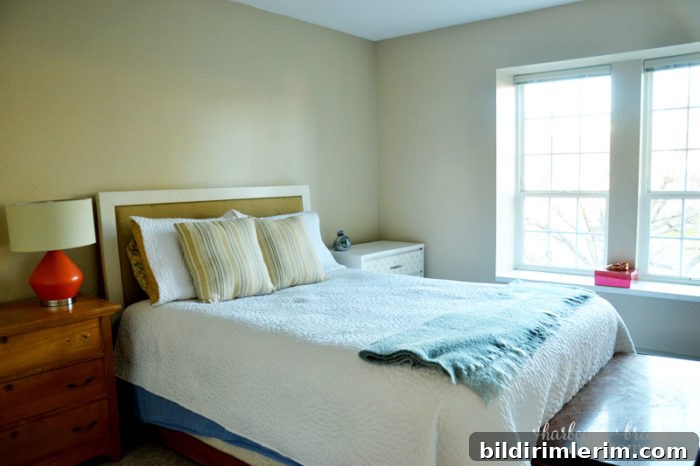
The room is a comfortable size and features a large window that floods the space with natural light. Having that bright, airy feel is such a valuable starting point for designing a restful master bedroom. The natural light makes it easier to test paint colors, layer textiles, and choose furniture that won’t make the room feel crowded.
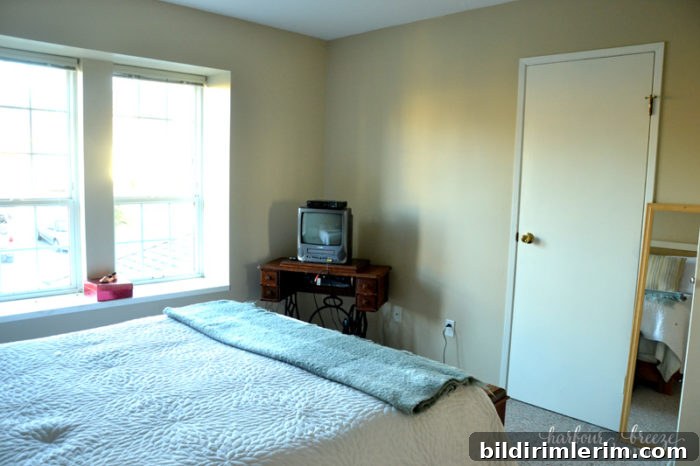
One of the features I love is the extra door that opens into the main bathroom. Our real estate agent referred to this as a “cheater suite,” which is a practical layout for a townhouse — a bedroom with direct access to the shared bathroom. It’s a small convenience that makes morning routines easier and adds a semi-private feel without a full en-suite renovation.
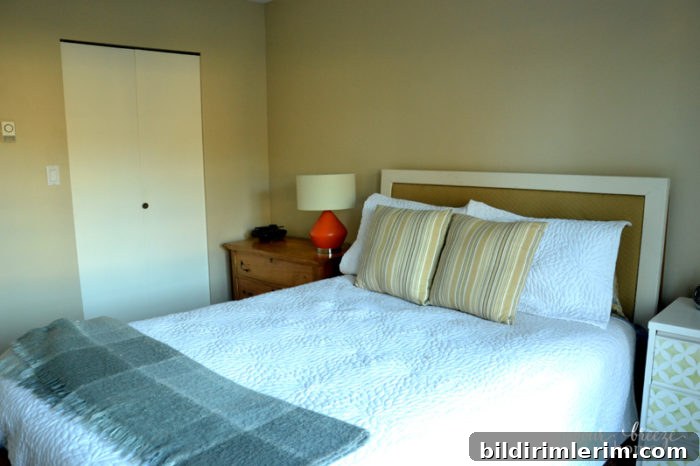
Behind the third white door in the room is the closet. For the first time in a long time, we’re living in a house where the master bedroom actually has a closet with a door—and that’s something to celebrate. I’m happy to report it’s even large enough to walk into, which opens up storage and organization possibilities I haven’t had in previous homes.
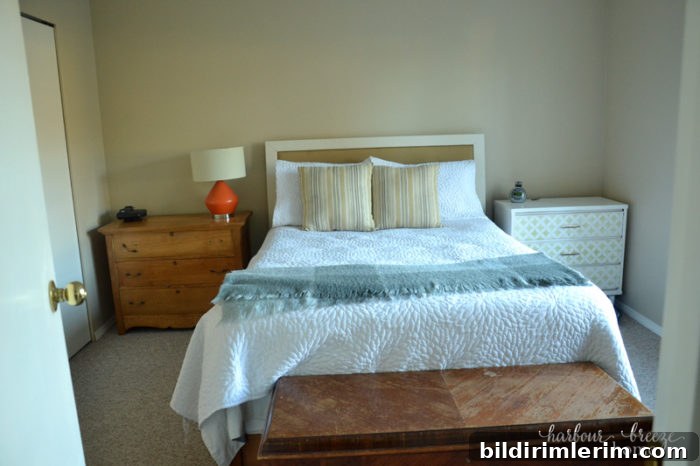
In the coming weeks I’ll be adding personality and practical touches to the room—thoughtful lighting, layered bedding, window treatments that enhance privacy without blocking the light, and storage solutions for the walk-in closet. My goal is to transform this simple blank space into a calm, functional master retreat that reflects our style and meets our day-to-day needs.
We’re taking a room-by-room approach to the townhouse renovation so each space gets the focus it deserves. If you’ve been following along with our main floor updates, you’ll know these incremental changes add up fast. I’m excited about the plans for the master — and equally excited to share the reveal once everything comes together. Stay tuned for the finished look and the practical tips I’ll be using to make the most of this room.