DIY Stamped Pattern Sign for an Entryway Gallery Wall
I wanted to create a sign with a playful pattern, but I wasn’t eager to freehand elaborate scrollwork. I remembered I owned an acrylic stamp set with the exact motif I had in mind, so I decided to try stamping a repeat pattern directly onto a painted wood panel.
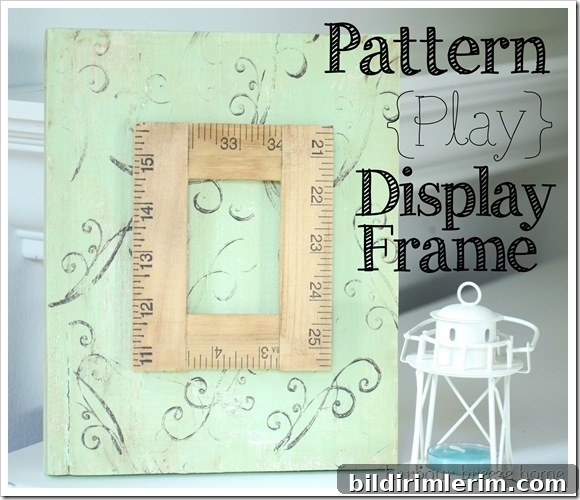
My main question was whether house paint would work on clear scrapbooking stamps. After a little experimentation, the answer was a confident yes. I used a small craft brush to pick up a neutral “panther” tone of latex paint, applied the paint lightly to the face of an acrylic stamp, and then pressed the stamp gently onto the dry front of the board.
To get a consistent pattern, I stamped two to four impressions before reloading the stamp with paint. Because the wood surface was already dry and the paint layer thin, the stamped motif transferred cleanly and produced an attractive, slightly imperfect look that feels handmade rather than machine-perfect—exactly the aesthetic I wanted for an entryway piece.
Cleaning the stamps was simple: I rinsed them under running water right away to remove the house paint. That immediate cleanup prevented any buildup and kept the clear stamps ready for future projects.
Once the patterned layer was in place, I wanted to add dimensional interest. From my décor stash I found a narrow ruler-style frame and adhered it to the center of the sign with a hot glue gun. The frame provides a small, elevated focal point and creates a nice contrast between the flat stamped pattern and a three-dimensional element.
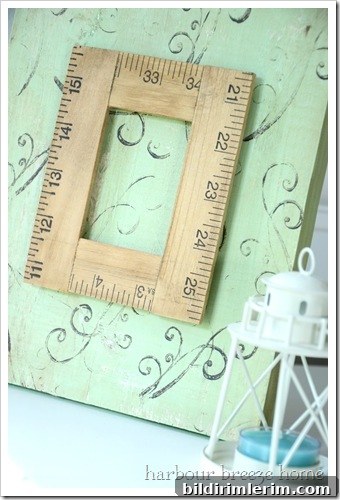
My plan was to hang an old skeleton key inside that little ruler frame to evoke memories of home. I remembered putting the key in a special place, but now I can’t find it—something I suspect other makers recognize all too well. When I locate the key, I’ll screw a small cup hook into the top of the frame and suspend the key from it, letting the metal and wood play off each other visually.
Skeleton keys have personal meaning for me because they remind me of the house I grew up in; that sentiment is why I’m integrating this sign into an Entryway Gallery Wall that showcases objects and pieces tied to family memories.
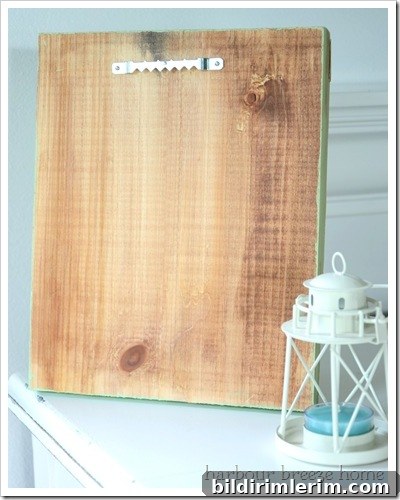
Although the backs of my signs aren’t finished to gallery standards, I do like to treat them with a little care. After finishing the front, I rub a light coat of stain on the back to give it a uniform, intentional appearance. Then I attach a sawtooth hanger near the top so the piece hangs straight and reliably on the wall.
Tips from this project that may help you replicate the look:
- Use house paint sparingly on acrylic stamps; thin layers transfer better and clean more easily.
- Work on a dry painted surface so the stamped pattern reads clearly and layers don’t blend unintentionally.
- Rinse stamps immediately after use to preserve their clarity and prevent paint buildup.
- Add small dimensional elements—frames, keys, knobs—to create focal points and texture on a flat sign.
- Finish the back simply with a coat of stain and a sawtooth hanger for a polished, ready-to-hang piece.
If you’re following along with the Entryway Gallery Wall series, here are the other projects that inspired this collection:
- Light Reflector Arrow Sign (and basic sign tutorial)
- Beach Cottage Faux Frames
- Striped & Layered Frame
- Monogram Family Letter Sign
Creating this stamped pattern sign was quick, inexpensive, and satisfying. It’s a great way to use supplies you already have—clear stamps, a few paint colors, and found objects—to build a meaningful, textured piece for your entryway. Whether you’re decorating a gallery wall or making a standalone sign, this method offers a simple route to a custom, handmade look.