
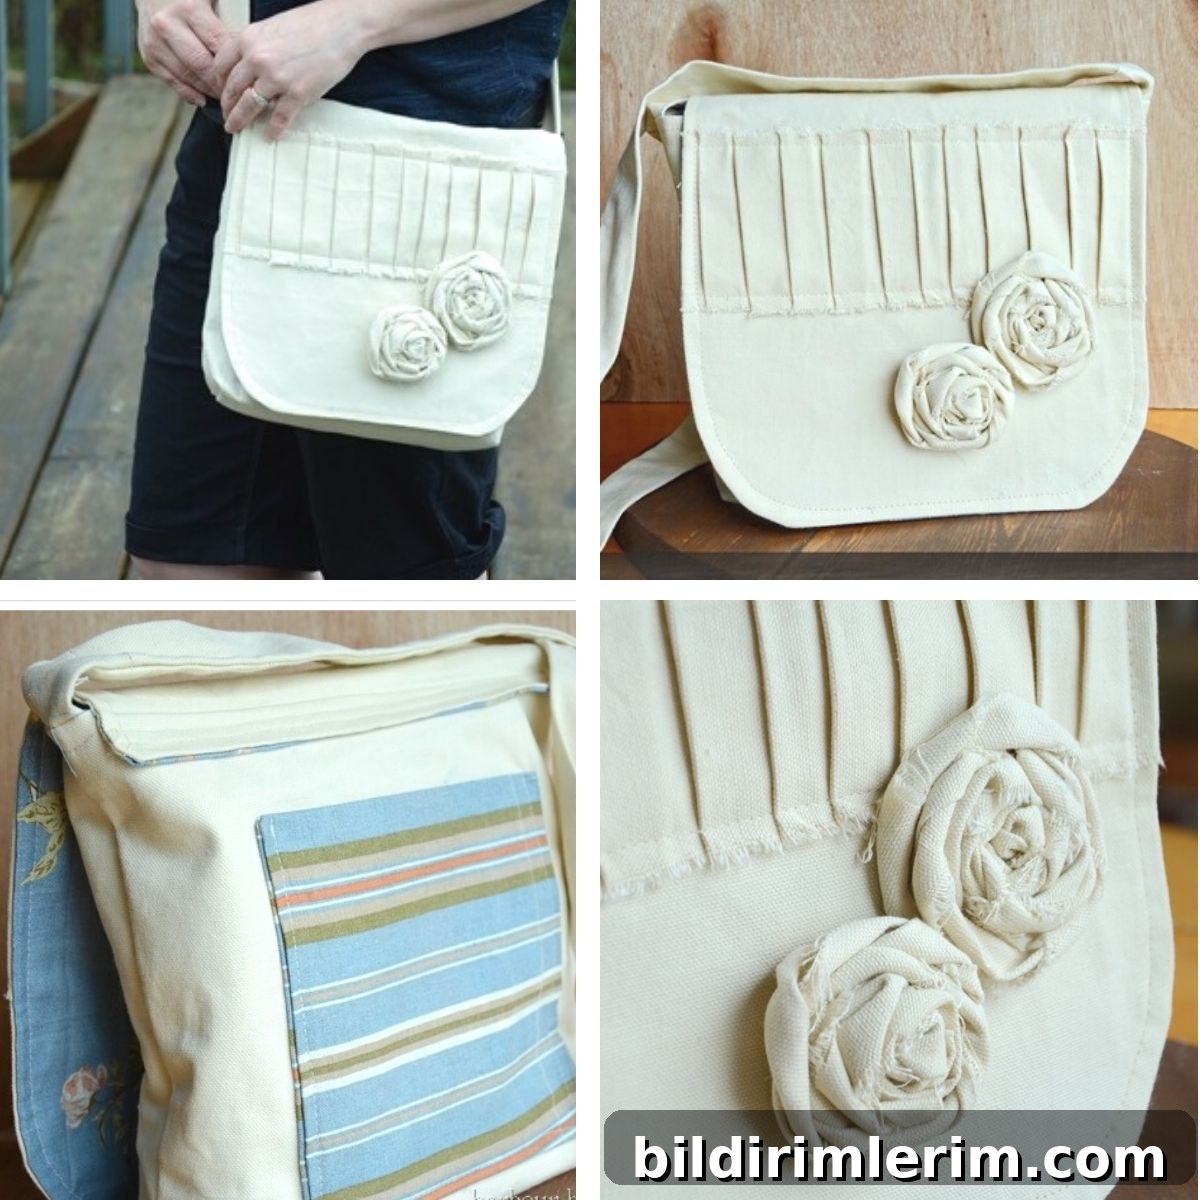
Sew a charming messenger bag in just a few hours using the free pattern I discovered.
Recently I rediscovered an old post I wrote years ago about making a simple messenger bag. I had forgotten about it until I found it again, and the free pattern I used is still available online.
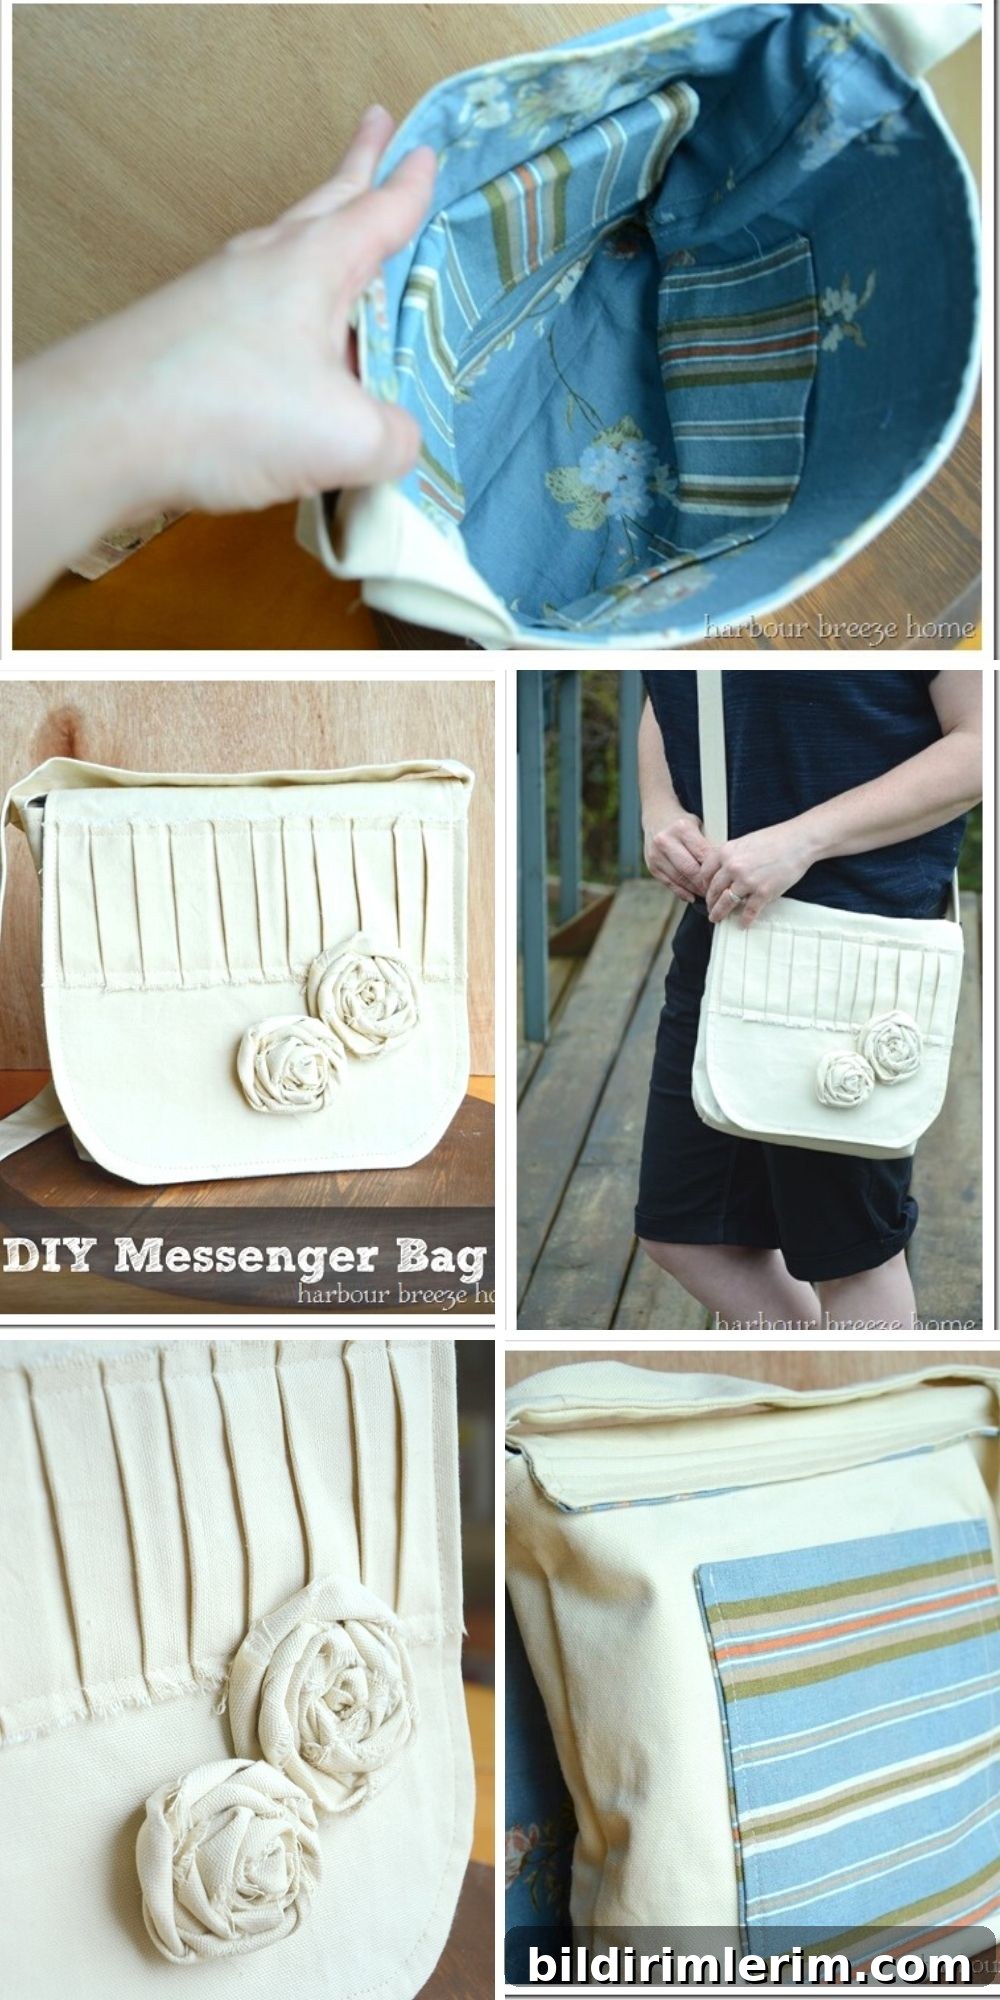
Where to find a free bag pattern for a messenger bag
I used a lovely free messenger bag pattern I found on MMM Crafts. The pattern is clear and straightforward, perfect for beginners or anyone who wants a quick, stylish project.
Click here for the free bag pattern.
The blog has been around for years and contains many beautiful sewing projects and patterns—worth browsing for inspiration.
Why you’ll like this messenger bag pattern
I looked through many messenger bag patterns online and chose this one because it matched what I wanted:
- No zippers required, which keeps the construction simple and approachable (you can always add a zipper later if you want).
- Clear, easy-to-follow instructions suitable for beginners.
- Works well with lightweight fabrics so the finished bag won’t feel heavy.
- Compact size that’s ideal for a petite frame while still being roomy enough for essentials.
- Customizable flap and pocket options for the look and functionality you prefer.
- A long crossbody strap that stays in place when worn over the head and across the body.
How I sewed a messenger bag using this free pattern
I followed the pattern closely but made one small change: I cut every piece one inch smaller than the pattern specified. For example, where the pattern called for a 14 x 25 inch main body piece, I cut mine to 13 x 24 inches. It was a happy accident that resulted in a slightly smaller bag I prefer.
I began the project at 8 p.m. and could have nearly finished by 11 p.m., but I ran into a pause while turning the strap—so it took a little longer. Still, sewing a full messenger bag in a few hours felt great.
The bag’s exterior is cream canvas and the lining is blue canvas salvaged from an old curtain. The lining fabric has a reversible pattern, so I could choose between floral or stripe motifs inside.
I used Heat & Bond in place of the recommended iron-on interfacing I didn’t have. It worked okay, though I would recommend using interfacing if you can, for extra structure.
The only other modification I made was adding a second pocket in the lining with a flap for added organization.
There’s also a pocket on the back of the bag, and I lined the flap with the blue patterned fabric for a cohesive finish.
You can embellish the flap however you like. I went for a shabby-chic look with pleats and fabric flowers to add texture and charm.
The bag is comfortable worn crossbody and feels like the perfect everyday size while still holding plenty of items.
This was a fun, satisfying sewing project and a great way to use scrap fabrics or thrifted canvas.
More sewing and fabric projects to try
- Sew a lavender sachet as a thoughtful handmade gift
- How to sew a custom tablecloth with ruffles and pleats
- DIY Scandinavian Christmas ornaments using fabric
- No-sew fabric bird mobile tutorial
- Make a cute DIY Christmas tree pillow in about 15 minutes
For more recipes, crafts & year-round home ideas, become a VIP
Join the newsletter to get instant access to a library of free printables, including wall art and gift tags. Subscribe to receive new projects and seasonal ideas straight to your inbox.
Post originally published April 6, 2012 and updated April 15, 2022.