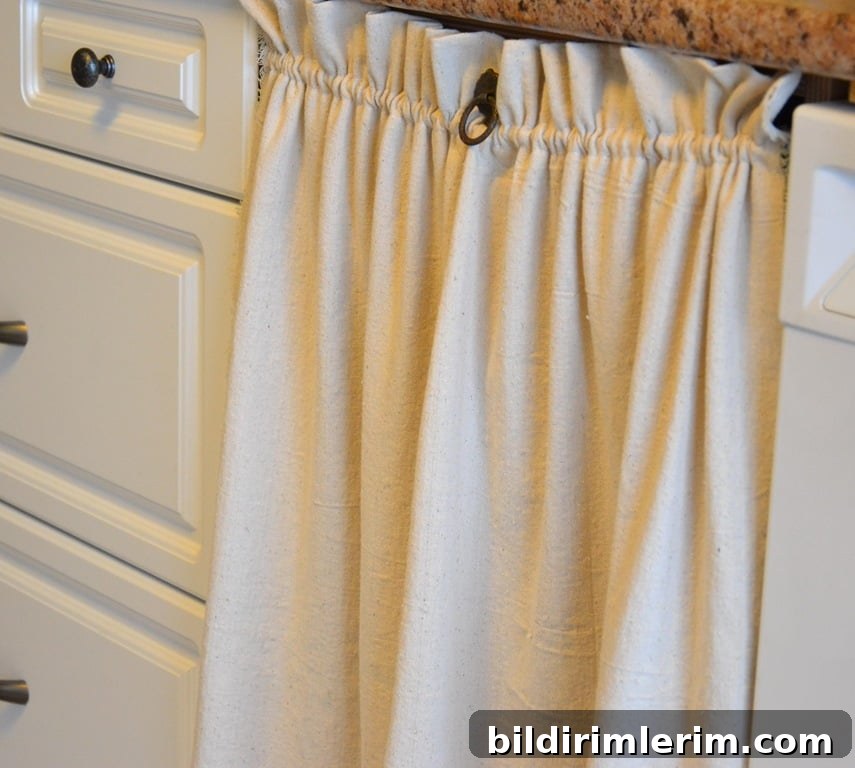
Give your kitchen a cozy, vintage look with simple, homemade cabinet curtains. This clear, step-by-step guide explains how to make cabinet curtains that work even when a drawer sits above the cabinet opening — including how to integrate a drawer pull so the curtain remains functional.
Last year we found a set of nearly new kitchen cabinets at a local reuse center and installed them along a previously empty wall. We added a laminate countertop and quickly discovered how practical the units were. What we didn’t do right away was add doors or drawer fronts. For nearly a year the lower cabinets sat open — useful, but not the look I wanted.
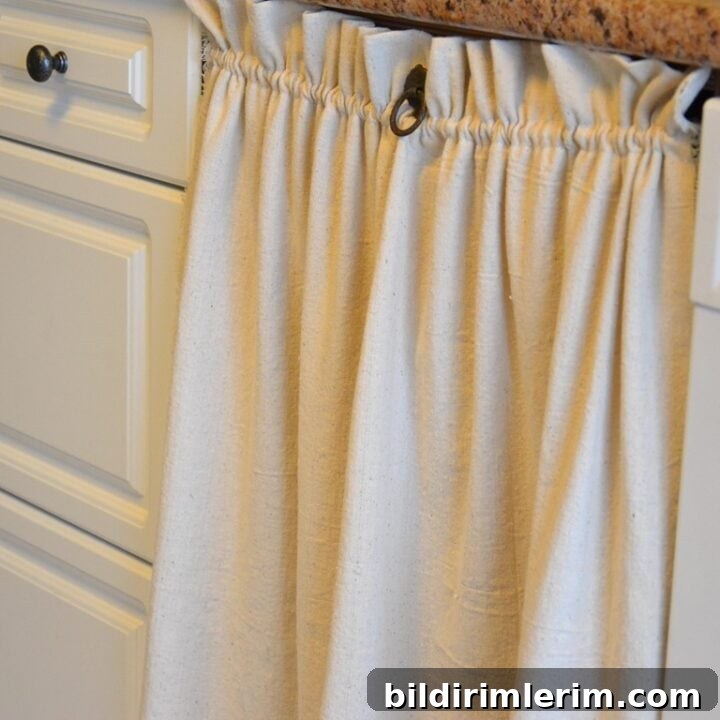
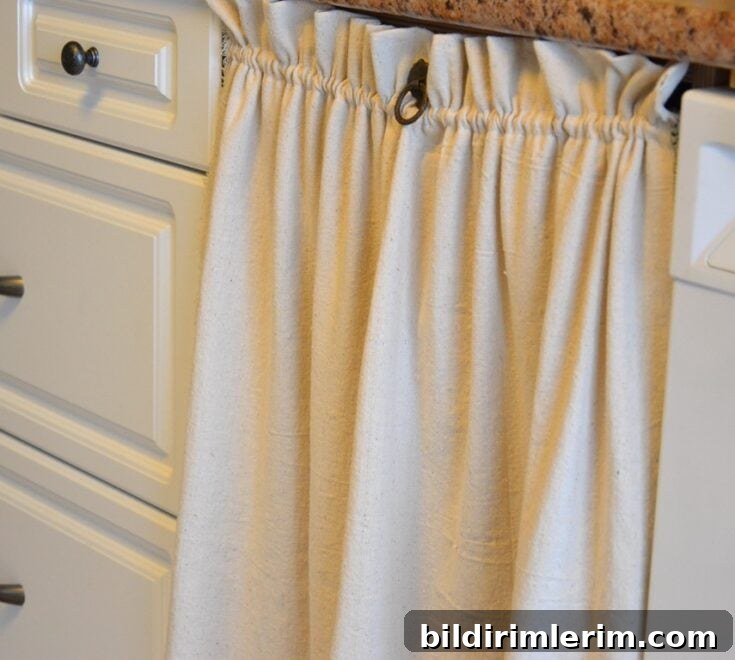
While waiting for the perfect reclaimed doors to appear at the restore, I decided to make fabric cabinet curtains. The trickiest part was the top drawers: sliding a curtain aside every time someone opened a drawer would be impractical. My solution was to sew a rod-pocket curtain and mount it so a drawer pull extends through the fabric — a simple, attractive workaround that kept the look neat and the drawer fully usable.
Materials for Cabinet Curtains (Drawer on Top)
- Fabric: Choose a fabric that suits your style. Measure the cabinet opening to determine finished length; add extra for the top rod pocket and hem. For width, measure the finished width and multiply by two for a gathered look, or keep it single-width for a flat panel. Heavy canvas, linen or painter’s drop cloths work well for a vintage or farmhouse look.
- Grommets: One grommet sized to allow the drawer pull shaft to pass through the curtain. The grommet goes through both layers of the rod pocket where the handle will sit.
- Scrap wood: A board the same size as the drawer front (if you do not have a drawer front) to attach the pull and curtain mounting hardware.
- Curtain rod or wire: A low-profile rod or wire system to hold the curtain inside the cabinet opening without bulk.
- Drawer pull: Any pull style that will accept being mounted through fabric — ring pulls or antique-style pulls work beautifully.
Tools
- Sewing machine (or hand-sewing tools)
- Grommet setting tool sized for your grommet
- Saw (if cutting a scrap board)
- Screwdriver or drill for mounting screws
- Measuring tape, pins, scissors
How to Make Cabinet Curtains with a Drawer Pull
Follow these practical steps to create and install cabinet curtains that allow a drawer pull to function normally.
- Measure the cabinet opening and cut your fabric to size. Add extra for hemming at the bottom and for creating a rod pocket at the top. Decide whether you want a gathered look (use wider fabric) or a flat panel.
- Sew the curtain: hem the bottom and construct a rod pocket at the top. For a lighter, less bulky look you can leave the inside back edge of the rod pocket raw or lightly finished; a simple turned hem will work as well.
- Find the center point of the curtain and mark where the drawer pull will be. Carefully cut a small opening and install a grommet sized to fit the pull’s shaft. Make sure the grommet is secure through both fabric layers if the rod pocket overlaps.
- Prepare the drawer front: if you don’t have an existing front, cut a scrap board to the drawer’s width and attach it to the drawer face. This board gives a solid surface to mount the pull and to attach the curtain rod supports if needed.
- Install the rod or wire inside the cabinet, threading it through the rod pocket. Position the curtain so the grommet lines up with the drawer pull location.
- Screw the curtain-mounted board (or existing drawer front) into place and attach the drawer pull so the handle passes through the grommet. Test the drawer to ensure smooth operation and that the curtain moves naturally when the pull is used.
Tips and Variations
- If you prefer a cleaner edge around the grommet, reinforce the fabric area with a small piece of interfacing or an extra fabric patch on the back to prevent stretching over time.
- Use lightweight curtain rods or wire systems that screw to the inside of the cabinet frame to keep the installation slim and unobtrusive.
- For a cohesive farmhouse look, choose antique or aged-bronze drawer pulls. Modern cup pulls or rings also work depending on your kitchen style.
- To make the curtain removable for washing, attach the rod so that the curtain slides out easily or use clips inside the rod pocket that release.
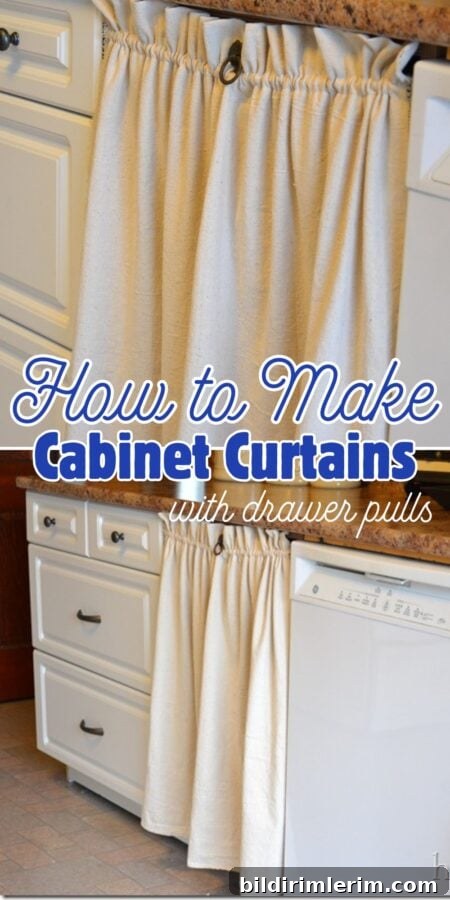
And voilà — the lower cabinets now hide cookware and clutter while keeping drawers fully accessible. This approach is budget-friendly, customizable, and reversible if you later find reclaimed drawer fronts or decide to install traditional doors. We left our fabric cabinet doors in place for years because they performed well and added warmth to the kitchen.
Final Thoughts
Cabinet curtains with a drawer pull are an easy DIY update that adds personality and function to open shelving or cabinets awaiting doors. With simple sewing and a few hardware pieces, you can create a durable, attractive solution that complements many kitchen styles. Whether you’re renovating on a budget or want a quick seasonal refresh, this technique offers flexibility and charm.