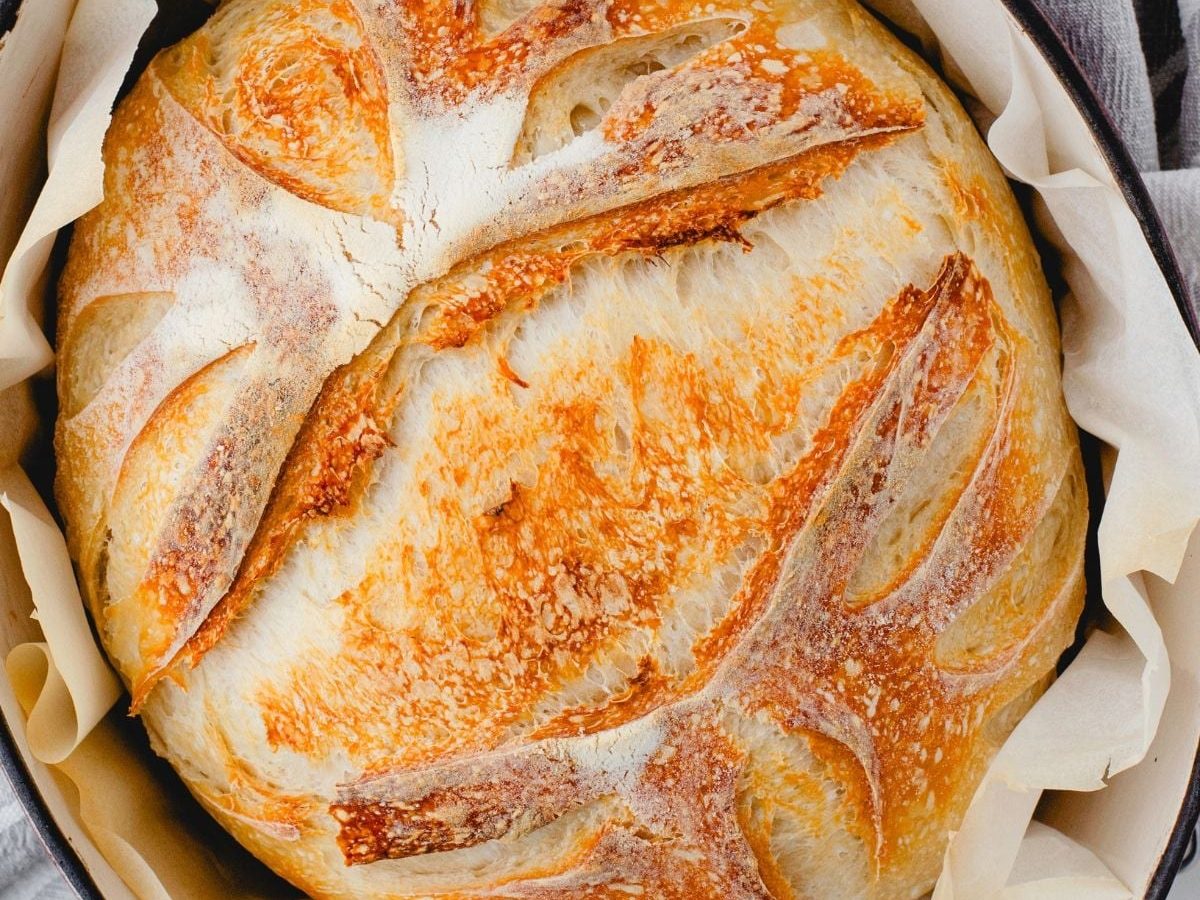
This Dutch oven sourdough bread recipe uses just three basic ingredients and a starter gifted by a friend to produce a golden, crisp-crusted loaf with a soft, tangy interior. Heat a Dutch oven to 500°F, then bake at 450°F for the final bake — full step-by-step instructions are included below to help you produce an artisan loaf at home.
Why you’ll love this sourdough bread recipe
Only three simple ingredients. Sourdough can seem intimidating, but this loaf relies on flour, water, and salt — plus an active starter. If you’re new to sourdough, using a starter given by a friend is a great way to begin.
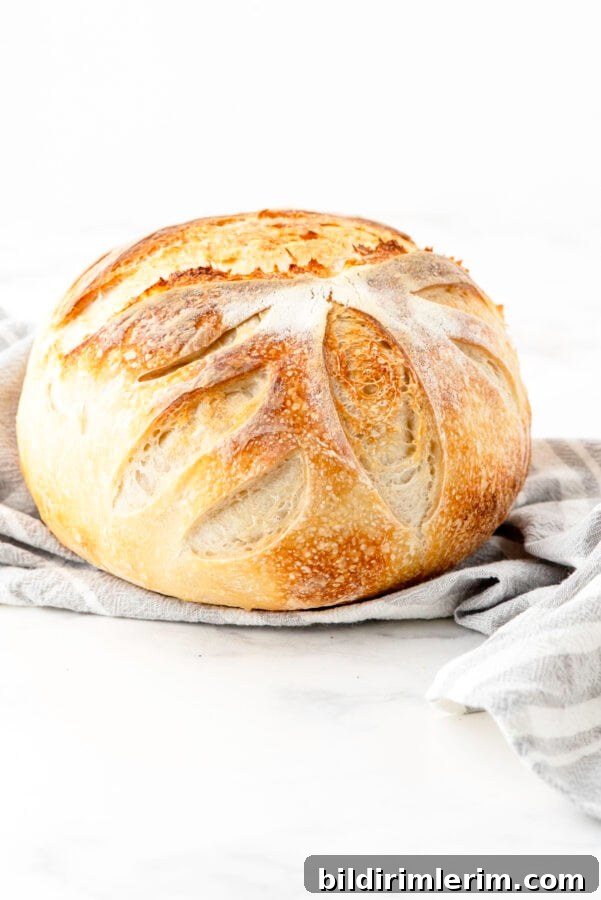
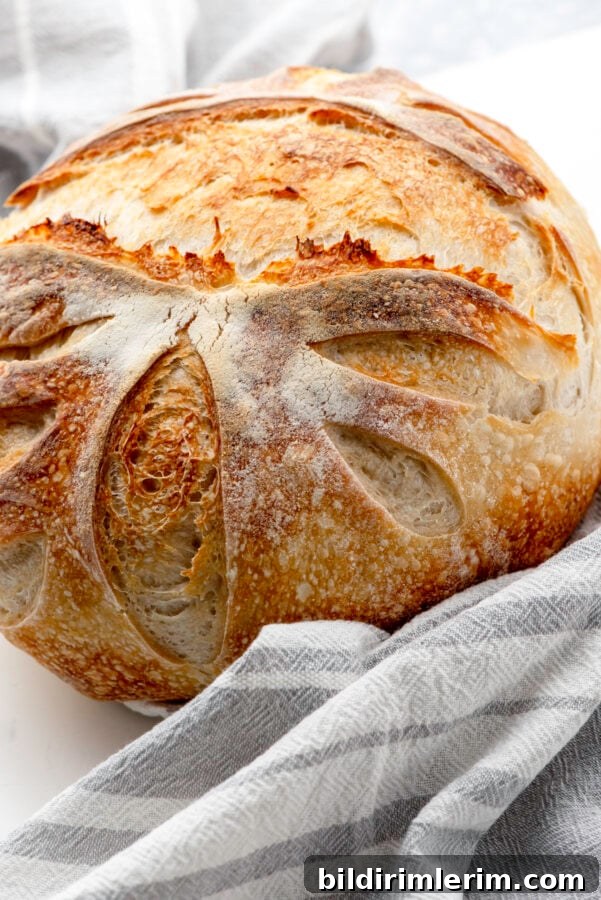
Delicious results. A well-made sourdough loaf is tender and open on the inside, tangy in flavor, and crisp and toasty on the outside — perfect toasted or fresh from the oven.
Fits a busy schedule. This method is designed to work around a typical workweek. Most steps are passive rises or overnight refrigeration, so the hands-on time is short and easy to fit into a full schedule.
No specialty tools required. While there are many helpful gadgets for sourdough, this recipe shows how to bake an excellent loaf with only common kitchen items like a Dutch oven, a bowl, and a sharp blade for scoring.
Kitchen tools needed for this Dutch oven sourdough bread
- A Dutch oven. A cast-iron Dutch oven with a lid produces the best crust and oven spring. A 5–7 quart size works well for a single loaf.
- Digital kitchen scale. Accurate measuring by weight is essential for consistent results.
- A metal mixing bowl. A metal bowl is convenient for feeding and proofing starter because it’s easy to clean and keeps surfaces tidy.
- Sturdy stirring utensil. A wooden spoon with a hole or a Danish dough whisk is handy for mixing.
- Stand mixer with dough hook (optional). Useful to mix and develop the dough quickly, though you can mix by hand if preferred.
- Large dishtowel. For lining a bowl during the final proof if you do not use a banneton.
- Bread lame or razor blade. A sharp scoring tool is recommended to properly score the loaf before baking.
- Proofing basket (optional). A banneton or proofing basket is helpful but not required; a bowl lined with a floured towel works fine.
Frequently asked questions
What temperature do you bake sourdough bread at?
Preheat your oven to 500°F with the empty Dutch oven inside for at least 30 minutes. When you place the loaf in the pot, reduce the oven temperature to 450°F. Bake covered for 20 minutes, then remove the lid and bake another 20 minutes until the crust is deep golden.
How long does it take to bake sourdough bread in a Dutch oven?
About 40 minutes of baking time in total — roughly 20 minutes covered and 20 minutes uncovered. Final timing can vary slightly depending on oven performance and the size of the loaf.
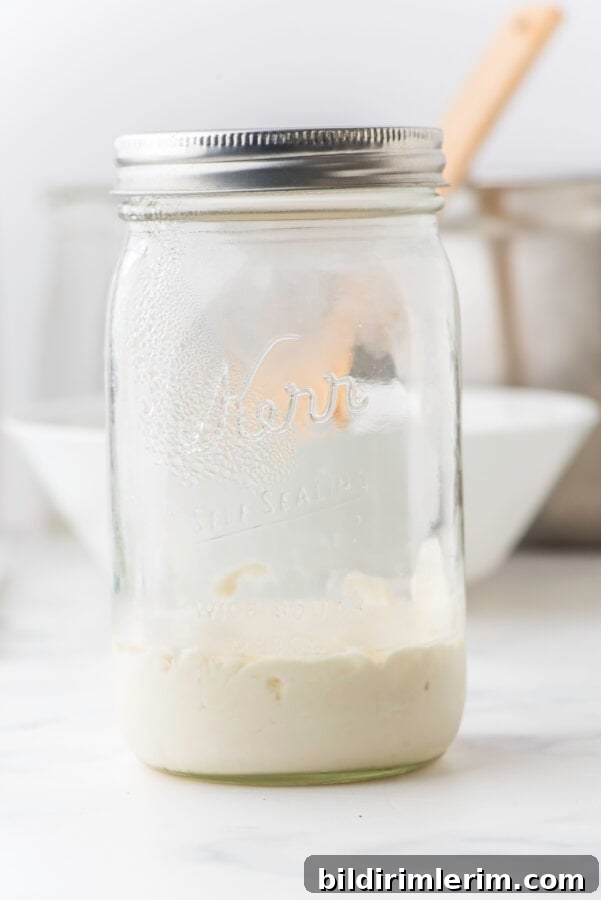
Ingredients you’ll need for this Dutch oven sourdough loaf
- Active sourdough starter (gifted by a friend or your own, 8 oz active starter)
- All-purpose flour — about 26 ounces (approximately 6 cups, measured by weight is best)
- 1 tablespoon salt
- Cold tap water — 14 ounces
Recipe overview: Dutch oven sourdough loaf
This is a three-day process with mostly passive time: feed starter the first night, mix and bulk-ferment the next morning, perform stretch-and-folds in the afternoon, refrigerate overnight, and bake the following morning. The hands-on work adds up to a modest amount of time spread across those days.
Day 1 — Feed the starter (around 9:00 PM)
- Weigh your starter in a metal bowl on the scale and note the weight in ounces.
- Add an equal weight of cold water and an equal weight of flour to the starter (for example, 6 oz starter + 6 oz water + 6 oz flour), then stir to combine. It will look lumpy — that’s normal.
- Cover and leave the fed starter on the counter overnight to become active.
Day 2 — Mix the dough (around 8:00 AM)
- Place 8 oz of active starter into your mixing bowl. Add 14 oz cold water and 1 tablespoon salt. Stir to combine using a wooden spoon, whisk, or the paddle/low speed of a mixer.
- Add 26 oz all-purpose flour all at once and mix with a dough hook or by hand. Start slowly so the flour incorporates, then increase speed until the dough pulls away from the sides. The dough should be slightly sticky but cohesive.
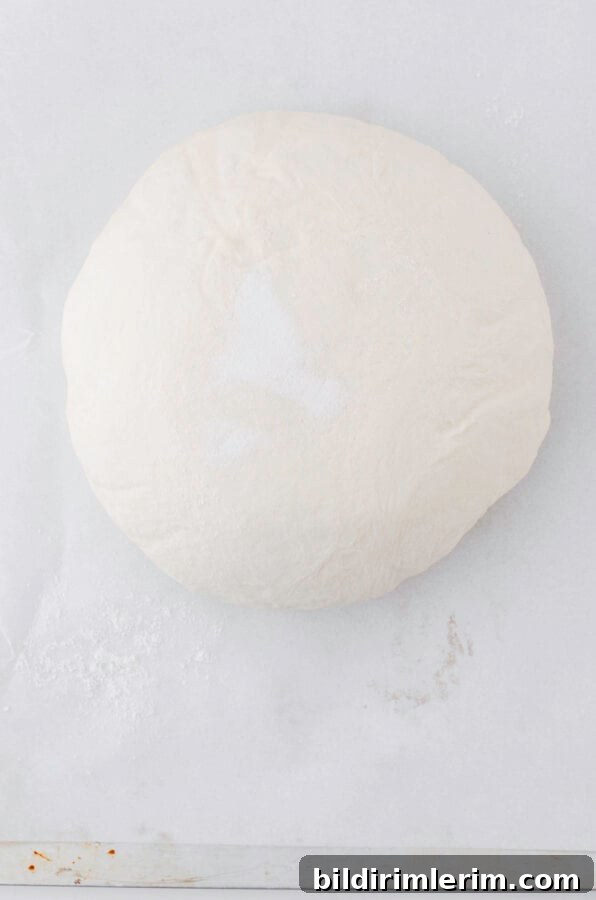
- Turn the dough out onto a lightly floured surface and knead a few times to form a smooth ball. Transfer to a clean bowl, cover, and allow to bulk ferment for 6–8 hours, until doubled in size. If your kitchen is cool, place the bowl in a warm spot (or in a turned-off oven with the light on) to encourage rise.
Day 2 — Evening stretch and folds (around 5:00 PM)
- After the dough has doubled, perform the stretch-and-fold technique four times. To do this, reach under one side of the dough, lift and stretch it up, then fold it over and tuck it under the dough. Rotate the bowl and repeat for each side. Rest 30–60 minutes between each set of folds; 60 minutes is ideal.
- After four rounds, shape the dough into a smooth ball. Place the loaf smooth-side-down into a bowl lined with a lightly floured dishtowel (or into a banneton), cover, and refrigerate overnight.
Day 3 — Bake (the next morning)
- Preheat your oven to 500°F with the empty Dutch oven and lid inside for at least 30 minutes.
- When the oven is hot, turn it down to 450°F. Place the proofed, chilled loaf onto a sheet of parchment paper by flipping the proofing bowl or banneton onto a lined baking tray. Score the top quickly at about a 45° angle with a lame or razor to allow controlled expansion.
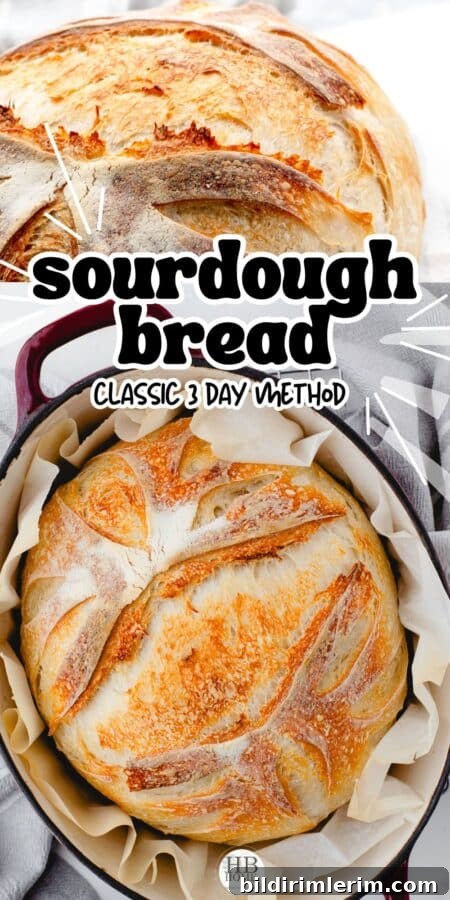
- Using the parchment, lift the loaf into the preheated Dutch oven. Cover and bake for 20 minutes, then remove the lid and bake an additional 20 minutes until the crust is deeply golden and crisp.
- Remove the loaf and cool completely on a wire rack before slicing. Cooling fully helps the crumb set properly.
Tips for success
- Clean your utensils and containers right away — once sourdough residue dries it is hard to remove.
- Trim any excess parchment paper so it doesn’t extend beyond the Dutch oven. Many parchment papers are rated to about 450°F, so avoid letting it touch the pot edges or hang out where it can char or break down.
- Use a kitchen scale and weigh ingredients by ounces or grams for consistent results.
- Be patient with proofing times — temperature and starter strength will affect how quickly the dough doubles.
How to slice and store this classic loaf
- Wait until the loaf is completely cool before slicing. Use a sharp serrated knife for clean slices.
- Cut the loaf in half, then slice with the cut side down for the best grip and bowl support. Aim for slices thin enough to fit in your toaster if you plan to toast them.
- Because homemade sourdough contains no preservatives, it’s best enjoyed within a few days or stored in the freezer. Slice and freeze portions in zip-top bags, then toast slices directly from frozen as needed.
Further baking ideas
If you want to use sourdough discard or explore other bread recipes, common options include sourdough sandwich bread, discard brownies, or enriched rolls. Experimenting with different hydration levels, flours, and proofs will help you refine the loaf to your taste.
Save this recipe
Enjoy the process — sourdough baking rewards patience. With a simple starter and everyday ingredients you can bake a bakery-quality loaf right at home.