Add a touch of farmhouse style with this easy, budget-friendly method for creating a DIY faux shiplap wall using plywood cut into strips.
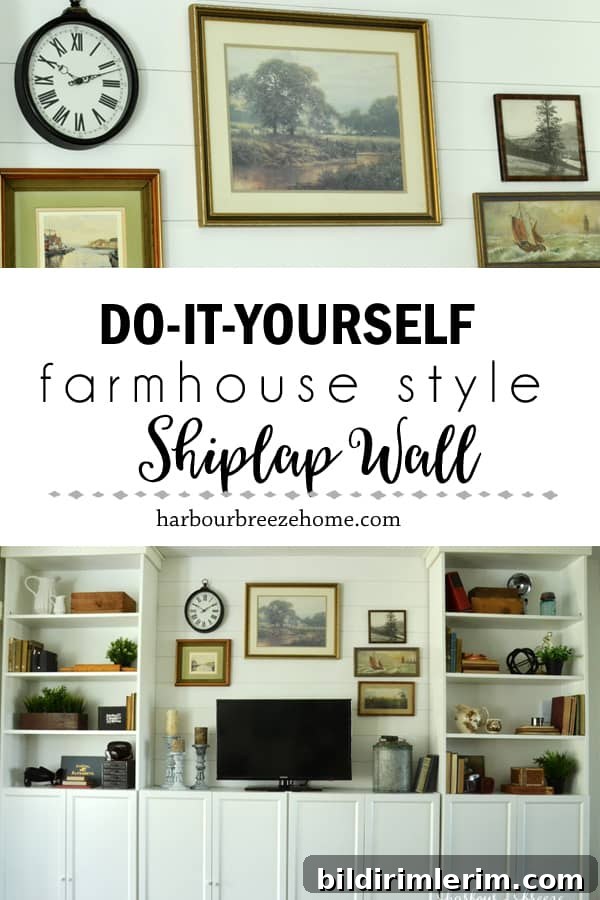
How to Make a DIY Faux Farmhouse Shiplap Wall from Plywood
I’ve admired shiplap ever since seeing it on Fixer Upper. After saving ideas for months and planning the project, I finally tackled a narrow section of wall between two tall bookcases. The whole install was surprisingly quick — once the prep was done, the boards went up in less than an hour.
Below is a straightforward, adaptable method for creating a painted faux shiplap accent wall using thin plywood ripped into strips. The approach keeps costs low and works even if you don’t own a table saw: many lumber yards will cut sheets to width for you. These steps emphasize practical tips I learned along the way so you can avoid common mistakes.
Supplies Needed for Farmhouse Shiplap Wall
- One sheet of thin veneer plywood (1/4″ or similar) — enough to cover your chosen wall area
- Paint (a mid-to-light neutral color works well; eggshell or satin finish recommended)
- 4-inch foam roller plus tray
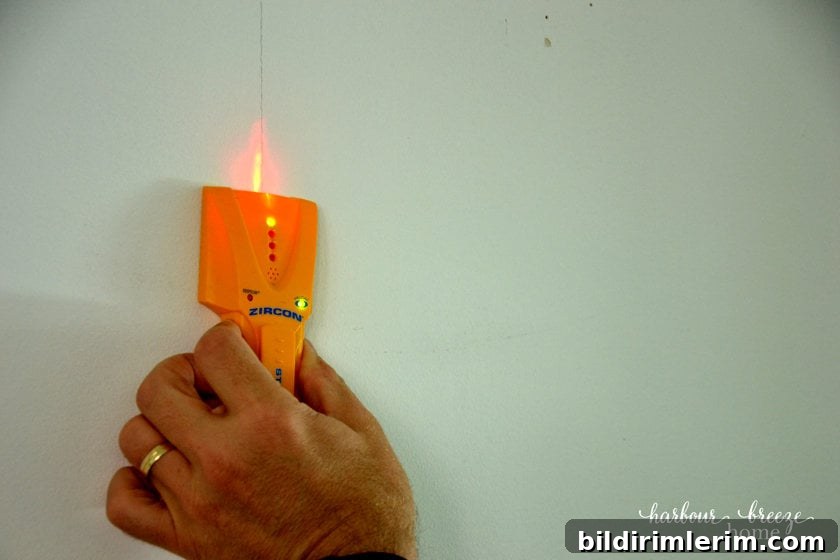
- Stud finder
- Straight edge or long level and a pencil for drawing guidelines
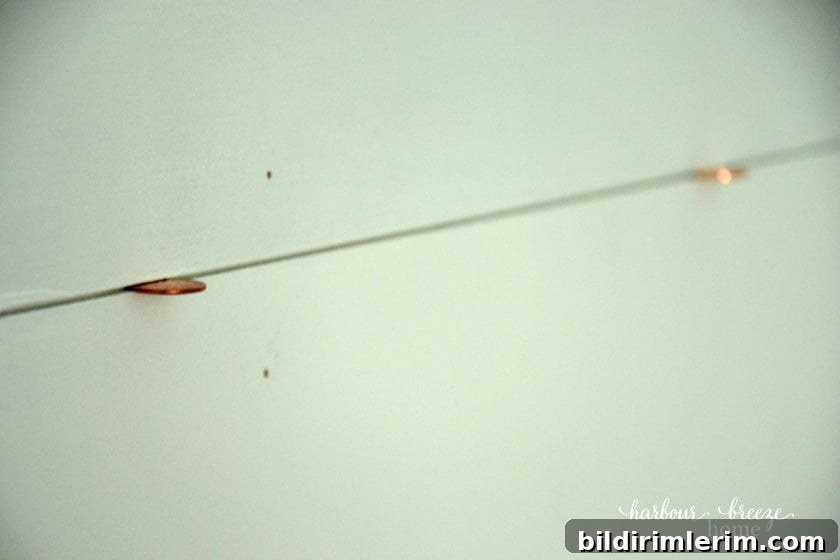
- Pennies or small spacers to maintain consistent gaps
- Pneumatic brad nailer or finish nailer (or a hammer and finishing nails if preferred)
- Paintable caulk or a drywall filler for nail holes
- Sandpaper (120–220 grit) and a sanding block
Step-by-Step Process for Installing Farmhouse Shiplap
- Measure the wall area you want to cover. Note the total width and height. Decide the board width that will give you an even layout — for my space I chose 5½-inch boards so the pattern fit neatly between the bookcase sections.
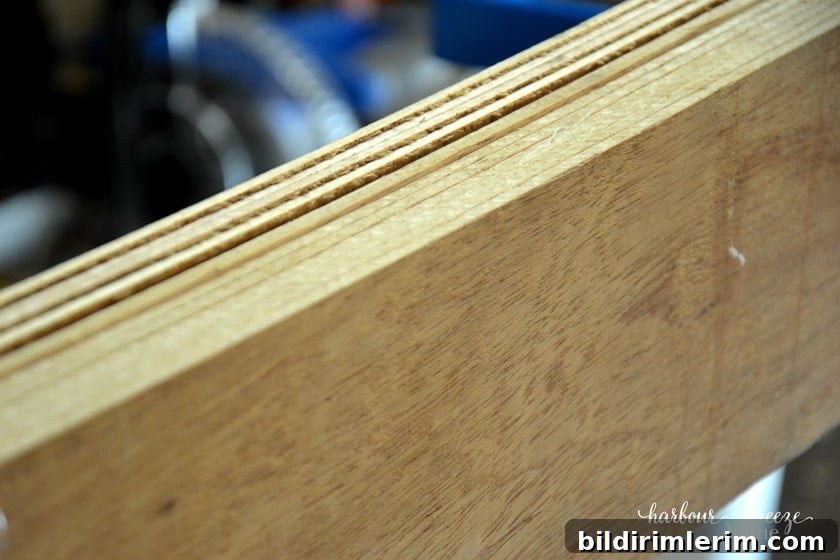
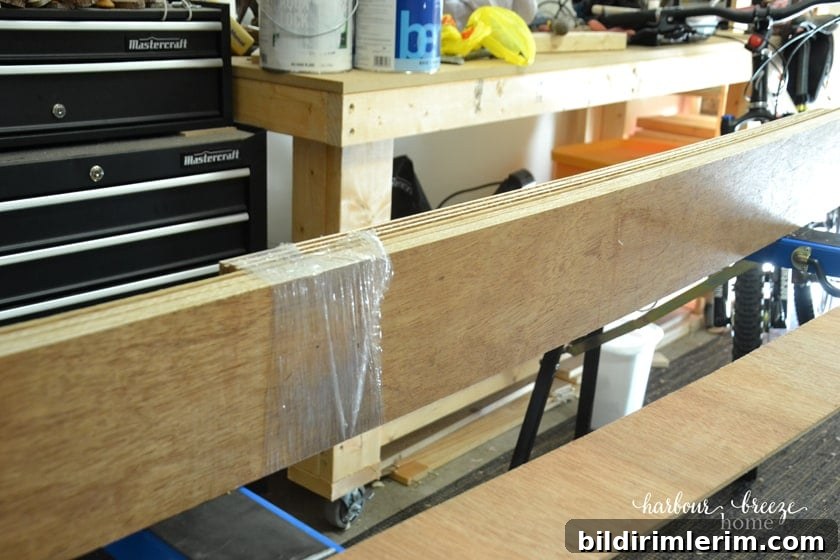
- Buy plywood and plan your cuts. Sketch out how you’ll rip the sheet into strips before you go to the lumber yard. If you don’t own a saw that can rip a full sheet, ask the store to cut it into strips to your chosen width — most shops will do this for a small fee and will cut more precisely than most DIY set-ups.
- Paint the backs and the faces of the strips before installing. It’s far easier to get full, even coverage before the boards are nailed to the wall. A key tip: paint the side that will face out and the reverse side so edges won’t show raw wood later. Two coats of paint on the face and one on the reverse is usually sufficient.
- Locate and mark studs. Use a stud finder, then draw light horizontal guide lines across the wall or mark vertical stud locations so you know where to nail each board. These marks are essential for a secure attachment.
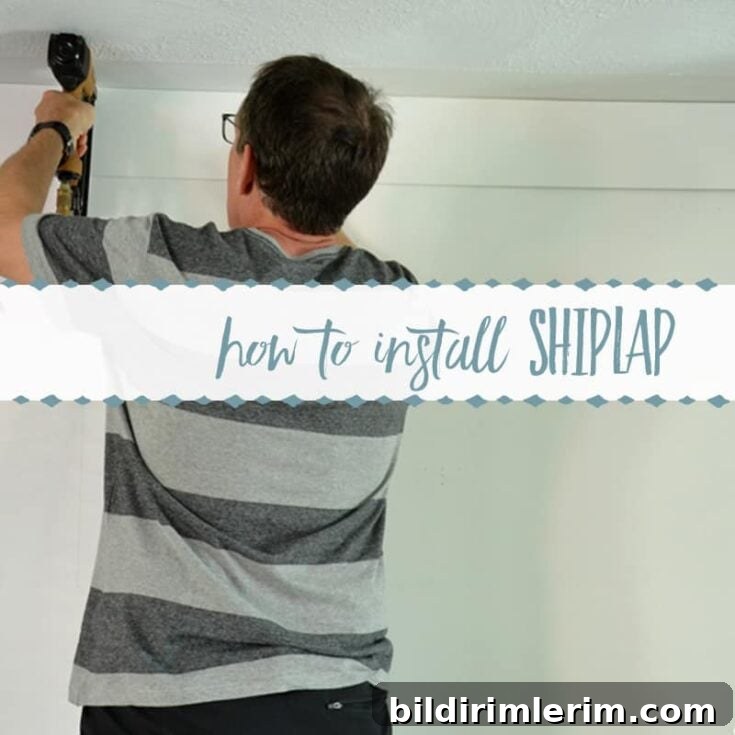
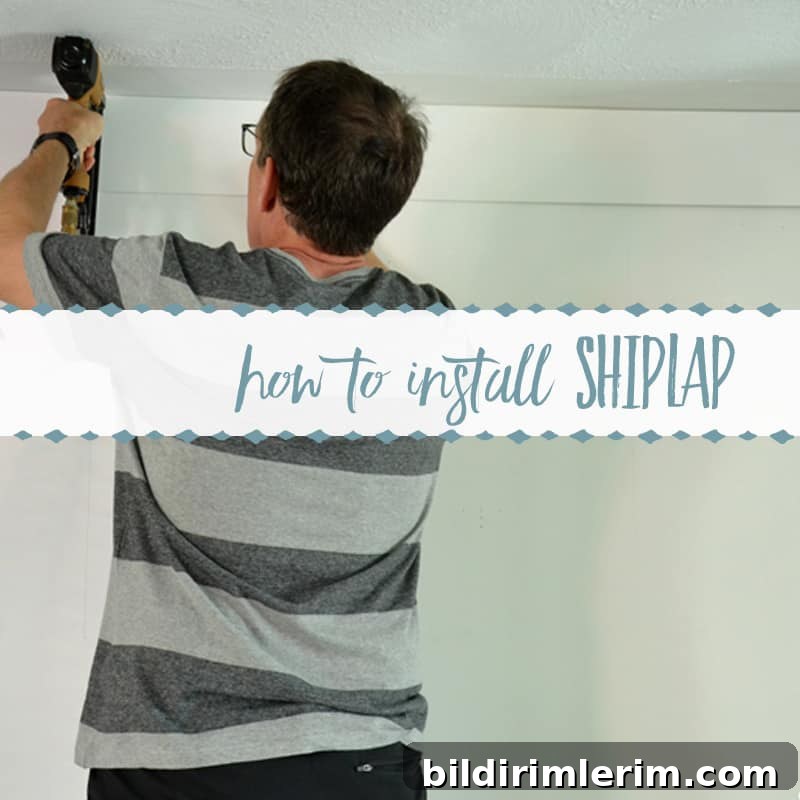
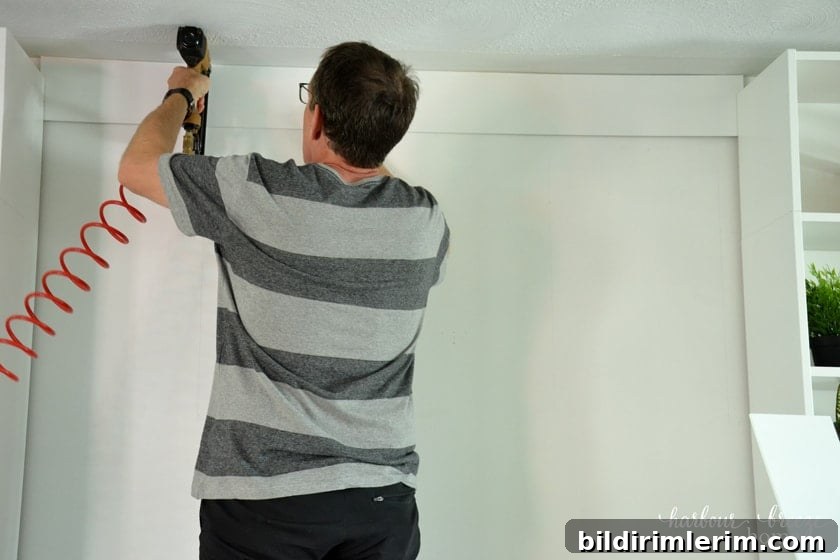
- Attach the first board at the top of the area. Align the top board with your guideline and nail it into the studs with a pneumatic nailer or finish nails. Keep nails near the stud lines so each board is solidly fastened.
- Use pennies or consistent spacers between boards. Place a penny between boards as you work your way down the wall to maintain even gap spacing. Continue nailing each subsequent board at the studs and check level periodically.
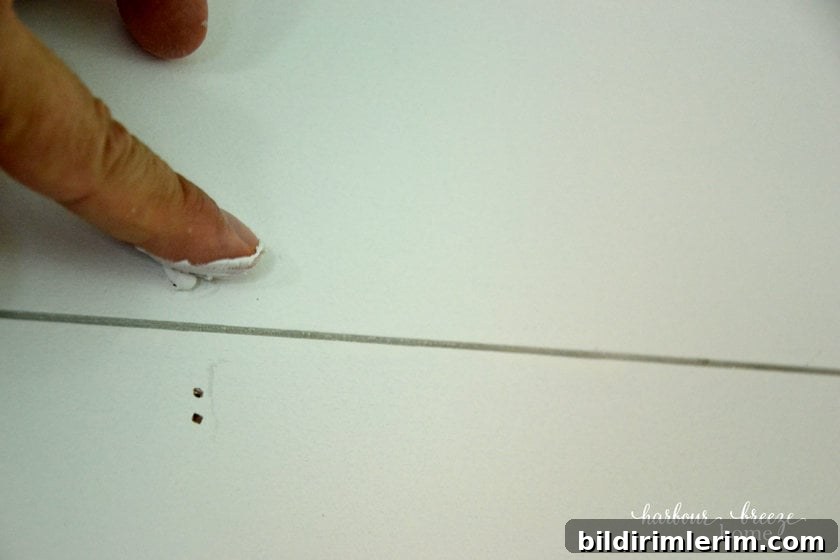
- Fill nail holes and sand smooth. Once all boards are attached, press a paintable filler or caulk into nail holes and any seam imperfections, let it dry, then lightly sand until smooth. A fingertip works well to apply filler in tight spots.
- Apply a final coat of paint. Touch up seams, fill, and edges with a final coat to unify the finish and conceal any minor flaws. Step back and admire the transformation!
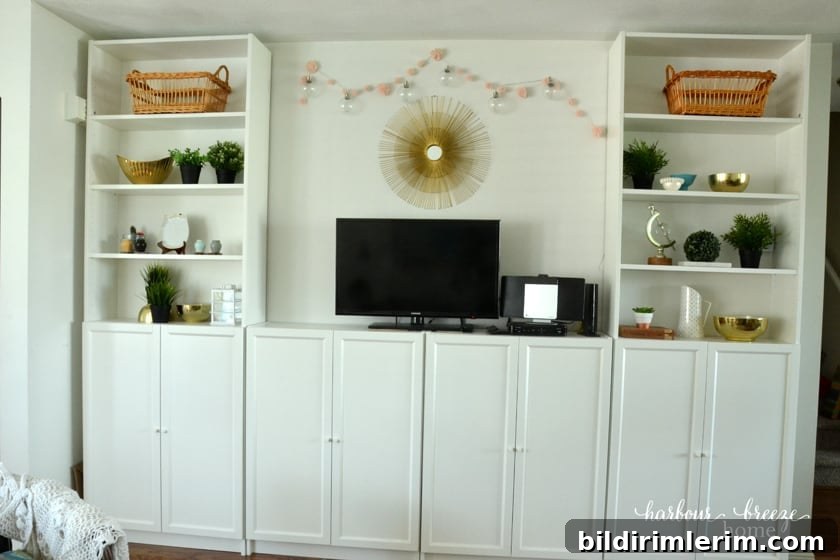
A few boards can dramatically change the character of a room. Painting the boards before installation, keeping consistent gaps with pennies, and nailing into studs will give you a professional-looking result without a high cost.
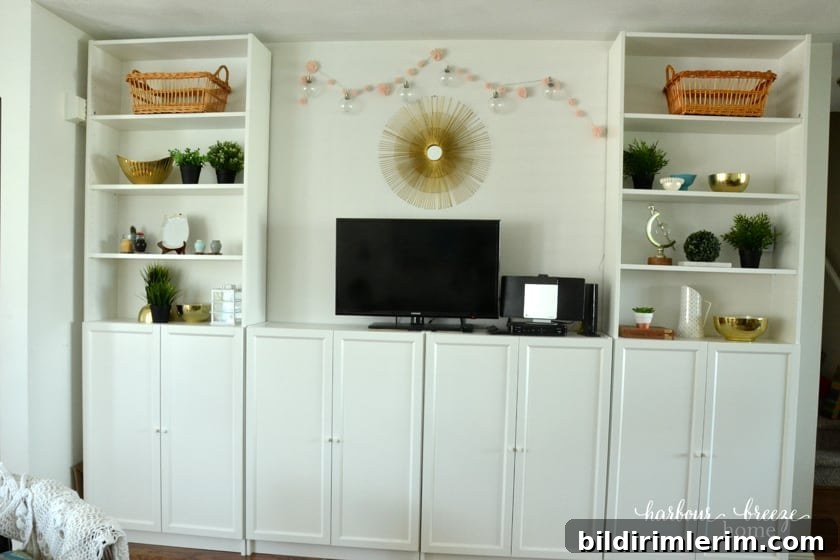
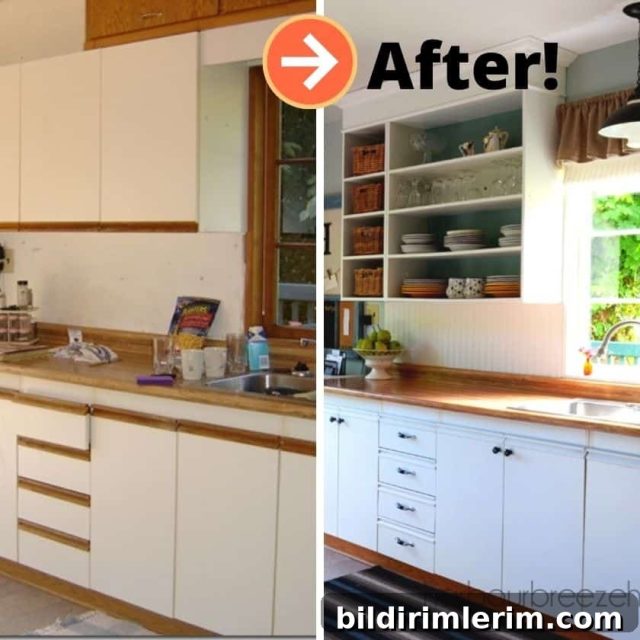
Before and after photos show how the simple shiplap detail brings a cozy, farmhouse touch to a living area anchored by tall bookcases.
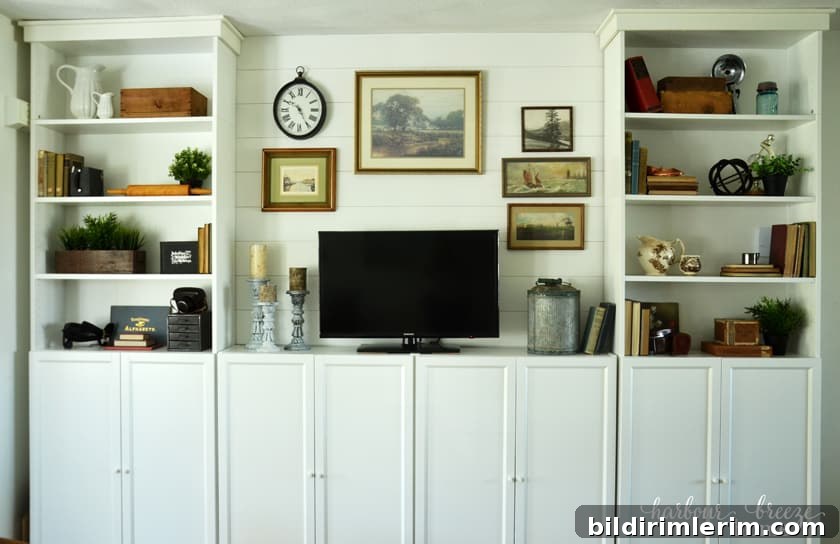
If you enjoy DIY projects, this method adapts well to accent walls, closet doors, ceilings, or small rooms. With a little planning and the right prep, creating a faux shiplap wall is an affordable way to add character and texture to your home.
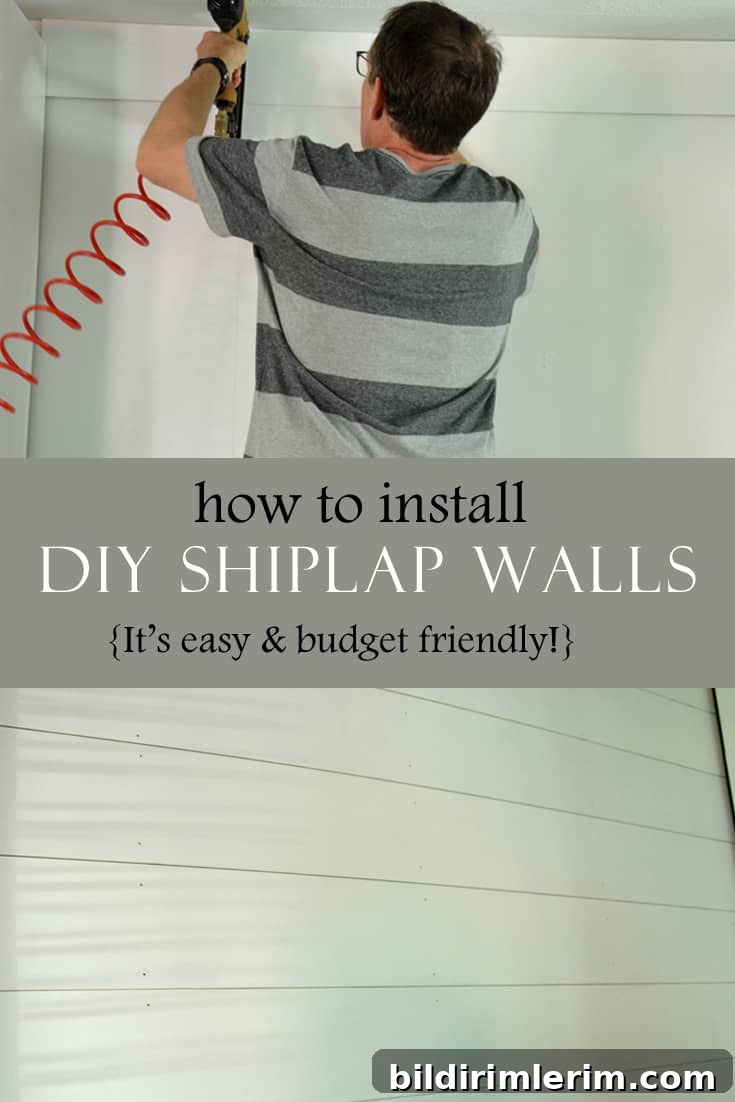
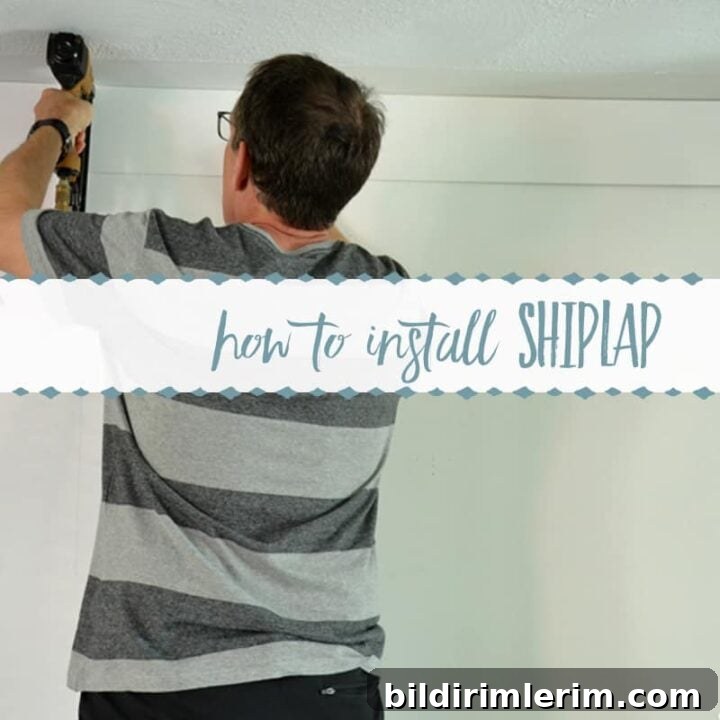
Tips recap: measure and plan cuts ahead, paint both sides and edges of boards before installation, use a stud finder and consistent spacers, and finish with filler and a final paint coat for a crisp, durable look.