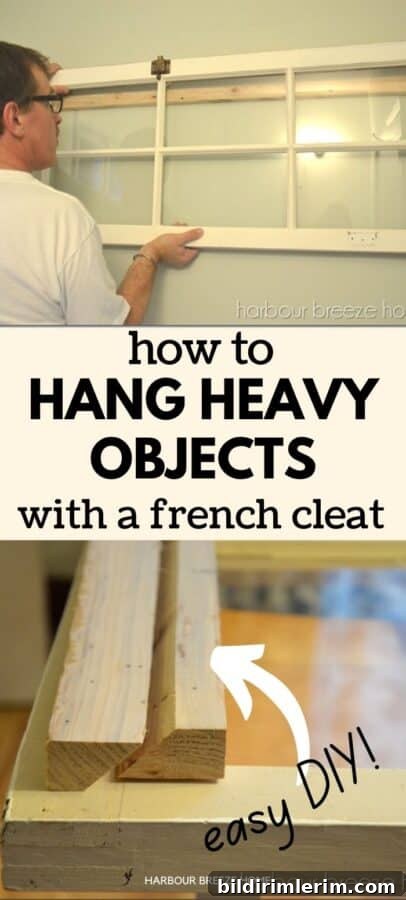
Use a French cleat system to hang art, mirrors, shelves, and other heavy wall objects. You can make a cleat yourself from a board or buy a ready-made cleat—either way, it creates a safe, simple mounting solution.
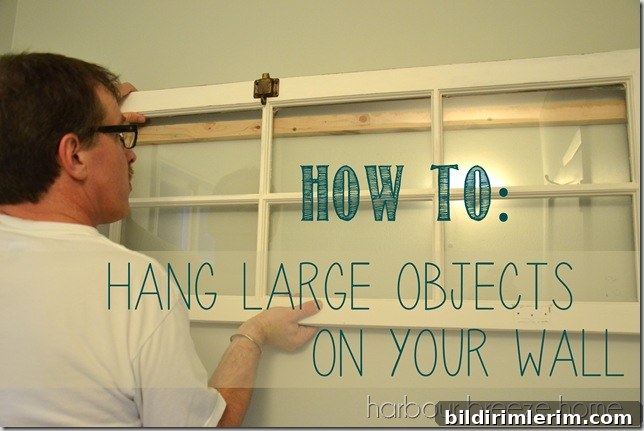
The last step of many DIY projects—mounting the finished piece on the wall—can be the most troublesome. For example, we recently finished a chalk-painted vintage window and needed a strong, reliable way to secure its considerable weight to the wall.
Painting the window was straightforward, but attaching that very heavy frame required a dependable solution. A few years ago my husband introduced me to the French cleat hanging system, and we’ve used it ever since for heavy or awkward pieces.
What is a French cleat hanging system?
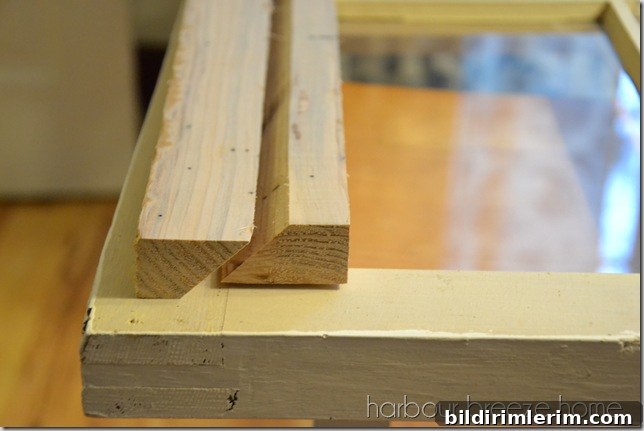
A French cleat is a simple but strong mounting method that uses two interlocking boards cut at complementary 45-degree angles. One half of the cleat is fastened to the wall with the angled face up, and the matching half is secured to the object with the angled face down. When the two halves meet, the angled surfaces lock together and transfer weight into the wall-mounted cleat, creating a secure bracket ideal for large or heavy items.
How to make a wooden French cleat
- Cut a strip of wood the length of the item you want to hang. Common choices are 1×4 or 1×6 hardwood or cabinet plywood for strength. Make sure the board is long enough to distribute the weight across a wide area.
- Slice the board in half lengthwise at a 45-degree angle using a table saw or a circular saw with a guide, creating two matching pieces with complementary bevels. These two pieces will interlock to form the cleat.
- Predrill holes in the cleat piece that will attach to the object. Countersink the screw heads if needed so the cleat sits flush against the piece.
- Attach the cleat piece to the back of the object with appropriately sized wood screws, making sure the screws are long enough to hold but not so long they penetrate the front surface.
- Secure the wall-mounted cleat to the wall. Use a level and make sure the angled face is oriented correctly so the object will slide down and lock. Fasten the cleat into wall studs with long wood screws for maximum strength.
- With help if the piece is heavy, lift the object so the top cleat engages the wall cleat and slide it down until the two angled surfaces lock together.
If you’re not comfortable cutting the bevel yourself, there are many step-by-step tutorials and videos that clearly demonstrate setting the blade angle and making the cut. Alternatively, many hardware stores can cut the bevel for you, or you can purchase pre-made cleats to skip the cutting step entirely.
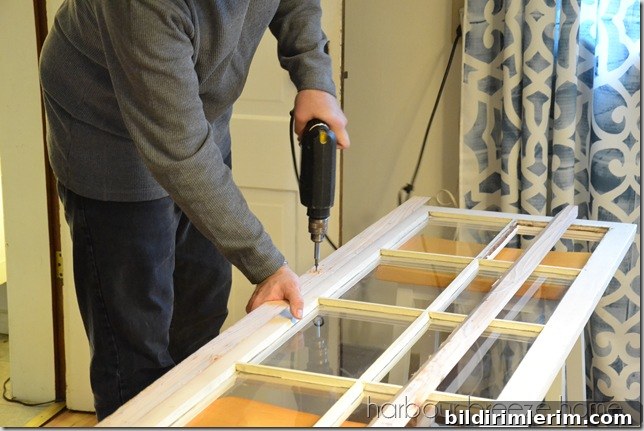
Predrilling the attachment piece and securing the screws carefully will prevent splitting and ensure the cleat sits flush. Below are photos showing the predrilled holes and the top cleat being fastened to a heavy window frame.
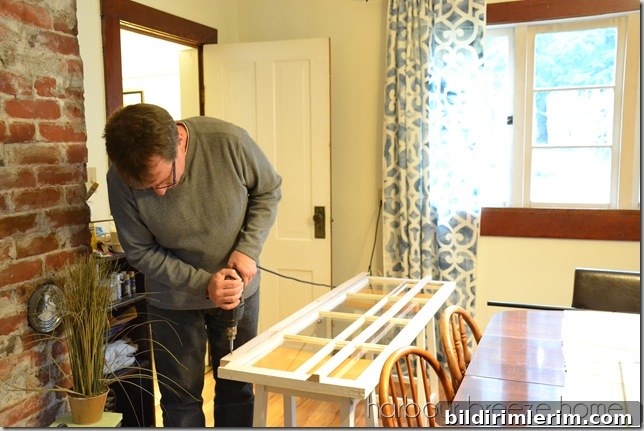
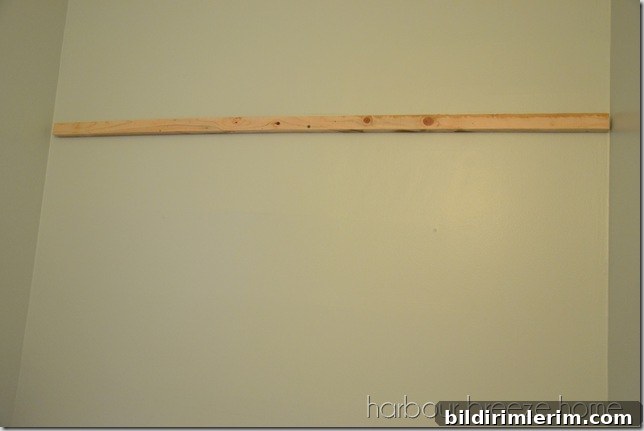
When fastening the wall cleat, two points are essential: confirm the orientation and secure into studs. Do a dry fit first to ensure the two cleat pieces line up correctly. Then use a stud finder or other method to locate studs and attach the wall cleat firmly into solid framing. If the cleat is only fastened to drywall without stud support, the load can pull the screws out and the object may fall.
Practical tips for a safe, professional installation
- Use screws long enough to penetrate the wall studs by at least 1 to 1.5 inches for a secure hold.
- Choose a cleat thickness and material that match the weight of the item—hardwood or plywood usually offers the best strength-to-thickness ratio.
- If studs don’t line up where you need them, consider mounting a plywood backer across multiple studs, then attach the cleat to that backer for even load distribution.
- For very heavy or valuable items, use two cleats spaced vertically or consult a professional installer to ensure maximum safety.
- Always test the mounted object gently before leaving it unattended to make sure it is stable and secure.
Once the top cleat slides down onto the wall cleat, the 45-degree angles lock together and hold the piece snugly to the wall. The result is a clean, secure hang that’s easy to remove if needed—lift and slide the piece up to disengage the cleat.
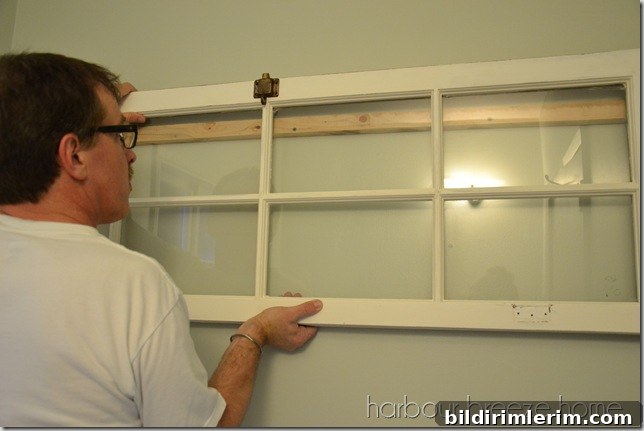
You don’t have to make your own cleat if you prefer to buy one. Ready-made French cleats and mounting strips are available in various lengths and materials and are a great timesaver for DIYers who want a reliable mounting system without cutting bevels themselves.
More tips for hanging things
- Hanging a picture: use correct anchors and measure carefully for a level result.
- Hanging in drywall with two hangers: measure spacing precisely and use anchors or studs for even support.
- Creating a gallery wall above a couch: plan layout, use a template, and ensure secure mounting for heavier frames.