
DIY Patterned Sign Using Acrylic Stamps and House Paint
I wanted to create a sign with a playful patterned background, but I wasn’t keen on freehand scrollwork. Then I remembered a scrapbooking acrylic stamp set I love — the perfect design for what I had in mind. Rather than painting the pattern by hand, I decided to try stamping the design onto a painted wooden panel.
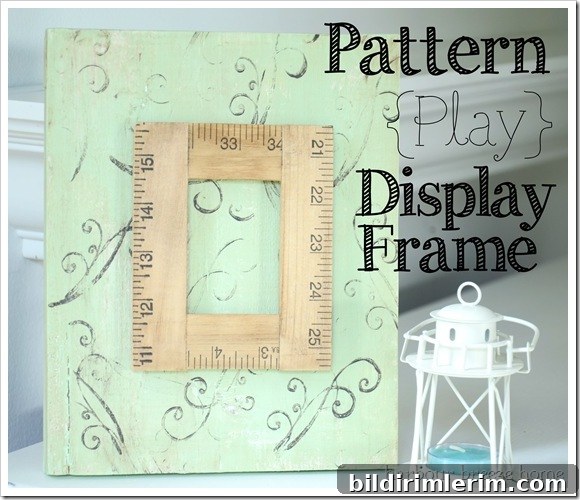
To my surprise, house paint worked very well on the acrylic stamps. I used a small craft brush to apply a thin coat of paint to the raised areas of the stamp, then pressed it lightly onto the dry, painted front of the wood. Because house paint dries more slowly than stamping ink, I re-applied paint every three or four impressions so the pattern remained crisp. The whole process was fast and forgiving — when I finished stamping I rinsed the stamp under water and wiped it clean.
Here are a few practical tips from that experiment:
- Use a small, flat brush to load paint onto the stamp so you can control coverage and avoid drips.
- Stamp onto a fully dry base coat to prevent smudging and to keep the pattern sharp.
- Work in small sections and reapply paint frequently to maintain consistent impressions.
- Wash the stamp immediately after use; house paint is water-based so it rinses off easily if you clean it before it fully cures.
- If you’re unsure, test on a scrap piece of wood first to see how the paint and stamp interact.
I wanted the sign to have some dimension, so I added a small decorative element from my stash: a little ruler-style frame that I attached to the center with hot glue. The added layer created visual interest and gave me a place to hang a small accent.
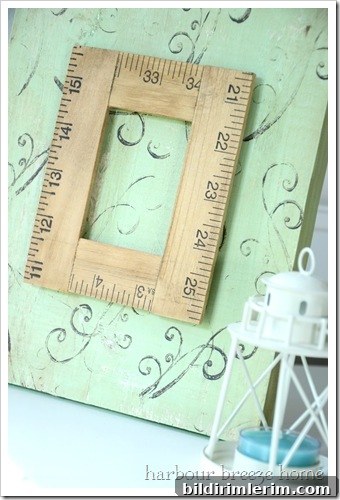
Originally I planned to hang an old skeleton key from the center of the ruler frame. I have a key that belonged to the house I grew up in, and I thought it would be a meaningful focal point for my entryway gallery wall. Of course, I put that key in a “safe spot” the last time I tidied up — and now I can’t find it. If that’s something you do too, you’re not alone. When the key turns up, I’ll screw in a small cup hook near the top of the frame and hang the key from it. In the meantime, the layered pattern and frame still read as a finished piece.
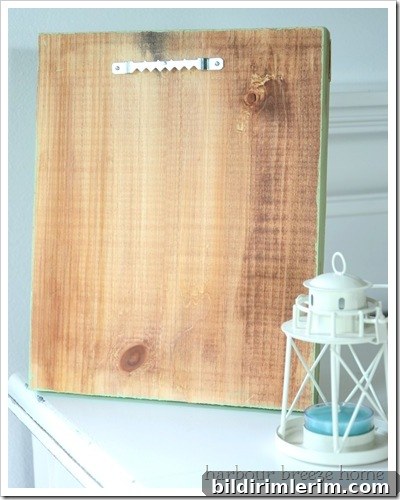
Because I like a neat appearance even on the reverse side, I always take a moment to finish the back of my signs. After staining the front, I apply a coat of stain to the back for a more polished look. Then I attach a sawtooth hanger near the top so the piece is ready to hang as soon as any final accents are in place. The back doesn’t need to be perfect, but a little attention makes the whole project feel complete and ready for display.
This sign is intended for my entryway gallery wall — a collection of small pieces that tell a story about home and memory. If you’re putting together your own gallery wall, consider mixing patterns, dimensional elements (like frames or small found objects), and meaningful accents to make the display personal and visually balanced.
If you missed earlier projects that are part of this Entryway Gallery Wall series, here are their titles for reference:
- Light Reflector Arrow Sign (basic sign tutorial)
- Beach Cottage Faux Frames
- Striped and Layered Photo Frame
- Monogram Family Letter Sign
Whether you’re a seasoned crafter or trying a new technique for the first time, using household acrylic paint with scrapbooking stamps can open up creative possibilities. It’s an inexpensive way to add bespoke patterns to wood, and with a few simple finishing touches — a layered frame, a cherished trinket, and a clean hanging solution — you can create a small piece that fits perfectly into a meaningful gallery wall.