
This throwback post recalls the time we set out to complete a “simple little bathroom renovation.” It’s a reminder that remodeling rarely goes exactly to plan—things often get worse before they get better.
As my mother used to say, “Things usually get way worse before they get better.” In our case, that turned out to be entirely true. Read on for a run-down of the unexpected setbacks, and a note at the end about the final reveal once the room was finished. It was absolutely worth the trouble!
Sometimes renovations are straightforward: measure, remove, replace, and you have a clean before-and-after. Other times, progress takes a more winding route—one step leads to another, and suddenly you’re patching up a finger and wondering whether you’ve actually made any headway.
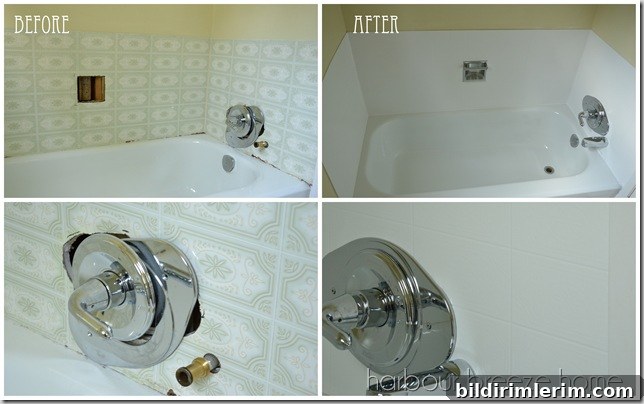
I’ve come to think renovation progress is as much about perception as it is about the work itself. If you dropped by my house for coffee right now, the first thing you’d see at the front door is this:
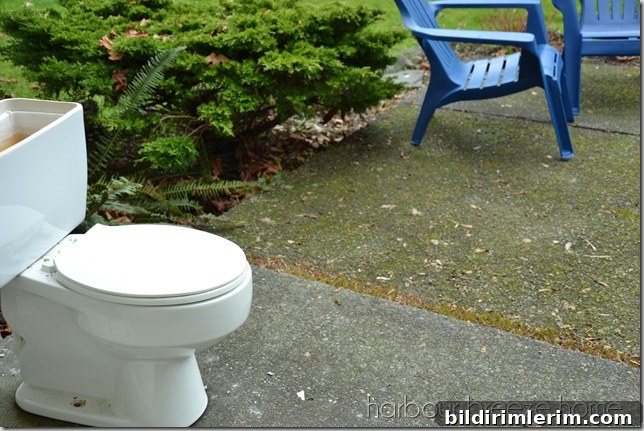
Not exactly the spring curb appeal I had in mind—more of an awkward welcome—but it’s a visible sign of the progress inside: parts of the bathroom temporarily stored outdoors while we work through the next steps.
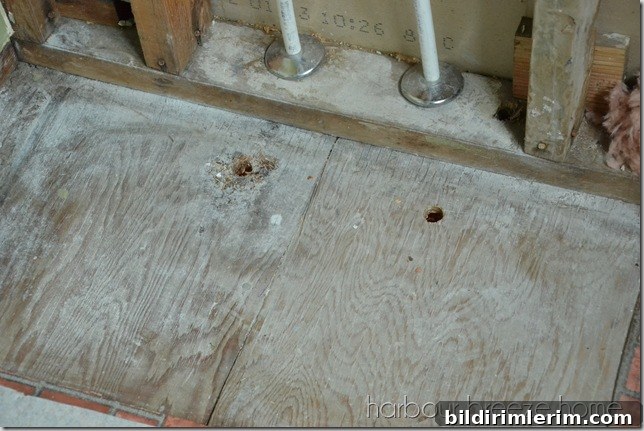
The reason some fixtures ended up outside was the domino effect of small adjustments. We needed to move the water pipes just three inches to fit a new vanity. That tiny shift required cutting into the drywall…
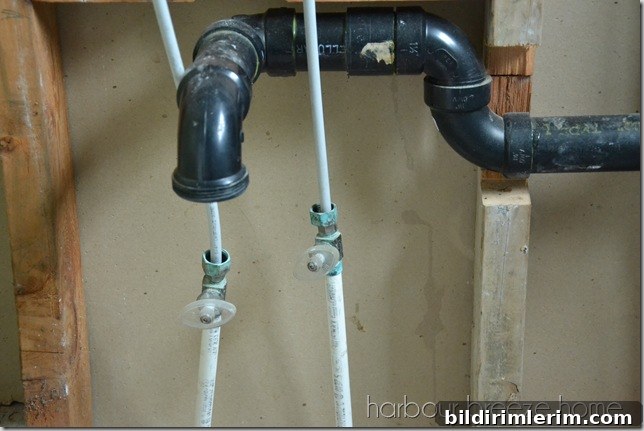
…and then, because the pipes had a 1½-inch height change to accommodate, a bit more drywall had to come away. What began as a minor modification turned into a deeper exploration of the wall’s makeup.
My husband peered into the cavity with a flashlight and muttered, “What on earth are all these electrical wires for?”
At that point we realized the job was no longer a simple vanity swap. Hidden wiring and aged electrical runs made the work more complicated—and more important to address properly.
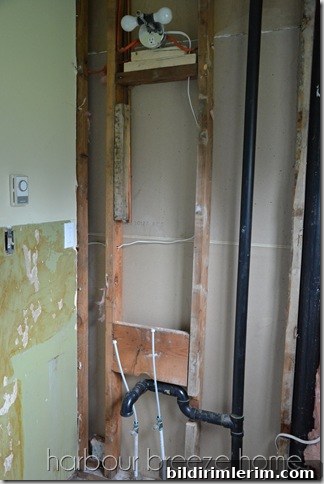
Drywall removal is a slow process when you’re taking care not to damage structural elements. Layer by layer, unexpected details of the house’s history emerged: old wiring routes, odd framing, and the quirks that come with older homes.
We paused the demolition only when the pile of removed drywall filled several black garbage bags. It felt messy and chaotic, but it was the only way forward to ensure the next steps would be safe and sound.
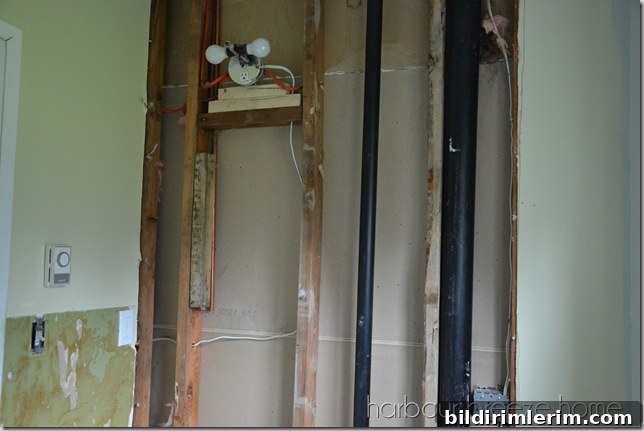
Progress doesn’t always look pretty, but this photo captures a major milestone: the electrician had been in and removed the outdated, unsafe wiring. Removing that hidden hazard was essential before we could restore the wall and proceed with the new layout.
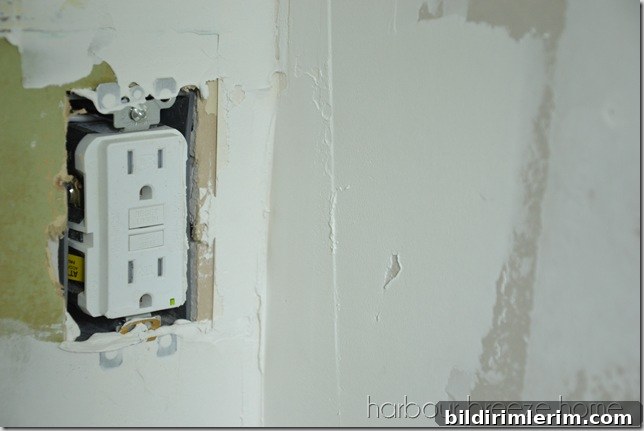
Following the electrical work, we installed a properly placed and safe outlet on the correct wall—one of those small but critical changes that make the finished bathroom functional and code-compliant.
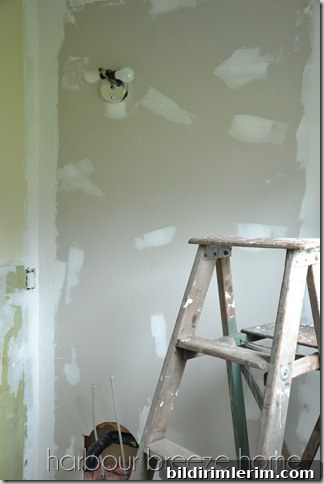
And finally, the most satisfying view of all: a new section of drywall hung and ready for finishing. I’ll admit I paid for it with a bruised thumb and half a torn nail, but that was a small price for the reassurance that things were moving in the right direction.
Over the next few days we measured progress by dustpans full of drywall dust and the steady accumulation of tools and materials. The mess is temporary; the improvements are permanent.
Renovations, especially in older houses, often reveal hidden needs and opportunities. What starts as a minor update can turn into a full safety and systems check—electrical, plumbing, and structural. Taking the time to address those surprises properly pays off in the long run with a safer, more functional bathroom and a smoother final finish.
I was thrilled when the wall went up and even more excited about the design choices yet to come. Despite the setbacks, the experience taught patience and the importance of adapting plans when unexpected challenges arise.
To See More Bathroom Renovation Posts
- Want to see how this bathroom ultimately turned out? Search for the “small bathroom makeover” reveal post on the site’s blog to view the final reveal and photos.
- A simple shiplap accent wall in a powder room can make a big visual impact—look for the shiplap wall project for inspiration.
- We also painted a bathroom feature wall in Evergreen Fog; check the site’s feature wall post for color and styling ideas.
Want to do some budget-friendly room makeovers in your house?
I created a free guide that outlines my simple, repeatable approach to room makeovers—my basic “recipe” that I use every time I refresh a space. After completing many makeovers over the years, I’ve packed those lessons into an easy-to-follow resource full of practical tips for planning, budgeting, and styling on a budget.