
DIY Tabletop Flower Box: Upcycle a Wooden Crate into a Rustic Centerpiece
I move through crafting phases: sometimes I don’t feel like making anything at all, and other times new projects keep bubbling up and I can’t stop. Recently a beach-rock mosaic mirror got me inspired and I started spotting projects everywhere. This tabletop flower box is one of those easy, satisfying upcycles that requires no gardening skill—just a little creativity and a few basic supplies.
Finding the Perfect Base
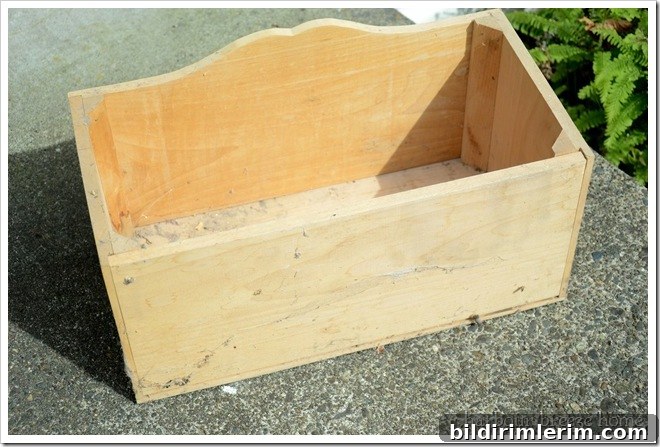
While doing some spring cleaning I came across a small wooden box my husband had made for me years ago. It had been relegated to holding trash, which felt like a waste of potential. The crate cleaned up nicely, and I decided to give it new life as a tabletop flower box. Upcycling existing items is a great way to create unique decor while keeping costs low and minimizing waste.
Painting and Distressing for a Rustic Look
I used a mis-tinted latex house paint in a pink shade I’d been wanting to introduce into our mostly-boy-filled home. Rather than covering the wood completely, I swished the brush on loosely to let some of the natural grain show through. The goal was an antique wooden crate look rather than a perfect painted finish.
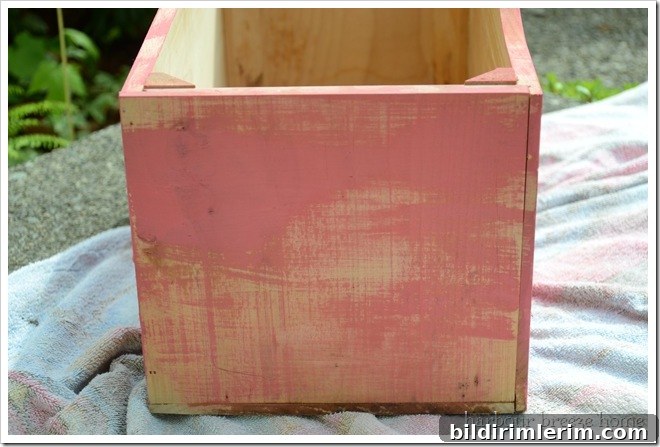
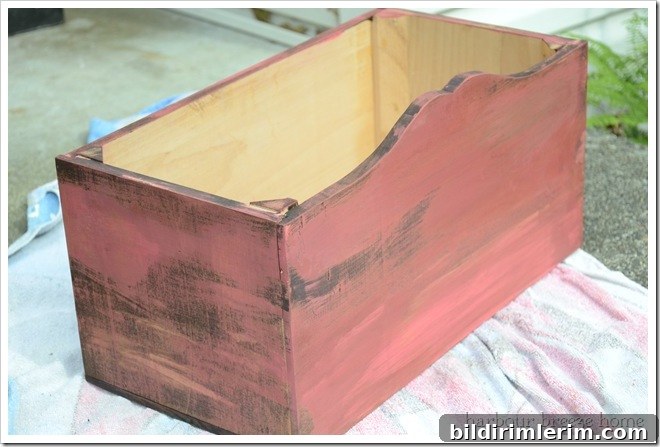
Once the paint dried I brushed on a dark walnut stain and wiped most of it back. The stain toned down the brightness of the pink, giving it a muted, aged appearance. I then dry-brushed a touch of the paint back over some areas to bring the color up slightly and to enhance the layered, weathered feel.
Adding Lettering and Distress Details
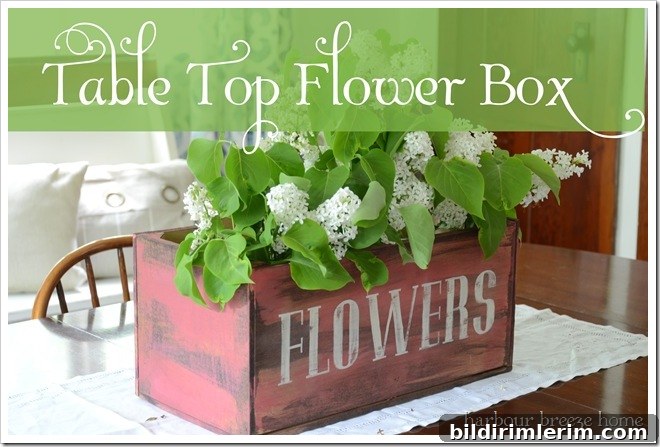
To personalize the crate I transferred the letters for the word “FLOWERS” using transfer paper and then painted the letters with creamy white acrylic craft paint. To get a naturally worn look, I applied small dabs of Vaseline to a few spots before painting; paint won’t adhere where petroleum jelly is applied, so when you sand the surface the paint comes off more easily and the result is authentically distressed.
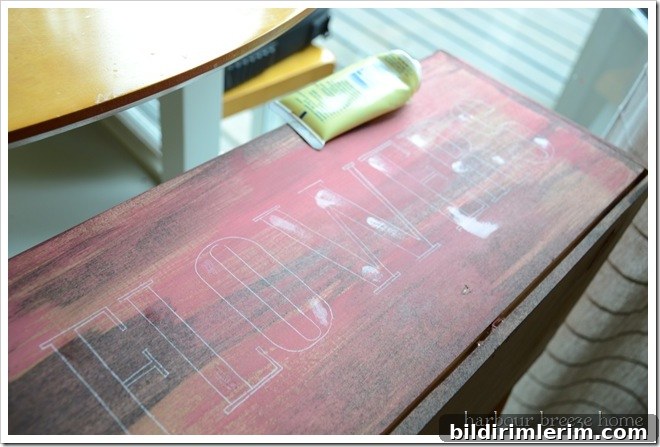
After the paint fully dried I lightly sanded the letters and selected areas of the box until I achieved the look I wanted. The Vaseline trick really does create charming, uneven wear—kind of like a small DIY experiment that yields great results. 
Finishing Touches: Mason Jars and Fresh Blooms
The inside of the box is roomy, so rather than lining it, I set five mason jars inside and filled them with water. Using individual jars lets you change flowers easily and keeps the wood safe from constant moisture. I cut a few branches of white lilac from the yard and placed them in the jars for a simple, fragrant display that suits farmhouse, rustic, and cottage decor styles.
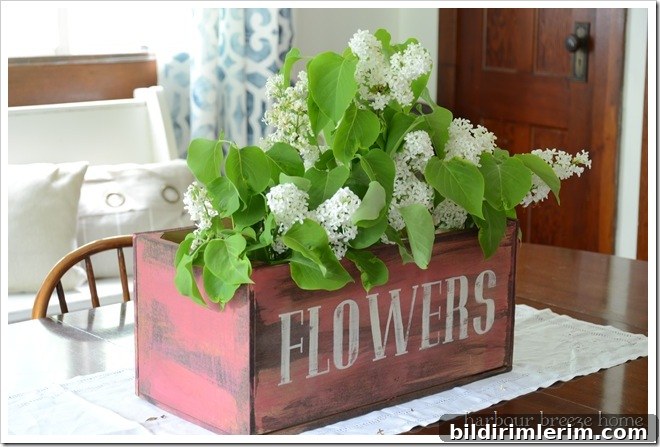
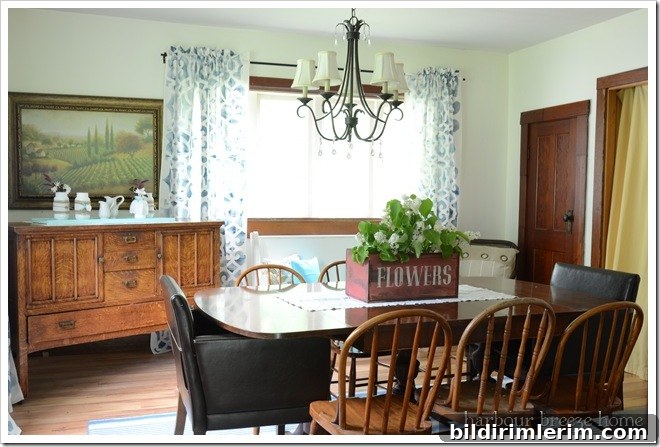
The finished box sits nicely on our table and pairs well with a striped rug and other casual, lived-in pieces. It’s an inexpensive DIY centerpiece that adds personality and a fresh floral touch to any room.
Tips and Variations
- Use mason jars, small tin cans, or glass bottles as removable vases so the wooden box won’t be damaged by water.
- Try different paint colors and stains for a variety of moods—soft pastels for a shabby-chic look or deeper tones for rustic farmhouse style.
- To stencil or transfer lettering, pick a bold font and practice the transfer on scrap wood first to ensure spacing and alignment.
- Mix fresh flowers with faux stems for longer-lasting arrangements, or swap seasonal blooms to keep the centerpiece feeling new.
This project is quick, budget-friendly, and flexible. Whether you’re upcycling a forgotten box or starting with a simple wooden crate, a little paint, stain, and creativity turns it into a charming tabletop flower box perfect for any home.