
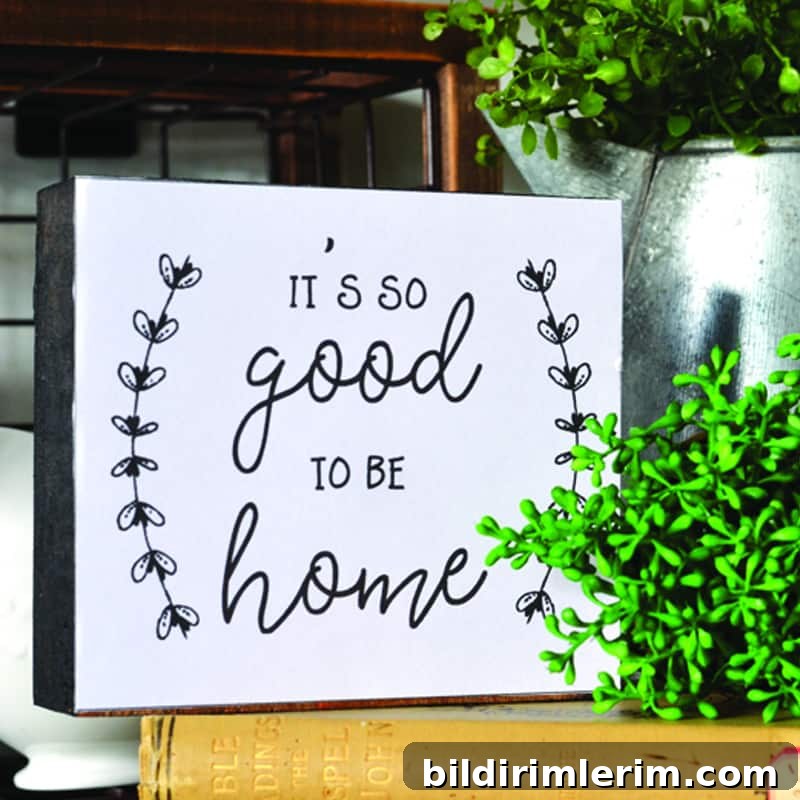
This simple printable farmhouse sign craft is a quick and easy DIY decor project. Make one—or several—in very little time and refresh your shelves or mantel with charming farmhouse style.
Do you have farmhouse shelves in the fixer-upper style that would look great with a little seasonal decor? Maybe some floating shelves or turnbuckle-style shelves that could use a small accent? This quick DIY farmhouse sign uses free printable art to create a polished, handmade piece that fits perfectly on shelves, mantels, or in a vignette.
Although it’s fun to shop for finished pieces, making your own sign lets you customize the size, color, and message—and it’s fast. This project was inspired by the farmhouse sign displays you’ll often see in big craft stores, and it’s an easy way to achieve that look at home.
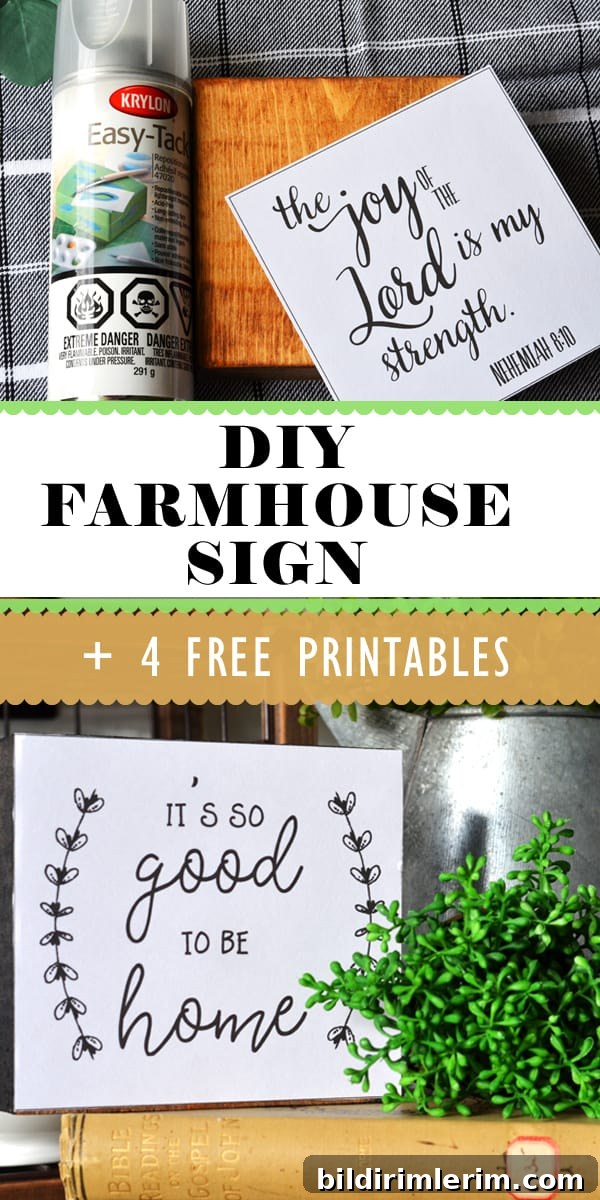
How to Make a Simple Farmhouse Sign Using Free Printables
Supplies for a DIY Farmhouse Wood Block Sign
- Free printable designs (available in the site’s Printable Resource Library)
- Cardstock paper (heavyweight for best results)
- 1 piece of 2×6 board cut to finished sizes: one 5.5″ x 5.5″ square and one 5.5″ x 4.8″
- Wood stain (I used Provincial)
- Foam brush and a clean rag for wiping stain
- Paper cutter or straightedge and craft knife for precise trimming
- Sanding block or sandpaper for smoothing and finishing
- Repositionable adhesive spray (for temporary placement while trimming)
- Permanent spray adhesive (such as a high-bond spray adhesive) for final mounting
- Acrylic craft paint (warm white recommended)
- Chalkboard paint (optional for a contrasting edge)
- Paint brushes
Step 1. Prepare the wood block base
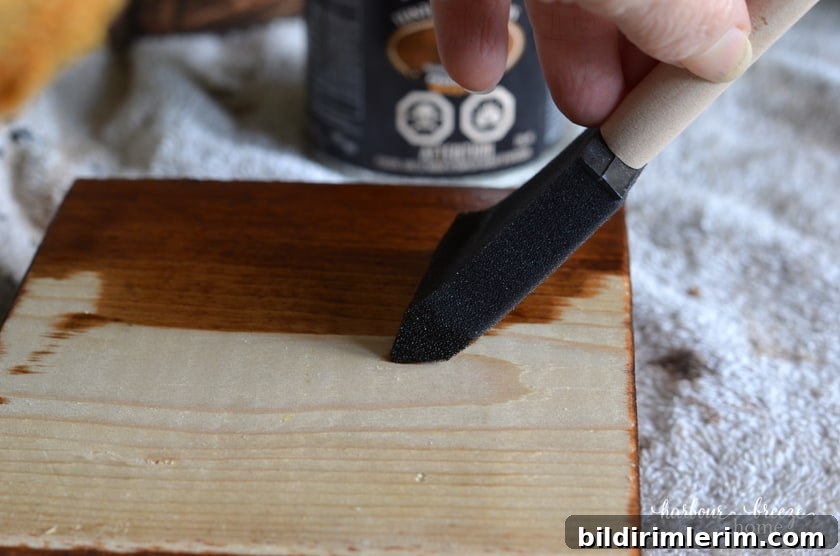
Begin by sanding all edges and faces of the cut 2×6 block until smooth. Apply wood stain evenly on all sides using a foam brush; wipe off excess with a rag. Oil-based stain helps seal and enhance the wood grain, giving a rustic, finished look.
Step 2. Choose a printable design
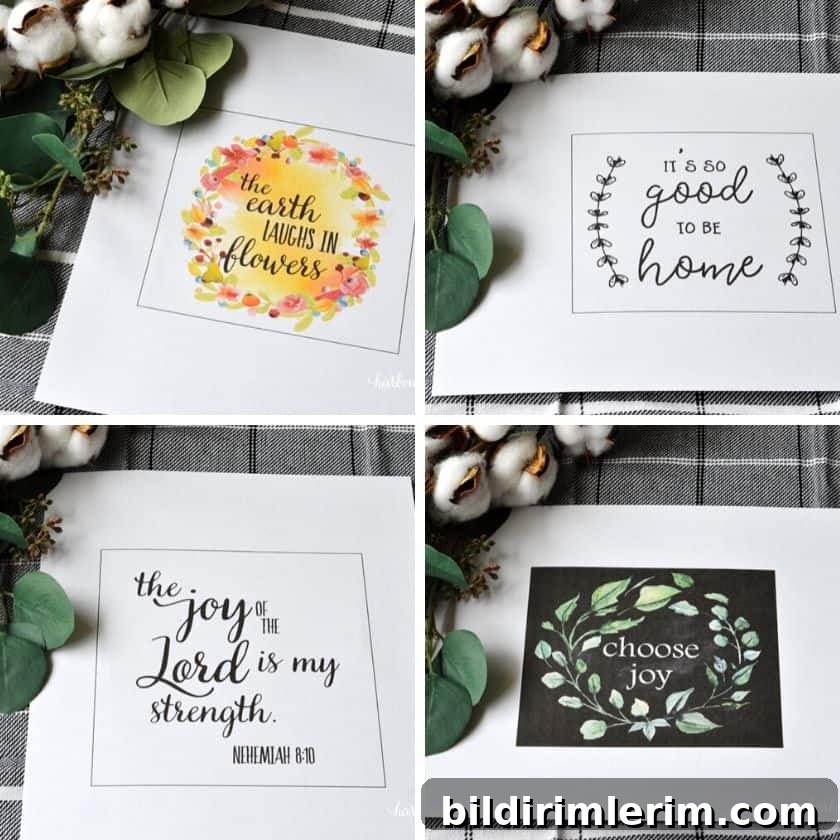
Print your chosen design(s) on heavy cardstock using a home printer. There are several farmhouse-style printables in the resource library sized specifically for 5.5″ x 5.5″ blocks and for the 5.5″ x 4.8″ option—pick the version that best fits your block.
Step 3. Trim the printable to fit the block
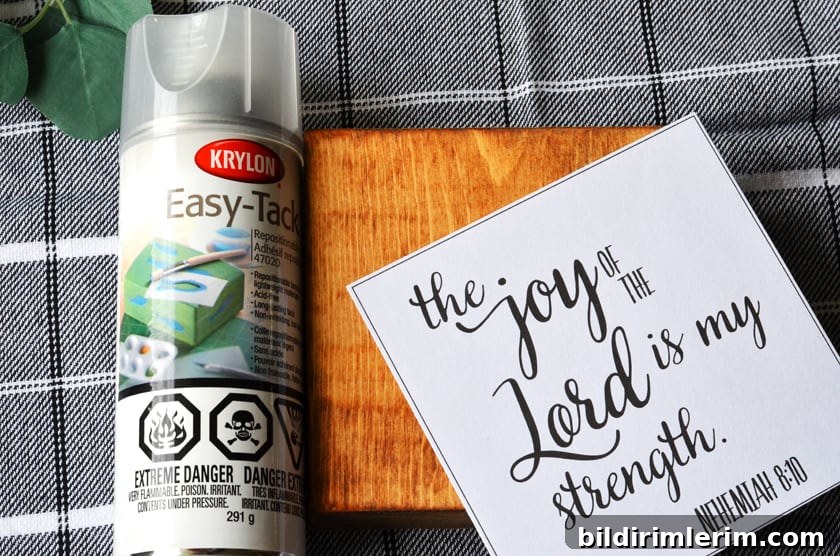
Use a paper cutter or a straightedge and craft knife to trim the printed design along the guide lines. Spray a light coat of repositionable adhesive on the wood block and temporarily place the printable so you can check alignment and make small adjustments before final gluing.
Step 4. Sand the paper edges for a perfect fit

With the printable positioned, use a fine-grit sandpaper to carefully sand the paper’s edges flush with the wood block. This technique removes any slight overhang and creates a neat, integrated appearance.
Step 5. Optional—paint the block edges
Decide whether to leave the stained edges natural or to paint them. For a bright farmhouse look, paint the sides warm white; for a bolder or rustic contrast, use chalkboard black. Painting the edges adds definition and can coordinate the sign with your existing décor.
Step 6. Adhere the printable permanently
When the printable fits exactly as you want it, remove the temporary adhesive and apply a thin, even coat of permanent spray adhesive to the block. Carefully press the printed cardstock onto the surface, smoothing from the center outward to prevent bubbles or wrinkles. Allow the adhesive to cure according to the product instructions.
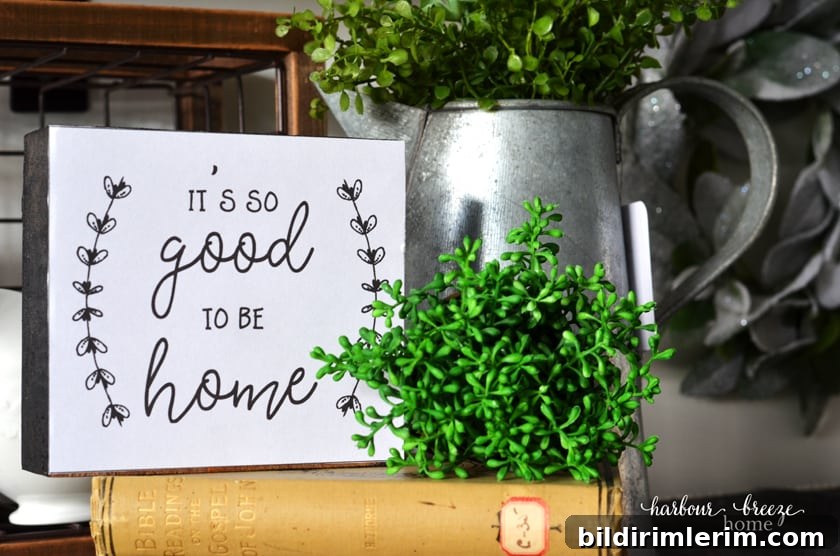
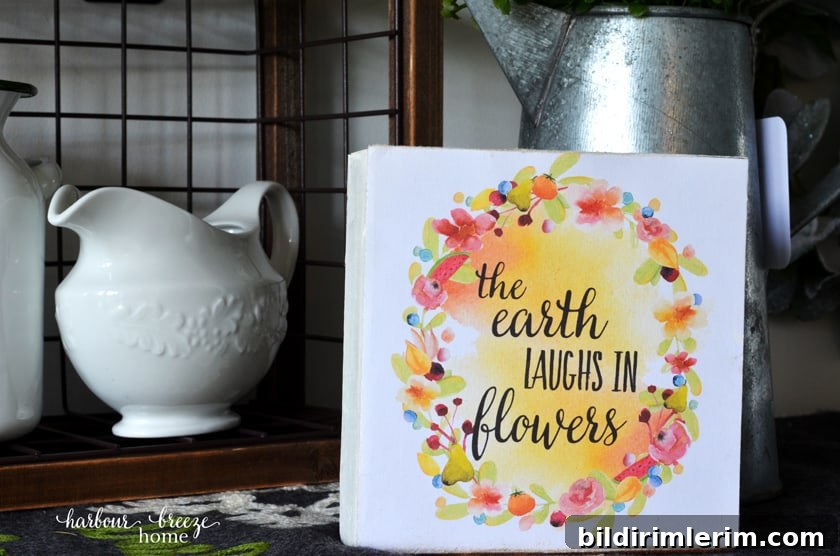
For versatility, glue a different printable on each side of the block so you can flip the sign for seasonal changes or different moods. Alternatively, print a single design and frame it or mat it for wall display.
Tips and variations
- Print on heavyweight cardstock for a durable, flat finish.
- Use repositionable adhesive during test placement so you can check alignment without committing immediately.
- Try distressing the painted edges lightly with sandpaper for a more vintage farmhouse look.
- Mix and match prints to create sets of different sizes and styles for shelves, mantels, or gift-giving.
More printable ideas and inspiration
- Farmhouse printables for fall
- Vintage truck and holiday-themed printables
- Modern farmhouse spring designs
- Botanical printable sets
- All-occasion printable gift tags
Happy crafting—enjoy making farmhouse decor that reflects your style and fits perfectly in your home!