Why Priming Drywall Matters: Preparing Old Walls for Paint
There’s a practical, often overlooked part of room renovations that rarely gets the spotlight: priming. Before a room receives its fresh paint, trim, and decorative touches, the surfaces need a proper primer. Skipping this step can lead to uneven coverage, streaks, and paint that doesn’t adhere long term—especially on older or unusual drywall.
When we worked on this room, the drywall dated back to 1927 and behaved oddly. No matter how much paint I rolled on, the finish always looked streaky and uneven. The walls seemed to “drink” the paint, leaving blotches and a patchy appearance. After taking a small sample to the paint store, it became clear why: the drywall had never been primed, and the surface was unusually absorbent.
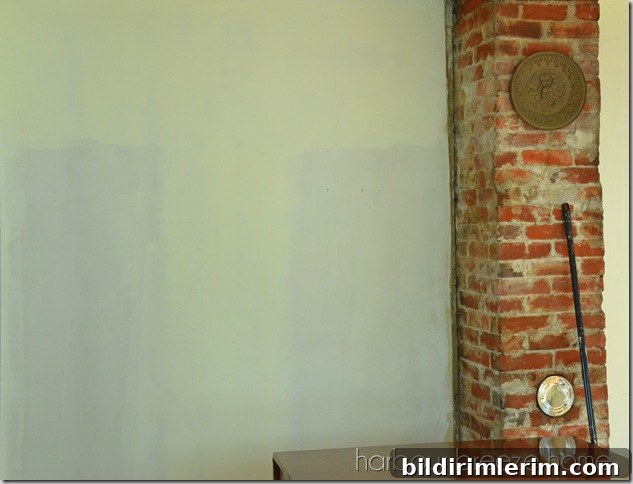
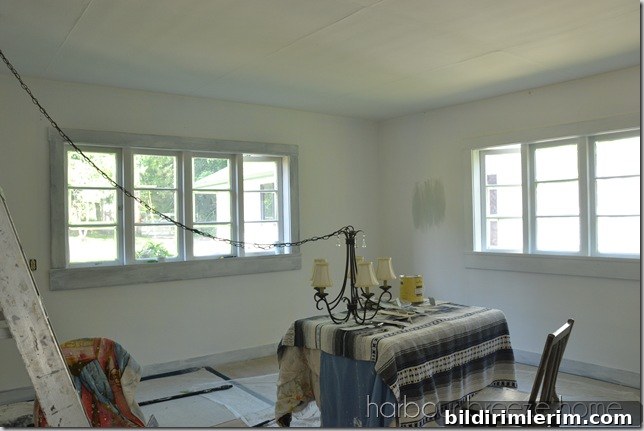
Once we primed the walls and ceiling, the transformation was immediate. The primer evened out the surface and made the room noticeably brighter—almost as if the lights had been turned on. That changed how I thought about color choices; primer can dramatically affect the final paint color and coverage.
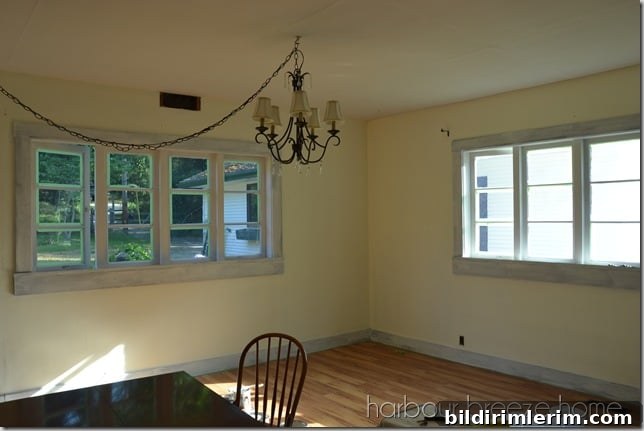
Before priming the walls and ceiling (the trim was a separate task), the room looked tired and uneven. After applying a full coat of primer, the difference was clear.
Why Priming Is Important
Primer seals porous surfaces, improves paint adhesion, and creates a uniform base so the topcoat covers evenly. On older drywall or surfaces that have never been primed, paint will often be absorbed unevenly, resulting in streaks or an inconsistent finish. Priming also helps block minor stains and increases durability, which means fewer touch-ups over time.
Choosing a Primer
For our project we used a water-based primer/sealer labeled “Aqua Lock Primer/Sealer.” It worked very well on these old, absorbent walls. We used one gallon to cover all the walls and the ceiling. When selecting a primer for drywall, consider a product designed for sealing and for the substrate you’re working with—water-based primers are convenient for cleanup and low odor, while some situations may call for specialty primers.
Practical Tips for Priming
- Clean the surface first: remove dust, loose paint, and grease so the primer can adhere properly.
- Patch cracks and nail holes with appropriate compound and sand smooth before priming.
- Use a high-quality roller and brush for even application; an extension pole helps with ceilings and high walls.
- Allow the primer to dry thoroughly before applying topcoat paint. Drying times vary by product and conditions, so follow the manufacturer’s guidance.
- One full coat of primer can be enough for previously unprimed drywall, but some surfaces may benefit from a second coat if highly porous or stained.
- Prime ceilings and walls separately from trim to simplify cutting in and achieve cleaner lines.
What We Learned
Priming is not glamorous, but it’s a crucial step for a professional-looking result. Taking the time to prime saved us from repeated frustrating paint sessions and ensured the new color applied evenly and lasted longer. After priming, the room took on a brightness and clarity that changed the whole direction of the design decisions.
If you’re renovating an older house or working with unfamiliar drywall, test a small area first and consult a paint professional if something looks unusual. A proper primer is an investment that pays off in coverage, finish, and longevity.
Note: For this project we used one gallon of a water-based primer/sealer and found it sufficient for all walls and the ceiling. Trim and molding were handled separately.